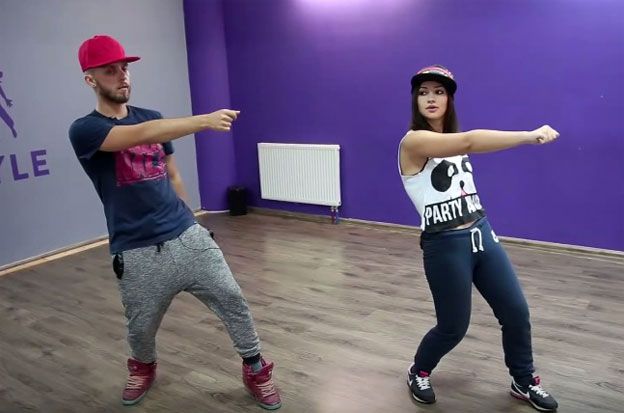
How to edit dance videos
Tonal Vision's Blog - Intro to Editing Dance
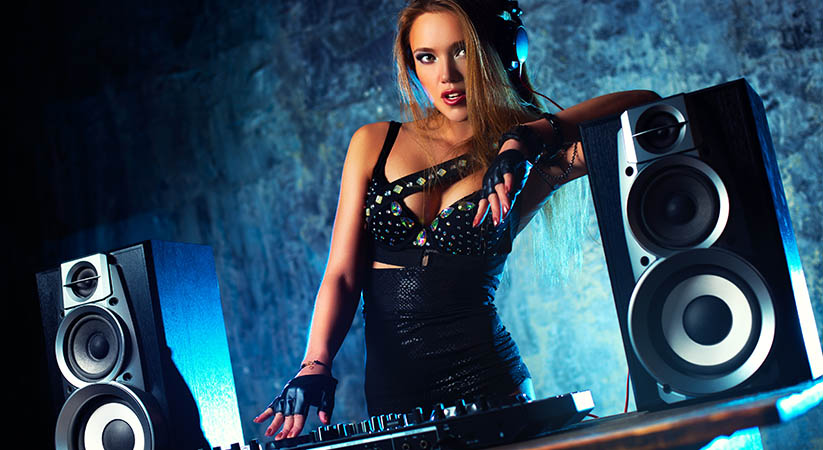
Dance editing is very different than other types of projects editors usually encounter, such as narrative, training or commercials. Dance performance videos are designed show the choreography and highlight the performances of skilled dancers. Dance recital videos also need to show close-ups of the performers for their families, who are often paying for the videos.
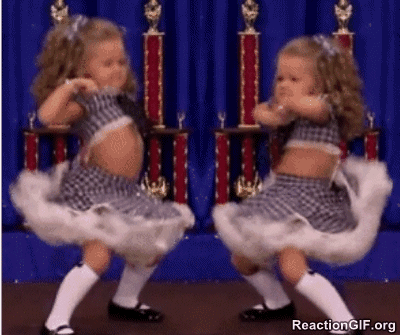
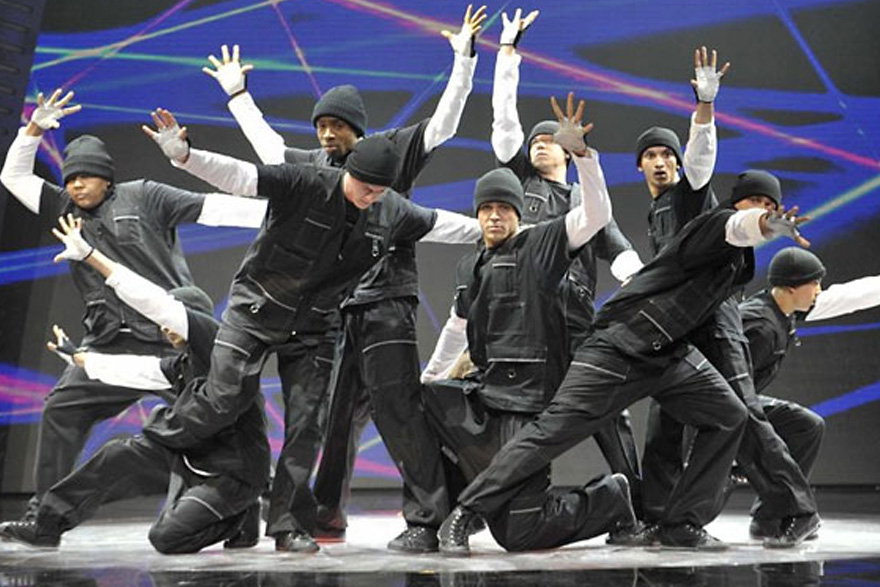
Most of these training articles include examples of good editing as illustrations.
Helpful techniques
- Cut to the phrasing or lyrics of the music as often as possible, i.e., the words of the song, not just the beat. Often the choreography is designed around the lyrics. If you sing a line of music, you are starting at the beginning of a phrase.
- Edit differently for different skill levels. Young beginning dancers don’t have much skill — they and their families are mainly looking for cute close-ups.
For intermediate dancers, capturing their performance at its best is important — get close-ups of them only when they are dancing well, not doing something wrong. As dancers become more skilled, the choreography becomes much more important.
- For younger, less skilled dancers lined up on stage, alternate between wide shots and panning close-ups to get close shots as often as possible without leaving the other dancers out of the shot. Picture in picture is a good technique to use if there is a good, long panning close-up.
- Cuts should “disappear”, i.e., not be distracting to the viewer. Cutting to the lyrics and cutting at the beginning of a movement help. Dissolves can help smooth out transitions that seem abrupt.
- Cuts add energy and dynamics to high-powered songs with more advanced dancers. It’s typical to have 30-40 cuts in a song like this. Think of where the audience’s eyes will be and cut to close-ups of those moves. Use a balcony camera to add a 3rd dimension and show where dancers at the back are doing something different than dancers at the front.

- Dance editing takes time. Don’t expect to become fast at it. Check and recheck your work to make sure you are doing the best job possible. Make sure you aren’t missing something with your cuts. Watch for possible distractions, like a camera move making a dissolve look bad.
Tips for capturing the choreography
- If you aren’t sure about choreography, look for who is doing what on stage. Sometimes different dancers will be doing different things — don’t miss what one is doing focusing on someone else. After making cuts, look over the wide view again to make sure you haven’t cut something out.
- Choreography for young beginning dancers is limited because of their skills. A choreographer will often use advanced dancers to tell a story around the song.
- Start with an establishing wide view of the stage to show backdrop, positioning, props, etc. Hold this shot long enough to capture the design of the dance before looking for good close-ups.
 Generally, don’t go from close-up to close-up. Instead, cut back to a wide shot so viewers can remember where everyone was on the stage.
 - Sometimes, choreography calls for a dialog between groups of dancers — one group of dancers does something, then another group responds. Use a wide shot of all dancers at first to show the pattern, then you can cut to a close-up of one of the groups afterward.
The video at the top of this blog page is a 11-minute edited version of the interview. If you want to watch the full hour-long interview, that video is embedded below.
Tonal Vision LLC • Tonal Vision® • © 1998-2022
1607 Lancaster St. , Baltimore, MD 21231 • 410.675.0591 • This email address is being protected from spambots. You need JavaScript enabled to view it. • Contact Us
How to film, edit, and submit – Inanimate Dance
Normally when you are getting ready to choreograph and perform something, you mostly just need to think about what it is going to look like on stage. Inanimate 48 offers a different kind of venue entirely…one where you are resposible for your stage and the ultimate presentation of your work. Maybe you are used to filming practice videos, but trying to go a step beyond and think about it like a film director may be out of your wheelhouse. Fortunately, we’ve got some easy to implement tips to help you present your best work.
Picking Your Device
Most people will probably use their camera phone, which is perfectly fine, but if you have a nicer video camera, we definitely encourage using it! GoPros may also be a good option, however keep in mind the type of aesthetic a GoPro tends to offer.
Whatever device you use, be sure of two things:
- You should have plenty of storage. Will you need to do multiple takes? If so, you definitely want at least a couple of gigabytes free on your smart phone (or more when filming in higher quality on video cameras)
- You know how you are going to transfer your files to your computer. Can you sync with the cloud? Do you need to connect via a USB cord, and do you have that cord? Is there space on your cloud drive or your hard drive for all your files? Make sure you figure this out ahead of time.
Setting Up Your Space
If you are limited in your space options, we recommend turning the tables and actually incorporate your limitations into your performance.
Got a really small space? Maybe your dance is all about small, isolated movements. Or maybe you interact with your surroundings while on your apparatus.
Aim for a clear background
We do recommend trying to clear as much clutter out of the background of your video as you can.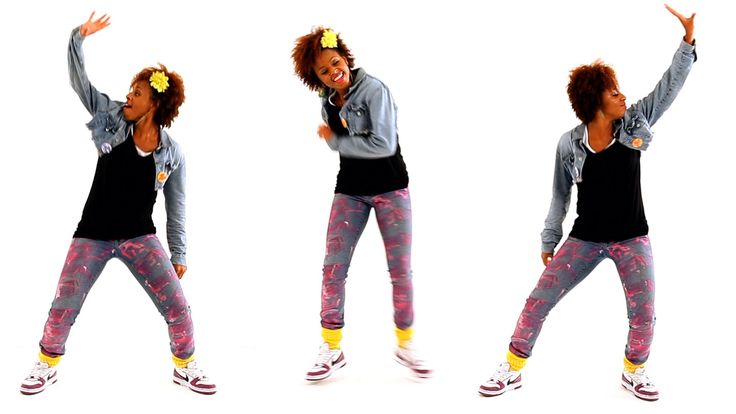 This makes it easier to read your movements and see your performance as it is intended. Unless of course you are trying to obscure things on purpose!
Ensure decent lighting
If you are outdoors or indoors with vicinity to natural lighting, this may be a matter of timing. Become familiar with the environment you plan to film in and observe the times the lighting looks best, then aim to film around that time as best you can.
If that isn’t possible, or if you don’t have any natural lighting in your space, try to assess the quality of the pre-existing lighting. Can you see what you are doing in your videos? Does it look grainy? If so, the good news is that DIY lighting set ups are surprisingly easy. You can make your video look pretty close to a professional lighting set up for less than $50.
The most important thing when it comes to lighting is that your subject can be seen, so make sure the lighting is hitting as much of the dancer[s] from the front and from both sides as you can. Avoid having backlit dancers.
Decide your method of shooting
Will you place your camera on a tripod? Will you have someone hold it for you? If they hold it, will they stand still, or will they move dynamically as you perform?
The advantages to placing your camera in a static location is that you just need to press play and then get into position before you start dancing. You don’t need anyone to help you, and you know exactly what it will look like. You don’t need any fancy filming knowledge or skill. It is simple, classic, and reliable. The disadvantages are that you may not be aware when you are exiting the frame of the video, and this can sometimes look a little stale in the final form.
If you are planning on filming this way, consider one of these bendable tripods so that you can place your camera literally anywhere to get that exact shot you want. These cost ~$10-$20 on Amazon.
If you are planning on having someone hold the camera and film you, it is probably a good idea to get in a few practice runs where you dance, they film, then you review together to make sure they are filming in the manner you envision. Which leads us to…
Making framing choices
There is a lot to be said for framing and film. You can take entire college courses on this, but we will just cover a few basic things.
First off, if you don’t know what we mean by framing, in this context we are defining framing as the placement of subject matter within the image. This includes your dancer[s], apparatus, background, and any other props you may have. Framing pertains to where you place your camera in relationship to the subject matter. Is the subject:
- Far away or close up
- Left, right, or center
- Above, eye level, or below
- Straight on or at an angle
- Filling the frame or just a small part of the frame
Asking these questions will help you make meaningful framing choices. This is where Inanimate 48 becomes a really unique performance vessel…suddenly we aren’t subject whatever confines a venue is given to us, but we can actually make the choice. In this way, the filming becomes an additional part of the storytelling in your work. One interesting approach to the event would be to consider choreographing the camera work just as much as the actual dance.
The good news is that because it’s dance, the subject matter will be moving, so you can’t expect to perfect every last frame. The bad news is that sometimes there are a few slip ups. Here are a few framing and camera person tips:
- Keep the camera nice and steady, even if moving, so that the audience can focus on the dancer
- It’s usually best to keep as much of the body in frame as possible.
- If you can’t keep the whole body in the frame, or are coming in close for a specific purpose, avoid cutting bodies off in weird places or making tangents to the edge of the frame, which are jarring to the audience.
This video does a good job outlining some major points you should consider when it comes to filming your dance work.
Audio
If you have more than one audio track for your work, you may need to do some editing. When it comes to editing audio tracks for your final work, we have just one software recommendation, which is Audacity.
Audacity works on both Mac and Windows and is completely free to download and use. It’s pretty straightforward to learn. Generally in dance, you are going to just be cutting and crossfading music, so here is a nice simple tutorial on how to achieve that.
Video
There are a lot of video editing software options out there.
If you are doing minimal editing, say, cutting the beginning and end of a video, whatever built in software your computer has (Windows Movie Maker or iMovie) is probably good enough. In our experience, Windows Movie Maker is basically trash for literally anything else you may want to do with your clips. iMovie is generally a little more robust and reliable, so if you have a Mac, you are probably already good to go.
If you have the money to spend, Adobe Premier is a very reputable video editing tool with many, many easy to find tutorials out there. Adobe follows a subscription model these days, so it is about $21/month to use Premier, however, if you happen to use other Adobe products such as Photoshop, you can get the full suite for $53/month. Premier will allow you to do pretty much anything you want and is an easy option to cover your bases.
Otherwise, you’ll have to seek out other free video editing software. We’ve always found this to be like shooting in the dark, because some software offers free editions with caveats like not letting you export videos until you upgrade, or slapping a huge watermark over your exported videos. Make sure you are aware of this BEFORE you spend a bunch of time editing a video on it.
We haven’t got the time to try out a bunch of different video editing software, so we will use it to this article to give you some recommendations. It covers desktop and mobile options, in case you don’t happen to have a computer in your life right now.
We are not going to go into too much detail on HOW to edit your videos, because that is a part of your work and how you end up conveying your message, but we will say that if you are new to editing, a good rule of thumb is that less is more, meaning that you don’t want to go in over your head trying to learn the ropes of editing, so keep it simple and follow your instincts.
Once you have filmed and edited, export your video to a file and prepare to upload! Keep in mind that the uploading process can sometimes take awhile depending on the image quality, size of your video, and your internet connection, so make sure you leave enoguh time at the end of the weekend for this.
We recommend uploading your work on Youtube or Vimeo. This is a pretty common thing to do, so we hope it’s pretty straightforward. In case you are technically challenged and/or you’ve never done this before, here are a couple tutorial links
How to upload a video to Youtube
How to upload a video to Vimeo
These platforms should give you a shareable link, which is what you will submit at the end of Inanimate 48.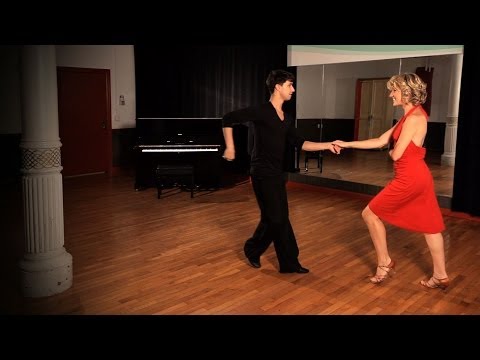 Make sure you video is listed as public or unlisted so that we will be able to see it. Private or password protected videos will not be accepted.
That’s it! If you have useful tips you would like to share with us, feel free to send us an email and we can add it to this page. Hopefully reading through this has given you a sense of how to do more of the technical side of the event, and you can focus more time and effort on creating your art!
How to Edit Videos: 15 Best Applications
If you're reading this, chances are you think you need to make more use of video content in your marketing. But, as is usually the case when applying new tools, you are interested in proof of your return on investment (ROI). In fact, you only need a few things to create a great video: a camera and editing software.
You may already have a high-quality camera built into your smartphone, but a third-party mobile app is required to edit your source material and prepare for publication. You may even need to transfer the source files to your computer to get more editing options.
You probably already have video editing software installed on your computer. For Windows it's Windows Movie Maker and for Mac it's iMovie. But depending on the purpose and content of the channel you're posting your video to, these tools may not be enough for you. The good news is that you can download several free and inexpensive video editing apps and tools, from super simple to Hollywood level.
The following 15 solutions will help you make your video magic: whether your video is for Instagram, YouTube, or another channel where your audience is waiting for your content.
The following apps allow you to edit and quickly upload beautiful Instagram videos. None of these applications are limited to only one Instagram, but are often used by this social network.
1. Magisto
- Free application
- iOS supported
- Supported by Android
Magisto lets you create incredible videos in three simple steps, all of which you do on your smartphone. First, you choose your video editing style (the type of story you are telling). You then select the photos and video clips you want to include in the video. Finally, choose music from Magisto's built-in library.
Using artificial intelligence, this app intuitively assembles your files into a video that best conveys what you wanted to say. By upgrading the app to Premium or Professional status for a small monthly fee, you can make longer movies with more of your own content.
2. Hyperlapse
- Free
- iOS only
Hyperlapse is an application created by Instagram itself that converts a video into a short time-lapse video so that it can be uploaded to Instagram or Facebook.
You can choose your speed option and the application will show you how long the processed video will be compared to the original. For example, a 40-second video will turn into a 7-second video when accelerated 6X. This is a really cool way to present a long story, like a sunset or the process of setting up an event.
3. Wondershare FilmoraGo
- Free
- iOS
- Android
FilmoraGo (Formerly Wondershare Video Editor) is ideal if you want to start with basic video editing and move up to advanced levels. Suitable for Instagram, but can create ready-made videos for publication on other platforms.
The application is available for Windows and Mac computers. The FilmoraGo mobile app is free to download for iOS and Android devices. In "Easy Mode", FilmoraGo doesn't have complex features, so you can drag and drop video clips, add music, and prepare videos in minutes. FilmoraGo has an effects repository where you can include built-in inputs, themes, and transitions in your video. However, the free version of FilmoraGo Wondershare adds watermarks to your videos, which can only be removed by upgrading to a paid service.
4. InShot
Sometimes you just want to edit your video - no mosaic collages or splicing clips. For that, there's InShot, a handy app that lets you trim and speed up a video, or add music and filters to it. This app is easy to use. You can also add a background if you like. For example, you can take a simple video of a calm beach scene, enhance it with InShot's "warm filter" and add appropriate music to it - the song "Pikake Stream" by Kalani.
5. WeVideo
- Free
- iOS
- Android
Cloud-based video editing software. Programs that you access through your browser instead of downloading it to your hard drive are becoming more and more popular. One such program is WeVideo.
WeVideo offers features such as audio editing capabilities, a library of licensed music, and 4K video sharing (approx. 4000 horizontal pixels). However, the free version of the program is not without limitations.
One of the main disadvantages is that you are only given 10 GB of cloud storage. If you're making a one-shot video, you're fine. But if you're planning on editing multiple videos, you'll definitely need more space. The free version also has a WeVideo watermark on your movies.
The program is available as a desktop product in a free and paid version. You can compare the differences between them on the price page of the WeVideo website.
6. Splice
- Free
- iOS only
GoPro developers have released an application that will allow you to combine different videos on your phone to create a moving collage.
This application is easy to use. Splice contains a library of music tracks that you can use as background for your finished project. The application can also be used to trim and edit different parts of the video and adjust the length of the transition from one scene to another. My colleague Amanda Zantel-Wiener experimented with Splice by putting together a 15-second video of her dog using only an iPhone 6.
7. Adobe Premiere Clip
- Free
- iOS
- Android
Popular free video editor Adobe Premiere is available not only on a mobile device.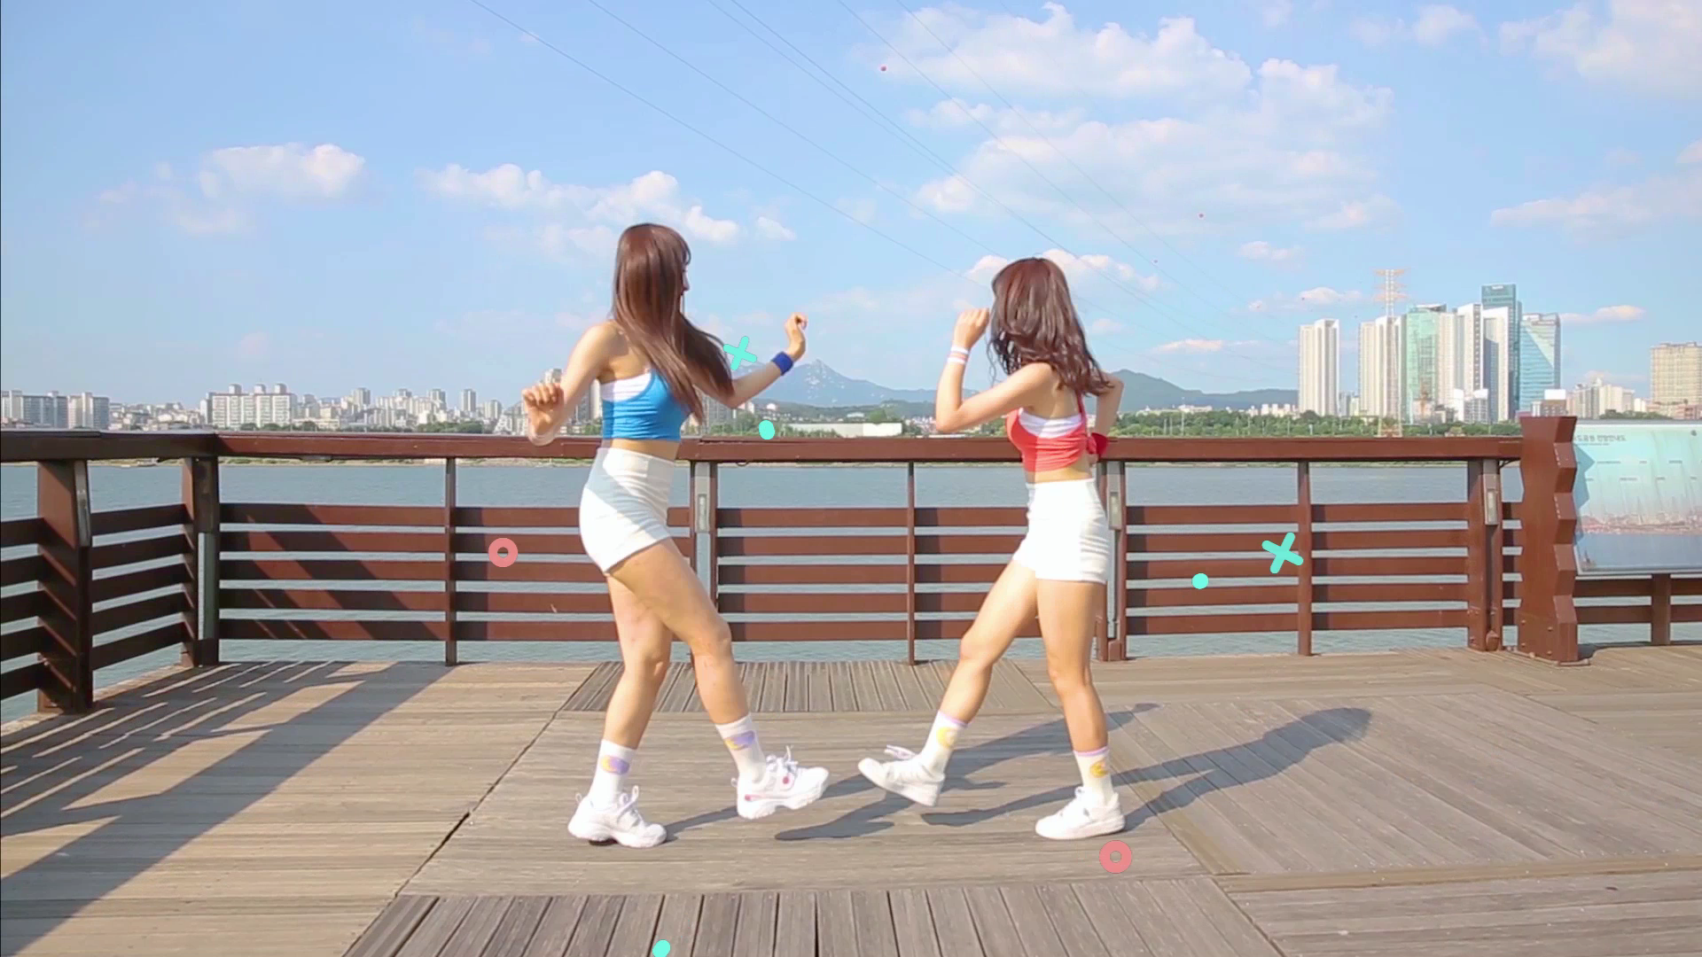
Melissa Stoneburner of Examiner.com calls this application the "gateway" to the full version of the Adobe Premiere Pro video editor for personal computers. Like Magisto, the first video editor on our list, Adobe Premiere Clip automatically installs your music of choice into the video, using the Adobe Premiere Clip library or your own library, and offers a Freeform editor that lets you further tweak changes right after the initial audio sync.
Adobe Premiere Clip's impressive editing features help you trim, drag, and delete multiple videos and images at once, directly from a photo or video on your mobile device, in the order you want. Then just add the right lighting, adjust the video speed and share directly to Facebook, Twitter or YouTube.
8. PicPlayPost
- Free
- iOS
- Android
We have already appreciated the coolness of photo collages. But you can also make video collages. PicPlayPost is a simple application that allows you to make exactly collages. Remember that the audio from both videos will play at the same time, so make sure they don't collide with each other.
There are many uses for video collages, but my colleague Lindsay Kolovich, Melissa Made fitness pro, especially likes to use them for her Instagram account. She posts workout videos on the one hand while explaining the workout out loud on the other.
9. Blender
- Free
- Windows
- Mac
- Linux
The open source Blender is more than just a video editor, it's a full blown 3D animation suite that lets you do modeling, rendering, motion tracking and more. There are tons of video editing features here, including transitions, speed controls, filters, adjustment layers, and more. There are also 32 slots for adding video clips, audio clips, images, and effects, which means you can create incredibly complex videos.
For amateur video, editing all of these available features can be overwhelming. But if you want to create a really high quality video without watermarking, Blender is a solid option. You can use Blender for any purpose, including creating commercial or educational videos.
10. Lightworks
- Free
- Windows
- Mac
- Linux
Like Blender, Lightworks is a program for advanced users. This program has been used to edit such famous and award-winning films as The Wolf of Wall Street, The King's Speech and Pulp Fiction. There are two different Lightworks licenses: Free and Pro. The latter, as you might guess, will require you to fork out. The main difference between the two licenses is that the Pro version offers more features, including stereoscopic output and enhanced collaborative project. But the free version is also quite powerful, it offers 100+ effects and also supports multi-channel editing.
11. Shotcut
- Free
- Windows
- Mac
- Linux
Shotcut is another open source software that is completely free. You can use Shotcut to create a professional video. The program has a difficult to use interface. Perhaps because it was originally designed for the Linux platform, which is very different from the typical Windows or Mac.
However, if you take the time to learn Shotcut using how-to guides, you can use this app to create and export high-quality videos for free.
12. VSDC Free Video Editor
- Free
- Windows only
In experienced hands, VSDC can help you create professional videos. In addition to supporting almost all major video formats, the program offers advanced video effects, including object transformation and color correction, as well as advanced audio effects, such as volume correction and audio normalization. And, unlike WeVideo, VSDC is completely free. You can use the full feature set of the program without having to deal with annoying watermarks.
But there is one catch: if you need technical support, you have to pay. Support for VSDC Free Video Editor costs $9. 99 per month and $14.99 per year.
13. Machete Video Editor Lite
- Free
- Windows only
Machete is a simple free program that allows you to cut, copy and paste different parts of a video. As the site notes, Machete Video Editor was designed to cut videos quickly and easily.
The program's intuitive interface means you don't have to spend time looking into technical support. And since Machete doesn't re-encode your files when you slice them, you won't have to worry about video quality loss. It only supports AVI and WMV formats and does not allow audio editing. However, if you have zero video editing experience and only need to make simple edits, then Machete is a great option.
14. Avidemux
- Free
- Windows
- Mac
- Linux
Like Machete, Avidemux allows you to do basic video editing without audio editing and not worry about losing video quality. But Avidemux has a few more tricks.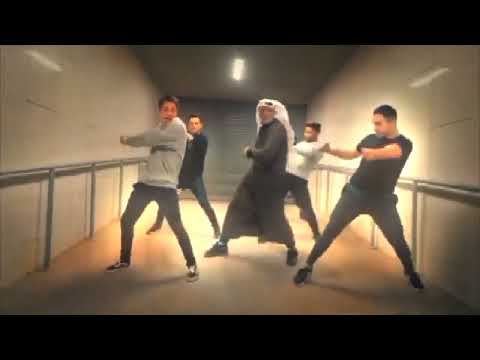 The program supports several video formats, including AVI, DVD, MPEG, QuickTime and MP4. What's more, Avidemux has additional filters that allow you to flip and rotate clips, add subtitles, adjust colors and brightness levels. There is an extended version of the Avidemux wiki that covers everything you need.
15. HitFilm
- $99
- Windows
- Mac
HitFilm express is a video editing software that allows you to add over 180 special effects, including 3D editing. Perhaps the most valuable thing about HitFilm is its wealth of instructional videos. Users can practice applying special visual effects in a tutorial made from Star Wars, Western World, and more.
HitFilm Pro gives you access to even more visual effects, improved high definition, 3D rendering and better synchronization between audio and video files. It costs $300, but if you are not willing to invest that amount, you can purchase cheaper versions. For a complete list of differences between HitFilm Free and HitFilm Pro, check out the Compare Versions page on their website.
Source: Sophie Bernazani, blog.hubspot.com. Translated from English by Evelina Belan.
Photo: pixabay
How to create and watch slow motion dance videos
By Elva |
In general, you can make a slow motion dance video in two ways: by recording a slow motion video with an iPhone or camcorder, or by using a slow motion video playback or editing tool.
The best tool to create or play slow motion video - Filmora Video Editor
Filmora Video Editor is a professional yet affordable video editing tool to create slow motion videos. Even though it is a professional tool, it is easy for users to learn video editing in it. In just 4 steps, you will successfully complete your job.
Free download Free download
- A simple interface makes slow motion dance video production accessible to everyone.
- Offers all the basic editing features you might need: trim and trim, crop, merge, split, add text and background music, etc.
- Allows users to edit video, audio and images.
- Fully compatible with the latest versions of Mac OS X 10.12 and Windows 10.
How to create or play a dance video in slow motion with Filmora Video Editor
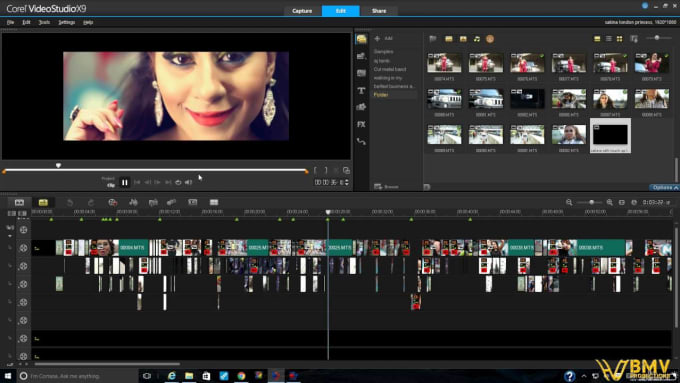
Step 1: Download and Install Filmora Video Editor
Download and install the latest version of Filmora Video Editor. The application has separate versions for Windows PC and Mac. Choose the correct version according to your computer's operating system. After that, launch the application. In the new window that appears, select the mode you need.
Step 2: Import a dance video
First you need to import the dance video into the resources area. Click "+" or drag the video to the program window. After that, drag the video to the timeline area. This is the area where you will watch the dance video in slow motion.
Free download Free download
Step 3: Convert dance video to slow motion
Click the video on the timeline and then click the icon in the program window as shown in the screenshot below.