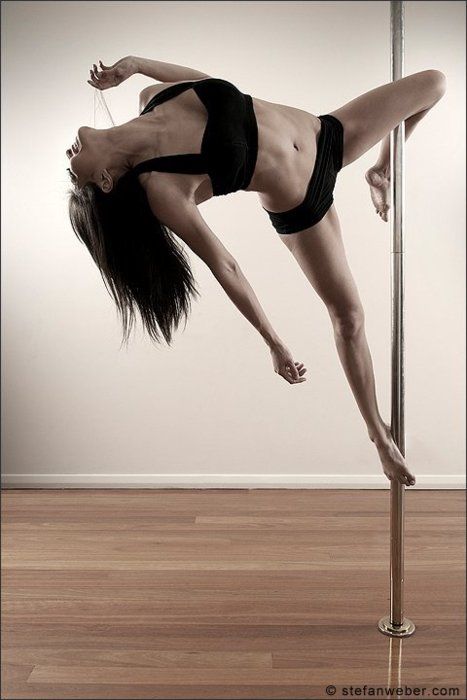
How to make your own dance pole
How to build your own dance pole
Dancing with a dance pole is fun for everyone. It’s fantastic exercise, resulting in tight abs and toned biceps. It also makes for some tantalizing entertainment, no matter who’s dancing on it! If you want to enjoy the excitement of a dance pole whenever you want, you’ve got to have one in your home. Fortunately, anyone can build one!
1. Measure te height from your floor to your ceiling
2. Go to the hardware store and select a piece of steel plumbing pipe. Have a store associate cut the pipe for you so that it’s 5 inches shorter than the distance from your floor to your ceiling.
3. Assemble the rest of your supplies in the place you intend to put the pole.
4. Take one of the plywood sheets and drill four holes into the very center of it.
5. Drill a hole into the center of the 1-inch piece of 2-inch by 6-inch board.
6. Use the four bolts to attach the flange to the 1-inch piece of board and the sheet of plywood. The bolts should appear through the bottom of the plywood.
7. Put the washers on the bolts.
8. Screw the nuts onto the bolts over the washers
9. Use the hammer and nails to attach the two 4-inch pieces of board to either side of the bottom of the sheet of plywood. One board should be on the left side and one board should be on the right side, parallel to each other.
10. Use the hammer and nails to attach the two 4-inch pieces of board to either side of the bottom of the sheet of plywood. One board should be on the left side and one board should be on the right side, parallel to each other.
11. Drill a hole into the center of the second sheet of plywood. The hole should be wide enough that the flange fits through it snugly.
12. Nail this piece of plywood to the pieces of 2-inch by 6-inch board on the other sheet of plywood. The two sheets of plywood should match up to each other exactly once this is done.
13. Attach the steel plumbing pipe to the flange.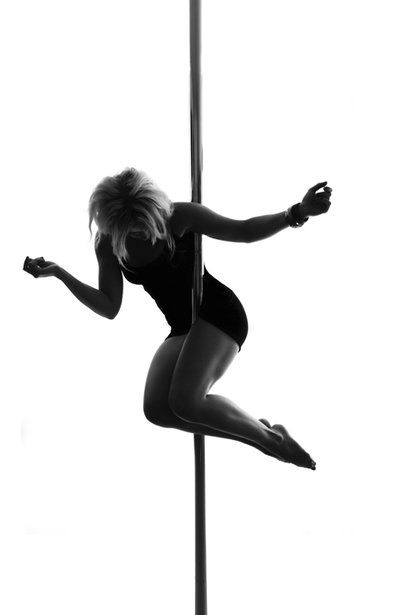 You can do this by twisting it on.
14. Slide a few bricks in between the two sheets of plywood to anchor the pole’s platform to the ground.
Tips & Warning
Place bricks around the base of the stripper pole to reinforce it. This is an especially good idea if you plan on having anyone weighing more than 200 pounds swinging from the pole on a regular basis. Just keep piling up the bricks until you feel confident the pole is as steady as it can be.
Don’t try anything too acrobatic on your dance pole until after you’ve practiced enough to build up a good deal of strength. You don’t want to pull a muscle, or worse, fall and break something important.
These instructions were from Ehow.com
Like this:
Like Loading...
This entry was posted on Monday, October 5th, 2009 at 6:41 pm and is filed under fitness, pole dance. You can follow any responses to this entry through the RSS 2.0 feed. You can leave a response, or trackback from your own site.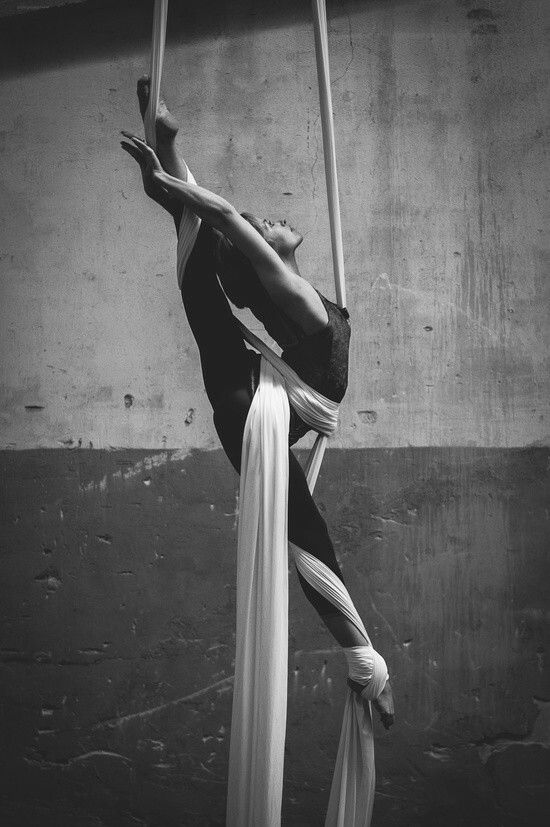
How to build your own stripper pole!
Suggested Blogs
2012.....that's life! Thank you! Sanitizing Pole Dance Webmaster On The Pole How pole is helping me love myselfMaking your own home standard stripper/dance pole for under $100
What you need:
• A plumbing pipe (1 ¼ diameter)
• 2 Plumbing flanges (same as pole)
• Two pieces of cull wood - we painted ours
• Measuring tape
• Powered drill
• 6-8 Metal material wood screws (need to be at least 3 inches long)
• Stud finder
• Non-slip grip (can be purchased in rug/carpet department)
• Sand paper (paint department has a lot of choices) - I used medium then fine grade
• Clear Lacquer
• Clean metal primer (optional if you're painting)
• Paint (optional)
Step 1
Measure your ceiling height from the floor.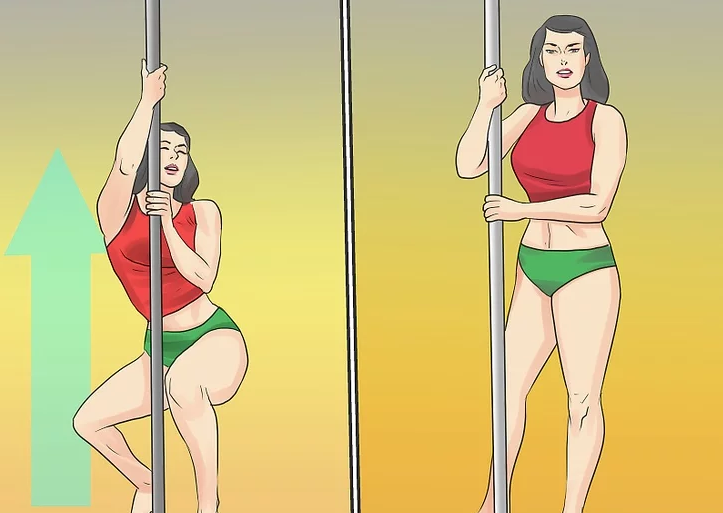 Since you will have the pieces of wood at the top and bottom, subtract their thickness from the height of the ceiling. For example, our ceiling is exactly 96 inches, so we subtracted 2 inches to get the length of the pipe. We had the pipe cut and threaded at 94 inches.
• Note: Next step is to prepare the pipe and cull wood. I wanted a hot pink pipe so we had some extra steps. If you want it painted follow the optional step.
Step 2
Sand down the pipe with the medium sand paper. Make sure every part of the pole is nice and smooth. Then use fine sand paper to finish up the job. If you don’t want to paint your pole, spray it with a clear lacquer (oil based spray paint works great).
Step 2 – optional
After sanding, before lacquer, use an oil based spray primer – for clean metal. Let it dry over night. Then spray paint (oil based spray paint) the pole and flanges on both ends. Let dry overnight. Do another coat. The day after that, use the clear lacquer and let dry.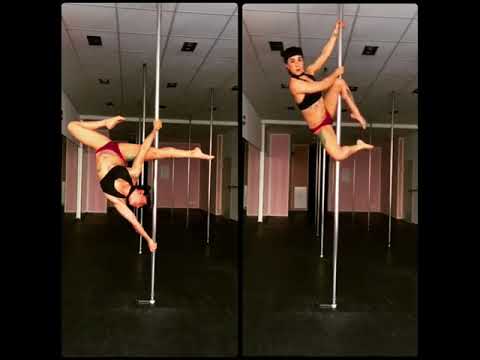
Step 3
Using your stud finder, find the beam in the ceiling where you want your pole. The pole MUST BE DRILLED INTO THE BEAM. Do not drill into DRYWALL. With the flanges on each end of the pole, place the rubber non-slip grip underneath the cull wood on the floor side. Hold the pole in position and place the other piece of wood between the pole and ceiling (helps if two people do it). Your pole should fit perfectly taught and in place if measurements are accurate. If not, you might have to go find another piece of wood that's thicker.
Step 4
Using the drill and the screws, drill all four screws into the top flange. You shouldn’t have to drill the bottom at all but we did (yes even into the carpet lol woops!) just for extra reassurance. Your pole won’t go anywhere. I've been on it for a few days and it's fabulous! AND ENJOY
Ceiling:
Floor:
If you have any questions PLEASE ask me
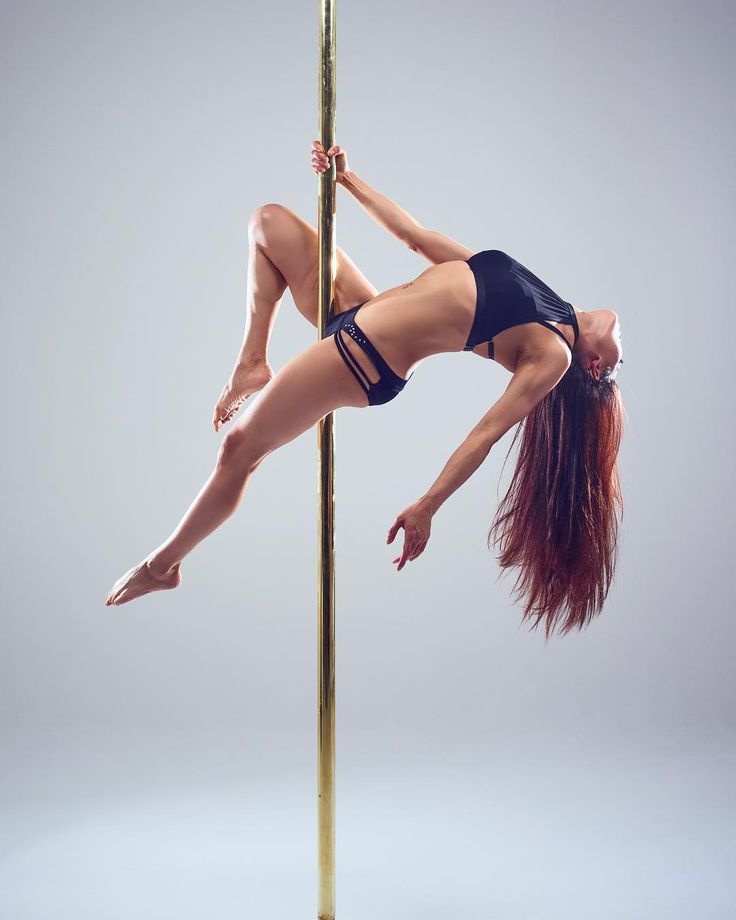
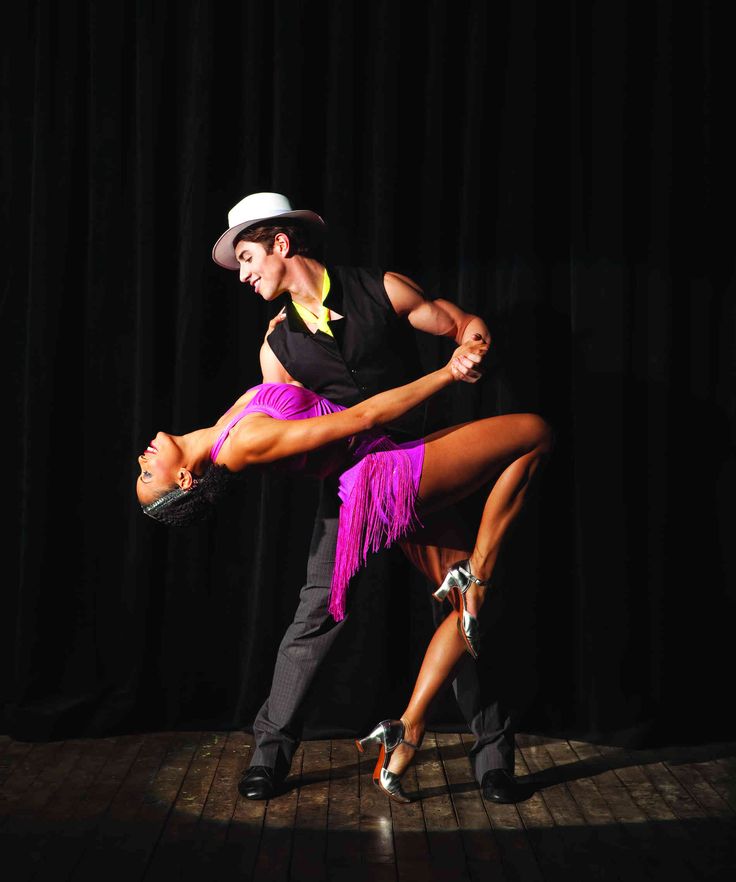
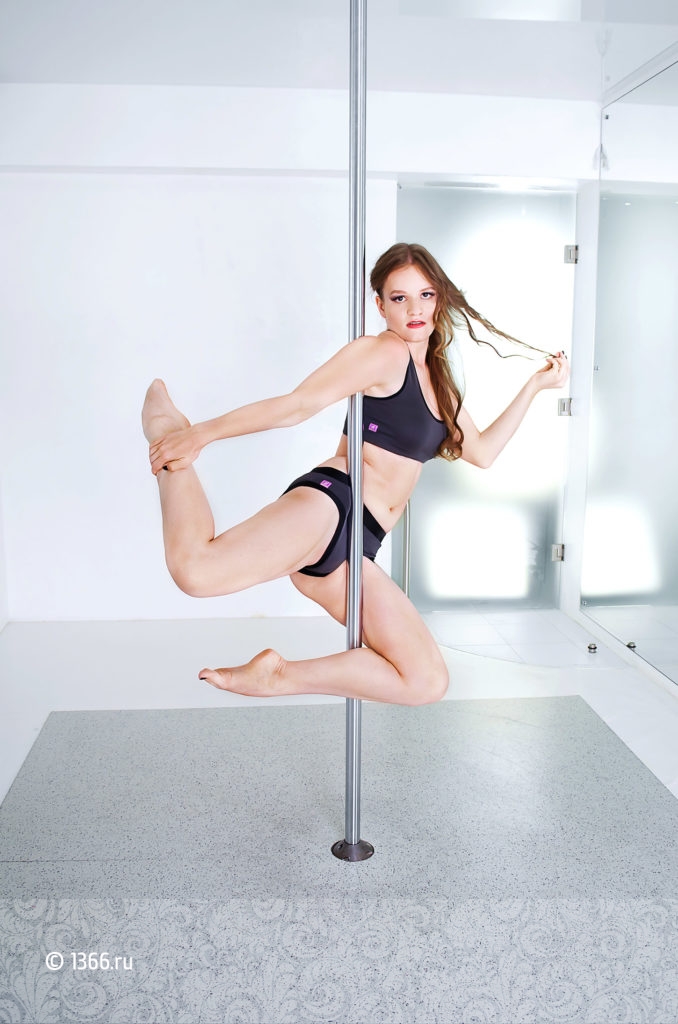
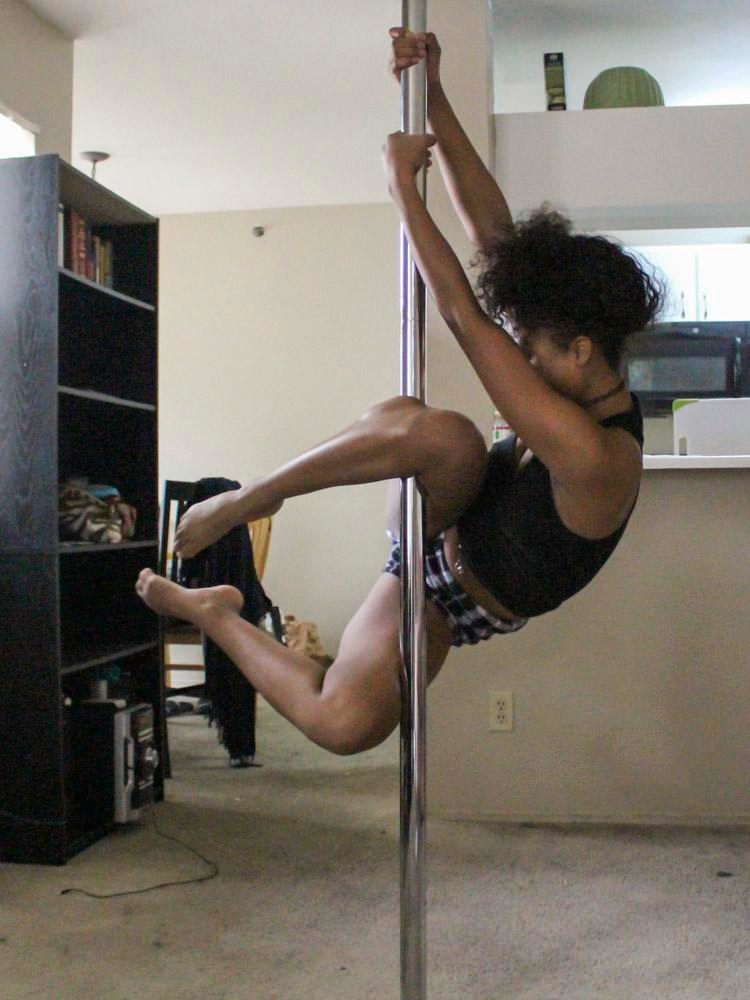
Pole Dance for Beginners
Pole dancing or Pole Dance, as they are also called, has recently gained extraordinary popularity. Many want to learn how to gracefully and easily perform difficult tricks, spin on a pole, and demonstrate the wonders of flexibility and plasticity.
This direction really has many advantages. Practicing regularly, a beginner dancer:
- develops muscles, improves figure;
- strengthens the respiratory and cardiovascular systems;
- improves immunity;
- learns to feel his body and control it;
- increases his self-esteem and feels even more attractive.
But of course it won't come all at once. You need to be ready for trials - both physical and moral. And to make it easier for you to deal with them, you began to enjoy training, check out a few tips. We hope you get something useful from them. By the way, in St. Petersburg, pole dancing is especially popular at Admiralteisky and Vyborgsky districts, including metro station Baltiyskaya and metro station Ozerki.
The right attitude is important
Many people give up after the first lesson on the pole. Faced with serious workloads, it can be hard to overpower yourself and continue. In addition, some compare themselves to other, more experienced athletes. And, of course, this comparison is often not in their favor. Remember: those who show the best result today conquer with their clever tricks, just like you, they started small . No one was born with such skills. All this was achieved through hard training. Treat such people as great motivation. If they can do it, then you can too!
Pole dancing has been given observer status with the GAISF (General Association of International Sports Federations), due to which they can expect to be included in the Olympic program. In many ways, Katie Coates, an Englishwoman who founded the International Pole Sports Federation, contributed to this.
Get ready to work hard through physical pain at first.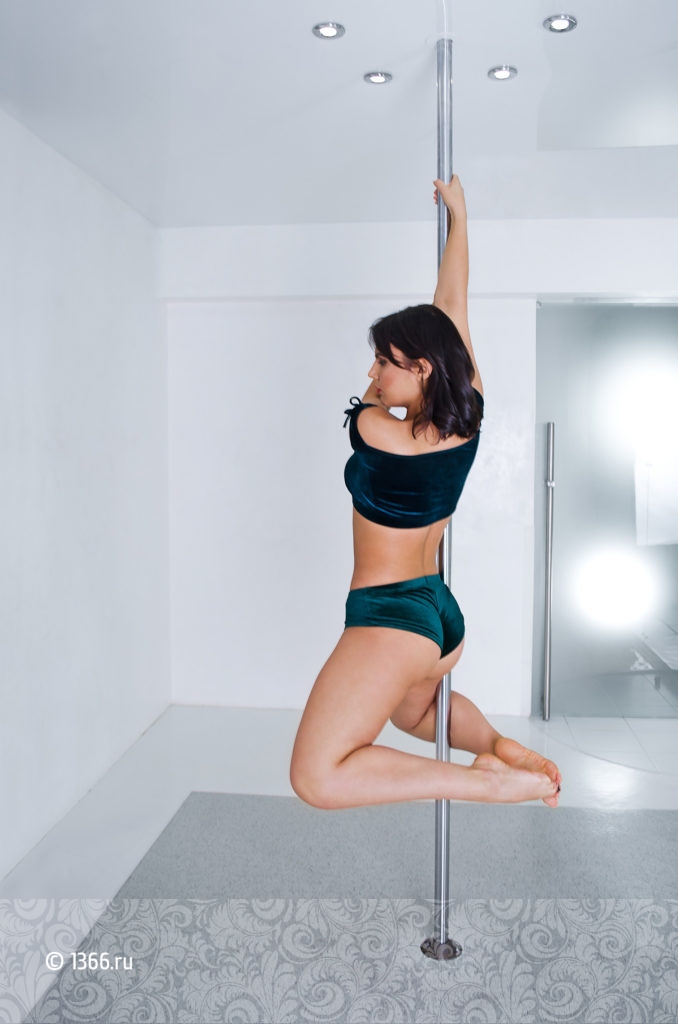 Bruises, abrasions, calluses, krepatura - all this should not come as a surprise to you. But, don't let such tests scare you. If you really want to succeed in this field, be patient . A nice "payment" for your efforts is just around the corner. The dancing beginner will soon begin to notice how the body rewards him for his hard work with growing strength, endurance and honing the curves of the physical form. When you begin to notice the first results, you will no longer be stopped, since you will not want to be limited by what you have already achieved.
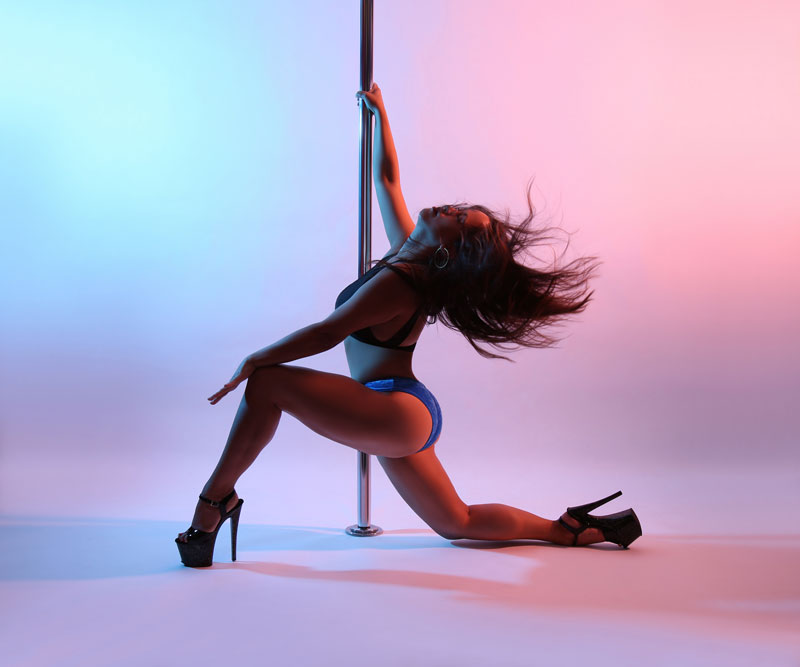
Wear the right clothes
To get the most out of your pole training, it's important to wear the "right" clothes. For a warm-up, during which the muscles are prepared for further loads on the pole, you can wear leggings and a T-shirt. It is convenient to do strength and stretching exercises in them. For the pole, short, tight shorts, a tank top, or custom uniform are best. It must have the following properties:0005
- hygiene;
- breathability;
- excellent grip on the surface of the pole;
- thigh compression;
- good breast support;
- moisture absorption;
- hypoallergenic.
For the top, you can choose a T-shirt made in the “wrestler” style, which has a deep armhole in the area of the shoulder blades and enlarged cutouts under the arms (needed to grip the pylon). Also suitable is a top that has an elastic band in front under the chest, and a double placket in the back, formed in the form of the letter "X". This style is also called "frog". Some people like the Carmen T-shirt with an asymmetrical strap thrown over one shoulder.
Gloves will not be superfluous either. They must be special, with an anti-slip coating. They usually have a lacquer base and lace, knitwear or microfiber inserts. So don't try to make them yourself. To reduce the risk of sprains and injuries, bandages are used - on the ankle, elbow, knee, wrist.
In the XII-XIII centuries in India, a very unusual direction of yoga on pillars called Mallakhamb was widespread. It shows an amazing similarity with modern pole dancing. This practice was intended primarily for men. Using poles, they performed complex tricks and thus trained their strength and endurance. Having achieved some success in this direction, they demonstrated their achievements to others.
As for shoes, you can train without them. It all depends on the individual preferences of the dancer. Some wear half-Czech shoes, while others, already relatively experienced, prefer strips - sandals on an extremely high platform and heels. By the way, they say that it is the strips that make it possible to achieve the maximum effect of the pole dance, seductiveness and elegance of movements.
Warm-up is essential
A good warm-up should never be neglected. Poorly warmed up muscles are easy to injure. Take 15 minutes for this important part of any workout.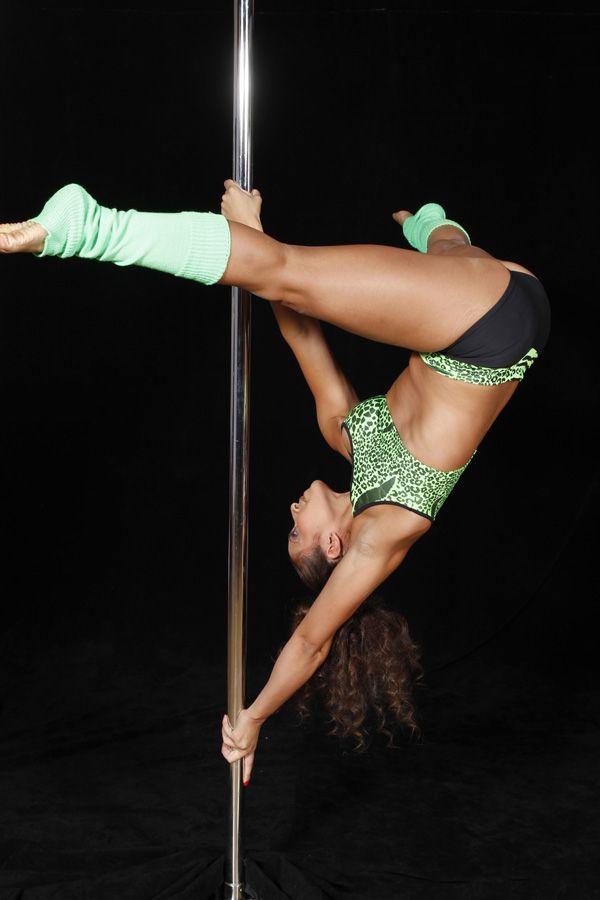 You can perform the following exercises on different parts of the body:
- Neck . Do tilts, turns, half-turns to the right and left, forward and backward 20 times, circular turns clockwise and counterclockwise 10 times.
- Chest muscles . Arch your back, round, spread your arms to the sides.
- Press . In addition to the standard twist on the press (you can do it with legs raised), do “scissors”, “bike”, swings for each leg for several approaches, as well as a plank on your hands.
- Buttocks and legs . Squats 30 times, lunges on each leg 20 times are the best option for warming up the muscles of the lower body.
Pay special attention to the muscles of the arms , as they are the main load during the pole dance. Do push-ups regularly, try to pull yourself up on the horizontal bar, pump your arms with dumbbells and a barbell. However, a competent coach will always tell you what exercises you need to do and make sure that you do not start performing tricks on a pole without prior preparation.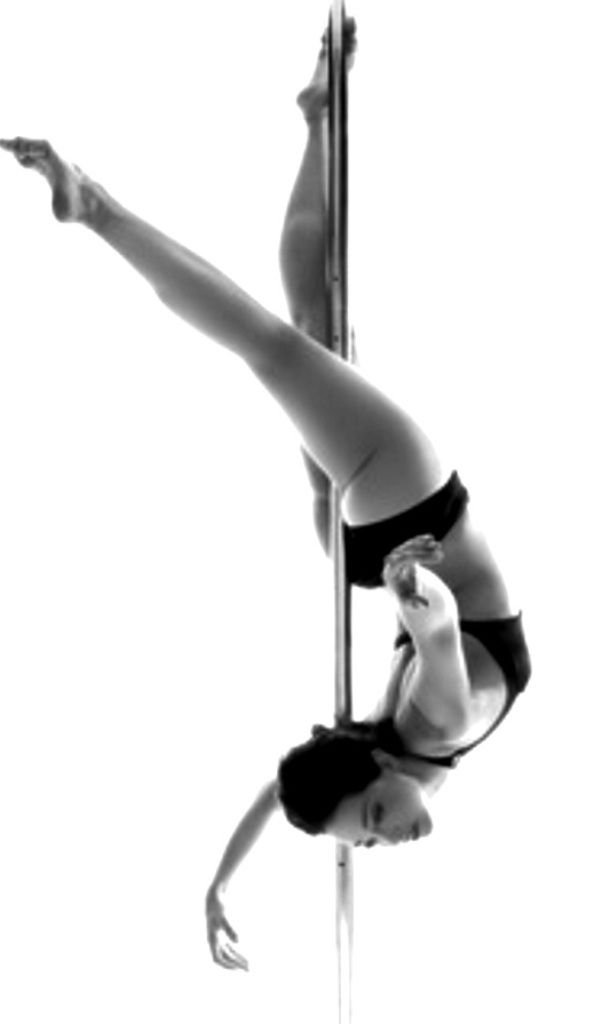
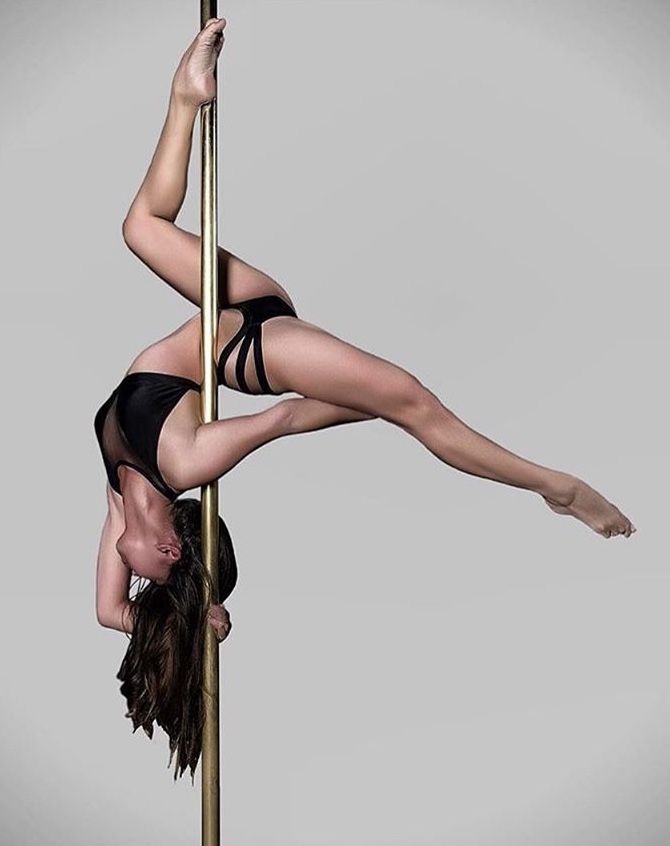
Exercises for beginners
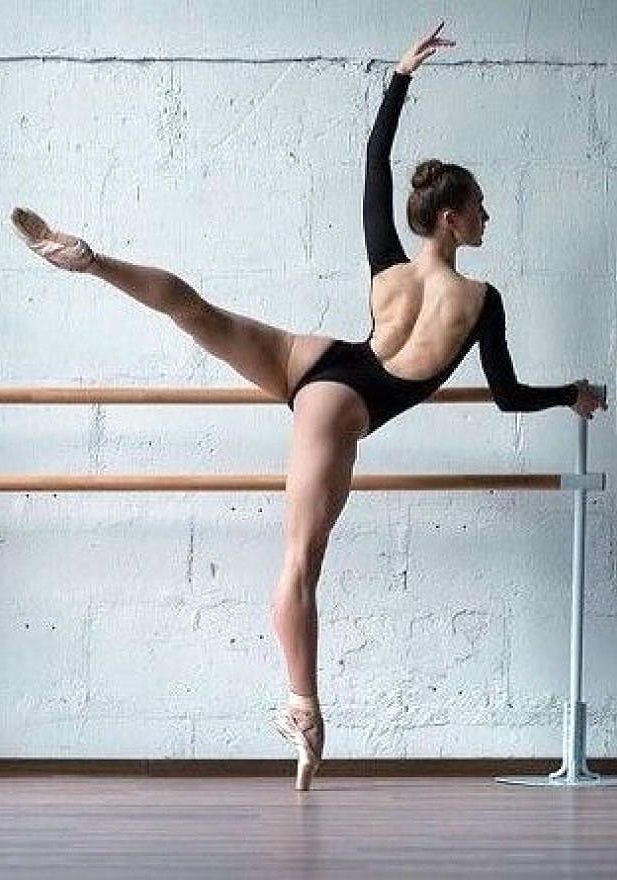
Tricks used in pole dancing can be divided into two main groups: static tricks (stationary) and twists (rotary movements around the pole). In turn, the tricks consist of " hangs " and " sits ", during which the dancer hangs or seems to "sit" on the pylon, respectively.
How to prepare for the effective performance of the static components of the dance? For a beginner, training of the following elements is suitable:
- " Chair ". It is necessary to clasp the pylon with your legs, firmly squeeze the inside of the thighs and hold on to the pole with your hands. In this case, the legs should be perpendicular to the pylon. If you still can't keep them straight, you can bend at the knees.
- " Fireman ". Cross your bent legs around the pole, hold with your hands and gracefully arch your back.
For a beginner, the following rotation exercises are also suitable:
- " Footboard ".
 It is necessary to straighten one arm, take it on the pylon above the head, and the other - at the level of the hips. Push off the floor with your feet and spin around the pole.
 - " Frog ". Straighten your left arm and grasp the pole above your head. Bend the right one and grab the pylon at chest level. The left leg is wrapped around the pole. Push off with your right foot and spin.
The trainer will tell you how to do the exercises correctly and what needs to be corrected. It is enough to practice 2-3 times a week (provided that you are not lazy) in order to see the first tangible results in a couple of months.
Does a beginner need to be physically fit?
Existing physical fitness is rather an advantage, but not a prerequisite for starting classes. Dance experience is not required at all. A lot of girls come to training with absolutely no base. All the necessary skills are acquired in the process, from lesson to lesson. The coach pays enough attention to gradual physical preparation, so no one will demand quick results from a beginner. And it's even better if you don't rush. The main thing is to do everything not for speed, but for quality.
You need to be prepared for the fact that few people succeed the first time. If something didn’t work out today, then a little more effort, and even difficult tricks will begin to succumb to you. After all, it is such a pleasure to reveal new, unknown boundaries of your body.
The use of article materials is allowed only if there is an active link to the source!!!
5 TikTok dance challenges you'll want to repeat
September 18, 2020Reno5Inspiration
Selected and reproduced cool dances performed by tiktokers around the world. It turned out to be not so difficult. You can do it too!
Share
0Masha Rubtsova
Actress of the Sovremennik Theatre. Helped us deal with challenges.
1. Like That Challenge
- Difficulty: 1 out of 5.
A short and rather easy dance that will not cause any difficulty even if you have never done choreography. It can be worked out even in the bathroom in front of the mirror. The challenge song is a hit by rapper Doja Cat. Tiktokers joke that she doesn't have any tracks left that wouldn't go viral because of dancing on TikTok. By the way, this bunch will easily fall on other music. So if you usually do not know where to put yourself on the dance floor, the challenge will help you relax and start dancing.
@ayiram21##1♬ Just like that come my way - jordanaudiož
Tutorial from Masha:
- Try to get to the beginning of the music - it will be easier to follow the rhythm;
- make a wave under the right hand, click with the fingers, then wave under the left hand and click;
- bend back in a wave, and then twist your arms in front of you;
- swing forward with hands in front of you and immediately another swing on the right leg;
- stretch your right arm forward and point your finger at the camera or at the person you are dancing for, circle your arm around your head;
- stretch both hands forward one by one, call to yourself with your right palm, sitting down.
 Difficulty: 2 out of 5 She is uncomplicated. The main thing is to roll a wave with your body, point to the clock and effectively leave in the style of Michael Jackson. It is performed to the song of the English singer Dua Lipa - a great lover of the charm of those times. This challenge was first recorded by a Tiktoker named Hannah Kaye Balanay, and then her dance was repeated by 3.8 million people around the world.
 @ayiram21##2♬ Don’t Start Now — Dua Lipa
Tutorial from Masha:
- Dance in place and emphasize by straightening your half-bent arms down and pointing palms to the floor;
- clench your hands into fists, bend your knees and rock your hips. Move your arms along with your pelvis;
- keep swinging your hips, release two fingers from each fist;
- wave to the right, clap your hands and spread your arms;
- dance on soft knees (as at the beginning of the dance), put your right hand behind your head, and then smoothly straighten it;
- place your fists on your pelvic bones, then tap your fingers on your wrist as if telling the time;
- clench your hands into fists again, bend your knees and swing your hips from side to side;
- Make a small circle with your shoulder, turn sideways and moonwalk out of the frame.
3. Challenge Supalonely
- Difficulty: 3 out of 5.
Happy dance to the sad song of New Zealand singer BENEE. If you do not listen to the text, you will not even suspect that the content is rather depressing by the cheerful rhythm. In general, if you get bored alone - here's an activity for the evening. A bunch can be learned pretty quickly: tap on an imaginary drum, spread your arms, pretend that you are drinking from a bottle - you're done. And smile! How did the tiktoker with the nickname zoifishh, who launched the challenge.
@ayiram21##3♬ Supalonely (feat. Gus Dapperton) — BENEE
Tutorial from Masha:
- Wait for the right beat, bring the clenched fist of your left hand to your right shoulder and swing your shoulder forward, pretending to pull it with your hand;
- turn your head to the left, punch an imaginary wall on the right;
- Extend your left arm to the right and then up.
 Emphasize head to the left along with the pelvis, then a small circle with the hand to the left;
 - Raise your arms in front of you as if holding a camera. "Take a photo" in front of you and to the right;
- cross your arms over your chest and straighten them down twice;
- make a “table” out of the hands: the right hand under the left elbow, and the left hand under the chin;
- strike with the left hand on the left pelvis bone, with the right hand on the right;
- lunge forward on half-toes on bent knees, and at the same time make a forward wave with your hands;
- circle back with your right hand and step in place, then with your left hand and step in place;
- fold your hands into a “bottle” and pretend to drink, making a wave in both directions;
- take two steps in place, twist your finger at your temple and straighten both arms up.
4. Challenge Kill This Love
- Difficulty: 4 out of 5.
Suitable for fans of K-pop and fast movements. The challenge is inspired by a song by the Korean band BLACKPINK. The performer will need some choreographic skills. Or it just takes you a little more time to learn. But you can spin from the heart and throw out energy. The dance looks great when performed alone or with a group of friends. The music is very dynamic - the best thing is if a house party begins to fade.
@ayiram21##4♬ Kill This Love - BLACKPINK
Tutorial from Masha:
- Bend your left arm - the elbow points to the left, the fist is at the shoulder. Take a step back with your right foot and take your left hand back. Do the same on the other side;
- turn left side, pretend that you have a machine gun in your hands, from which you shoot. Simultaneously with the “shots”, do a slow wave back;
- put your foot on the toe and rotate the foot in different directions, “dancing” with bent arms near the body;
- straighten up sharply, turning to face the camera: hands behind head, feet together.
 Take your right hand up diagonally, and put the other on your belt;
 - put your left leg out to the side, then put your left hand on your thigh and sit down on your left knee;
- make a circle above your head with your right hand, turn your right side in the same position, touch your left shoulder with your right hand;
- Make three circles with your arm above your head and work your hip up. With two hands make a circle through the bottom, and then a point with the hands and thigh two times;
- step with your left foot, pointing down with your hand. Take your elbows back as at the beginning of the dance;
- gather your legs and put your hands in a frame, and then spread them apart. Make two waves with your body, lower your right fist to the floor.
5. WAP Challenge
- Difficulty: 5 out of 5.
This is the bomb. Complicated, but very effective bunch. If you are doing well with stretching, you can impress everyone.
Practice the dance in knee pads if you don't want to get hurt. Some inexperienced dancers ended up in the hospital with knee injuries due to bad landings. WAP was created by professional choreographer Brian Esperon from the small Pacific island of Guam. This dance has high batmans, twine, twerk - a full arsenal of dance and gymnastic elements.
@ayiram21##5♬ WAP(feat. Megan Thee Stallion) - Cardi B
Tutorial from Masha:
- Jump in place with a leg lift: bent left knee to the shoulder, and then right straight up;
- sit in a grand plié and open your arms. Get on all fours, but keep your knees on the floor. Turn your head and pelvis to the same side;
- straighten up for a second: push your pelvis forward, take your arms and head back, bend your back. Then kneel down again in the "cat";
- lie on your stomach through a soft wave: the right knee is in the “frog”, the left leg is straight.
 Hit the floor with your right hand and at the same moment lift off the floor and lower your buttocks to the beat;
 - turn over your left shoulder onto your back, roll, opening your legs into a cross split. Get back into the "cat";
- walk three steps on your knees, alternately arching your back up and down;
- Extend your knees, make a big circle with your right foot and sit on the longitudinal split. Raise and lower your buttocks to the beat of the music.
Stay fit and connected with the OPPO Watch. They have 2 powerful processors, a bright AMOLED display, 1 GB of RAM and 8 GB of internal memory, Bluetooth, Wi-Fi and NFC modules. And more than 90 training modes, including those designed specifically for ORRO. Train cooler with music, you can listen to it in streaming services or download tracks to the memory of the watch. If you want to enjoy clear sound, the OPPO ENCO W51 Wireless Headphones will come in handy. 8 mm speakers, an additional microphone for high-quality voice transmission and a stable connection will make listening to music and talking on the phone as comfortable as possible.