How to make belly dancing pants
Super Easy Belly Dance Pants - free pattern & tutorial
Updated on November 20, 2022 by Sarina Tariq
Method 1. Elastic waist belly dance pants
You need to cut two yoke pieces (plus one lining for front yoke), two leg pieces and two ankle bands for making this belly dance pants.
Cut out the leg pieces on the fold as per the pattern given below
Cut out two fabric pieces which are 3 inches wide and of length equalling your ankle round plus 1 inch seam allowance cut on the crosswise grain (for some stretch)
Gather the leg bottom edges to match the length of the fabric ankle bands
Stitch the band to the edge, ensuring that the gathers are somewhat more at the center.Do this for both the leg hems
Stitch the leg inseams, keeping the pieces right sides together, individually – this will give you two finished leg pieces
You have to now join them together at the crotch seams
Cut out a piece of elastic equalling 1/2 of your waist round minus 1 inches.
Take the back yoke piece – turn the top edge twice to make a casing for the elastic.
Insert the elastic with the help of a pin through the casing. Secure both the ends of the elastic
You can make a stitch to secure the elastic edges.
Prepare the front yoke piece by keeping the lining and the main piece right sides together and sewing the top edge with a 1/2 inch seam allowance. Turn right side out. This will give you a clean edge to your front yoke top edge
Keep the front yoke and the back yoke right sides together and stitch the side seams. Turn right side out.
The back will look like this
Now you should join the leg piece and the yoke piece. You will have to align the center of the leg piece and yoke piece and pin in place – so that any gathers/pleats you will make will be equally distributed. Pinning or making basting stitches work.
Method 2. Shirred waist belly dance pants
This is a pattern to make the belly dance pants in a free size. The loose and comfortable belly dance pants in this tutorial has a shirred waist and an elasticized ankle and can be easily be made in half an hour or so. All you need are some elastic pieces and elastic thread and the fabric ( suitably dazzling, drapey and or glittery). When made in a cotton fabric you can use it as a very comfortable lounge wear
This is part of the dance costume used for the enchanting belly dance, though it can be used for any dance. There are many different ways of making this pants. Checkout the tutorial to make Harem pants for other versions.
If you do not know shirring just make a casing on the top edge and insert elastic . If you would like to know more about shirring checkout this tutorial for shirring , which is sewing with elastic thread
Step1
To make this pattern first cut out two leg patterns as per the pattern given below .Take two fabric pieces of width 36 inch and length about 45 inches; fold by the center and mark the pattern. Cut it out. The pants are made about 40 inch long – increase or decrease height as you need.
You will get two pieces like this
Other than this You need to cut one 7 inch wide fabric piece 62 inch long. Then 2 fabric strips 1.5 inch wide and 22 inch long . you also need elastic thread ( thin elastic thread for shirring) as well as 10 inch long 1/4 inch wide ordinary elastic ( 2 pieces) for ankle casing for the leg pieces
Step 2
First take the two leg pieces. Make the elastic casing at the bottom edge
To make the casing stitch the 1.5 inch fabric pieces and the leg bottom edge right sides together along the edge. Turn the fabric to the back of the leg pattern pieces. Turn under and stitch in place, making a nice casing for the elastic at the bottom edge of the pants.
Step 3
After you have done this for the two legs you can insert the 1/4 inch elastic pieces (2 10 inch pieces, one for each leg ) into the casing with a safety pain.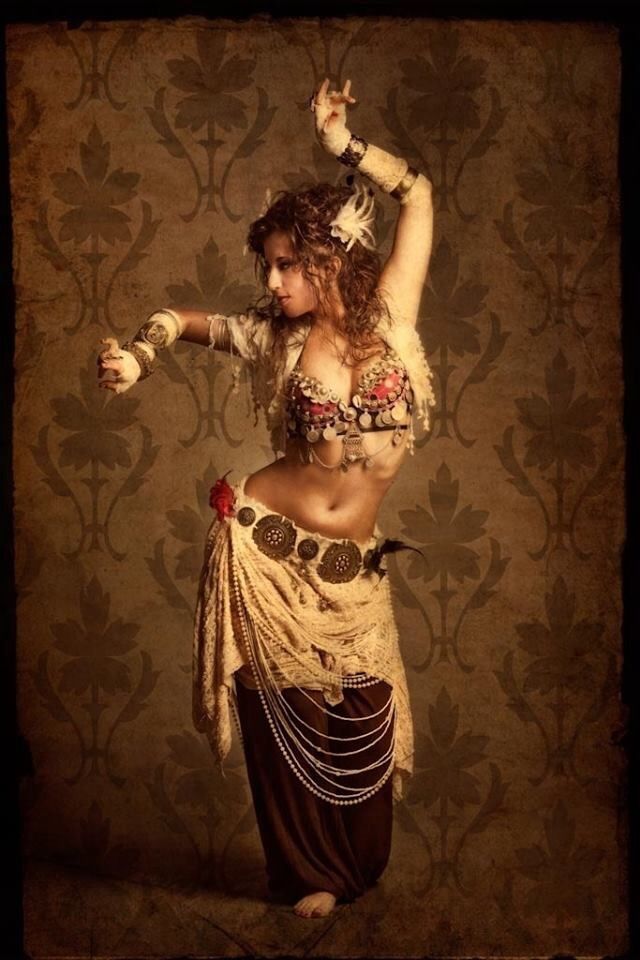
Hold the both ends of the elastic in place and pin. Now fold each of the leg pieces right sides together and stitch the side edges together.
You have the leg bottom edge prepared . Do this for the other leg as well. Turn both legs right side out
Step 4
Now join the crotch of the leg pieces – thus joining the two leg pieces together . Keep the pieces right sides together at the crotch seam. Align the center joint of the legs and pin in place. Start stitching from one side to the other. Make two stitching lines to ensure stability at the crotch line.
Step 5
Take the large strip of fabric you have cut out for making the facing for the waist edge .
Turn under the long edge of this piece once and stitch in place ( turn to the wrong side of the fabric ). Measure the top edge of the pant piece . Add 1/2 inch seam allowance and cut the fabric piece accordingly. Join the short edges to make a tube. This is the facing for your pant’s waistline.
The edges should be the same for the facing piece and the pant piece, as they will be stitched together, then the facing turned inside.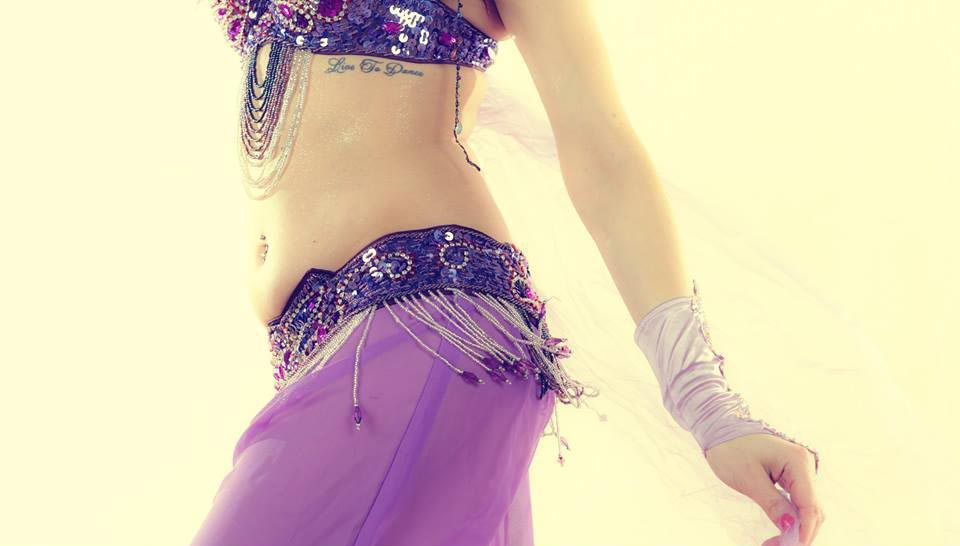
Step 6
Keep the pants inside the tube you have made (facing tube) top edges together( right sides together) Stitch along the cut edges.
In the picture below it is attached and ready to be turned inside for a neat finish to your waist edge.
Turn the facing to the back . Press in place. You donot have to stitch this in place though you may as well. Anyways the shirring you do later will keep the facing in place
Step 7
Now you should start shirring the pant waist. Start 1/2 inch from the top edge.
Make 5-6 rows of shirring. Steam slightly to make the shirring look better.
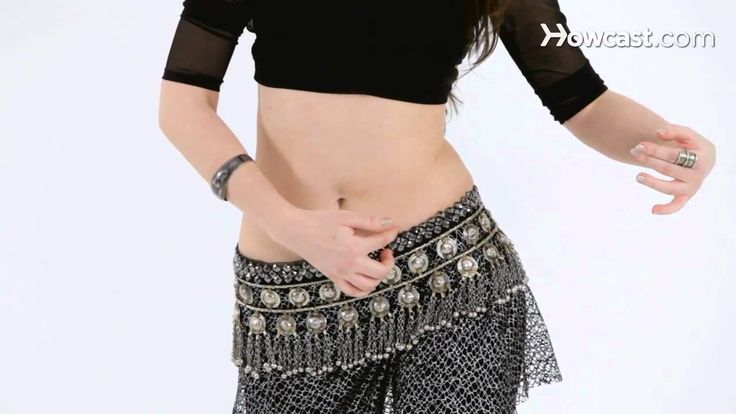
You can decorate the dance pants with big sequins or chains with dangling charms and other trims. Small frills/ruffles can be added to the pants made in soft flowy chiffon
Did you like this post?
Click on the stars to rate it!
Average rating / 5.
How to Make Belly Dancer Harem Pants
by Mao on in DIY Belly Dance Costume Blog, Uncategorized • 11 Comments
I was requested to make a video on DIY harem pants over on Sparkly Belly’s Facebook page, and a few dancers were working on harem pants and sharing their creations there! So that inspired me to make a pair myself.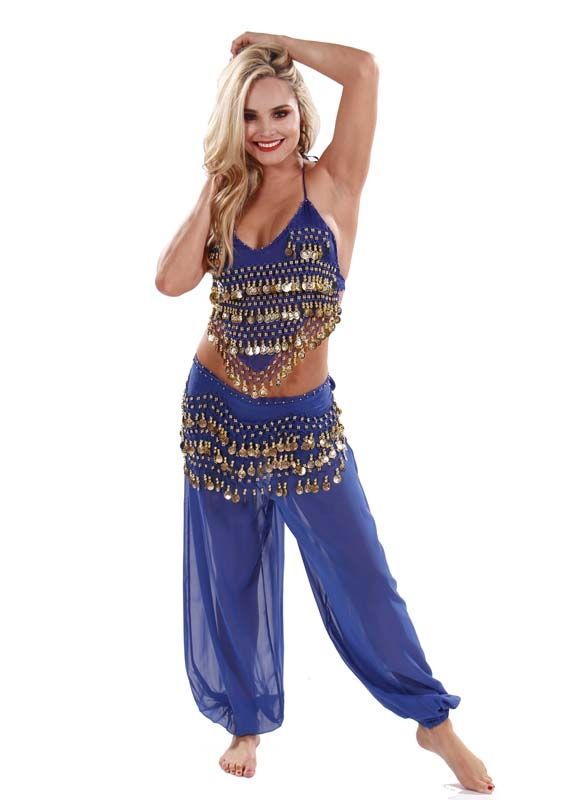
By the way, the number of members at Sparkly Belly’s Facebook page is growing, and it is such a beautiful community of supportive and crafty dancers. The recent post on the Facebook page made me emotional, because everyone was so caring and supportive and offering practical tips and advice that would help each other grow. If you are part of the community already, thank you for being there, and thank you for being YOU! If you haven’t checked out this wonderful community yet, you can check it out from here. 🙂
Okay, back to the topic…So belly dancer harem pants come in different shapes, and in this video, you will see Princess Jasmine style harem pants that are loose and balloony but has separate legs as opposed to Aladdin style (also known as Afghani pants) that is super loose in the centre and has short to almost no separate legs. And you’ll see how I cut corners and save probably 30 minutes or more making these harem pants. So let’s get started!
Click here to sign up for the Sparkly Belly newsletter!
To make Aladdin Jasmine style harem pants, you need:
Fabric – You need about twice your pant length plus about 20cm or 8in. You can use any light weight material that flows nicely, and you can use stretch or non-stretch, it doesn’t matter. I’m using printed chiffon and it has sequins sewn onto it.
Thick elastic for the waistband and thin elastic for ankles – Thick one should be about 2-2.5cm or 1in wide, and the thin one should be about 5mm or ¼ inch wide.
Pants – Find loose pants you have, it doesn’t matter how long they are. Pajama shorts or pants are perfect. We will use these as our pattern
Measuring tape & marker
Scissors or rotary cutter
2 Safety pins
Matching colour thread Sewing machine
How to Make Belly Dancer Harem Pants
First, measure from your belt line or where you want your pants to sit, to the floor.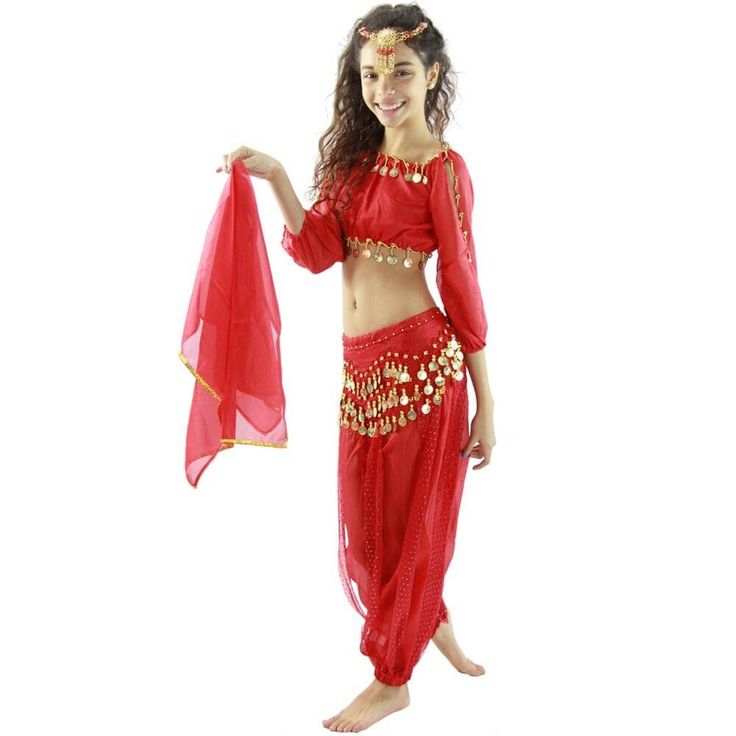 If you tend to wear your harem pants higher at the back than the front, take your measurement at the back to ensure the pants will be long enough.
Then lay your fabric on a flat surface, and fold it in half.
Next, take your pants, turn them inside out, and put one leg inside the other one, so you can see the curves of the crotch section. The back part tends to be longer, so line them up at the seam of the leg like this.
From the fold, measure 4 cm or 1 ¾ in and place the top of the back side of your pants there and the side of the pants is 1 cm or ½ in from the edge. Then trace the curve 1 cm or ½ in away to give it a seam allowance.
Now quickly measure the distance between the fold and the end of the curve you just drew, and transfer it to the other side of the fabric. These two edges will be sewn together later, so this helps us make sure the lengths of the edges are the same.
Next, bring out the front side of your pants, place it 1cm or ½ in away from the mark, and trace it with a seam allowance just like we did for the back side.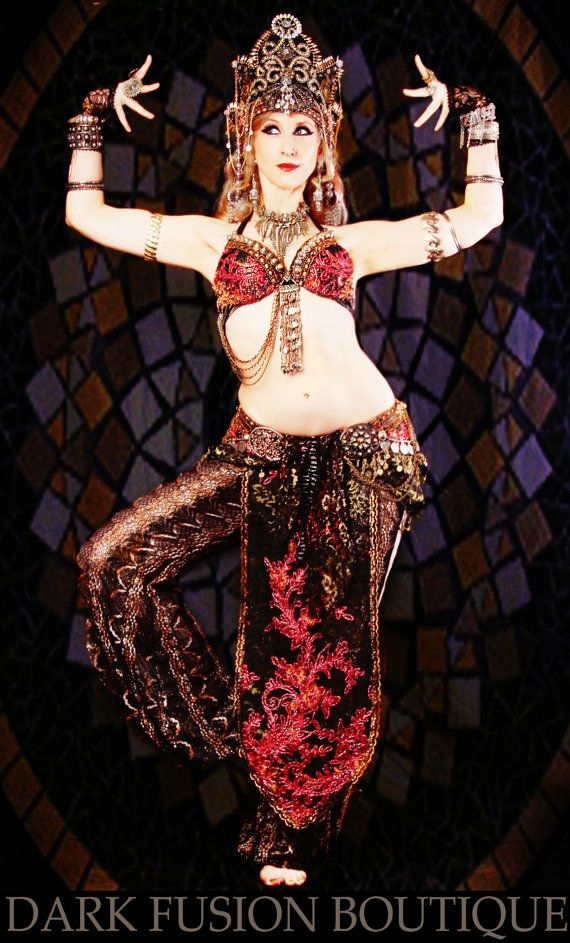 You’ll see that the front side is shorter than the back side, which is normal, and just extend the line upward to meet the fold.
Okay, now measure your pants length plus 6 cm or 2.5 in from the fold and draw a line here.
Cut along the lines, and separate the fold. You’ll have 2 panels.
Now do a straight stitch along the inseam, which is just a fancy term meaning from the crotch to the bottom of the pant. Do this for both legs. What’s great about these harem pants is that because we used the whole width of the fabric and the ends are finished already, we can skip finishing the inseam. I like to cut corners and save time like this especially when it still achieves a similar result. 🙂 But of course, if you like a more professional look, feel free to finish the edges as you like.
Then, here is a little bit of a fun trick, flip one of the legs inside out, and stick it inside the other one, so the right sides are facing together. Line up the inseams and place pins along the curve.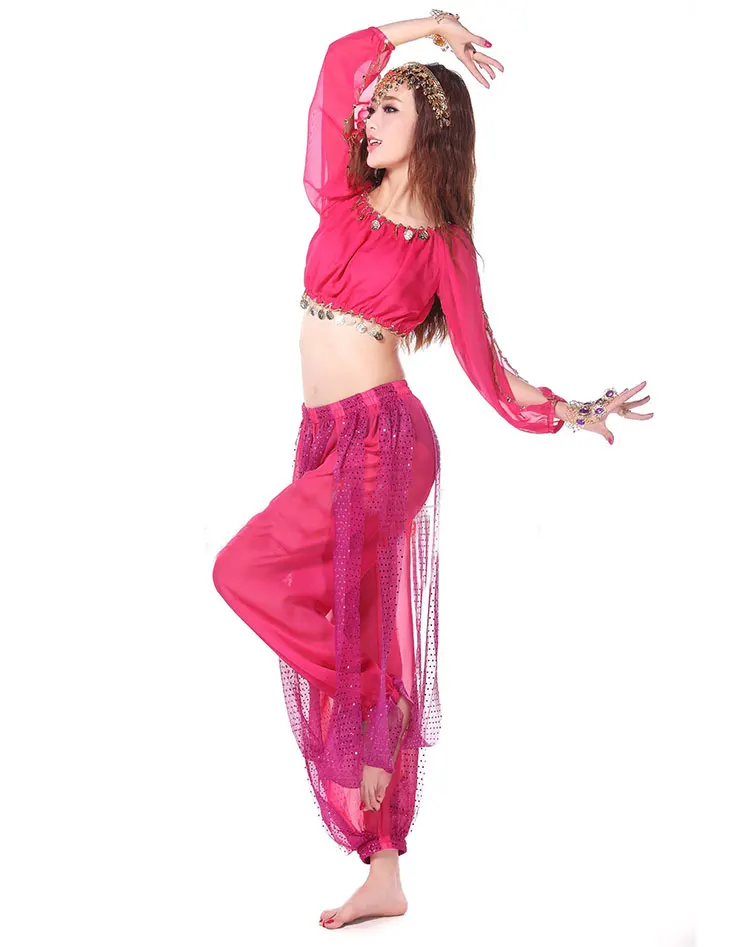 This makes it easier to sew the curved crotch section together.
So go ahead and do a straight stitch, and for the raw edge, you can do a zigzag stitch, or if you have a serger, you can finish the seam with your serger.
It’s exciting, take the inside leg out, and it should looks like a pair of huge pants!
Now, I didn’t want to go back to the fabric and cut and measure more to make elastic casings, so I incorporated it into the original pattern. So at the waist of the pants, fold about 1cm or ½ in at the top edge, then fold again 3cm or 1 1/4in from here. If you’ve got enough patience, you can press it to make it neat and easier to sew. If not, fold and place lots of pins. Do this all the way around the waist of the pants.
Sew with a straight stitch, a couple of mm or 1/8 in or so from the folded bottom edge. At the back or front, make sure to leave a gap about 5cm or 2in long, so you can insert elastic from here later.
Now we’ll do the same thing for the bottom of the pants.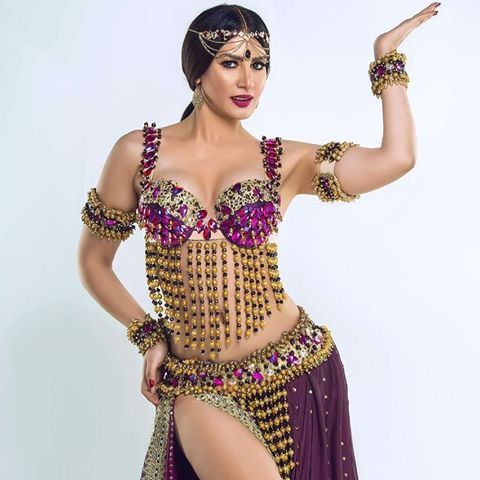 Fold 5mm or 1/4in, then fold again 1.5cm or 1/2in. Press and pin or just place pins, and do a straight stitch all around it, and again don’t forget to leave a few cm gap. And repeat this for the other leg.
It’s a good time to stand up, do a bit of stretch, and see how much elastic you’ll need for your waist. Take your thick elastic, place it around your belt line nice and snug, and cut with 2cm or 1in or so seam allowance. Do the same for your ankles with thinner elastic.
Insert the elastic through the casing you created. Put safety pins on both ends of the elastic, and secure one end somewhere near the gap. This way, you won’t lose the other end of the elastic, which I’ve done too many times not to learn a lesson!
I like to pin it to the seam so even if it leaves holes, they don’t show on the outside. Using the other safety pin, you can guide the elastic through the casing. Then sew the ends together, and stitch up the gap. Do the same for the hems of the pants.
And your harem pants are finished! It may seem like a lot of steps involved, and that’s only because I explained every single detail.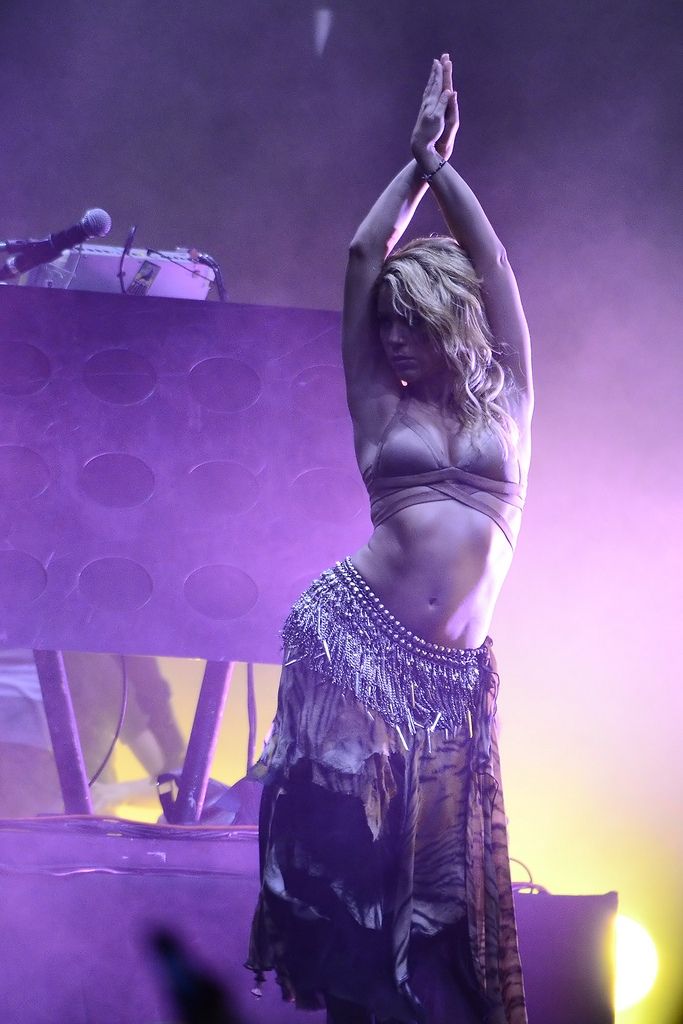 But the construction of these pants is very simple, so if you give it a try, you’ll be surprised how easy it is 😉
I hope you feel like trying, and next week, you will see a thinner version of harem pants that come with slits on the sides. So if you don’t want to miss it, sign up for the Sparkly Belly newsletter from the below link to get updates and free patterns and resources only available to subscribers.
Click here to sign up and get access to the subscriber only page 🙂
Thanks for reading, and keep sparkling!
P.S. Happy pinning 🙂
Want to make more costuming bits yourself?
Sign up for my free course, Belly Dance Costume Making 101!
Do-it-yourself belly dance costume
- Sergey Sizov
- 10 Apr 2018, 22:01
- 523
- 0
Contents of the article
- 1 Master class for making a belly dance costume with your own hands.
- 2 Patterns for a belly dance costume.
- 3 DIY belly dance costume photo
- 4 Do-it-yourself belly dance costume video
Belly dance came to us from the Arab countries and conquered not only women, but also men with its beauty. The gracefulness of the body and the beauty of the movements are especially emphasized by the beautiful costumes that reveal the best parts of the female body and present them in an advantageous position during the movements. Such costumes are most often decorated with a large number of beads, stones, beads and others. This is what makes them so valuable. Do not be afraid because such a costume can be easily sewn with your own hands. nine0022
Master class for making a belly dance costume with your own hands.
Before tailoring any suit, you need to make the necessary measurements as clearly as possible. Then comes the selection of fabric for the suit. The fabric should be as pleasant to the body as possible, not cause allergic reactions (most often this happens when there are non-natural components in the composition) and not hinder movement (be as elastic as possible). For belly dancing, brighter fabric colors are needed, and one of the best options is silk as a material for tailoring a costume. In addition to the material for such a costume, you may need various decorations - stones, rhinestones, beads, etc. As soon as the purchase of the necessary components is over, you can proceed directly to tailoring. nine0022
The costume consists of 3 elements:
- Bodice.
- Skirt or bloomers.
- Bandage. Over the skirt on the hips.
First you need to choose a bodice, it is best to buy a ready-made bodice, which can be transformed into a part of the costume with the help of simple manipulations. The bodice is better to choose, as shown in the figure without any patterns and decor, the usual solid color.
After you have found the most suitable bodice, many get rid of the internal filling of the cup. This should not always be done, but only if you naturally have your own large breasts and the push-up increases it even more and does not support it, as it is necessary for dancing.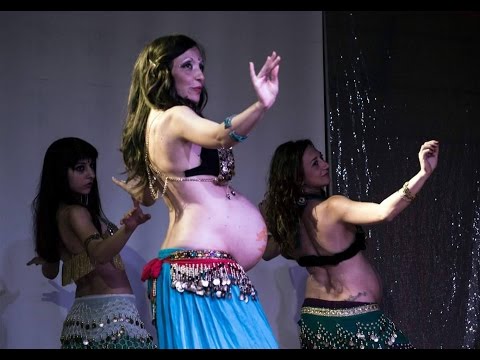 Many instead of push-up insert shreds of fabric, which gives rigidity and better fixes the chest. nine0022
It is very important to change the hooks to this kind of rivet, as shown in the photo below. It is they who will support the chest more favorably during belly dancing.
And the last most favorite and most interesting point in the preparation of the bodice will be decoration. You can decorate it with absolutely any materials and according to your design.
After the bodice, proceed directly to the skirt of the suit.
First, measure the desired material size. Then we cut off the desired piece. nine0022
No lining needed. Elastic, threads and fabric - all you need for a skirt.
The elastic must be sewn to the waistband.
The hem of the skirt also needs to be processed so that everything looks as beautiful as possible and there are no protruding threads or uneven cut edges.
After the work done, we will get just such a skirt.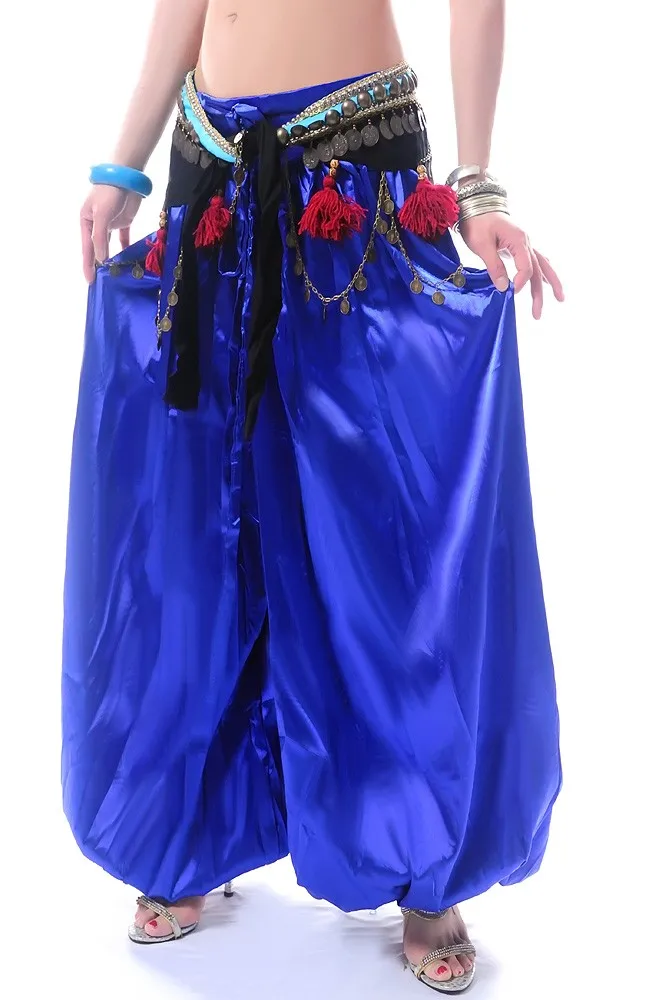 Everyone chooses the right color and material from which to sew this skirt. It is also worth remembering that it should not be as long as possible and it is better to make one or two cuts on the sides. Then you can embroider and decorate this skirt with all possible beads, rhinestones, shreds from other materials. nine0022
The bodice and skirt are ready, only the belt remains to be sewn. The size and width of the belt can be different and vary only from personal wishes.
Using a sewing meter, measure the hips and transfer it to a piece of material. Next, we make a cardboard sketch of the belt itself.
After we outline the edges of the sketch and cut out the desired section of the fabric. This fabric needs to be stitched along all the edges so that the belt turns out to be even and beautiful.
Belt ready. It also needs to be decorated and the image will be complemented. nine0022
Patterns for a belly dance costume.
For beginners in the world of sewing, below will be given options for patterns, according to which it is as easy as possible to learn how to sew this kind of suits.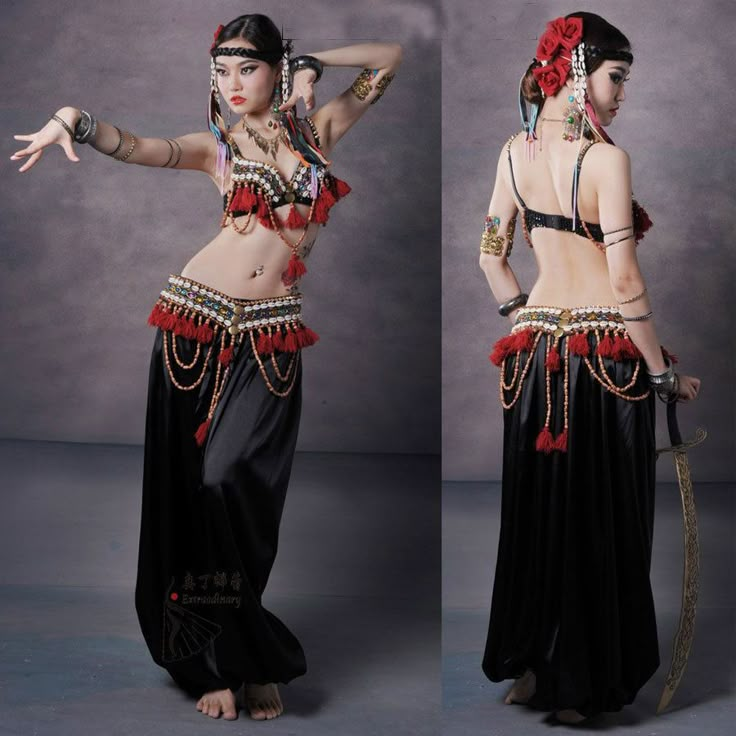
For those who decide to make a bodice with their own hands, and not to buy, this pattern is offered for viewing.
Skirt pattern.
Belt pattern.
DIY belly dance costume photo
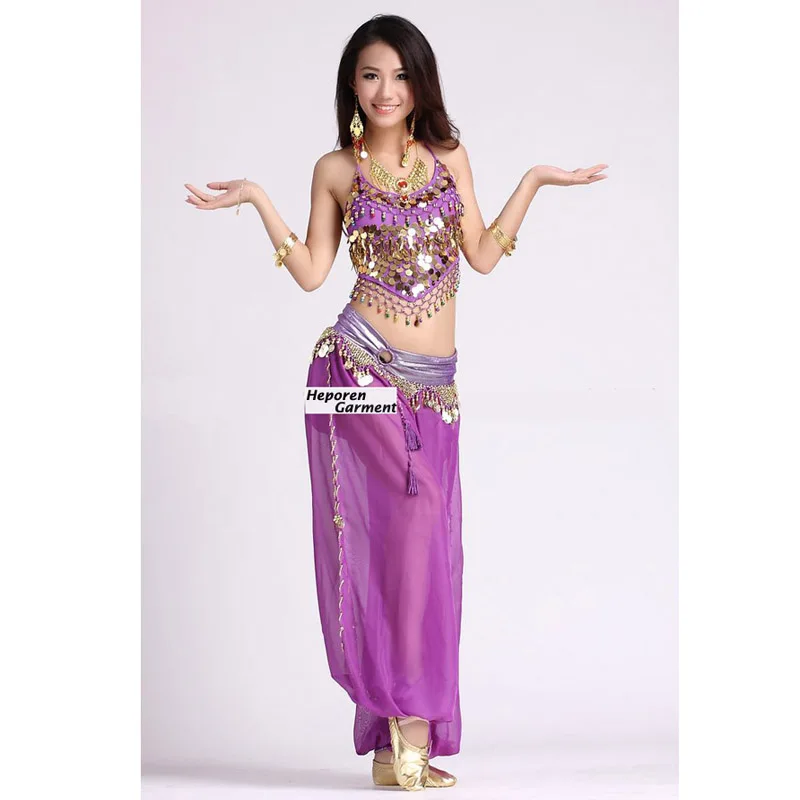
These simple costumes can be made independently and relatively quickly.
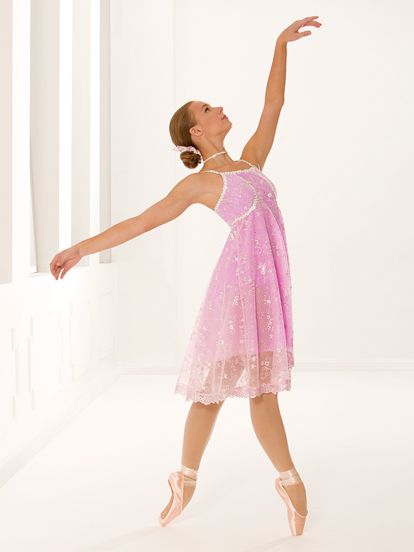
The following options will require more time and more decoration materials. But the beauty of such outfits dazzles everyone.
These two outfits are insanely beautiful and bright, which makes the dance even more beautiful and sensual.
Any fashionista can make such an outfit, it just takes more time. nine0022
Do-it-yourself belly dance costume video
Now, you can also find a lot of videos with making a do-it-yourself belly dance costume. Here are the top 3:
We create a belly dance costume with our own hands
Almost every modern woman is looking for a hobby for herself. Someone embroiders with pleasure, someone bakes pies, and someone goes to dances.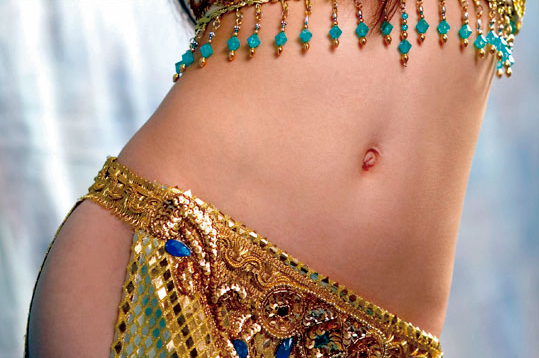 In this article, I would like to tell women who are mastering oriental culture how to sew a belly dance costume with their own hands. nine0022
Components
First of all, you should decide on the details of the costume. It will definitely be a long skirt and bodice. However, if it is not possible to make all the details beautiful, you can safely get by with just one belt. From the accessories you can prepare a veil, you will also need a huge number of different decorations for hands, ears, legs - earrings, rings, chains, bracelets, etc.
Bodice
with the preparation of the bodice. For this, an ordinary opaque bra (preferably foam rubber) may be suitable. If it is already the right color, it will only need to be decorated. However, it is better to pre-sheathe it with the desired fabric so that it does not look ordinary. It will be impossible to create a single piece of skin, so it will consist of several parts. The first is a detail for cups. It is cut out in a rectangular shape and bent over the finished product. To do this, you will need to make several folds of fabric according to the principle of creating a tuck. You will also need fabric for the straps. To do this, cut out long rectangles that simply wrap these parts on all sides. The pieces are already sewn on the bra, you can even sew them on with a decorative stitch. "Ponytails" are hidden under the details for the cups of the bodice, which are sewn on last. We go further, creating individual details for a belly dance costume with our own hands. When the bra is completely wrapped in new fabric, you need to start decorating the product. Everything that the lady likes will come in handy here. It can be just beautiful embroidery with threads or beads, or it can be glued sequins in the form of fish scales, etc. Here the woman herself decides what she wants to get as a result. However, you need to remember that everything should be fairly securely attached, because in this costume you will have to dance, that is, actively move. nine0022
Learn how to sew a gypsy skirt: making a pattern, choosing.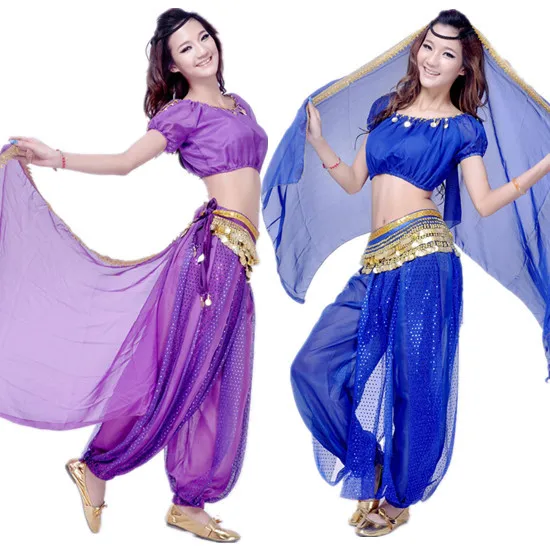 ..
..
You can create many harmonious looks with a gypsy skirt. And our article will help you understand...
Skirt
Sewing a costume for belly dance includes making a long skirt. To do this, you need to take a fairly thin transparent fabric that drapes well, such as chiffon or crepe chiffon. Now you need to decide what kind of skirt you want to make. Two options can be considered. The first is an ordinary straight skirt with slits on the sides, the second is a sun skirt. nine0022
In any case, belly dance costume patterns must be prepared beforehand. So, for a straight skirt, you will need to take two pieces of fabric that will be sewn along the sides to about the end of the thigh. Unsewn sections and the bottom are simply hemmed. From above, you can provide the usual wide belt, which must be made of elastic fabric, because it will most likely be on the hips, and not on the waist. To do this, you need a piece of fabric twice as wide as the belt itself. The fabric for the belt is bent in width with the wrong side inward.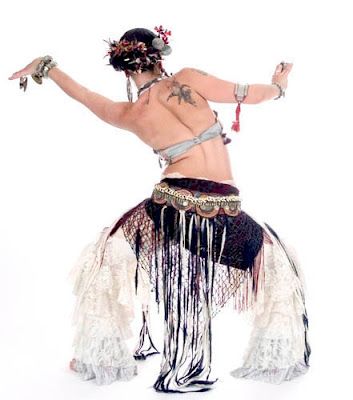 Next, the belt is sewn to the skirt. To do this, first the inner part of the belt (which is adjacent to the body) is sewn with a skirt, then the fabric allowances are tucked in, covered with the front of the belt, and everything is overcast. If everything went out neatly, a decorative stitch is started along the front of the belt. Oriental belly dance costumes also suggest the possibility of creating a sun skirt. You can sew it in the same way as the previous one, but the fabric will take a little more, about 2.5 times. After all, the sun skirt is a circle with a cutout for the waist in the center. The top of the skirt, along the waistline, can be gathered. The bottom is hemmed with a narrow scar, a wide belt is sewn to the top. That's all, the skirt is ready. nine0022
How to sew a shalwar kameez?
The shalwar kameez is an essential part of an Indian girl's wardrobe. A bright original outfit can be...
Belt
When preparing a costume for a belly dance with your own hands, it is important not to forget about such a moment as the design of the belt.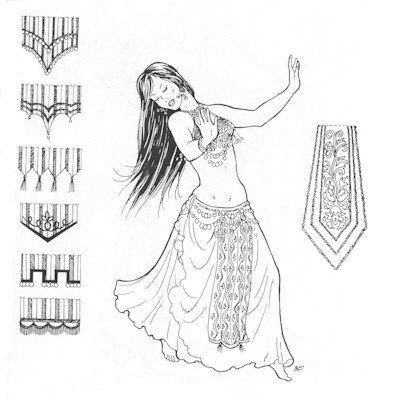 It is this detail that gives the costume a special appeal. How to make it? To do this, it is better to pre-prepare a full-size pattern. The top must be straight, and the bottom of the belt can be triangular, figured, rounded - whatever you like. The length of the product is calculated: this is the waist circumference plus approximately 4 cm for the fastener. You can make tucks so that the product sits perfectly on the figure. nine0022
The fabric is also selected: for the base of the belt - dense, cotton can be used, and for the top - something light and beautiful, for example, supplex, satin, crepe-satin. You will also need a dense interlining for gluing the product, it will be attached from the inside to the front of the product. When the parts are ready, they need to be folded with the right sides inward, sewn, turned inside out, through the hole left, baste and insert the fastener (the belt can simply be tied). Now it remains to decorate it in the same way as the bodice.
Accessories
What other details can oriental belly dance costumes suggest? Of course, these are special decorations.