How to choreograph a cheer dance
How to Map a Cheer Routine
Just as a well-executed stunt starts with a solid foundation, a flawless competition routine needs to have all of the essential elements that appear on the score sheet. These elements are the fundamentals taken from gymnastics, dance, acro-sports, and more, similar to the way an elementary school program must include the basics of math, reading, science, history, art, and physical education.
In cheerleading, the sections of a routine consist of the following:
1. Opening (2-4 8-counts):The opening section can demonstrate any type or variety of skills. The most important thing to remember is this will be your first impression on the judges, so be sure to show your strengths.
2. Standing tumbling (2-4 8-counts):This section is typically placed in the opening, or soon after, due to the strength needed to perform these skills. Most standing tumbling refers to back walkovers (for lower levels), back handsprings, or a tumbling series ending with a tuck, layout, or full twist as the level increases.
These are stunts (lifting or tossing a flyer) with at least one base. There may be multiple groups or pods, but the flyers do not touch.
4. Running tumbling (6-8 8-counts):This section can be performed either as a group or as an individual’s specialized skill.
5. Jumps (2-3 8-counts):Toe touches, hurdler jumps, and pike jumps should all be included in routines to max out points. Mixing multiple jumps together and combining them directly into standing tumbling always increases points if performed properly.
6. Basket tosses (2-3 8-counts):For this section, two bases with a front and back spot toss a flyer in the air and catch them in a cradle. The flyer will hit a skill in the air as well, such as a toe touch. Some lower levels cannot perform this skill.
7. Pyramid (6-10 8-counts):A pyramid is executed by multiple groups lifting multiple flyers, with the flyers connecting in some fashion by touching or bracing one another in the air.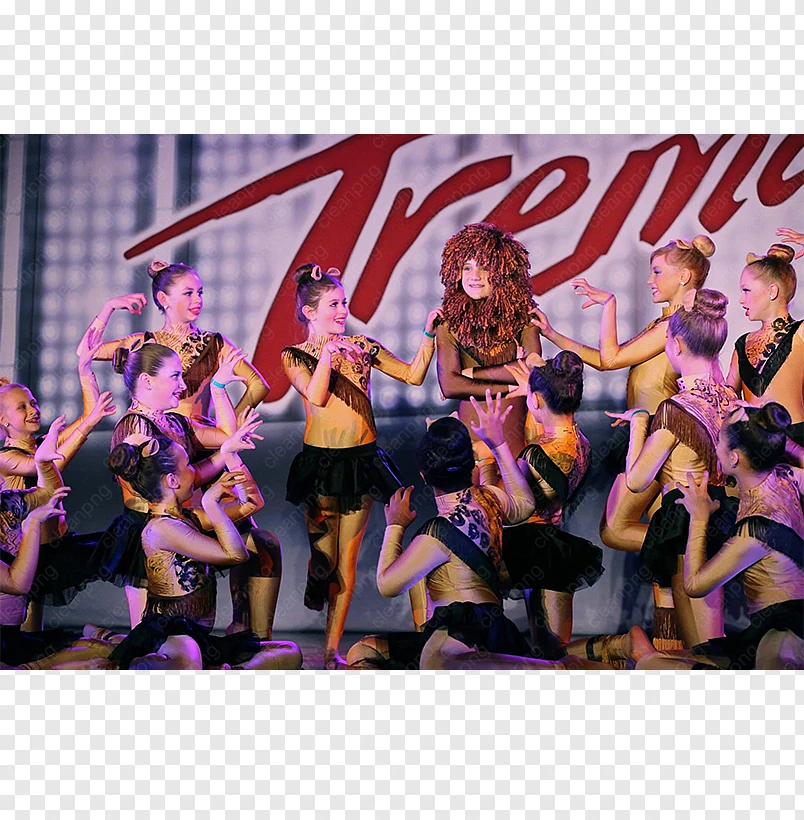
This section is typically placed toward the end of the routine and considered the fun part when the team can express its style.
9. Transitions (one 8-count):Transitions are placed between sections, and it is always best to reduce the length and number of transitions to maximize the use of your time gaining points. Transitions do give the judges time to digest and note things, but if they can’t look down because so many creative things are happening, that’s always a good sign. Combining jumps and standing tumbling is a great way to eliminate a lengthy transition. Another way to reduce transition time is to make sure the tumbling sections keep the stunt groups on the same side of the mat.
We’ve listed a wide range for the number of 8-counts dedicated to each skill section because it will vary depending on the age and level of the team. The number of 8-counts is based on a 45 8-count mix, which has an overall time of 2:30.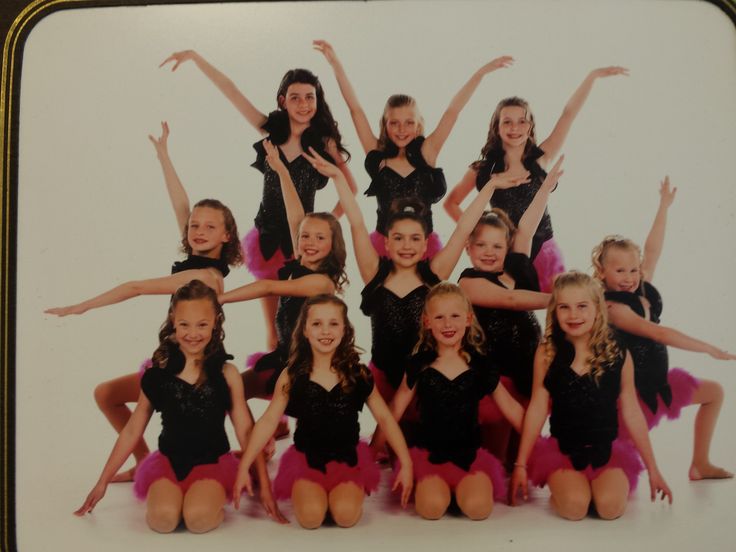 The points system often dictates how much time is allocated to the various sections, which is based on the competitions you attend. It’s important to remember to spend more time highlighting strengths and minimize the time allotted for their weaknesses. Creativity, visual effects, and smooth transitions always help keep the judges and audience engaged and impressed.
Twenty years ago, most teams were ordering music and creating their routine to fit the music, but in recent years, cheer has evolved to a point where most teams aim to cram in as many skills as possible in order to max out the points. For that reason, a majority of elite teams with big budgets create their routine and all the skills in it. Then, with a count sheet and video, the cheer music producer magically takes the desired songs, theme, style, and feel and creates a mix that fits the team’s movement and identity. These custom mixes come at a price, often $700-$3,000, or more.
All of our mixes at Power Music Cheer are set up in the same fashion that the majority of our elite clients prefer.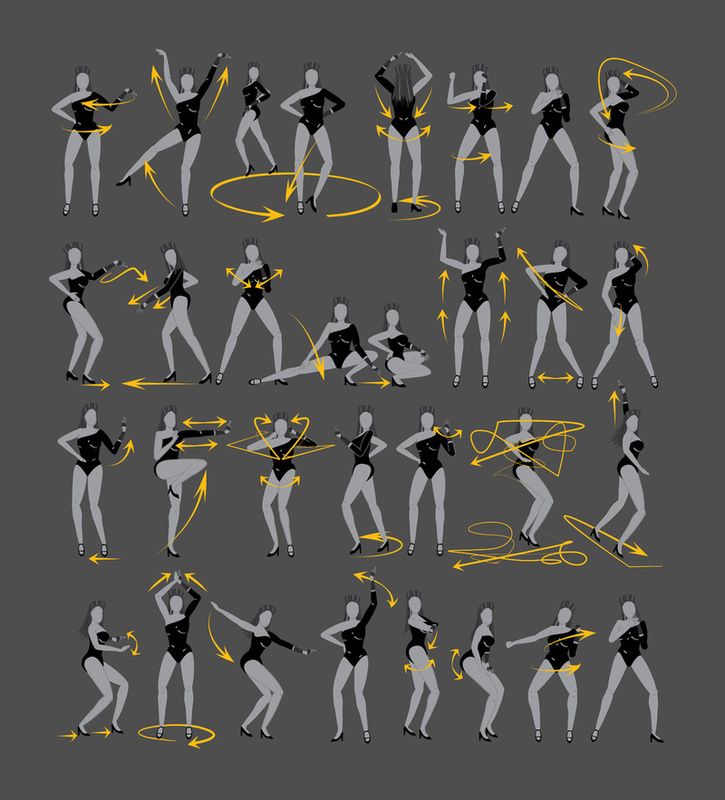 We dedicate the same number of 8-counts per section in the same order they perform them. Plus, if you find the right mix but need more time in one section and less in another, we can fix that! We also offer song swaps if you love a mix but do not like a particular song in the mix.
How to Choreograph Your Own Dance Routine
At the auditions, a lot of professional dancers will be part of the audience. That includes current pro cheerleaders, judges, and the coach of the pro cheer squad you’re applying for. They usually set the bar high when it comes to the art of dancing and would prefer to have aspiring cheerleaders be creative on their showcase dance.
That’s why you should do exactly that to land a spot on the squad. But first, learn the tips on how to create your own perfect routine.
1. Find the perfect song listen to it non-stop
If you haven’t decided yet on which song to use for your dance, it’s best you start looking for it now. Once you have found the perfect music, listen to it like crazy but with intent.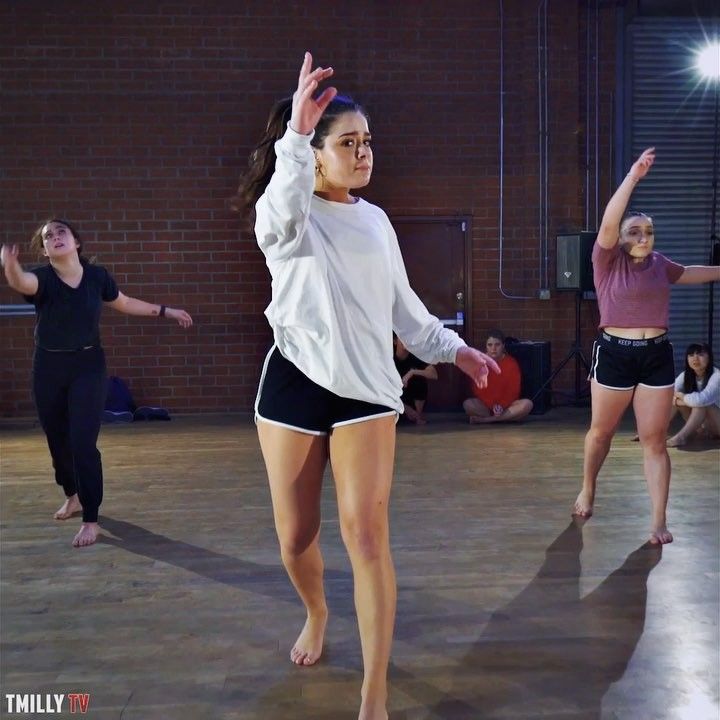 By that, I mean getting familiar with the auditory cues such as the beat of the bass or the sound of the hi-hats.
2. Identify the audiences for your performance
Before picking your dance or creating new moves, think about who will be watching you as you perform. Since you’re an aspiring pro cheerleader, your audience will likely be the judges, the squad coach, other aspirants, and current squad members. Knowing who your audiences are will help you create dance moves that are appropriate.
3. Pick the best dance style for the event
Your reason for choreographing a dance is for the pro cheer auditions. There are many dance styles to choose from that would suit best for this event. Read this blog for more info. Choose the dance style that best represents professional arena cheerleading.
4. Take inspiration from other artists
Do you find it difficult to make new dance steps? No problem. Search the web for online dance classes. They’ll teach you what moves you should use in your showcase performance.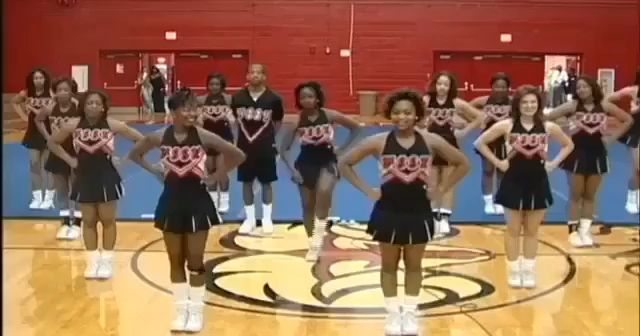 Or you can use YouTube as a reference to remix the dance steps of other artists with your own.
5. Freestyle dance to the song
As you listen to the song of your dance, groove with it in any way you can. You won’t remember most of the spontaneous moves you perform but you’ll still retain some of it because they match the music you have chosen perfectly. These small freestyle dance steps would then add up to be a full dance routine later on.
6. Start creating your own moves
Now that you have chosen a song and a dance style to perform, you’ll slowly get a clear idea of what your dance routine should look like overall. This is the part where you start creating moves based on each energy level your music progresses into.
If your music starts in a relaxed tone and becomes more energetic as it plays, create an intro routine that is easy, sexy, and slow. Follow it up with difficult and energetic steps in the middle. Then, end with an explosive outro like doing tumbles.
7. Polish the execution of your routine
Practice your routine every day and keep on improving your dancing until you’re able to perform it with proper memorization, technique, and sync. Shoot a video of yourself or invite a friend to score your performance. You can also dance in front of a mirror in your home dance studio.
8. Make room for small changes
As you polish your showcase dance, you might feel that there’s a need for improvements or additional dance steps. Don’t hesitate to add them to your routine for you may be right. However, don’t make major or too many changes as it will affect your memorization.
Choreography isn’t easy. You’ll need a lot of time, practice, and effort before you can achieve an all-star level of dancing competency. But if you have patience and foster a persevering attitude, then there’s nothing that can stop you from earning the favor of the audition judges.
Stay updated with Pro Cheer Life's best fitness, beauty, motivation, and audition day tips
Our professional cheerleading community has all the tools and resources you need to achieve your pro cheer goals. Whether you are a dreamer, pro cheer candidate, newbie, or veteran, Pro Cheer Life is here to help you succeed.
Join our community by signing up for our mailing list below. What’s in it for you? We offer you free pro cheerleading advice that will boost not just your pro cheer career but also improve other areas of your life.
How to stage a wedding dance yourself
- +7 812 565-45-32
- St. Petersburg
- Ozerki
- Grazhdansky Prospekt
- Vladimirskaya
- Pargolovo For those who want to take the risk and try to stage their first dance on their own, I want to give some useful tips. I hope that they will help you competently plan and stage a harmonious wedding dance!
- Summer!
- Articles
- All about wedding dances
- How to stage a wedding dance yourself?
This article will be useful both for those who already know how to dance a little, and for those who are very enthusiastic and want to try their hand and come up with the dance of their dreams on their own. Your first wedding dance is in your hands!
So, what should be assessed and considered before proceeding with the production?
Size of the dance floor and height of the ceilings
If your dance floor is small, then when staging the dance, you should avoid moving around the ballroom, choosing more compact dance figures for your composition.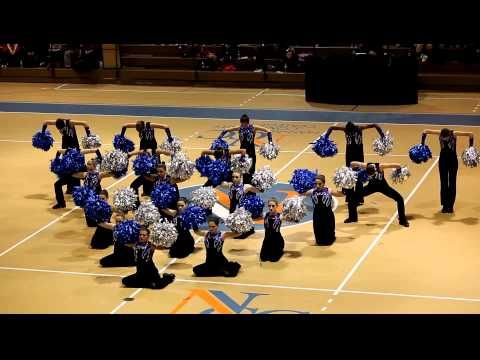
At the same time, if your venue is large, it is advisable to include several figures in your dance, in which you will actively move around the hall, thus filling the space visually.
Let's take a simple example: a wedding dance set to the tempo of a fast (Viennese) waltz. For the case if you have a small dance floor, you should stop at the “figured waltz” option, performing the figures without advancing, and performing the waltz itself “in a square”.
If you have a large area, I suggest including a big circle waltz.
Ceiling height is important for high supports, the simplest of which is lifting the bride in her arms. Before performing such support, you need to make sure that the height of the ceilings allows it. For example, in some restaurants and on steamboats, it is problematic to perform high lifts.
Spectator's side
All your movements, and especially postures, should be laid out in directions and oriented to the "spectator's" side. To begin with, determine the configuration of your dance hall, the place where you will go to dance, the place where the main part of the audience will be concentrated, where the photographer and videographer will stand.
All your poses must be performed facing the audience. To do this, you need to decompose your dance into directions, so that for the performance of certain figures you find yourself facing your audience.
If you have 2 or more spectator sides, then you need to decompose your dance so that you alternately dance to one or the other spectator side. Preference should be given to the side where the photographer and videographer will stand.
Music
You can dance to any music you like. It should be borne in mind that it consists of musical phrases, which in turn are divided into measures. The main rules that I recommend to follow in order to achieve the musicality of your performance:
a) As soon as a new musical phrase starts, you must change the movement type. The simplest example: while the singer is singing one phrase, you make one movement, when he starts singing another phrase, you start making another movement. Most often in musical compositions there are verses, choruses and losses. They usually consist of several musical phrases.
b) Play with musical accents and puffs. Accents (beats in music) are perfectly played with rapid hand movements, a sudden stop in movement, or a sharp change in direction. Puffs are best suited for “smeared” smooth poses.
c) Within each musical phrase there are several measures (most often the time signature for modern compositions is 4/4, for a waltz 3/4). Try to hear them, isolate and decompose your movements into strokes, achieving clarity of execution.
Before decomposing your movements into music, I recommend doing a musical dictation: decomposing your music into phrases, measures, highlighting accents and puffs. And then to impose on them movements.
Duration
Suggested duration of the dance: about 3 minutes including entering the platform and bowing. If your musical composition is longer, then it is worth trimming it using software tools. A longer dance rarely looks good: the audience gets tired and the effect of the first impression is lost.
If you fundamentally do not want to shorten your melody, then I recommend inserting some pantomime scenes into it for contrast (scenes of a meeting, farewell, quarrel, reconciliation). This will advantageously set off the dance part and help make your performance more intense and interesting for the audience.
Physiology of the bride and groom
The appearance of the couple is very important for creating a harmonious dance.
Couples in which both the bride and groom have an ideal athletic physique and an ideal difference in height (10-15 cm) are few. All dance figures will suit these lucky ones.
But if your pair has features, then they must be taken into account and beaten, using 100%!
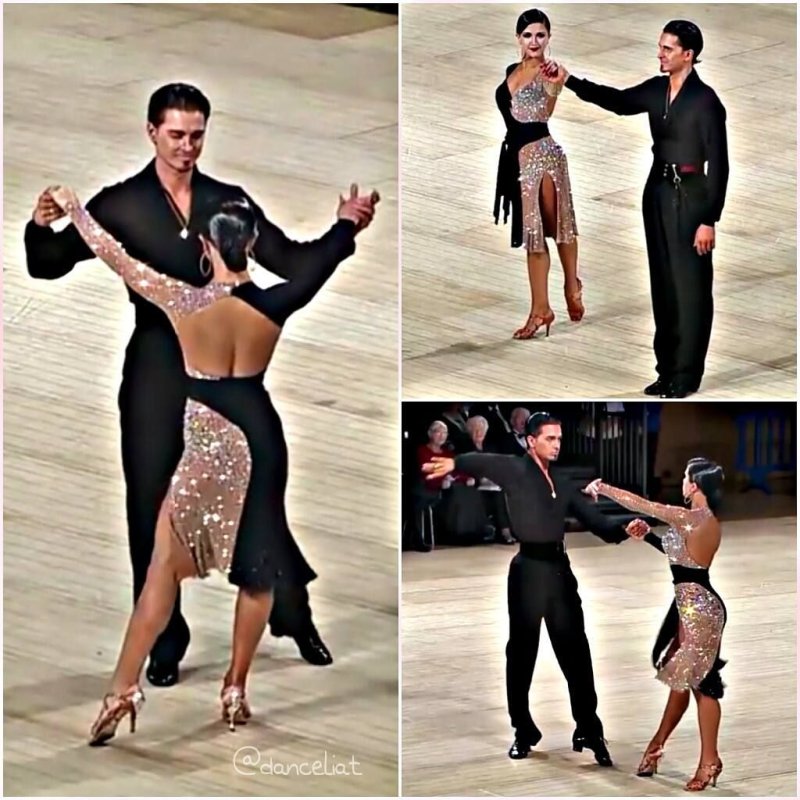
For example, for couples in which the groom is much taller than the bride (the difference in height is 20 cm or more), elements in which the groom goes down (visually becomes lower) and the bride remains standing will look very good. Also, for such a couple, support with rotation on the hands will look great, in which the bride is taken in her arms facing the groom (see photo above).
If there is a small difference in height between partners in a couple or the bride is taller than the groom, then supports are perfect for you, in which the bride deviates, and the groom remains standing straight. Elements in which the girl sits down on bent knees facing the groom will also look good. Rotation on the hands for such a pair is best done in a position when the girl is picked up sideways.
In couples where the bride has a more dense physique than the groom, we recommend avoiding elements with the bride lifting on her hands, the main emphasis in this case is better to place on the partner's plastic movements and masculine lines in the partner's positions.
Video work
If you are staging your own wedding dance, you will most likely be using video footage. It would be a big mistake to simply copy the movements from someone else's dance.
When watching the video, be sure to select those movements that you understand how beautiful and correct to perform and avoid complex and incomprehensible elements.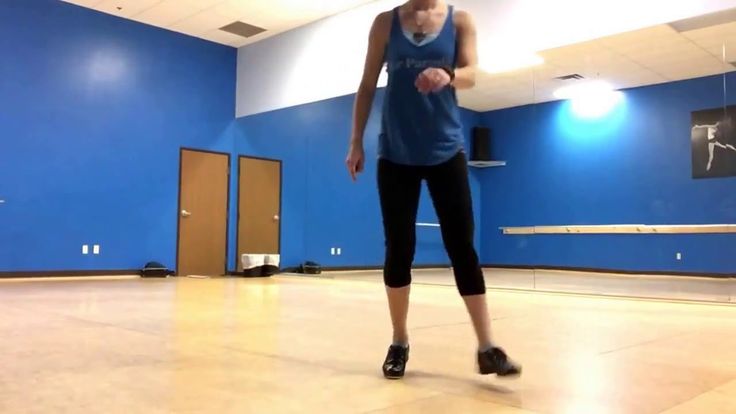
You should also be aware that what looks easy and beautiful in a professional performance, for beginners, it may not look advantageous at all.
Think about whether the movements you like are right for your couple, whether you perform them well. Take a video of yourself and compare the resulting picture with the original. Leave only those movements that you are good at.
Advice for girls
Girls, think about the features of your wedding dress when staging a dance. If the dress is tight, then you should wear a tight skirt at the rehearsal in order to immediately avoid movements that you basically cannot do in this dress.
If you have a crinoline dress, then wear a crinoline at rehearsal so that you and your fiancé get used to its size. Remember that the crinoline creates some distance between you in the dance, as well as inertia in the rotations.
If you have a train - then you need to either stab it or support it with your hand. Accordingly, during rehearsals, always keep something in the hand that will be occupied by the train. Often the choice of movements for a wedding dance is largely dictated by the bride's wedding dress!
Time
When working on the wedding dance on your own, you need to start staging about 2 months before the wedding. Chances are you won't have much time right before the wedding, and a good staging is time-consuming (especially if you don't have any dance experience), so it's best to start working on the dance early. With the rehearsal mode 1-2 times a week for one hour, you will have time to put on and learn the dance, film yourself on video and work on your mistakes.
It is a good idea to start doing any pair dance (in a regular dance group), this will allow you to master the principles of pair movement and teach you simple movements that you can use in your production.
Staging a wedding dance by yourself is an interesting, creative, but not an easy task. I recommend that after the end of the production, if possible, come to professional teachers for at least one lesson and show them your dance. I wish all the newlyweds happiness, love, joy and good luck in staging the wedding dance!
Author — Lydia Salop.
Copyright reserved. For republishing, please contact the PR department.
Order a professional wedding dance
How to stage a dance?
You want something unusual, to please your friends, relatives or loved ones with a bright dance that will decorate a corporate holiday or your family evening. Choreographer Ekaterina Gavrilova tells how to put on a spectacular dance in a short time.
It is not always necessary to have choreographic experience behind your back and know the basics of classical ballet in order to stage a dance for a holiday on your own. Dance is joy! This is positive! And within the framework of the holiday, it is also humor that defuses any situation and raises the mood to a higher benevolent level.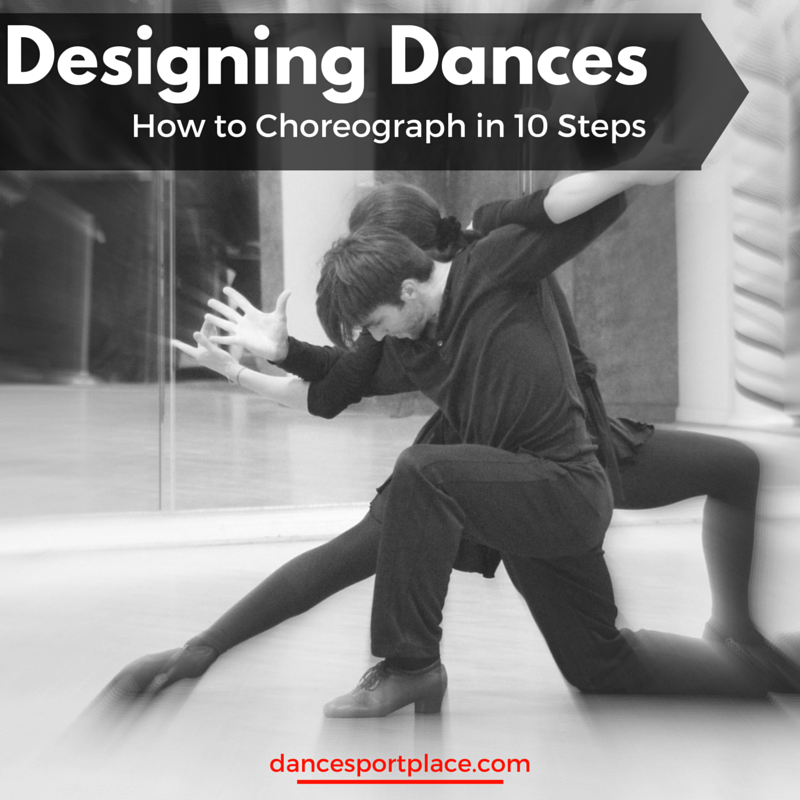 I want to share with you the advice that I usually give to my beginner students when I see that they really want and are already ripe for performing in a circle of friends and relatives.
1. Decide on the music!
Music is the basis and the key to the success of your dance. Moreover, it can be both rhythmic and lyrical composition, it doesn't matter. The main thing is that it raises your deepest feelings, awakens your imagination and not only gives impetus to draw a drawing of a dance, but also translate it into reality. Choose your favorite dance style. It can be anything: vogue, dancehall, flamenco, zumba, strip, oriental, or maybe you want to make a dance mix - in general, choose any direction that is close to you and encourages you to dance. Choose music, and when the choice is made an important step - cut it! A holiday is a holiday, so that the dance is like a bright flash, like fireworks, flared up for 1, 5 - 2 minutes and delighted everyone around. It is more difficult to set compositions for 4-5 minutes, it is physically harder to dance, and such timing is useless within the framework of the holiday.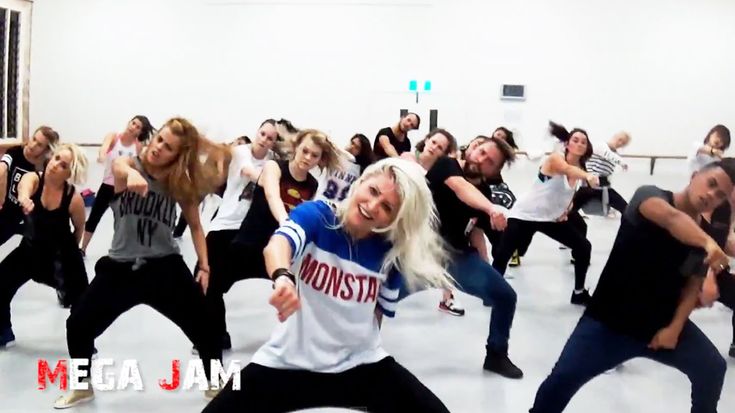 The dance at your holiday should be for joy, and not for the question: “Well, when will it finally end?
2. Pick up the moves!
The second piece of advice follows directly from the first one, because if the music is chosen and it is well-timed, it will be much easier for you to come up with the dance sequence itself. Scary? And you presented impossible dance steps that only the ballet dancer Tsiskaridze can do? Do not be afraid! This is your dance, which means that the movements in it should be for you. Listen to the music again, and if necessary, listen to it many, many more times until you begin to imagine what and how exactly you will dance to it. You can pick up from your past baggage your most successful dance moves that look good on you, you can flip through a lot of different videos that are similar in style or to your specific composition and choose something suitable for your dance, and finally, you can just give free rein to your imagination. , and dance a bunch in front of a mirror, as it falls on your soul, the main thing is then to record this dance on video, rehearse several times to dance later, as it should be in front of the public.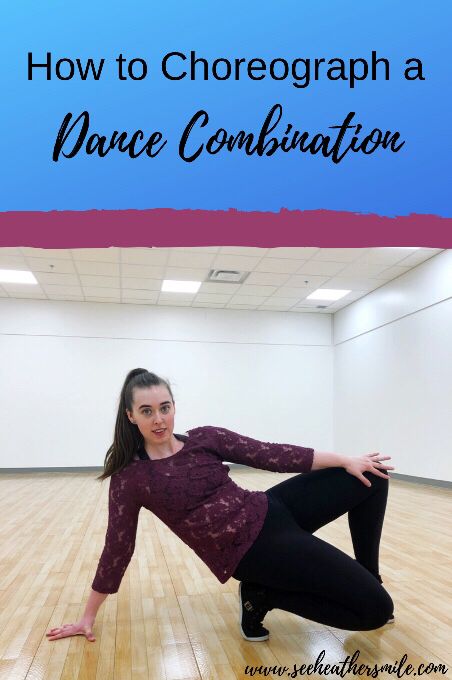
3. Choose a suit!
It is clear that you will not be dancing in front of an audience in home or office clothes, unless, of course, this corresponds to your dance plan. Definitely, the costume is no less important in a dance performance, if the music and movements are already in full order. For the duration of the holiday, you can rent a costume, or you can assemble it yourself from improvised material. For example, on the eve of the upcoming 2018 Year of the Yellow Dog, wear a yellow outfit and decorate it with ears and a tail if your dance is staged with humor and your audience will understand this. If your audience is all respectable ladies and gentlemen, you can dress up as a goldfish and flash your scales in front of them, since gold is also the trend of the coming year. Mustard colors, brown velvet or plush will also be fashionable, and it is better to wear gold, amber or yellow-colored stones from jewelry. But if you don't want to worry about the trend and color scheme, just make a costume that would be in harmony with your music and the dance itself.
