How to make a dance crop top
DIY Crop Top for dance practice, yoga, and workout!
by Mao on in DIY Belly Dance Costume Blog, Uncategorized • 0 Comments
Fun practice wear makes your practice even more fun!
Here is a DIY crop top perfect for dance practice, yoga or workout, this spring and summer. In this video, you’ll see how to make this crop top with cute decorative knots at the back. So let’s get started!
Click here to sign up for the Sparkly Belly newsletter!
The DIY Leggings Tutorial is on Meesha TV on YouTube 🙂
To make this crop top, you need:
Stretch fabric – either 2 way or 4 way stretch is fine. Make sure to check the label when you buy the fabric and get fabric that is machine washable, so you can just toss it in the washing machine after you use it. 🙂 I got my mint green, floral fabric at Joann Fabric when I visited the United States!
Elastic – I’m using 2. 5cm or 1in wide elastic here
Tank top that fits you nice and snug
Your sewing tools – Check out the Resources page to learn more about the tools I use.
How to Make DIY Crop Top
Place your tank top on fabric. If you use 2 way stretch fabric, meaning the fabric stretches in one direction only, make sure the fabric stretches widthwise.
Trace 1cm or 1/2in away for a seam allowance. My top is actually not very tight, so I’m making the width narrower here.
Mark about 15cm down from the deepest point of the neckline. That’s how long your top is going to be. If you want your crop top longer, feel free to add more length. Then add 3cm for elastic casing.
Towards the shoulder, just trace about half way with the same seam allowance. Cut along the lines. Then, you can fold it in half and trim to make it nice and symmetrical. Now we’ll make the back panel of the top. Place the front section on the fabric, and mark the length of the sides. Trace the bottom. Remove the front part, just connect the lines, and cut this almost rectangle piece.
Match up the sides right sides together, and sew them together using a zigzag stitch.
Fold all the top edge by 1cm or 1/2 in to the wrong side. At curved edges, it is easier, if you cut small slits that are a little shorter than the seam allowance, every few cm. Place pins, and do a zigzag stitch all the way around.
Then, take the end of the shoulder strap. Fold 5mm or 1/4in, then fold again 1cm or 1/2in. Place pins and sew it down close to the fold. Do the same for the other side.
Now take your elastic, and sew it right against the bottom edge, using a zigzag stitch. Just very gently pull the elastic when you sew. Make sure the ends overlap about 1cm or 1/2in, and cut the excess.
Then fold again to encase the elastic, and go over the stitches again with a zigzag stitch. Again, gently pull as you sew.
Now, cut 2 long strips that are about 80cm or 32in long and 1cm or 1/2in wide. Then pull and run through them with your hand, which makes the edges curl.
Put one of them through the hole at one of the shoulders. Make one end about 15cm or 6in longer than the other, and tie a knot at about 15cm or 6in from the hole. Do the same with the other strap at the other shoulder.
So here is how I do my decorative knots. First, it is easier if you place your shirt on a table or a chair, so the straps are hanging instead of placing it on a flat surface like I show in the video.
Take the longer strap from the right and shorter one from the left. Bring the right one over to the left, bring it behind the left one and over the right strap. Then take it again this time behind the left one and bring it forward, and into the hole. And tighten it.
Then we do the same thing with the long one from the left and short one from the right. Bring the left one over, around the right strap and over the left one. Then behind the right strap and around, in through the hole. And tighten it.
If you check out this great video, you can see this type of knot and other decorative knot design ideas. Mine is a modified version of “chain” at around 6:00.
And repeat this a few times until you get a nice criss-cross design. Even after tightening the knots, you can still slide the knots gently to adjust the design. The design may look pretty dense, but these straps stretch a lot, so when you wear the top, the design becomes larger and clearer.
For the rest of the straps, I just take the 2 straps in the middle and tie them together, and spread the straps apart, about a few cm or an inch away from each other, and place them with pins. Try it on to see and make sure you like the length.
And just sew them onto the shirt and cut the excess. I use a tiny zigzag stitch to do that.
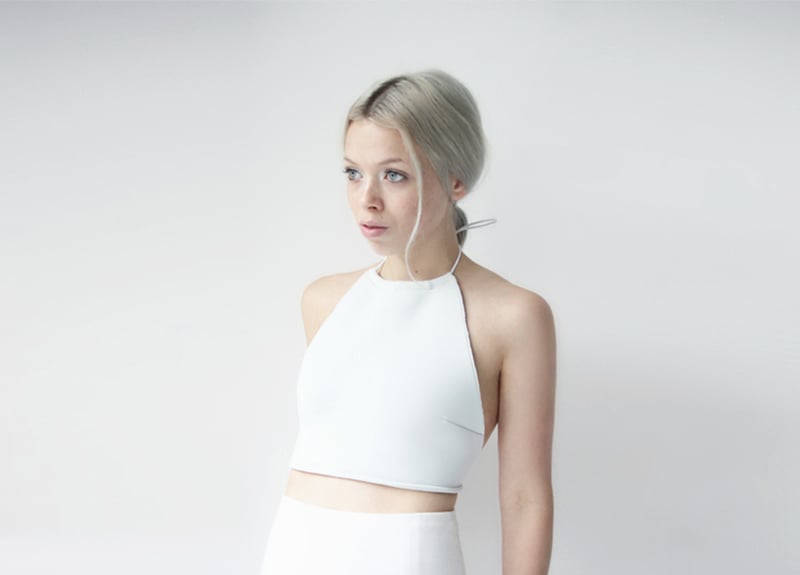
And it’s finished! It’s cute to wear for yoga or dance practice, or even as a summer top with a high-waisted pants or skirt.
When I was testing this pattern, I made a longer version. For this one, I measured about 20cm or 8in from the neckline. I think it’s pretty cute to pair it with a high waisted leggings. You can find my tutorial on these matching leggings at Meesha TV on YouTube. This was one of my first YouTube collaborations that actually worked out, and I’m super excited to be on their channel! Meesha TV is an amazing resource for DIY fashion 🙂
Oh, and if you are curious (I know I would be!), I wore a self-adhesive bra like this one (affiliate) under the top in the video, so the knot design stands out. In reality, I think I will wear this top with a t-shirt bra if I’m wearing it to practice. If I’m just going out and pairing it with a high-waisted skirt or something, then I will wear my self-adhesive bra 😀
Hope you enjoyed this tutorial, and if you make your own, please share it on Sparkly Belly’s Facebook page. And sign up for the Sparkly Belly newsletter from the link below to get updates and free access to special patterns and resources only available to newsletter subscribers.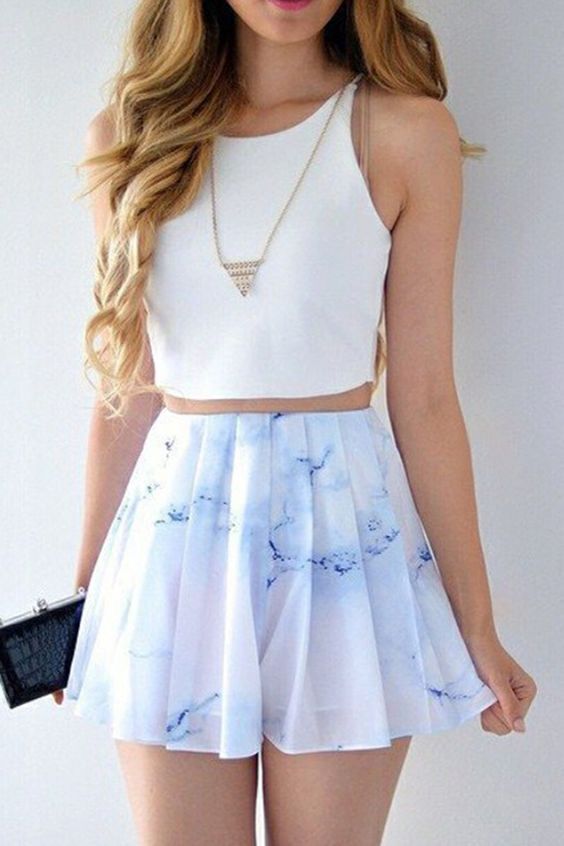
Click here to sign up and get access to the subscriber only page 🙂
Thanks for reading, and keep sparkling!
Want to make more costuming bits yourself?
Sign up for my free course, Belly Dance Costume Making 101!
DIY Crop Top – The BDancewear Blog
Hello, I am Cyndi from bdancewear.com. In this demonstration, I am going to show you how to create a crop top out of an existing full size top. So, if you are looking for a top for dance that is a little longer than normal why not use a longer version of the top you want and just cut it down. That way you can make the crop top fit perfectly.
Supplies:
- Full Length Top
- One Inch Wide Elastic
- Matching Thread
- Pins
- Tailor’s Chalk, Bar of Soap or other sewing marker
- Measuring Tape
- Yard Stick
- Scissors
- Sewing Machine
Directions:
- Choosing Your Materials
In this project, the only item you need to choose is the top that you will cut down to create the Crop Top.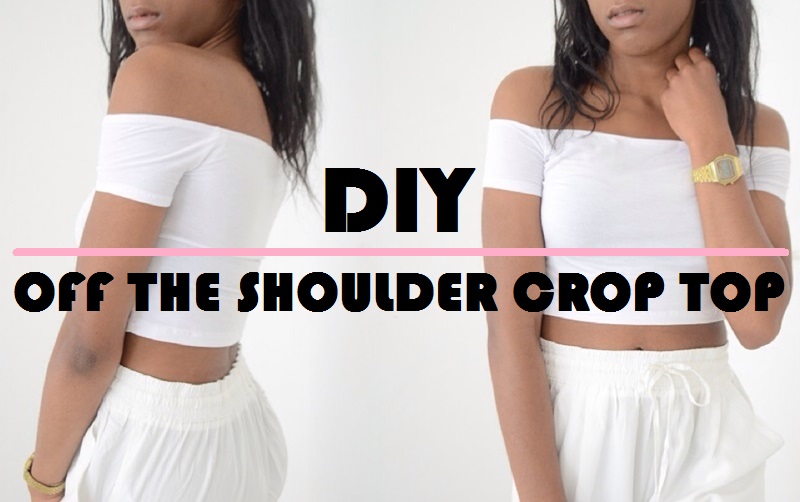
- Marking the Cutting Line
I have already measured the dancer from the top of the shoulder down to where I want the hem of the top to rest. Remember, you want to make sure that the bottom of the top does not slide up so high that it reveals the bottom of the girl’s bust line when the dancer reaches up,. In this particular case, I came up with 13 inches when I measured her. I then marked the shirt 13 inches from the shoulder seam. One thing to consider is that you need to start that measurement at the same spot on the girl and on the item of clothing. In other words, if you start the measurement on the girl from a spot on her shoulder that is near the neck, you need to measure the shirt from that spot on the seam near her neck. If you start measuring closer to the arm, you need to start from that spot on the shirt also. The measurements will be different if you start the measurements from different spots on the dancer and the shirt. That can cause the shirt to be longer or shorter than the desired length. Using a washable marker like Tailor’s Chalk or a Bar of Soap, mark a dot at the desired spot on the shoulders of the shirt. Measure 13 inches down the shirt on the right side of the neck and the left side of the neck and place a mark on each side. Draw a line through those dots parallel to the hem of the shirt. Because I am using one inch elastic, I am marking a second line one inch below the first. Or, you could simply do the math and mark the cutting line accordingly. In the case of our demonstration, I would mark the dots 14 inches (13 inches plus 1 inch) from the shoulder and draw a line through the dots.
I am using a Sharpie to mark the blouse so that it is easier for you to see it. I strongly recommend that you do not use a Sharpie but use Tailor’s chalk, a bar of soap or other non-permanent marker to mark the blouse. Using a Sharpie or other permanent marker creates the risk that the marking will show through the material.
- Cutting the Shirt
I am now going to take the shirt and fold it in half lengthwise making sure that the marked lines match up at the sides and the middle of the shirt.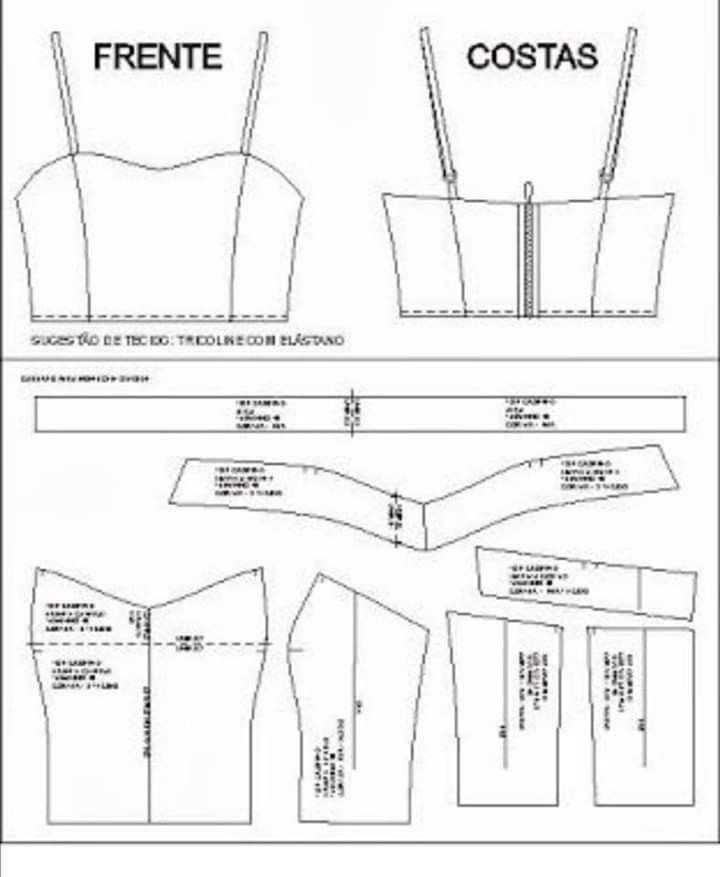 Cut the shirt at this line that I have marked.
Now that it is cut, it is really easy to complete the project. Turn the shirt inside out. If the shirt is really baggy at the waistline, you should take in the side seams by tapering the sides in so that the shirt fits closer to the girl’s body. Unless you want a loose baggy look, this will be necessary.
- Measuring the Elastic
I have already determined the length of and cut the elastic. There are two ways to do this. You can either use a measuring tape to measure around her torso under her bust or simply wrap the elastic around her torso, overlapping the ends and cut the elastic accordingly. Then, deduct about two to two and a half inches so the elastic is snug but not too tight and cut the elastic accordingly. When you sew, the elastic will stretch out a smidge.
- Preparing the Elastic
I know that the shirt is now nicely tapered in to fit under the girl’s bust. Overlap the edges of the elastic and zigzag over the two ends so that the elastic creates a continuous loop.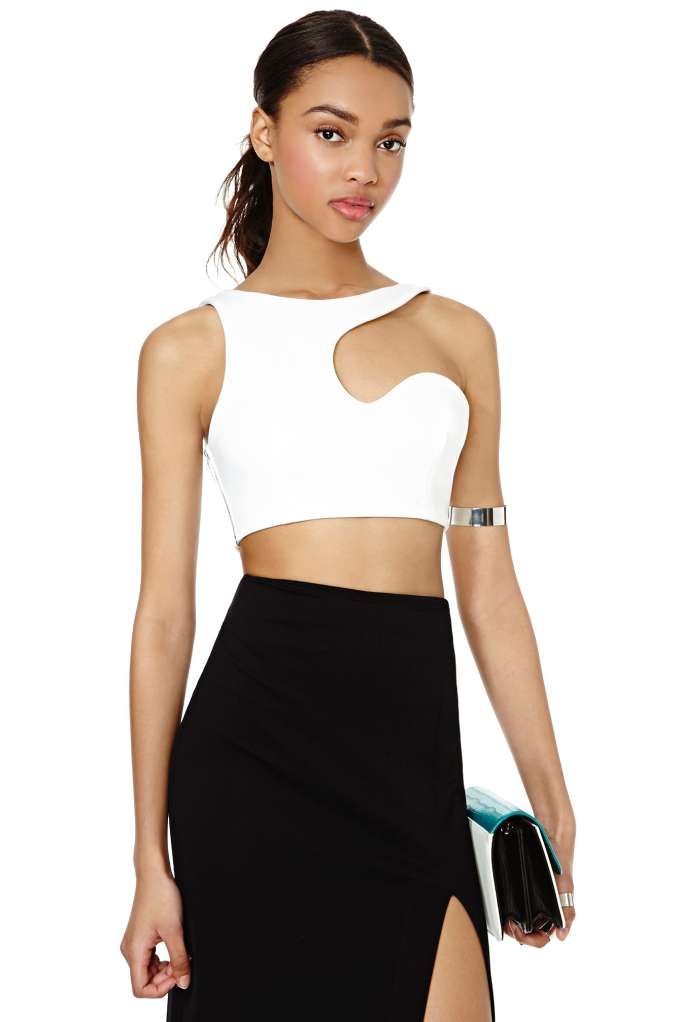 Make sure that you sew a zigzag stitch back and forth to ensure that the seam is nice and secure.
- Pinning the Elastic
I am next going to add the elastic at the hem to make sure that the crop top stays down while being worn and does not slide up and show the girl’s bra. Take the top and match up the side seams. Place a pin in each of the two folded edges created when you match the side seams. These pins will end up marking the center of the front of the shirt and the center of the back of the shirt. Between the pins in the center back, center front and the two side seams, this will split the shirt into fourths.
Now, I am going to open up the shirt and match the seam in the elastic (where the two ends are sewn together) to the pin at the center back of the shirt. Pin the elastic to the shirt at that point. Fold the elastic in half using the seam as one end. The fold opposite that seam in the elastic will be pinned to the center front of the shirt. Again, fold the elastic in half by matching the seam in the elastic that is pinned to the center back of the shirt.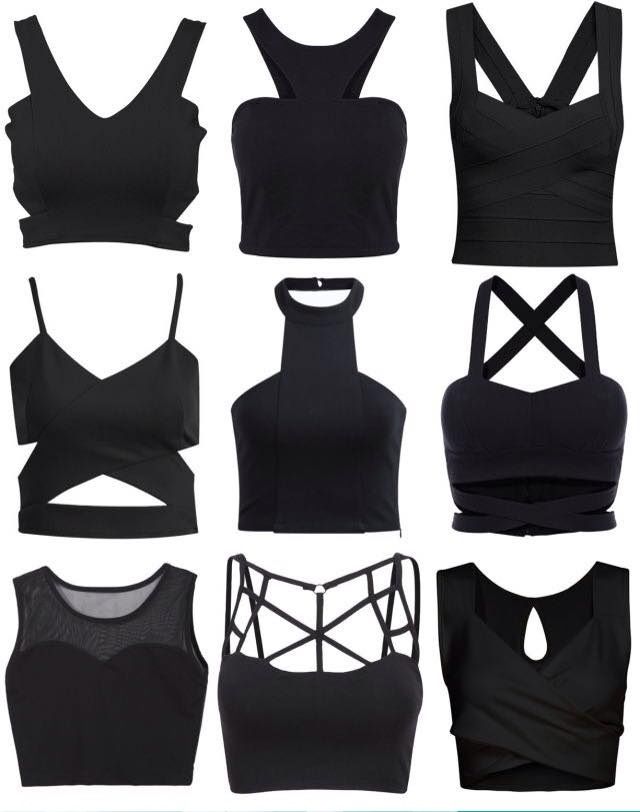 to the fold that is pinned to the center front of the shirt. This will cause two more folds in the elastic, both of which are half way between the center front and center back of the shirt. Those folds should be pinned to the side seams in the shirt. The shirt and the elastic are now pinned together in four spots equally distant from each other. Once these are pinned in these four places, you can easily sew the elastic to the shirt. You can either just stretch the elastic as you go or you could place additional pins to hold the elastic to the shirt.
- Sewing Elastic to Shirt
So, I am going to start sewing again in the center back. I am going to use the guide line on the base of the sewing machine as a guide. Most sewing machines have measurements etched into the base of the machine. If your machine does not have these measurements to guide your sewing, you can easily create your own. Just measure from the point the needle would enter the material to the inside of the machine and when it reaches the distance you want to use for your seam allowance, place a piece of tape parallel to where the material will feed through the machine. Most of the time the seam will be 5/8” wide, so you will want to place the tape 5/8” from the needle.
Fold the bottom of the shirt up so that bottom of the shirt folds over the elastic on the inside of the shirt. The elastic will end up inside the fold between the shirt and the bottom of the shirt. Insert the needle into the shirt where you want to begin so that the needle is going through the shirt and the elastic. I suggest you start stitching at the center back of the shirt. Again, keep the shirt stretched out as you sew so that the elastic is stretched. Something you will want to watch for is the fabric on the outside of the shirt. It is important to make sure that the fabric at the bottom and outside of the top remains smooth as you sew. Otherwise, the fabric will most likely end up all bunched up under the stitches. Keep stitching all the way around the shirt until you get to the beginning stitches. Once again, you will want to pull the fabric and elastic taut but you want to be careful that you use both hands, one in back of the needle and one in back, and do not put pressure on the needle in the fabric or you will snap the needle.
If the fabric starts to bunch up, just slide you hand over the fabric to keep it smooth. Sometimes the thread will break. It is no big deal. Just rethread the needle and begin sewing again. When you start stitching again, make sure to go back a few stitches before the thread broke and sew over those last stitches. This works the same as it does when you backstitch before and after the stitches. Sometimes if the thread is breaking, maybe you are going too fast or something is rubbing funny. Do not get frustrated. Just rethread, pull it the top and elastic taut and continue sewing. Maybe you are going a little too fast and creating just a little too much friction.
There we go – a simple crop top you can easily create out of a regular length top.
NOTE: When you get to the end, be sure to backstitch to catch the end stitches.
If you enjoyed this demonstration, make sure to look at our other demonstration or the Bdancewear videos on YouTube. You can subscribe to our channel so that you do not miss any of the amazing videos that we will have coming out.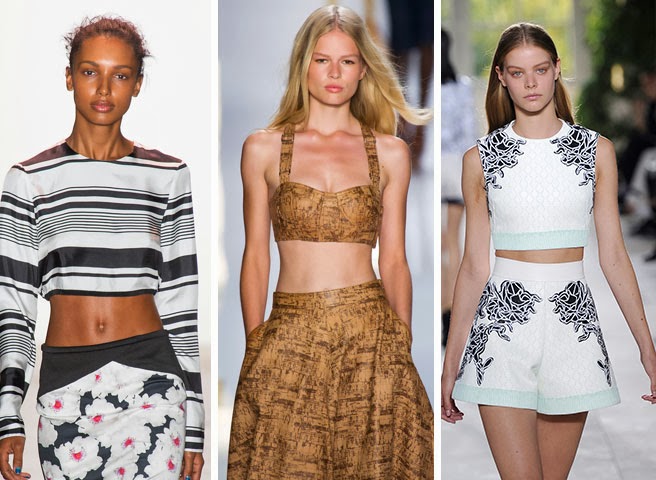 If you want to get our free complete dance costume DIY guide, go to bdancewear.com/DIY guide. Lastly if you have any questions or ideas for future videos or demonstrations, please contact us through our YouTube channel or on our website – bdancewear.com
Remember – be original, be colorful, bdancewear.com.
How to sew a top with your own hands for beginners step by step in 22 steps
This summer it will be fashionable to wear a crop top or crop top, and how to sew a top with your own hands for beginners I will show you step by step in today's master class
I will step aside a little and share with their experiences. This blog is not just a website for me - it's a place where I share my thoughts, advice and try to be useful to you. Recently, I began to notice that some sources post my master classes, copy texts and photos without my consent. It takes me from 5 hours to write and prepare materials, just imagine what a laborious job it is. I felt sorry for such a devaluation of my work.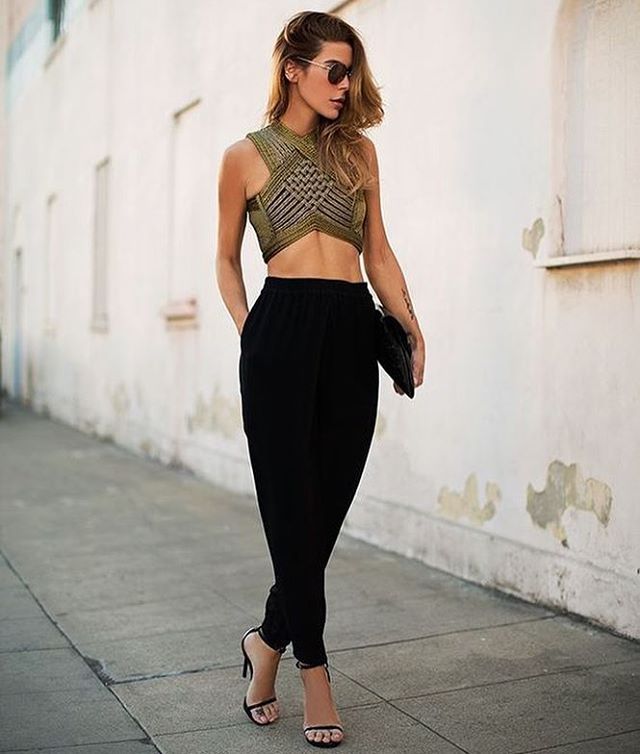 To be honest, this is the first time I’ve encountered content theft and I don’t know what to do in such situations, if there are knowledgeable people among you, please tell me
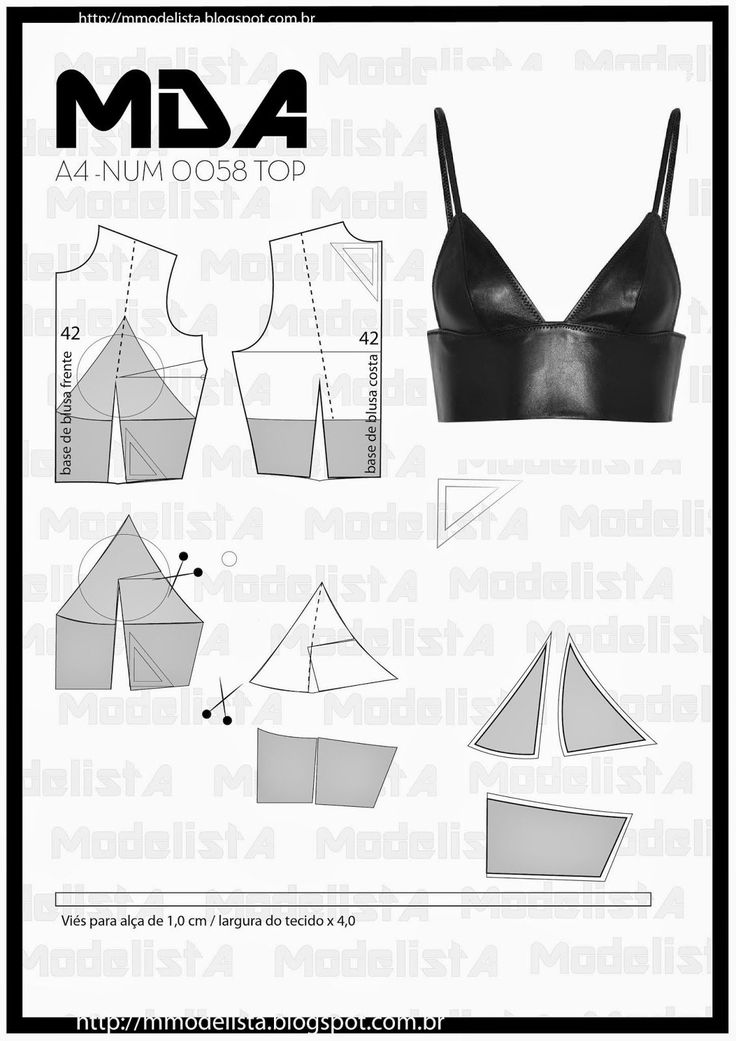
Now back to why you came to my blog. The top pattern consists of four parts: front, back, front facing (line on the front pattern) facing for the zipper.
This pattern can be used to sew two tops, each of them will be a detailed master class below. Patterns can be built download all sizes 40 - 50 (RU). A zip top is more difficult to sew than a one-piece top, so choose according to your skill level
| Measurements (see) | Size | |||||
| 40 | 42 | 44 | 46 | 48 | 50 | |
| Bust | 80 | 84 | 88 | 92 | 96 | 100 |
| Fabric consumption see | 50 cm. | |||||
For sewing tops, I used jersey fabric, quite dense, with good stretch. On a sewing machine, I used special needles for stretch fabrics. Overlock can be replaced with a regular zigzag stitch
01. I cut out the top details; 03. I pin the details of the front and facing with pins, putting them inside out to each other
0003
05. Next, I connect the parts on the lateral cuts I mark
06. From the wrong side I sew a knitted box
9000 9000
07. I cut 0.4 cm.
.
08. I bend the trim to the front side of the top, fold it 0.3 cm inward, baste it by hand. Then I sew on a machine using a single-horned foot
09. In the same way, I process the neckline with inlay
10. I take the part of the facing of the lock, in this way it is cut out on the fold of the fabric
11. I bend it in half and sew along the sections. Then I turn it right side out, cut off the excess fabric in the corners
12. I did not find a detachable lock 20 cm long, so I will shorten the existing one.
Also, don't be fooled by another lock in the next photo, I tried different types until I was convinced that a spiral or tractor with small links would fit here
13. Unfasten the zipper, put one side face up on the piping and cut off the excess length
14. Fasten the other side of the zipper and make them equal in length, mark with chalk where the piping angle ends
2
2 15. I sew one side of the lock to the piping
16. I wrap the zip around the piping on both sides
0003
18. I sew a line along the edge of the castle from the front side
19. I sew the second side of the castle to the top. In this case, the bottom of the lock should be sewn on the same level as the bottom of the first half of the lock. And the top of the castle - the chalk mark should be slightly below the neck by 2 - 3 mm.
20. Then I also sew a line along the front side of the top along the edge of the castle
21. In general, you can not use an elastic band, but with it the top sits tighter and does not ride up.
I take elastic along the length equal to the length of the top along the bottom cut. I sew it on the overlock
22. I am bending the lower slice to the inside of the width of the elastic band and sew on the typewriter
9000 9000 9000 9000 9000 9000
knitwear for beginners
Summer is the time when you want to wear something light and airy.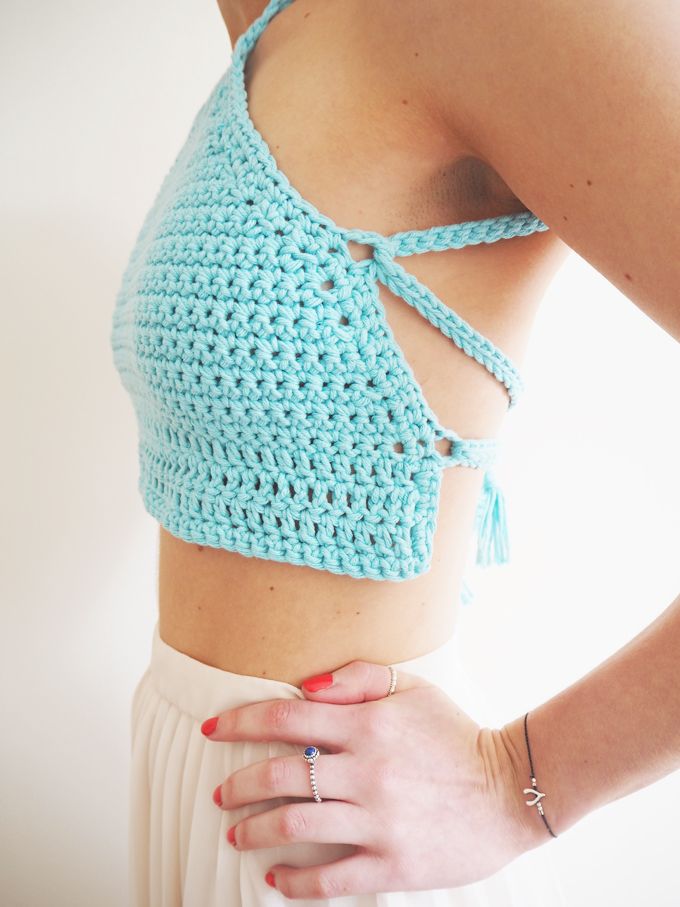 Let it be a summer topic. And you need a lot of them - bright and colorful, plain and in prints, with and without trim, short and elongated. The main thing is that the shoulders are open to the gentle sun and a light breeze.
What top to sew for the summer?
The top is almost a T-shirt, but without sleeves. Everything seems to be simple. However, you can also fantasize with it. Sew a strapless top, cut out narrow or wide straps. You can choose a model with wing sleeves with "swing" in front or behind. Look good long tunic tops or short under the bust, if the figure allows. They can be casual or business. If you put on a light jacket over it, then even a strict dress code will take on this style.
The material is preferably light, natural or mixed.
- Silk, satin, guipure, lace are suitable for evening wear.
- The choice of fabrics for casual tops is presented in our online store with staple, viscose jersey, chiffon, batiste, etc.
Buy what fits the idea.
How to make a top yourself
Let's start with the simplest ones.
Such a beauty can be sewn on the basis of a square cut, rounding the line of the armhole on the front, back and hemline.
Make a drawstring at the top and bottom, tucking up the edges, and thread the elastic. In the same way, arrange sleeves-lanterns.
Peplum top
An original and elegant product will turn out if you sew a peplum at the top. How to change it, having a ready-made basis for any shoulder product, is shown in the photo.
Peplum is sewn along the top edge. There is a hidden zipper on the left side.
Place of attaching the straps is indicated in the photo. Their length is selected individually.
This pattern can be used to sew a top for a girl and for her mother. Get a family look.
Strapless dressy top
Let's move on to a more complex model.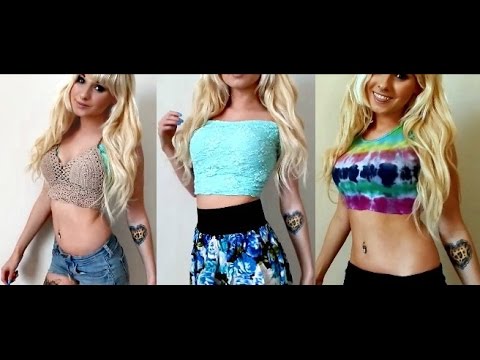
The pattern of the top is the same as before - that is, the base.
- Draw the upper, semi-circular line of the product.
- The lower one runs just under the bust.
Don't forget about the tuck, which will fit the product exactly to the figure.
- From a piece of fabric, cut out a rectangle, on which lay the folds. Its length is two or 2.5 times the length of the lower part - it depends on the desired depth of the folds.
- Baste the folds, iron.
- Sew to top.
An additional decoration is lace sewn on the bodice and under the pleated part, and a belt tied under the bust (it will decorate the stitching line).
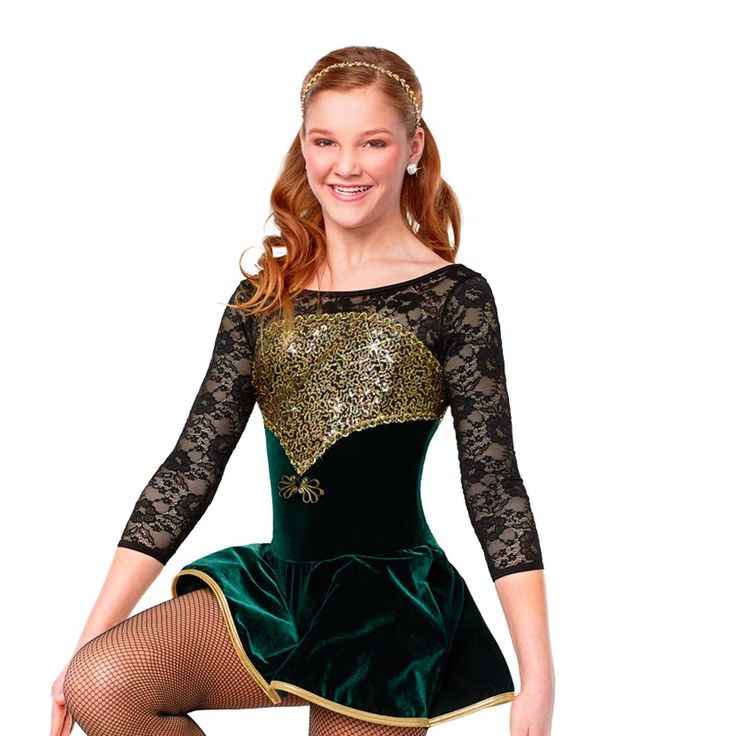
Simple everyday model
It's not difficult to sew such a top with straps. The upper part is sewn from sequin fabric, the lower part is made from thin knitwear. There is a hidden zipper on the side. The length is selected individually.
For a better fit, there is a short tuck at the bottom of the bodice.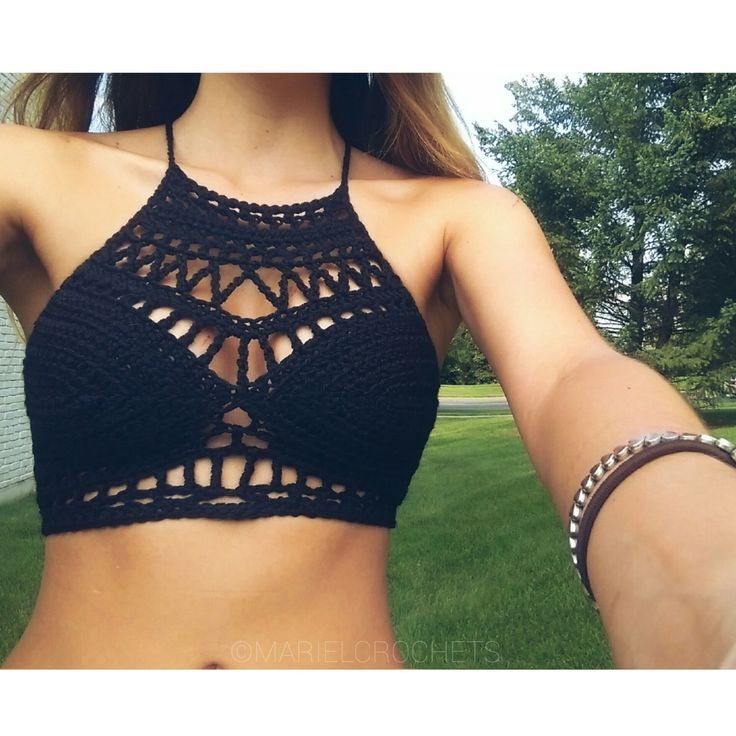
Feature - light drapery at the bottom of the shelf. A schematic representation is shown in the figure. To cut it out, you need to cut the bottom part of the pattern along the vertical lines and push it to the required width.
Strapless short
Her other name is top bandeau. The peculiarity is that it fits snugly to the body above and below the chest, the middle part can be tight-fitting or loose. We described the second option a little higher. From the inscriptions to the photographs, it is clear how to sew the simplest gangs.
And if you need a pattern - if you please. Scale the drawing according to your measurements. Count how many cells are in the front, measure the half-girth of the chest and divide by the number of cells. So you can find out their width.
In Word, enlarge the picture by referring to the ruler at the top of the page. It remains to print, cut and sew.
There are many options. And with our fabrics, your wardrobe will be replenished with bright and fashionable models.