How to learn robotic dance
How to do the robot
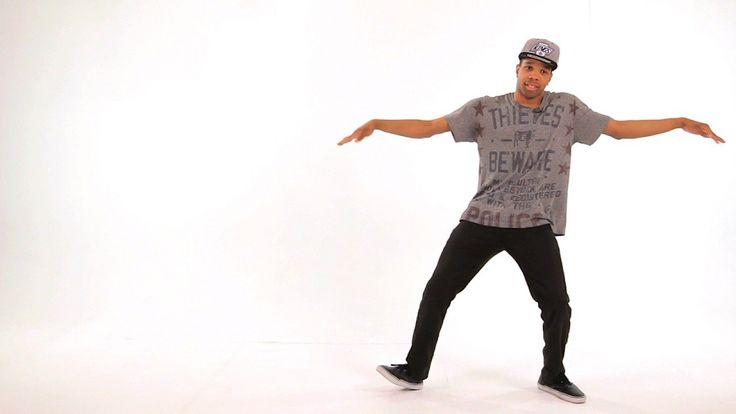
Learn how to dance like a robot in this video tutorial! Robot dancing is really all about dime stops from popping dance style. In this video you will learn how to dance the robot easily with foundational popping concepts.
Want more? Get the full Course:
The Ultimate Popping Dance Course (Beginner to Advanced)
Learn how to dance popping and locking with step by step video lessons. You will learn hits/popping, waving, robotics, gliding, vibrating, slow motion effects and more. Become the freestyler you always wanted to be and impress your friends with your dance moves. Includes 3+ hours of video lessons. You can download it instantly or stream it online here.
Learn more & Buy it here (Click here)
[Transcript]
If we go to one of the purest forms and definitions of popping, it is actually to act or imitate as a robot. Robotics is all about dime stops. So dime stops is another huge fundamental dance style of popping. And it is the ability to freeze at a point in time.
Now technically speaking, you don’t even really have to hit to do dime stops. It’s more of just about the freeze. You definitely see a lot of poppers do a miniature hip when they dime stop.
Dime stop is definitely used a lot in robotics and I think it’s a great tool to use to develop patience when you dance. Starting out, it’s really easy to get caught in, “I got to do this. I got to go over here and do that.” But dime stops force you to freeze. So practicing dime stops can develop patience which is an awesome thing to have starting out.
So dime stops are I think a really easy move you can do on the first try. It’s just about freezing. So I’m going to give you a pattern to follow. Start with the left and the right arm to match it. And I’m just going to pick four corners. So I’m going to go left, down, down right, right. Pop.
Pop.
Now, I want to add a little bit more. I’m going to start using my heels to turn. Heels. Head.
Robotics is actually I think one of my favorite dance styles. I found myself roboting throughout the whole day. Roboting is definitely something that you can take your natural day-to-day movements and turn that into robotic style kind of dime stops.
So for example, let’s say I’m at dinner table. That’s the way I’m going to sit down. I put my arms out, set my plate right here, instead of just reaching out to get my fork and grab, I can go. So really, it’s just about using a regular way of doing things and thinking like a robot and using dime stops to kind of beat your communication for interpreting that as a dance.
I want you to think of a natural thing you do every day whether it’s brushing teeth or [0:02:26] [Indiscernible] and interpret that right now as a robot. If you were a robot, how would blank? OK? Fill that spot in. And we’ll catch you guys again.
[End of transcript]
More Hip hop dance videos
Make a Dancing Robot
ARROW_LEFTARROW_LEFTUnit PlanLesson 1 of 15
ARROW_RIGHTWeDo 2. 0 Core Set
Design and program a robot that performs a cultural dance, tells a story through dance, or dances in pairs or groups.
CLOCK45-90 min.
BRICKIntermed.
GRADUATEGrades 1-5
Introduction
This Maker lesson includes a whole range of possible Dancing Robot designs and performances. Students can explore a cultural dance, tell a story through dance, dance in pairs or groups, or even plan a dance party where WeDo 2.0 robots are more than just dancers!
Preparation
Ensure that each student has a copy of the Student Worksheet for recording their design process. They will also need the LEGO® Education WeDo 2.0 Core Set (one set for every two students is recommended).
Discussion
Hand out the Student Worksheets and allow the students to interpret the lesson themselves, or read the Maker Connect text aloud to set the scene.
2. Find a Problem
As students look at the “connect” images and questions, facilitate a discussion to steer them toward a problem or new design opportunity. Once they have decided upon a problem to solve, ensure that they record this in some way. They can use the worksheet to help structure their project documentation or use their own preferred method to record their design journey.
3. Brainstorm
Students should initially work independently or in pairs, spending a few minutes to generate as many ideas as they can to solve the problem. They can use the bricks from the LEGO® set during the brainstorming process, or sketch out their ideas in the space provided on the worksheet.
It is important for students to spend time tinkering with the LEGO® bricks in order to generate ideas. The goal of tinkering is to explore as many solutions as possible. You can use the tinkering examples at the end of these materials for inspiration, or as a means for getting started.
Students can now take turns sharing their ideas within their groups. Once all of the ideas have been shared, each group should select the best idea(s) to make. Be prepared to help facilitate this process, ensuring that the students choose an idea that is possible to make. Encourage diversity, not all groups have to make the same thing.
4. Choose the Best Idea
Students should record up to three design criteria on their worksheets. They will refer to this again as they review and revise their solutions.
5. Go MAKE
Let the students carry out one of their group’s ideas using WeDo 2.0 and other materials as needed. Reinforce that students do not have to come up with the whole solution from the start.
During the making process, remind students to test and analyze their idea as they go, making improvements where necessary. If you want students to submit their documentation at the end of the lesson, ensure that they use sketches and photos of their models to record their design journey during the making stage of the lesson.
Tinkering Examples
Some students may need a little inspiration and scaffolding to help them get started.
Students can explore the Model Library to find inspiration for the different types of dances they can do. By asking questions (e.g., Do you want to make a dancing robot that spins? That walks? ), you can help lead the students to relevant models based on their ideas. Students can remix their models by adding or removing LEGO® elements and “costume” pieces.
Remixed from #13. Sweep
Remixed from #1. Wobble
6. Evaluate What You Have Made
Students will test and evaluate their designs against the design criteria they recorded before they started making their solutions. They can record notes on their Student Worksheets.
7. Present Your Model
Allow time for each student or student group to present what they have made to the class. A good way to do this is to set out a table large enough to display all of the models. If time is short, pair off the groups and have them present to each other.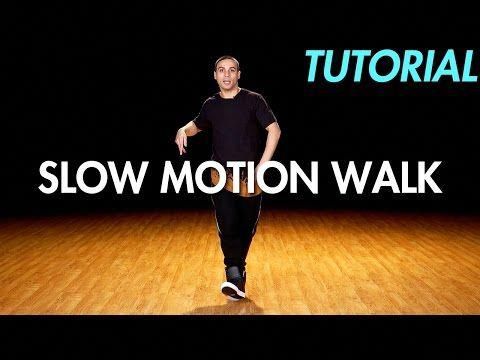
8. Assessment
Students will use the Student Worksheet assessment rubric to evaluate their design work according to the ‘Four Bricks Scale’.
9. Tidy Up
Ensure that you leave approximately 10-15 minutes at the end of the lesson to break down the models and sort them back into the LEGO® boxes.
Teacher Support
After completing this lesson, students will have:
Defined a clear design need
Developed their ability to iterate and improve design solutions
Developed their problem-solving and communication skills
Used and understood the design process
LEGO® Education WeDo 2.0 Core Set
WeDo 2.0 Software or Programming App
Optional
Use craft materials that you already have in your classroom to add another dimension to this lesson. Some materials could be:
Plastic or paper cups
Cardboard boxes
Egg cartons
Fabric or felt
Foam, pom-poms, or beads
Pipe cleaners
Introduction to the Maker LessonsMaker ConnectStudent Self-AssessmentClassroom Poster of the LEGO® Education Maker (Design) Process
NGSS
Science and Engineering Practices
3-5-ETS1.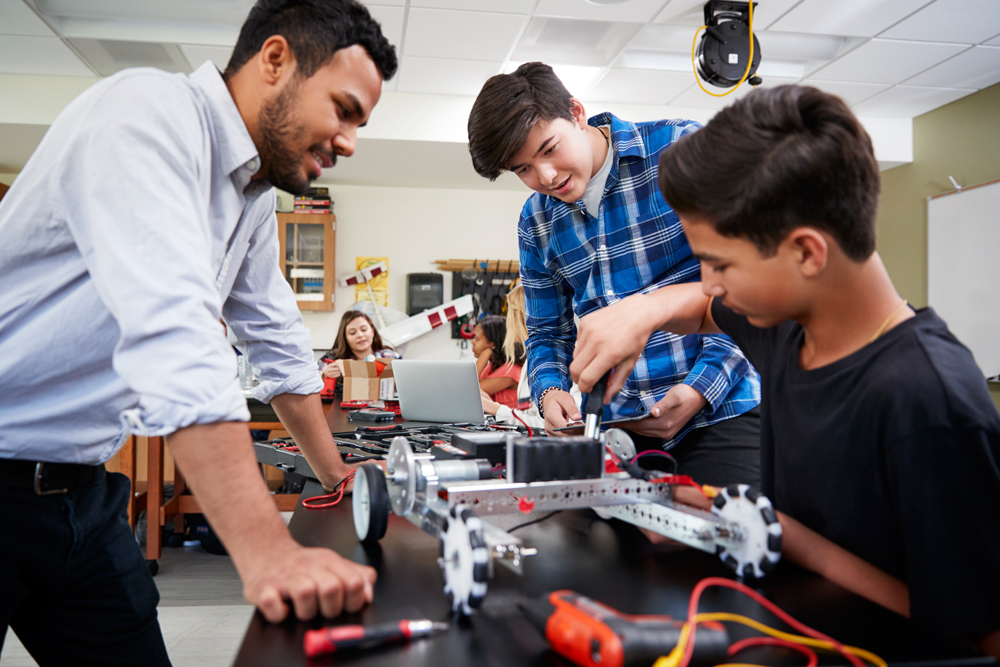 1, 3-5-ETS1-2, 3-5-ETS1-3
Disciplinary Core Ideas
ETS1.A, (3-5-ETS1-1)
ETS1.B, (3-5-ETS1-2), (3-5-ETS1-3)
ETS1.C, (3-5-ETS1-3)
Common Core State Standards
ELA/Literacy
RI.5.1, RI.5.7, W.5.8
Mathematics
MP.2, MP.4
Student Material
Student Worksheet
Download to view and share the student worksheet.
Download pdf
Share with:
Google Classroom
Robot Dance training for beginners (NEW) ALL LESSONS >>>
Robot is one of the styles of modern street dance. The robot style was the basis of the popping dance style. The direction of the robot had a strong influence on the development of other directions, such as dubstep dance , electric boogie . Even in the hip-hop style, techniques taken from the robot style are used. Therefore, learning a robot will make your dance more expressive and stunning.
1. About the robot dance. Basic Robot Dance Technique (Video Training Course on Robot)
First of all, pay attention to fixing the dime stop and how to do isolations correctly. It is these things that give a feeling of mechanicalness and iron, creating the image of a terminator or a moving combine according to your desire))) Also, do not rush and do not try to keep up with the music, because your robot is not late for the train!
Another little secret that will allow you to blow the mind of any viewer. Try not just to move like a robot, but try to become a robot at the moment of the dance! Then all your movements will be transformed and become true!
There is a robot dance school in Moscow in Moscow. If you want to quickly master this direction under the strict guidance of experienced trainers - come, we will help :)
2. Sequences in robot dance. Training for beginners
As such, there is no basic technique in this style, but it is replaced by the principles of dance performance. One of the most important principles is the principle of sequence of movements. That is, one next movement does not begin until the previous one ends. Of course, there are exceptions to this rule, as to any rule, but at first it helps a lot to avoid mess and confusion when performing a dance. Here, in general, the main thing you need to know for the successful development of this spectacular style!
3. Robot-style arm movements: online robot dance lesson
Many beginners often have a question: what can be done in a robot? What movements can be used in robot dance? 80% of robotic movements are done with the hands. So, you must know and be able to do it. In this lesson, the different options for how the hands should move will be analyzed in detail.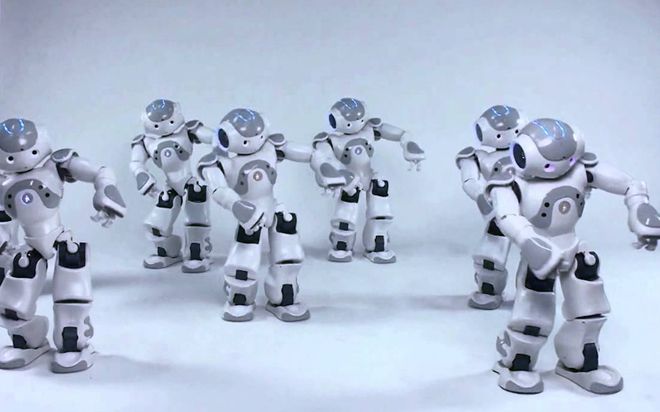 Even using only them, you can create very cool numbers and introduce the viewer into a complete trance.
4. Body movements. Robot dance tutorial
How to do inclinations correctly? Is it possible to use turns, and what is necessary for your body to become the body of a real "iron" robot. We will analyze the basic movements of the body during the dance, as well as you will learn about the principle of "fragmentation" and learn how to apply it.
5. Movement or gait of the robot. Online video lesson on the robot.
In this video tutorial you can learn how to walk like a robot. I will show you several options for walking, which will make the image of the robot in your dance more solid and "iron". There are simple movements that are suitable for beginners, and a little more difficult.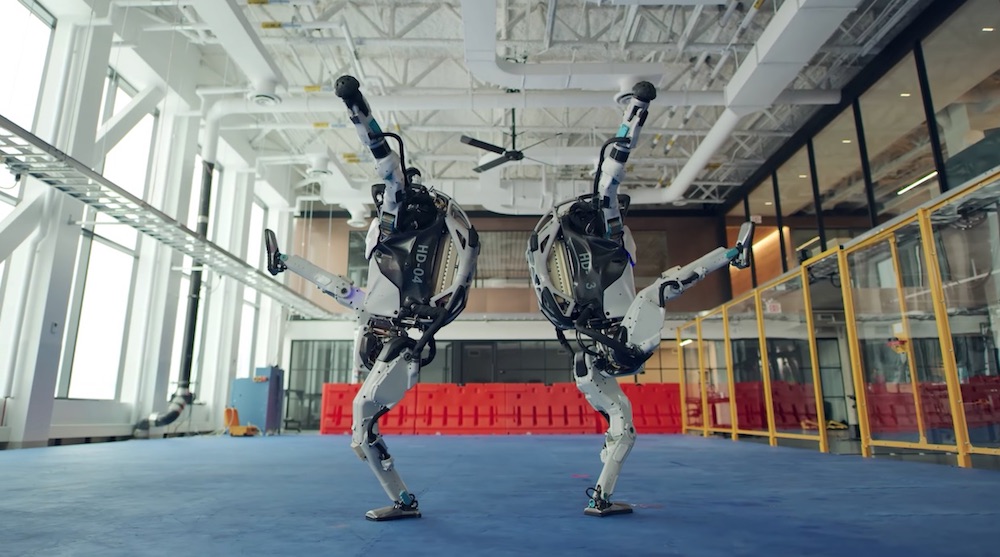 In any case, I'm sure that with just a little time, you can learn how to dance the robot! What's more, it's worth it!
6. Microcontrol and isolation. Robot dance training.
Want to learn how to dance the robot really cool? So that when people see your dance, they stand with their mouths open? Then it's time to "tune" the technique and work on an important detail, such as "micro control". You will learn one concept that will help you stand out from other people and dancers.
Robot dance lessons for beginners and not only in Moscow. Come join us for a trial session. It's free :) To sign up for it - click on the pink button below.
Robot/Robot dance VIEW ALL LESSONS >>>
Robot is one of the styles of modern street dance. The robot style was the basis of the popping dance style. The direction of the robot had a strong influence on the development of other directions, such as dubstep dance , electric boogie . Even in the hip-hop style, techniques taken from the robot style are used. Therefore, learning a robot will make your dance more expressive and stunning.
Robot demonstration. Online instructional video.
There is a robot dance school in Moscow in Moscow. If you want to quickly master this direction under the strict guidance of experienced trainers - come, we will help you :)
1. About robot dance. Basic Robot Dance Technique (Video Training Course on Robot)
First of all, pay attention to fixing the dime stop and how to do isolations correctly. It is these things that give a feeling of mechanicalness and iron, creating the image of a terminator or a moving combine according to your desire))) Also, do not rush and do not try to keep up with the music, because your robot is not late for the train!
Another little secret that will allow you to blow the mind of any viewer. Try not just to move like a robot, but try to become a robot at the moment of the dance! Then all your movements will be transformed and become true!
2. Robot dance sequences. Training for beginners
As such, there is no basic technique in this style, but it is replaced by the principles of dance performance. One of the most important principles is the principle of sequence of movements. That is, one next movement does not begin until the previous one ends. Of course, there are exceptions to this rule, as to any rule, but at first it helps a lot to avoid mess and confusion when performing a dance. Here, in general, the main thing you need to know for the successful development of this spectacular style!
3. Manipulations: online dance lesson robot
Many beginners often have a question: what can be done in a robot? What movements can be used in robot dance? One type of hand movement for robot dance is "manipulation". In this video tutorial, I'll show you how to do them right. I want to once again draw attention to the fact that everything must be done with isolation, otherwise the illusion is lost and the robot dance ceases to be real.
4. Movement or gait of the robot. Online video lesson on the robot.
In this video tutorial you can learn how to walk like a robot. I will show you several options for walking, which will make the image of the robot in your dance more solid and "iron". There are simple movements that are suitable for beginners, and a little more difficult. In any case, I'm sure that with just a little time, you can learn how to dance the robot! What's more, it's worth it!
5. Inertia. How to learn to dance a robot spectacularly.
After watching this video lesson until the end, you will learn about one subtlety that allows you to make the robot dance 100% stronger.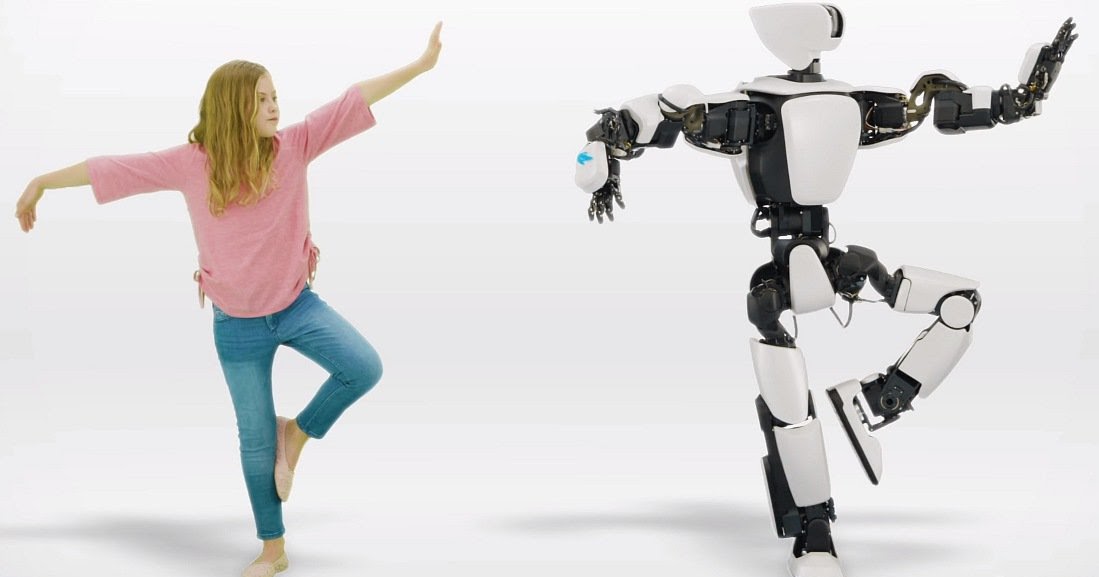 And the most interesting thing is that it is very simple.
6. Main types of dynamics. Robot dance training.
Want to learn how to dance the robot really cool? So that when people see your dance, they stand with their mouths open? Then it's time to learn about what types of dynamics are in robot style movements. You will learn one concept that will help you stand out from other people and dancers.
Bundles and robot dance style lessons
1. Bundle. Watch the training video of the robot.
It's time to apply all the robot moves we've learned and make the robot dance. Take your time when you learn this bundle. The main thing here is not speed, but quality and illusory nature. Gently repeat until you feel like you can do the dance sequence on autopilot, without "memory lapses".