How to build a tap dance floor
Tips for Tap at home: Tap Board DIY
Whether you are taking a tap class virtually, or just want a place to practice your steps, a tap board is a great tool to invest in and can greatly improve your at-home tap experience! While there are many expensive options online to purchase a ready-made tap board, it is super simple and affordable to DIY your own board. I have sourced a few products below through Home Depot, but I am sure the same products are available at other hardware stores.
Easiest (and cheapest) DIY tap board:
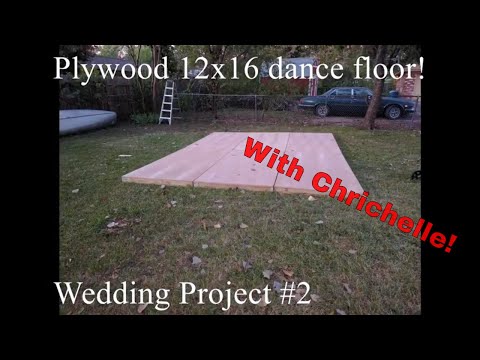
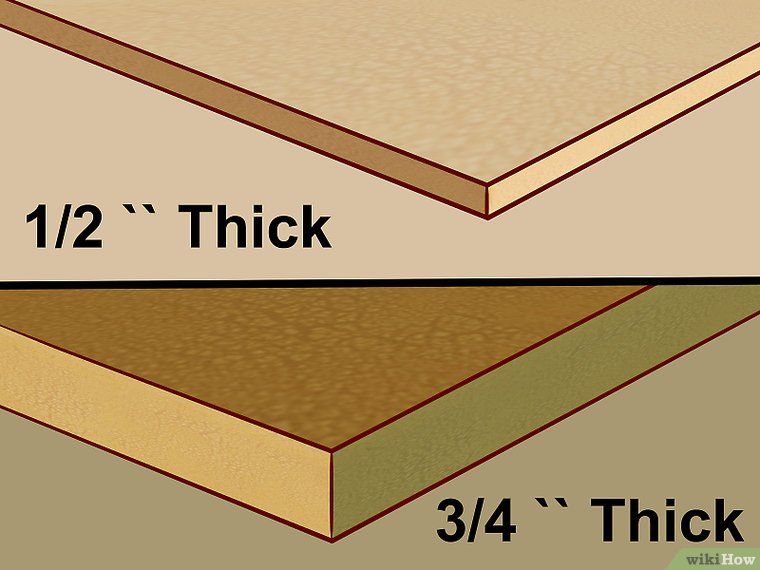
Owning a tap board can be as simple as buying a piece of plywood. This allows your dancer to still practice in their tap shoes at home without ruining any hardwood floors! A 4 ft x 8 ft board of plywood is pretty standard, however you can find larger sizes or ask for a piece to be cut in half (4 ft. x 4 ft.) to accommodate your space. Regardless of the surface area of your board, you will want at least ½ inch thickness. A 1 inch plywood will be more durable whereas anything thinner than ½ inch will be pretty flimsy. Also consider how often you will be moving the floor, as they can get pretty heavy with greater thickness.
Improved tap board:
If you have any craft family members, there are a couple of easy ways to improve on the simple plywood piece. These improvements will give your tapper better sounds and make dancing on it more comfortable.
Cushioning: By adhering a cushioning layer to the bottom of your plywood, the board will have a little more give and be a bit easier on your dancer’s joints. An easy option is the interlocking play mats (which you may even have laying around at home already). These are 2 ft. x 2 ft. so it is easy to line these up your piece of plywood. Attach the mats by first interlocking and gluing the mats together to the appropriate size, then glue them to the bottom/rough side of your
plywood piece. Gorilla Glue or Liquid Nail Subfloor Adhesive works great for this. It is important to make sure the mats are pressed firmly into the wood (use books or other weights) so they adhere completely.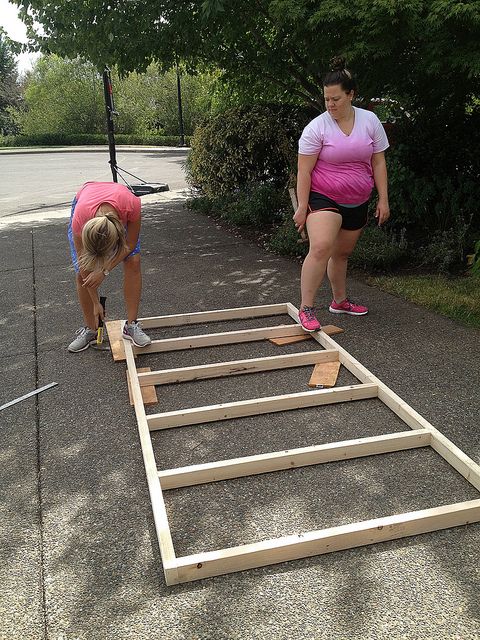 Use lots of glue and let it dry overnight.
Interlocking mats can be found here!
Top coat or laminate layer: If your tapper is using the board frequently, there is a good chance they will start to chip the board with use. One option is to add a layer of interlocking laminate to the top of your plywood, gluing it on as you did the interlocking mats above. When selecting a laminate flooring, you will need to ensure you measure the size of the interlocking pieces to fit the size of your board, and that the pieces fit together snug. You do not want any ridges or spaces between the laminate pieces as it is really easy for your tapper to trip on these when their taps catch on them. To avoid this, another great option to reduce chipping is to paint a wood finisher onto your plywood. Make sure to follow the instructions on the polyurethane, cleaning the board with a dry brush and then allowing each layer to dry and cure. This takes a bit longer, as you will likely want to do multiple layers for good protection.
Get the goods:
Laminate Flooring
Varathane Polyurethane
Keep dancing!
About the Author: Miss Lauren is a dance teacher with Flexpointe Studios Inc. This summer she’s taking her tap classes outside! We hope you’ll DIY up your own tap board and join her.
How To Make Your Own Practice Board for Tap Dancing
How to Make Your Own Home Tap Dancing Floor | Instructions for Making a Tap Dancing Floor
| A Note From Kathie: Kathie Walling, Editor Tap Dancing Resources | Contact Kathie | | | Instructions for making your own home-size tap dancing floor. The most basic home practice floor is simply a piece of plywood. Most Basic Home-Made Tap Floor Improved Home-Made Tap Floor Sebastian's DIY Tap Floor Cassandra's Tap Dancing Practice Floor Double Zero "Tap Floor DYI" Instructions Discussion About Home-Made Tap Floors: Heather Happens "DUYI Dance Board" Video Kateire "Build Your Own Tap Dance Floor" Video More About Dancing Floors Products for Tap Dancers Regional Tap Dancing Resources All Tap Dancing Resources See also | | Amazon Ad Tap Events: Tap Festivals Tap Worlds Tap Dance Day Practice Tool Online Metronome Follow Us On Social Media
Tap Shop Tap Shoes Amazon Ad |
 Enhancements can include attaching material to the top of the board for durability or a better tapping surface and attaching cushioning material to the bottom of the board to make tap dancing easier on your bones and joints.
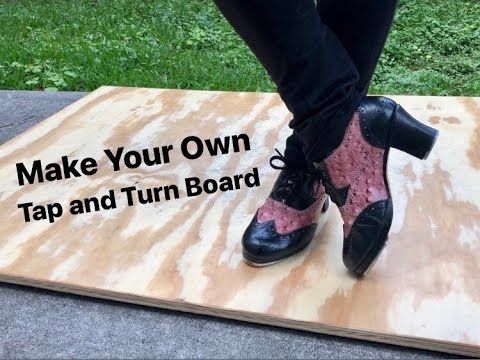
| | Argentina | Armenia | Australia | Austria | Belgium | Brazil | Bulgaria | Canada | Cayman | Chile | China | Colombia | Costa Rica | Croatia | Cuba | Czech Republic | Denmark | Dominican Republic | Egypt | Estonia | Finland | France | Germany | Greece | Guatemala | Honduras | Hong Kong | Hungary | India | Indonesia | Ireland | Israel | Italy | Japan | Korea | Latvia | Lithuania | Malaysia | Mexico | Mozambique | Namibia | Netherlands | New Zealand | Norway | Peru | Philippines | Poland | Portugal | Russia | Serbia | Singapore | Slovakia | Slovenia | South Africa | Spain | Sweden | Switzerland | Thailand | Turkey | Turks Caicos | Uganda | Ukraine | United Kingdom | United States | Vietnam | | | Topics Awards Classes Dancers Ensembles Events Regions | | Products Tap Shoes E-Classes Accessories Books Suppliers Products Menu | | Follow Us Tap Dance Blog Facebook Group Facebook Page Twitter Feed |
Best type of flooring for tap
0
0
0
| Free dancing
Free dance
What is the best way to tap dance
If someone starts tap dancing, they should know that the type of floor they will be dancing on is just as important as tap shoes. The best flooring for tap dancing is one that is stable and resonant. A stable floor can withstand impact without damage. The resonant floor creates strong and deep sound tones. The resilience and resonance of a floor is determined by what it is made of, as well as by what lies beneath the surface of the floor. nine0004
What is the best tap dance floor
Hardwood is the best choice for tap dancing
The best tap dance floor is hardwood floor such as maple or oak. Hardwood floors are less susceptible to damage than softwood floors such as pine. Maple is also a great choice for a dance floor as it is unlikely to be chipped by heels and does not need sealant to protect it from water damage and deformation. nine0004
What is the best way to tap dance
It is very important to determine the type of floor that lies under the surface on which the foot steps. If the sounds that are heard when "typing" steps are not resonant, and the pitch does not change between the heels and toes, then most likely there is a concrete floor under the tree.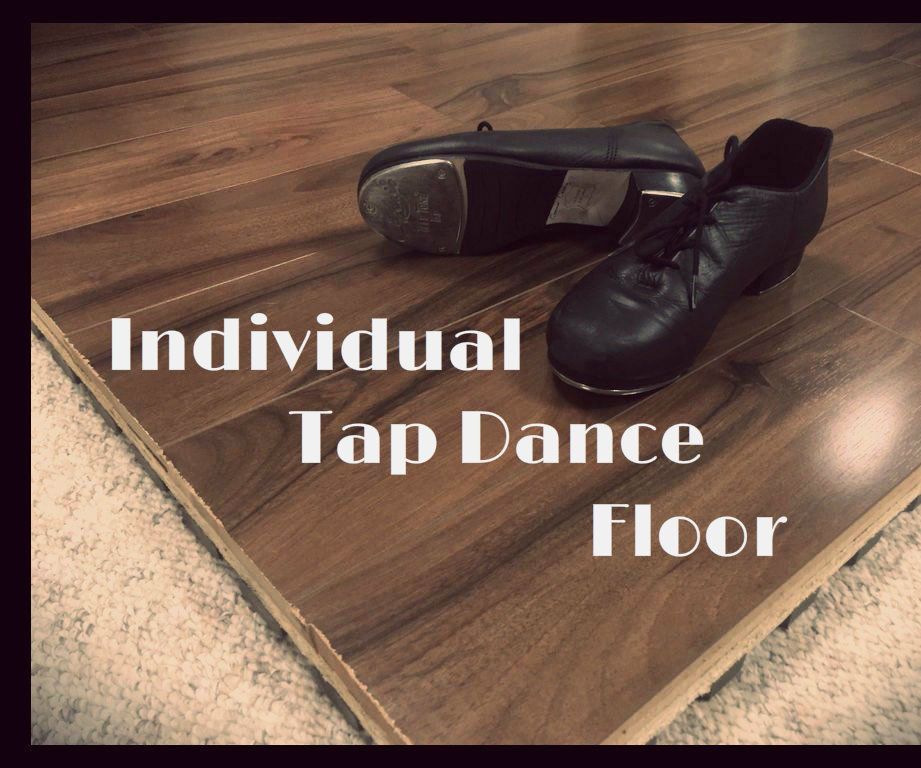 The concrete subfloor is very "heavy" for dancing and can lead to injury to the knees, back or legs. The best and safest floor for tap dancers is a hardwood floor with an air cushion underneath. The so-called "spring floor" is created by installing a series of floor beams under the wood flooring with spring coils between them. This type of floor vibrates perfectly and produces more resonant sounds. nine0004
What is the best way to tap dance
How to make a dance floor at home
If someone plans to do tap dancing at home, he will definitely need to make himself a “correct” floor. If you want to make it faster without "bothering", then perhaps the best choice would be a sheet of 4x8 plywood, which can be purchased at a lumber store. It is worth choosing a sheet with a thickness of about 1 - 1.5 cm.
dance, tap, tap dance, training
Share link
Blogs
- Popular posts
- All entries
- Mosaic of site
- Last comments
- All blogs
- Technical Support
- Site statistics
- FAQ nine0074
Blog tags
Find a tag:
Follow @4dancing
4dancing
Small mosaic
large mosaic
take the first step. Online lesson №1 (photo, video)
11
+10
1
| Free dancing
Free dance
Tap dance - take the first step. Online lesson No. 1 (photo, video)
The basic movement of tap dance is a step. This movement serves as the basis of the foundations in all types of step. In the Irish jig, in the American tap, in the European step, or in the good old tap dance, there is one common element - the step. The step can be found in absolutely any dance of the tap dancer. Everything starts with him. nine0004
Before learning
When learning tap dance, you need to get used to new shoes.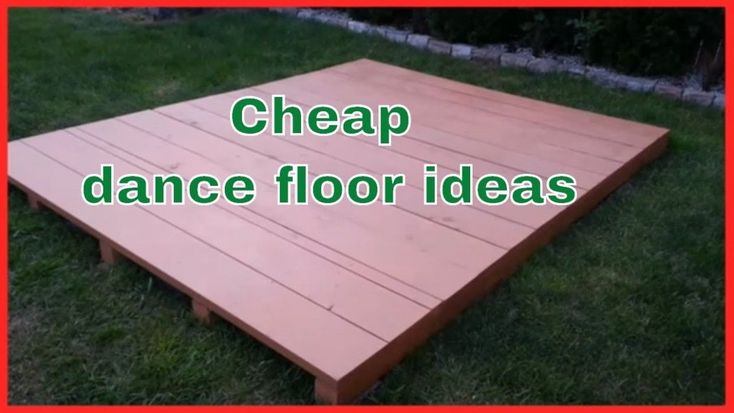 Shoes with metal heels are the main and indispensable accessory for a step dancer. When performing a “step”, you need to stand in one place and take a normal step, while placing your foot evenly across the entire foot. Now we will analyze the four basic elements of tap dancing: ball-change, flap, shuffle, brush.
Tap dance - take the first step. Online lesson №1 (photo, video)
Ball-change
This element is very easy to implement. First, we strike with the right foot, while the entire foot is placed on the floor. After that, we strike with the toe of the left foot. Now it remains for us to alternate the step with the kick of the toe.
Tap dance - take the first step. Online Lesson #1 (photo, video)
Flap
This is a simple step with a little twist in execution. The leg is not placed on the entire foot, but first a heel strike is made, and then a toe.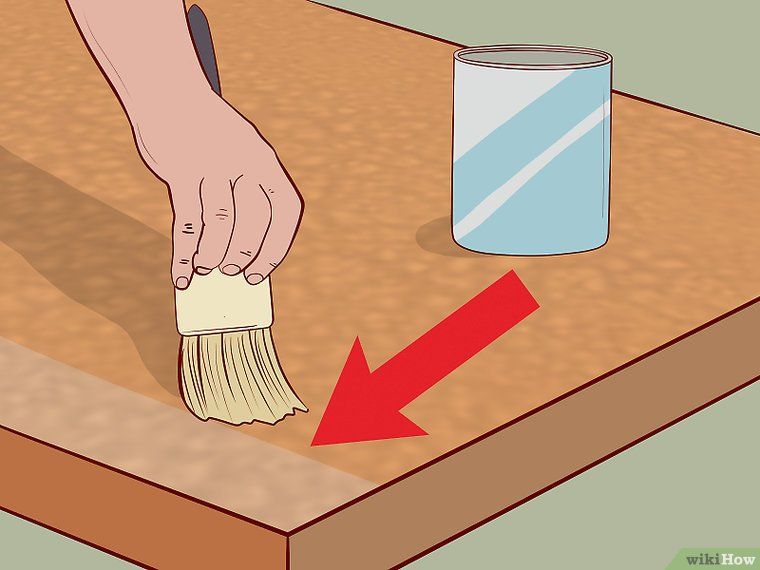 After that, the leg is placed on the floor and a similar movement is made with the second leg. When performing this element, the heel and toe strike is not done strongly, in order to create a feeling of lightness. Light strokes in the step make the dancer imposing. nine0004
Tap dance - take the first step. Online lesson No. 1 (photo, video)
Shuffle
This movement is performed similarly to the previous element. However, when performing Shuffle, a step forward is taken and the dancer's body leans, as if continuing to move.
Brush
A heel strike is performed with the foot forward. Then he returns to his original position, hitting with his toe.
This video demonstrates all four elements in various combinations.