Belly dance belts how to make
How to Make a Belly Dance Belt - Ultimate Guide to Perfectly-Fitting Belt Pattern Making
by Mao on in DIY Belly Dance Costume Blog, Uncategorized • 0 Comments
Over the last couple of posts, we’ve been discussing what it takes to create a beautiful, perfectly-fitting belly dance costume to wear at the next show.
We saw that how a well-fitting, beautiful costume can turn a dancer into a more confident and professional one… even if she is a hobby dancer!
And I shared with you my very own 7 biggest mistakes that made my belt turn around my hips while I danced on stage.
It was only later that I realized all I was doing was making a costume by guessing and hoping it’ll fit. I wasn’t taking the steps to make sure it WILL fit me.
Once I realized that, my costume making became more fun and satisfying!
In fact, there are only a few things that are crucial to making a costume that really fits. And the very first one is this:
You need to make a custom template for your costumes based on your unique curves.
And once you make a custom template, you can simply use it over and over again to make a costume to fit you EVERY SINGLE TIME.
It’s one of those one-time tasks that will make your life so much easier 🙂
The Most Important Technique for Making a Perfectly-Fitting Belt
Although I realized those rectanglular belts weren’t working for me, and I needed a more customized fit, I still had to figure out how to make a belly dance belt that fits me.
I tried making paper patterns, I experimented with different shapes, I looked through tons of pictures of belts that other dancers created…
But over and over, no general “how to make a belly dance belt” instructions worked for me.
So instead, I incorporated all the tips and tricks I learned and made a technique to create a really customized belt pattern.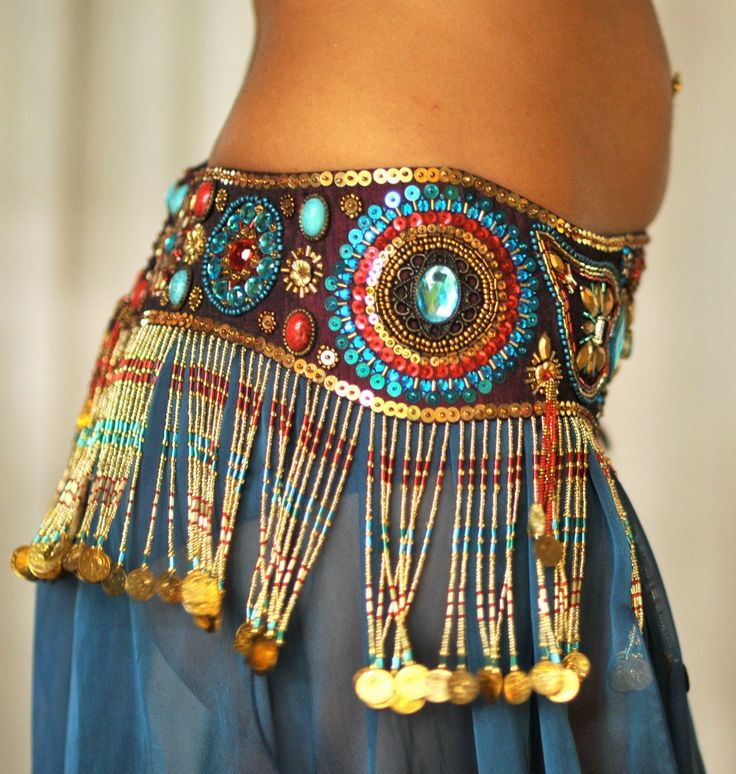 And after a few years I developed this technique, this is the single most effective approach to making a well-fitting belt.
This technique is like, cloning the shape of your hips and turning it into a belt… Okay, let’s call it the Hip Cloning Technique. 🙂
Thanks to this technique, I know my belt will fit me before I even start cutting materials. And this technique has worked for people of all different sizes.
Here’s Royah’s example:
“I followed Mao’s instructions and look! No muffin top and no gap at the back on the belt. Everything fits smooth and perfect.”
– Royah, Belly Dance Costume Workshop participant
The best part – once you make one pattern, you can use it over and over again to make as many belts to fit you as you like! If you gain/lose weight, you’ll know how to make a new pattern. It works for any size.
That’s the power of custom patterns!
How to Make a Belly Dance Belt Pattern that FITS!
Okay, so here are all the steps involved in how to make a belly dance belt:
- Make a pattern
- Make minor adjustments to the pattern to make it really fit
- Use right materials to make the belt base
- Cut out the base materials based on the pattern
- Assemble the base pieces
- Cover them with fabric
- Decorate, and add lining and closures
As you can see, the pattern you make at the very beginning affects everything else you do. In other words, if the pattern is off, all the work you put into it will go to waste.
You might be thinking, “But pattern making is difficult, right?”
Well, pattern making IS a complex subject.
But my Hip Cloning Technique is actually very easy. It can be done in less than 1 hour.
But not to be taken lightly.
Below I’ll show you the Hip Cloning Technique step by step, and help you make a perfectly-fitting belt pattern as well as perfectly-fitting belts 🙂
The Hip Cloning Technique
For the Hip Cloning technique, you need:
¼ yd (¼ m) non-stretch fabric – any scrap fabric would do, but make sure it does not stretch.
Pins
Marker
Scissors
Measuring tape
Step 1: Put on yoga pants or leggings that show your curves clearly.
It’s important that you can see and feel your curves well.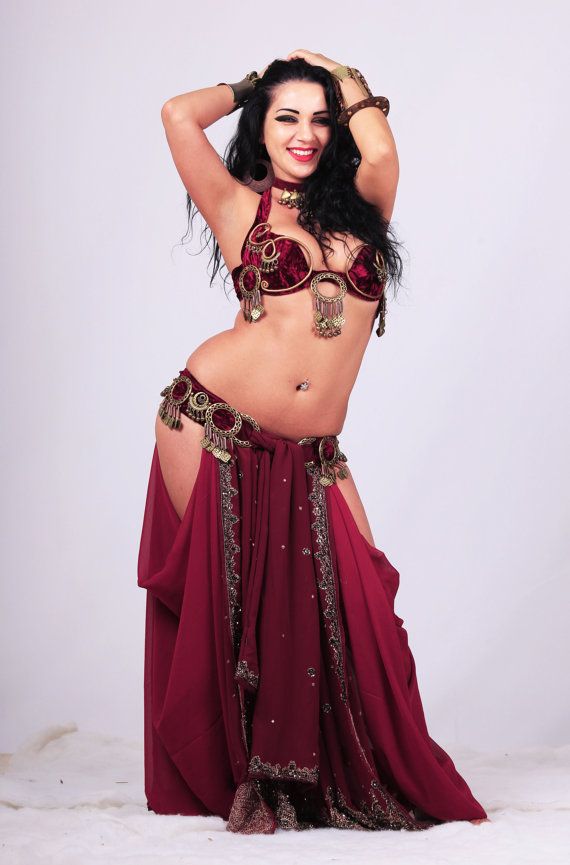 So put on fitted yoga pants or leggings, and fold the waistband down to where you’d like your belt to sit.
Step 2: Measure the largest part of your hips.
Step 3: Cut the non-stretch fabric into 2 pieces of 8in (20cm) x (½ hip measurement + 4in (10cm)).
One is going to be your front panel, and the other one is going to be your back panel.
Step 4: Stand in front of a mirror, and pin these panels to your pants around where you want them to be.
Place one around your back and place pins at sides…
Then place the other one around your front and place pins at sides.
These panels should be overlapping at sides.
Step 5: *IMPORTANT* Make the panels fit well by creating darts.
So at this point you’ll notice that there are gaps at the top and bottom of the panels. Here, it is very important to take your time and close these gaps by creating darts.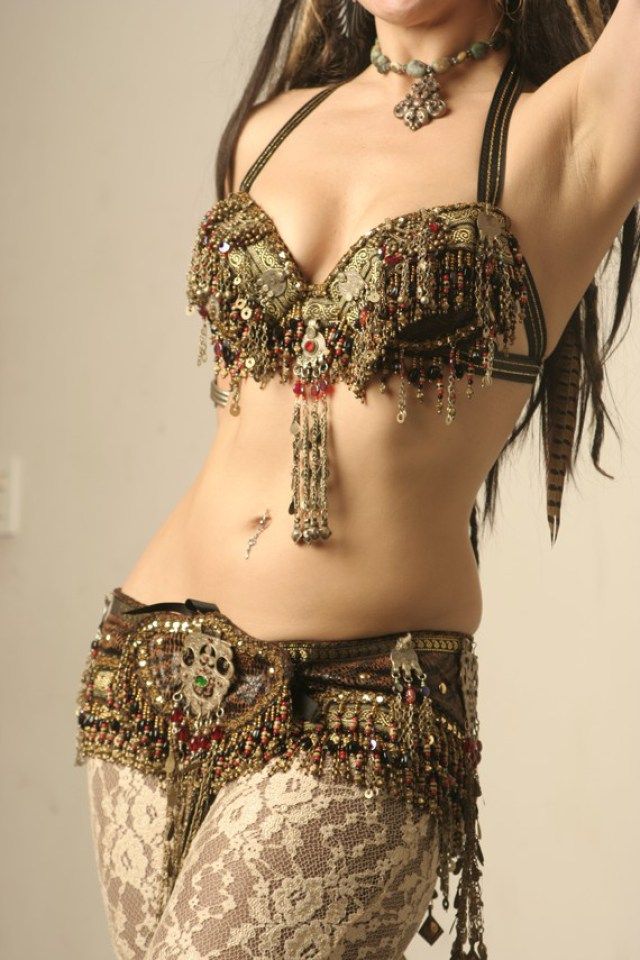
A dart is simply a small fold you make to turn a flat piece of fabric into a 3D shape. It’s a super easy, but powerful technique.
So where you find a gap, take about ½-1in (1-2.5cm) of fabric and make a fold on the inside of the panel. Place a pin to keep the fold in place. (Don’t pin it to your pants, just pin the panel fabric.)
Make as many darts as you need to make the panel fit well, and try to keep the placement of darts symmetrical, but it doesn’t have to be perfect. Aim for a good fit, not perfect symmetry.
Here’s what the front part looks like for me.
You may not need many darts in the front, but you’ll likely need 5+ darts to make it perfectly fitting. If you can’t reach the back part, get a friend to help you 🙂
This is what the back side looks like.
With every dart, you’ll feel that those flat panels start to take YOUR unique shape.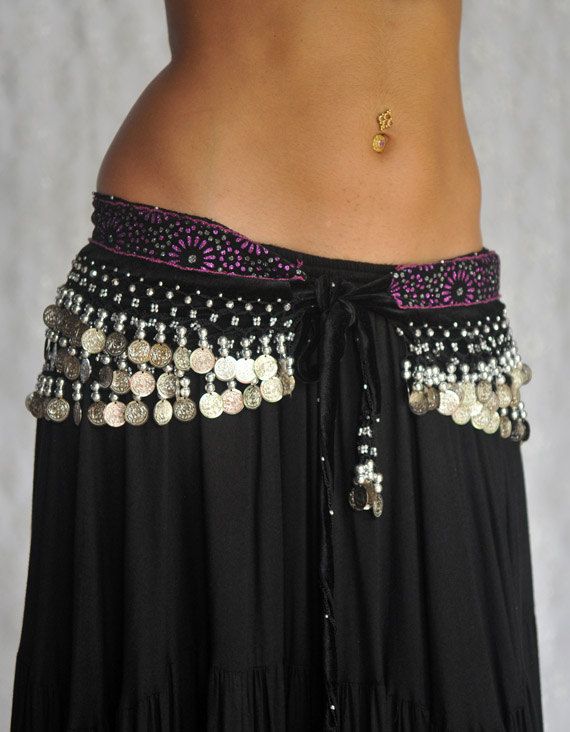 You see how you’re cloning your curves here? Take your time here, because this step is key to creating a perfectly-fitting belt pattern!
Step 6: Draw the belt shape directly onto the panels!
Once you got the last step done and you’re happy with the fit, the rest is easy!
Simply take a marker, and draw the belt shape you like directly onto the fabric 😀
It’s really up to your taste, but it’s easy if you just focus on a half of the panel. If you’re right handed, work on the right half, and if you’re left handed, work on the left half.
First trace the top of the waistband of your pants.
Decide how thick you want the belt to be, then draw the shape of the belt you like. Draw on the panels while looking at the mirror until you are happy.
And that’s it for the front panel.
The back panel is tricky, so we just mark a few points. First, decide how thick you want the back panel to be at the centre.
Then at the side, mark the same width of the end of the front panel onto the back panel.
Now take off the panels by removing pins (only ones that are holding the panels to your pants, NOT the darts).
Adjust and move darts so they are positioned symmetrically. And be sure to move the pins holding those darts to inside the outline, so that you won’t lose the darts. Then cut along the line you drew, fold at centre and trace it onto the other side.
And now you have a front panel like this!
For the back panel, connect the centre back marks and side marks and draw the shape you like for your back panel.
Then cut along the outline. Again, be sure to move the pins holding darts to inside the outline, so that you won’t lose the darts 🙂
This part may take a little trial and error to get the shape right.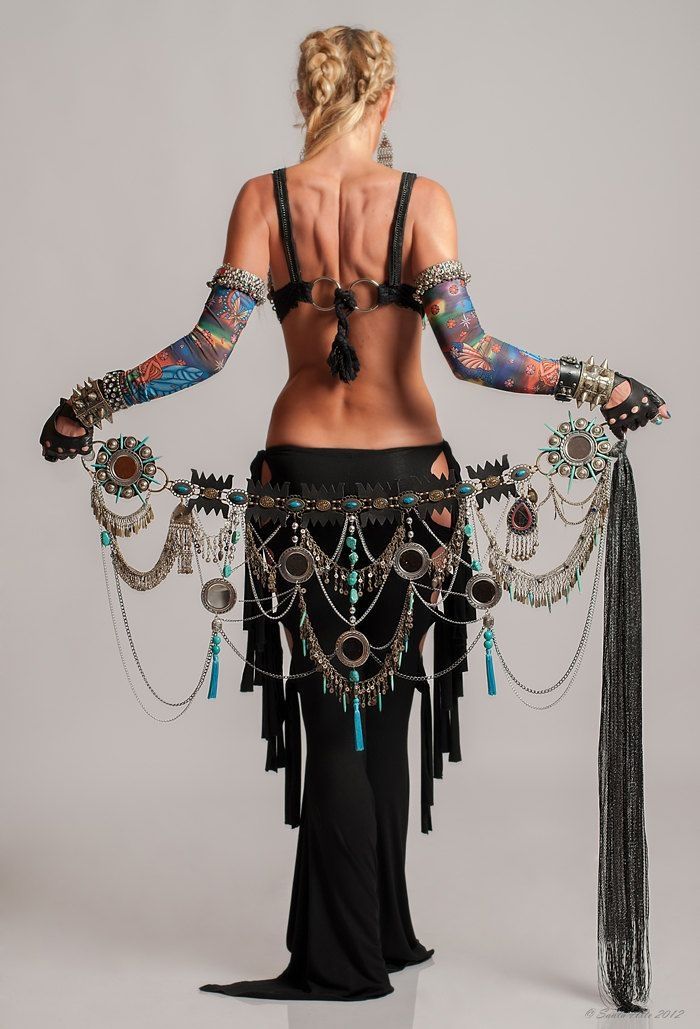 I’ll show you where you can learn to get the shape right more quickly in a minute. But for now, If you’re unsure, keep it a little bigger, so you can make small adjustments until you’re happy.
Once you’re satisfied with the shape, hold the panel in half and trace it onto the other side. Cut along the outline, and you have a back panel like this!
Now try on the panels, and see the fit. 😀
Do you need any more darts? Do you need to remove any darts? Are the side seams still aligning?
Make adjustments until they fit you perfectly.
And you’ve got a perfectly-fitting belt pattern! 😀
Like I said earlier, this Hip Cloning Technique is really not difficult or complicated. It doesn’t require any advanced seamstress skills. It’s just folding, pinning and drawing 🙂
But unlike general “how to make a belly dance belt” instructions, this Hip Cloning Technique is super customized.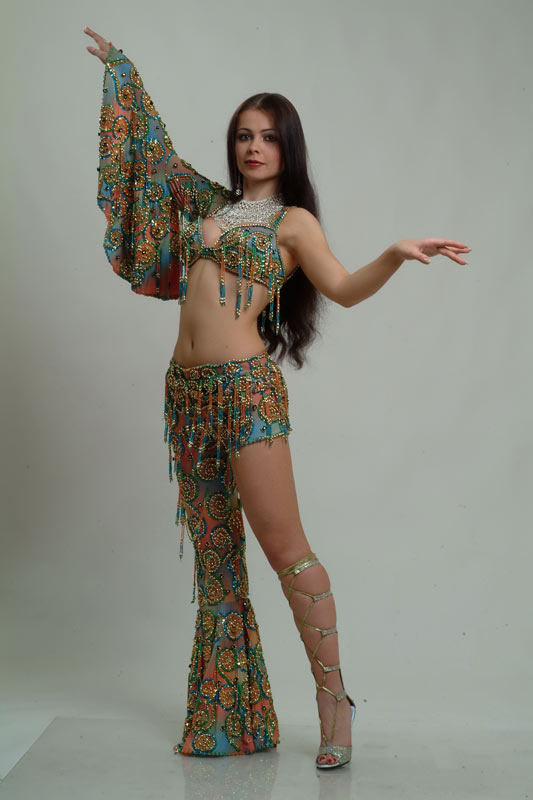 You can make sure you make a belt pattern that fits you perfectly. And with this pattern, you can go ahead and create a belt with confidence, because you KNOW this fits you perfectly.
So go ahead and give it a try! 😀
Of course, there are more steps to creating a belly dance belt that fits well. In fact, you may have other questions like,
- What’s the ideal shape of a belly dance belt? What belt shapes to avoid?
- What materials are best for creating a sturdy belt?
- How do I make the rest properly!?
If you’re interested in finding out step-by-step instructions to these questions, I have good news!
I’ve put together my step-by-step belly dance belt making method into 1 single program. It’s called, Belly Dance Costume Workshop (BDCW)!
The Hip Cloning Technique is only one small part of the belly dance belt making method in the BDCW that helps you create a perfectly-fitting belt that stays around your hips.
In the workshop, you’ll see exactly HOW TO SHAPE your belt pattern and the recommended belt width so your belt won’t be turning around your hips as you dance.
And I also cover how to make a sturdy base, and how to sew it together so all the darts will stay nice and flat, and how to cover it with fabric beautifully for a professional look.
Plus I have methods and techniques like this for making perfectly-fitting belly dance bra and mermaid skirt… And I’m so excited to share them all in detail in this program!
The workshop is only open a few times a year for enrolment, so I can give a lot of attention to my students. And right now, it’s open for a very limited time!
It’s perfect if you’ve always wanted to create a beautiful, professional quality costume to fit your unique curves with confidence.
Since you’ve come along with me this long, I’d love to invite you to check out the workshop while it’s open!
Click here to learn more about the Belly Dance Costume Workshop!
Be sure to check out the limited time special bundle as well! 😀
Thanks for reading, and keep sparkling!
How To Make A Belly Dance Belt (the easy way)
by Erica in Belly dance, Costumes Tags: bedlah, belt, clothing, costume, embellished, fitted, joann fabrics
Base with coin belt, stampings and Turkish buttons
I love costumes.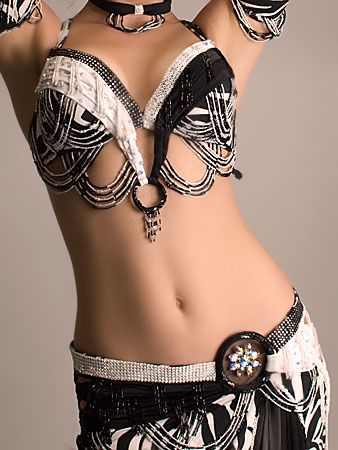 If you are reading this you probably do too. But I am also very busy and don’t want to have to choose between looking glam and paying the mortgage. If you feel the same way, this post is for you. If you don’t get too crazy with the embellishments this project can be completed within a day, and cost as little as $15. I have adapted this technique from several books and blogs that I have read, and I have come up with my own style.
What you will need:
- A pattern
- about a half-yard of buckram (depending on size)
- a half-yard of fabric (depending on your size and the width of the fabric)
- half-yard of felt, fleece, sweatshirt, or other non-woven material, should be thick and stable
- half-yard of lining material, may be the same as above
- thread to match the fabric or upholstery thread (depending on technique)
- 4 pant hook closures (heavy duty)
- embellishments of your choice
TIP: This is a great project for remnants.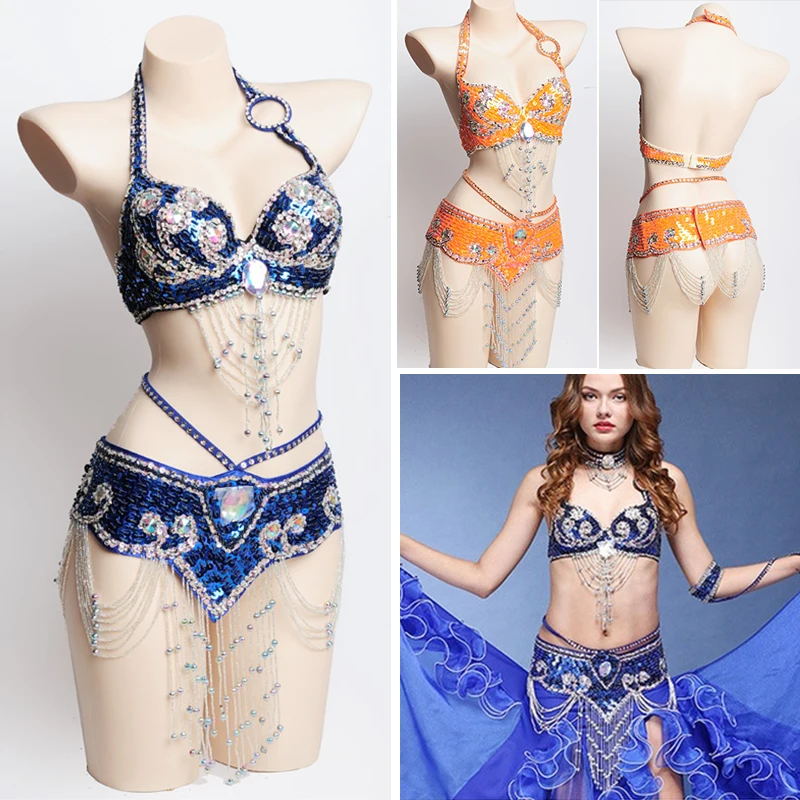 If you don’t have a long enough single piece of buckram, you can zig-zag stitch a couple pieces together. It is OK to overlap the buckram. You can abut pieces of felt together to make a full pattern piece, but do not overlap or it will add uneven bulk. Nobody is going to see the base so don’t worry if it looks like Frankenstein’s monster.
Step 1: The Pattern
Confession time: I’m pretty lazy. But I am also busy. This has led me to the crossroads of efficiency. If you have worn any sort of fitted belt before you know that they are not straight, but curved to fit your hips. I’m not great at making more advanced patterns, I can’t ever seem to get the measurements right with a tailor’s curve. So I just bought a pattern. I DO NOT FOLLOW THE PATTERN INSTRUCTIONS. I just bought it for the curve. If I wait for a sale at JoAnn Fabrics I can get patterns for $1-$2, which is totally worth the money vs wasting my time trying to make my own pattern. Today I will be using Simplicity (TM) Pattern #2158.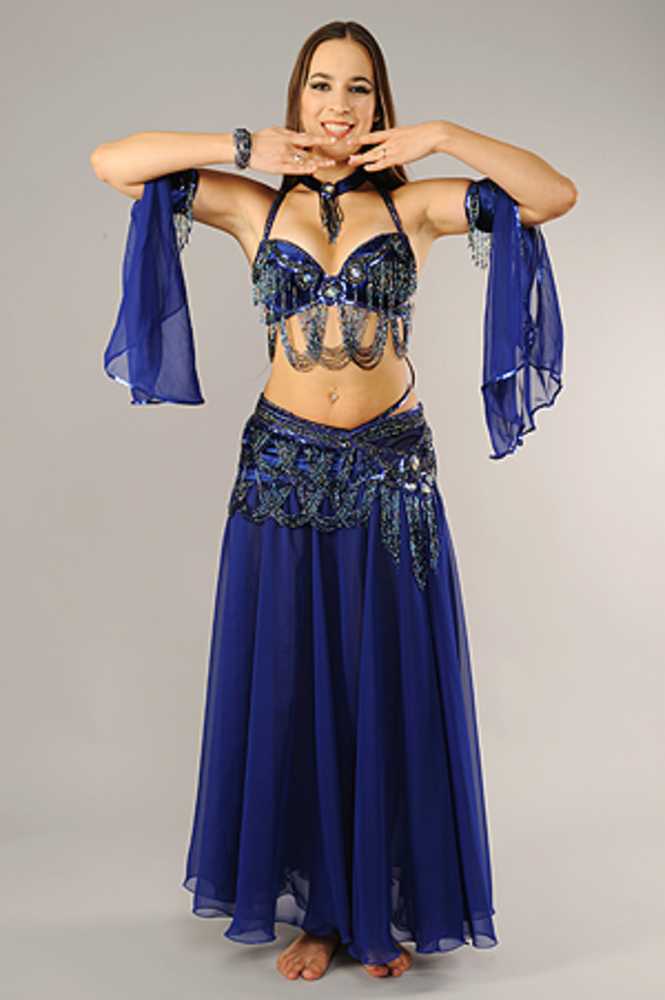 There are other patterns, you don’t have to use this specific one.
Simplicity (TM) Pattern 2158
A note on pre-made patterns here: The sizing is not even remotely what your actual dress size is. When I buy a dress or pants at a department store I am typically about a size 8. In a Simplicity (TM) pattern I am size 16. Measure yourself before you buy the pattern. One other drawback to purchasing a pattern is that they often do not make patterns for larger ladies. The largest size they make for #2158 is their size 22, which is a 46 inch hip. You may be able to alter it up, but I leave that to you more knowledgeable sewers. Do bear in mind this is not fitted around the curve of the butt (no darts), just around the hip.
Back to the part where I don’t follow the pattern directions. If you made this to specs it would be rather thin and the instructions would have you lacing it up in the back with ribbon. This is not something I would ever do. That’s just crazy. We’ll fix that in step 2.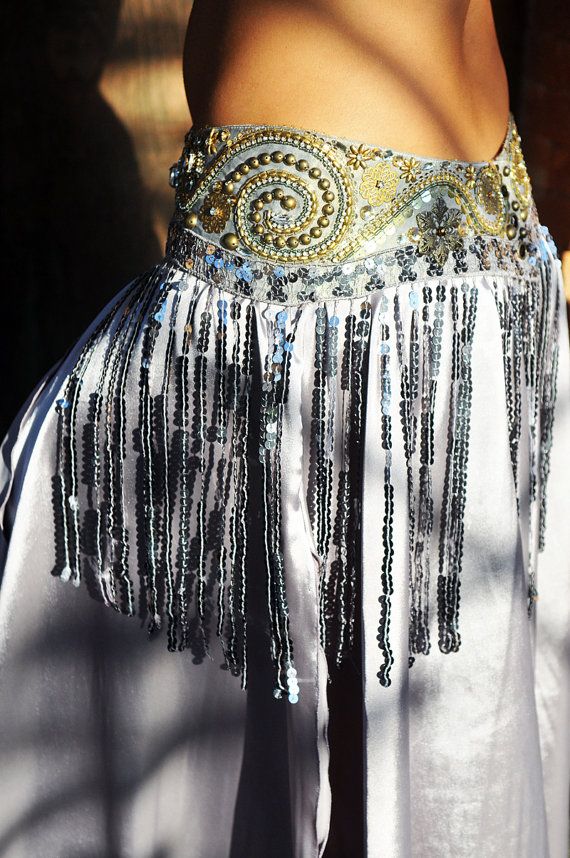
Step 2: Making The Base
Cut 2 pieces out of buckram
First, cut out two layers of buckram for the base using the pattern as it is, and stitch them together as 2 layers. This is your sturdy base for adding embellishments that will not sag or lose shape. Pattern #2158, as I mentioned, plans for you to fasten the belt in the back. There actually may be instances when you would do so, like if you are attaching a super cool pre-made coin belt to the base for stability, and that coin belt just happens to hook in the back. But normally if I have to quick change in a dressing room between acts I like to be able to easily reach the hooks so I make it hook at the side.
I used a loose zig-zag stitch to join the two pieces. Didn’t like the pointy tip so I just cut it off.
So, once you have cut out the 2 buckram pieces and sewn them together (DO NOT trim down the seam allowance), figure out where you want the fasteners to hook up. I usually prefer on my left hip. I place the fasteners in such a way that the front will overlap the back so the audience won’t be as likely to see the hooks. It doesn’t really matter, as long as you can comfortably hook it. You can even make a front and back piece and have fasteners on both sides. For my example I will only hook on the one side. If you want the belt to hook in the back just leave it as-is. If you want the belt to hook on the side, wrap the buckram around your hips where you want it to rest and mark (or have a friend mark) where the ends overlap across your backside. Then make a mark where you want the fasteners to go. Sew the back ends together in place so you have a full circle. Then just cut where you want the fasteners to go. I recommend making it a little loose at this point because you will need a little overlap for the fasteners. You will get extra overlap with the addition of lining and fabric, but adding all of this together gives you some wiggle room if you need to adjust for a change in your body size.
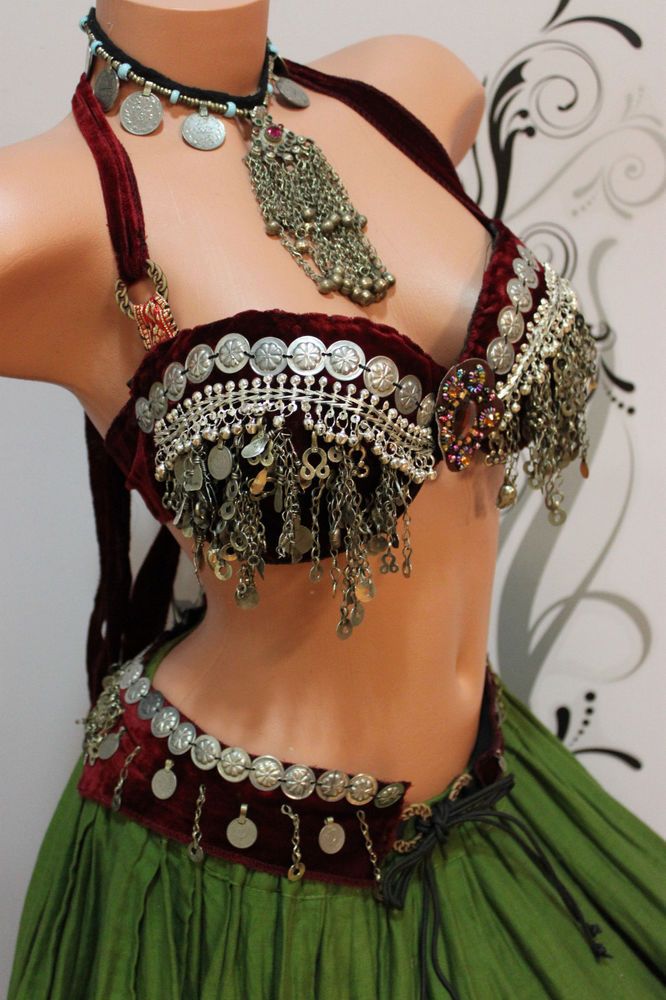
Stitch the back ends together, then cut the side where you want it to fasten
Note: this particular pattern has a point in front. If you don’t want a point you can just cut it off at this stage. But the back and front are still different, this is not reversible. If you decide you want to turn it around so the fasteners are on the other side you can’t after you have the fabric on.
Thinking ahead: You can also now cut out the lining using the buckram base as a template.
Step 3: Bulk It Up
Used a wide zig-zag stitch to attach the felt layer
Now you will want to use your buckram belt base as a template for your next layer of felt, fleece, or whatever material you have chosen. You will want to use something with some bulk to it for stability. The technique you choose for attaching it will actually be decided by what material you use to cover it. If you are using a thinner material I would recommend you cut out a piece of felt that exactly matches the buckram base, and stitch it on just like you stitched the buckram together.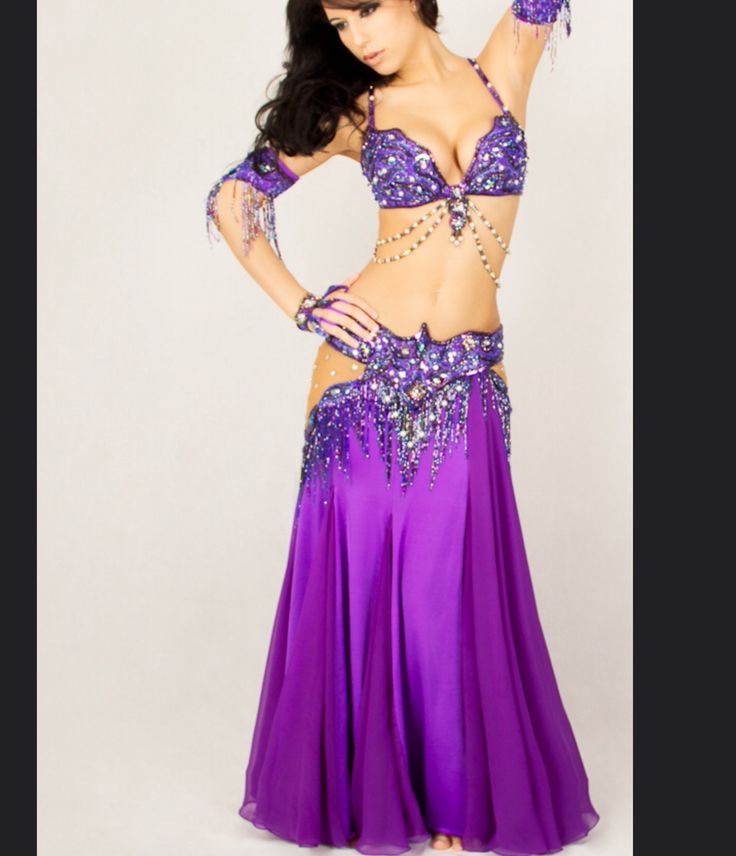 If you are using a very thick material, like Velboa or other fake fur, stitching with a sewing machine can be extremely difficult. In that case I would cut the felt an extra inch all the way around, fold it over and then top stitch it on to the buckram. That way you can hand stitch the Velboa (or whatever) directly to the felt. I would not use the overlapping felt method to work with thinner materials because it can lead to wrinkling and bunching, and just unnecessary extra work.
Step 4: Cover The Base
Top-stitched the cover fabric. Note there is some wrinkling here. This was a rubbery fabric that was difficult to work with so consider that in your fabric choice.
Now you can use your buckram and felt base as a template to cut out your cover fabric. Cut the fabric an inch larger than your base. Fold it over the edges and pin it. For corners I typically fold diagonally along the point, and then fold in the sides. For thinner fabrics, top stitch it in place.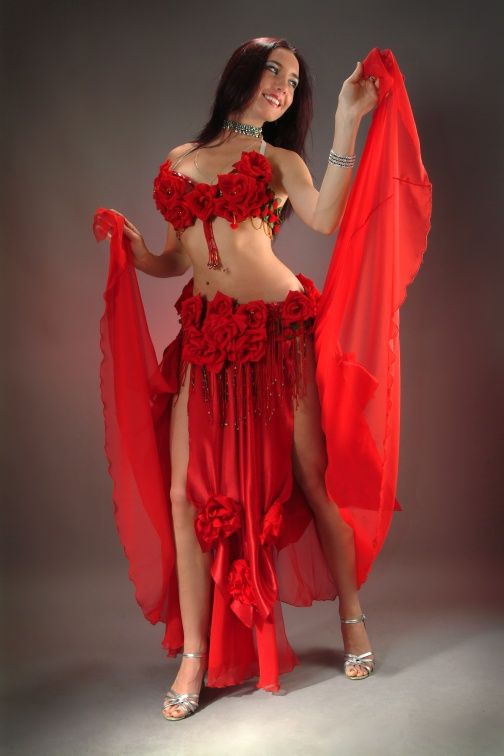 For thicker fabrics, whip stitch fabric in place to the felt on the “wrong” side of the belt.
In this version, the fake fur was too thick to fold and I had to cut notches at the corners. This part will not be seen and does not have to look pretty.
Step 5: Embellish
This is a good solution for stabilizing unruly coin belts.
I embellish BEFORE I add the lining so that all of the little knots don’t rub against me or my skirt, which can be irritating to me, but also cause the knots to come loose. Here you can just go wild and do whatever you want. Or, if you have really nice fabric, or just have a minimalist style, you can do nothing at all. Totally up to you. I strongly recommend upholstery or beading thread for this stage if possible (if the thread doesn’t really show) because normal sewing thread can break easily here.
Step 6: Line it
I use whatever I have handy because nobody is going to see the lining anyway. Sometimes felt, sometimes I use whatever remnants I have around that fit the bill.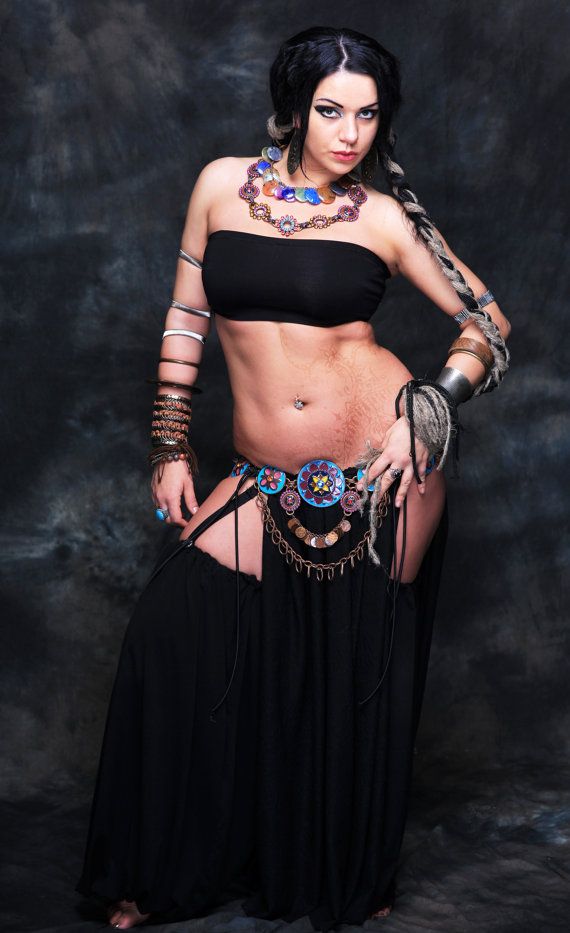 I had a thin black velvet with a foil skull print I got as a remnant left over from Halloween that I was using up for a while. Bear in mind that whatever you use here can add yet more bulk to the belt, which could be good or bad, depending on how thick it is already. Totally up to you. You can do this by cutting out a piece from your original pattern, or using your current belt as a template. You will want the lining to be smaller than the belt so that it does not stick out along the edges. Just whip stitch in place directly to the fabric overlap along the edges.
Lining and fasteners installed.
Step 7: Install The Fasteners
I always do this step last, because like many people I can gain or lose weight over the course of several years and I may need to adjust the placement of the hooks. It is a lot easier to do this if you don’t have to pull off the lining. I recommend the pant hooks because they are pretty heavy duty and you don’t want your belt falling off mid-shimmy!
TIP: When hand-sewing your embellishments and fasteners, finish the knot off with some bead glue.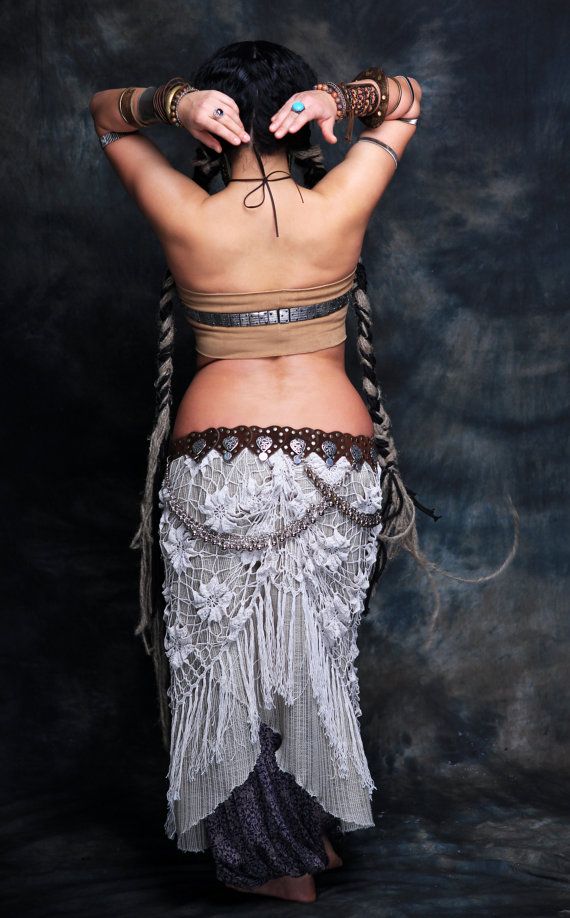 You will be extra-sure that it will not come undone. I also recommend upholstery or beading thread for this step.
My Own Experiences
I have tried several different versions of this and I feel I have streamlined my costume making technique pretty well. From my own experience I have a few bits of advice:
- Sew on materials rather than glue so you can re-use them if your costume gets worn out, dirty, etc. Saves you money in the long run.
- Consider using materials you already have, but don’t use, as embellishments: old (broken) necklaces, earrings, scraps of material or trim, buttons, etc. Also saves money, and really creates a unique look.
- Keep an eye out for nice but discounted remnant fabrics to use for this project, and for the bra project. A single remnant can make a whole bedlah!
From top: base with coin belt attached, fake fur covered base for reindeer costume, damask-covered belt with silver glass bead fringe, animal pattern Velboa covered base with gold glass bead fringe.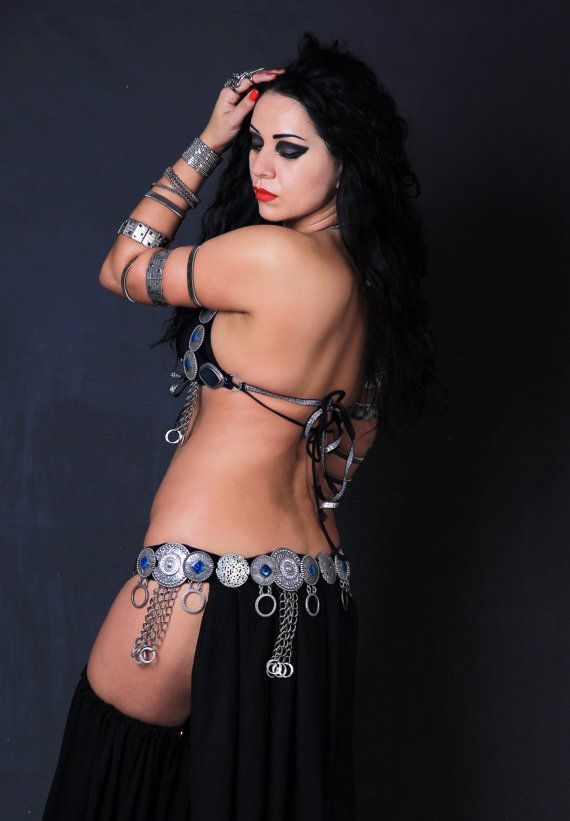 All made using the same technique.
Now, just match it up with your bra and you’ve made your own custom bedlah! Congrats!
Disclaimer: I have no affiliation with JoAnn Fabrics or Simplicity, they do not pay me any money to endorse their products. I pay THEM loads of money all the time though!
Like this:
Like Loading...
DIY belly dance loincloths
Today, belly dancing is gaining more and more popularity. Many modern beauties want to learn this type of oriental art. There are many studios where oriental dance is taught. However, here the dancer's costume will play an important role. In order to choose it, you need to decide on the style. Colors need to be chosen not only so that they please the viewer, but also so that they suit you directly.
From history
The traditional Arabic costume completely hides the dancer's body. He leaves only the feet, hands and face open. However, on stage, we see something completely different: the outfit consists only of a bodice, a belt and a skirt.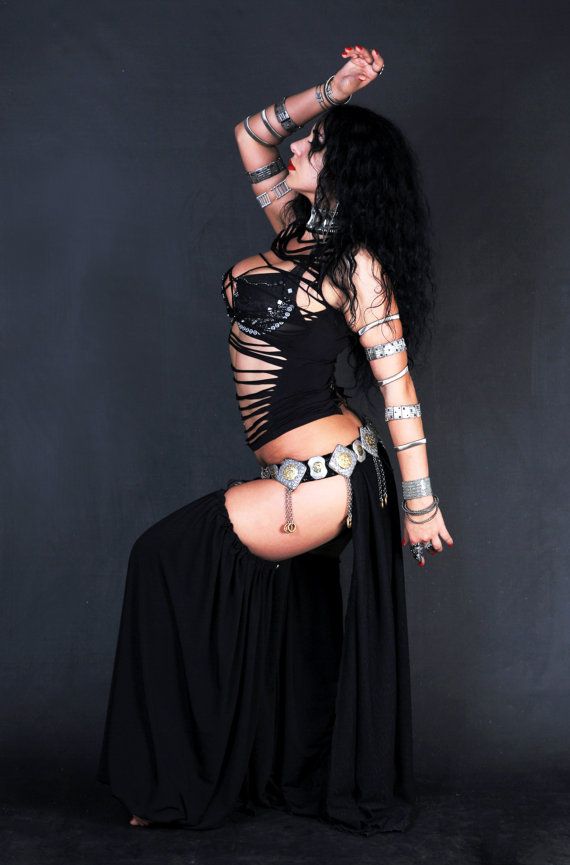 The design of such ensembles was developed specifically for the girls to perform in the "cabaret". At the same time, the outfit was additionally decorated with glass beads, fringe and rhinestones.
First months of training: how to dress?
Of course, the costumes of oriental dancers are beautiful and spectacular, but if you are just starting to practice this type of dance, then it is not necessary to immediately acquire something similar. Remember that in the first months of training, your body will undergo numerous changes. The waist will become more elegant, fat deposits will disappear.
It is best to start learning belly dancing in breeches or leggings and a short T-shirt or top. Further, over time, it will be possible to purchase such elements of a dress for oriental dances, such as, for example, a belt with coins, the ringing of which will create additional motivation and good mood during training.
How to choose the right outfit for an oriental dance
Before choosing an outfit for a belly dance, you need to decide on the style. If you want a folklore costume, then it will need to display a traditional ensemble. If you are a fan of the style of rax el sharki, oriental and cabaret, then suits with tight skirts based on stretch are relevant today. For them, as a rule, complex-shaped figured loincloths are used, but many do without them at all. But in this case, it will be necessary to embroider the upper part of the skirt with a beaded fringe or monists. Beautiful jewelry will be a great addition to the costume.
Before choosing a belly dance costume, you should consider where you are going to use it. Performing in front of an audience? At a dance competition? In a regular workout?
Remember that the image must be matched to the music and dance style. This also includes the choice of fabric for the outfit and its color.
Dance shoes
What shoes can I choose for oriental dancing? Historically, oriental belly dance is danced barefoot. This emphasizes that the connection of the dancer with the Earth is inextricable and permanent.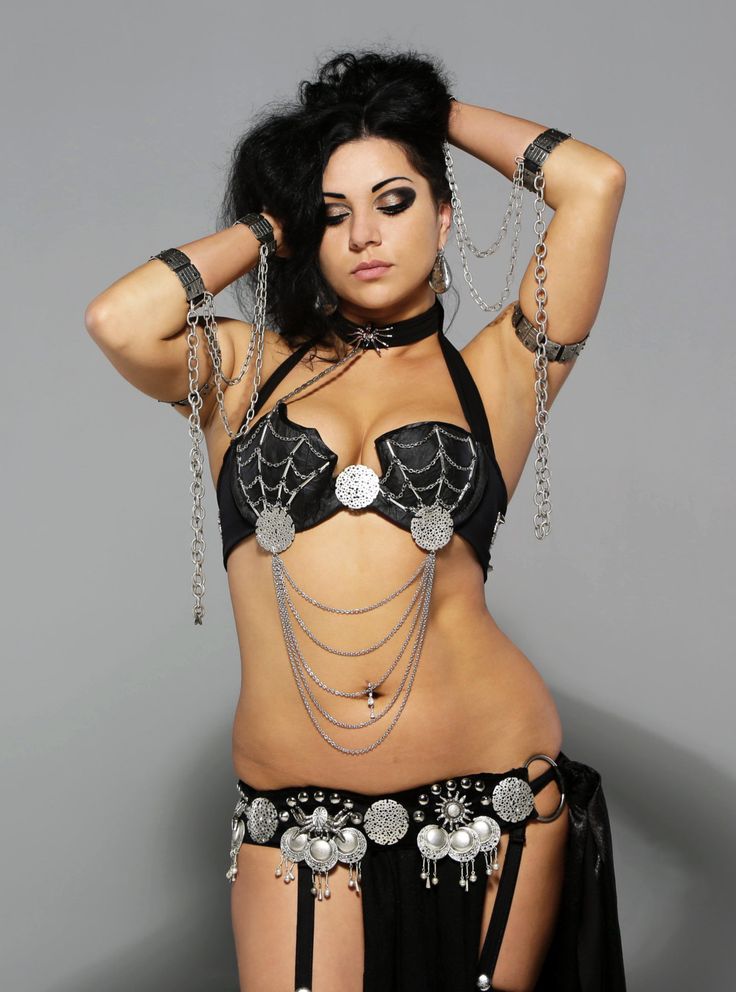
However, if for some reason you can't or just don't want to perform barefoot, you can wear shoes, ballet flats or just socks. For a performance, shoes are chosen to match the color of the suit: if it uses silver or gold tones, then the shoes must be made in a similar shade.
Loincloths: photos, ideas and decorations
Oriental dancers often use various accessories and paraphernalia for dancing. These can be shawls and scarves, a loincloth, a veil, a saber, a candelabra, a cane and other accessories. It is they who give the room originality and zest.
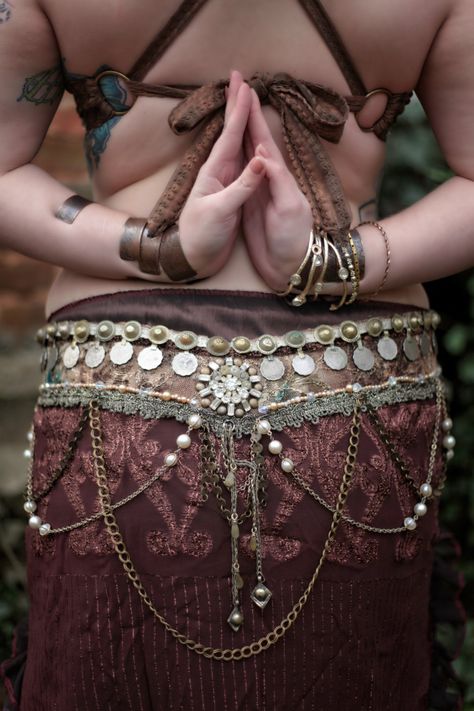
Belly dance loincloths and belts are a special detail of the oriental costume. Since the belt must sit tightly on the hips during the dance, not twist or lose its shape, it is made of dense fabric, which is sewn to a soft and elastic base. The loincloths are embroidered with sequins, beads, beads, and their bottom is decorated with monists or fringe. When the dancer moves her hips, the monista and fringe tinkle and vibrate rhythmically, capturing all the viewer's attention.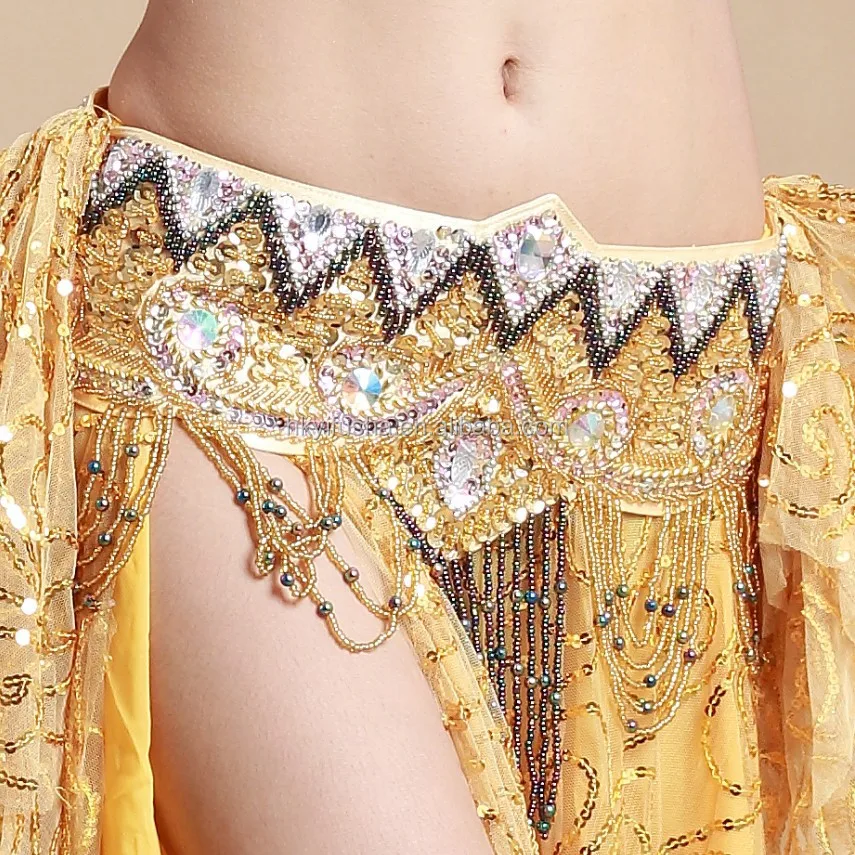
Oriental dance belt: fabric, decorations. Is it possible to do it yourself?
Judging by the classical canons, one of the obligatory elements of an oriental dance costume is a scarf, belt or loincloth. A girl can decorate it with coins or beads, and most often both are used at the same time. During the performance of the dance, they gently ring to the beat of the dancer's movements, creating a feeling of peace and magic of the eastern night. Oriental dance loincloths are the final and complementary touch to your look.
How to use a belly dance loincloth? Elementary: you just need to tie it around your belt. If you decide to make a belly dance scarf yourself, then you should carefully consider its shape, decor and choice of fabric.
Colors can be varied: red, blue, yellow, green and others. You can choose a belt for belly dancing in the color of the costume, or you can choose a contrasting shade - this choice is solely for the dancer!
Remember that belts of different sizes behave differently during dance moves. As a rule, the length and width of the product do not exceed one meter.
You can sew a simple scarf with almost no decorations, or you can create a richly decorated belt with lots of sequins, fringes and monists. Additional elements of the costume usually behave very beautifully during the execution of dance movements, bringing entertainment to it and captivating the viewer.
The shapes possible for the loincloth are different: it can be a circle, a rectangle, a semicircle or a triangle. In order to calculate the most convenient option for yourself, you need to experiment with different models. So you will understand which form of the belt is most convenient for you.
In most cases, an oriental dance belt is made from lightweight fabrics such as chiffon. A leather loincloth will only make the costume heavier and may even interfere with the performance of the dance. A flying transparent fabric, like chiffon, will not hinder movements, while beautifully fitting the silhouette.
The second most popular belt fabric is velvet. Luxurious fabric will emphasize the beauty of the figure and the refined taste of the dancer, as well as create a feeling of oriental sophistication. Velvet loincloths look especially advantageous not only because of the soft sheen of the fabric, but also because of the shimmering coins that are brighter against its background.
In addition to these fabrics, organza, stretch, satin, crepe-chiffon can be used for the loincloth.
We have already said a lot about the design, but it should be recalled that it is better to keep the belt simple. Remember that an excess of beads and monist will not only unnecessarily weigh the fabric, but can also ruin the entire look of the costume.
We create a costume for belly dancing with our own hands
Almost every modern woman is looking for a hobby for herself. Someone embroiders with pleasure, someone bakes pies, and someone goes to dances. In this article, I would like to tell women who are mastering oriental culture how to sew a belly dance costume with their own hands.
Components
First of all, you should decide on the details of the costume. It will definitely be a long skirt and bodice. However, if it is not possible to make all the details beautiful, you can safely get by with just one belt. From accessories you can prepare a veil, you will also need a huge number of different jewelry for arms, ears, legs - earrings, rings, chains, bracelets, etc.
Bodice
with the preparation of the bodice. For this, an ordinary opaque bra (preferably foam rubber) may be suitable. If it is already the right color, it will only need to be decorated. However, it is better to pre-sheathe it with the desired fabric so that it does not look ordinary. It will be impossible to create a single piece of skin, so it will consist of several parts. The first is a detail for cups. It is cut out in a rectangular shape and bent over the finished product. To do this, you will need to make several folds of fabric according to the principle of creating a tuck. You will also need fabric for the straps. To do this, cut out long rectangles that simply wrap these parts on all sides. The pieces are already sewn on the bra, you can even sew them on with a decorative stitch. "Ponytails" are hidden under the details for the cups of the bodice, which are sewn on last. We go further, creating individual details for a belly dance costume with our own hands. When the bra is completely wrapped in new fabric, you need to start decorating the product. Everything that the lady likes will come in handy here. It can be just beautiful embroidery with threads or beads, or it can be glued sequins in the form of fish scales, etc. Here the woman herself decides what she wants to get as a result. However, you need to remember that everything should be fairly securely attached, because in this costume you will have to dance, that is, actively move.
Skirt
Tailoring of the belly dance costume includes making a long skirt. To do this, you need to take a fairly thin transparent fabric that drapes well, such as chiffon or crepe chiffon. Now you need to decide what kind of skirt you want to make. Two options can be considered. The first is an ordinary straight skirt with slits on the sides, the second is a sun skirt.
In any case, you need to prepare the belly dance costume patterns beforehand. So, for a straight skirt, you will need to take two pieces of fabric that will be sewn along the sides to about the end of the thigh. Unsewn sections and the bottom are simply hemmed. From above, you can provide the usual wide belt, which must be made of elastic fabric, because it will most likely be on the hips, and not on the waist. To do this, you need a piece of fabric twice as wide as the belt itself. The fabric for the belt is bent in width with the wrong side inward. Next, the belt is sewn to the skirt. To do this, first the inner part of the belt (which is adjacent to the body) is sewn with a skirt, then the fabric allowances are tucked in, covered with the front of the belt, and everything is overcast. If everything went out neatly, a decorative stitch is started along the front of the belt. Oriental belly dance costumes also suggest the possibility of creating a sun skirt. You can sew it in the same way as the previous one, but the fabric will take a little more, about 2.5 times. After all, the sun skirt is a circle with a cutout for the waist in the center. The top of the skirt, along the waistline, can be gathered. The bottom is hemmed with a narrow scar, a wide belt is sewn to the top. That's all, the skirt is ready.
Belt
When preparing a belly dance costume with your own hands, it is important not to forget about such a moment as the design of the belt. It is this detail that gives the costume a special appeal. How to make it? To do this, it is better to pre-prepare a full-size pattern. The top must be straight, and the bottom of the belt can be triangular, figured, rounded - whatever you like. The length of the product is calculated: this is the waist circumference plus approximately 4 cm for the fastener. You can make tucks so that the product sits perfectly on the figure.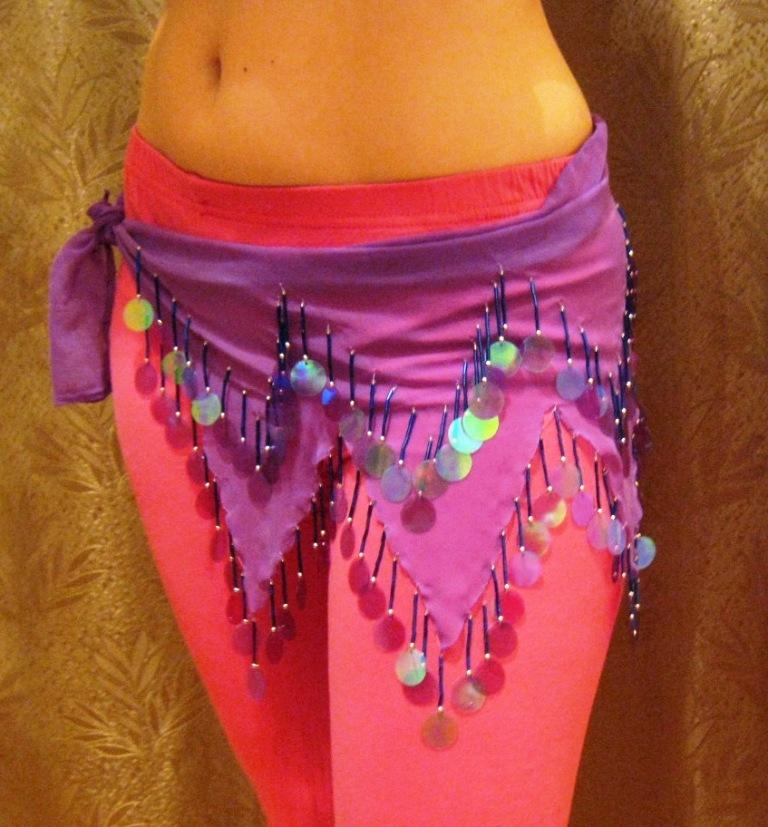
The fabric is also selected: for the base of the belt - dense, cotton can be used, and for the top - something light and beautiful, for example supplex, satin, crepe-satin. You will also need a dense interlining for gluing the product, it will be attached from the inside to the front of the product. When the parts are ready, they need to be folded with the right sides inward, sewn, turned inside out, through the hole left, baste and insert the fastener (the belt can simply be tied). Now it remains to decorate it in the same way as the bodice.
Accessories
What other details can oriental belly dance costumes suggest? Of course, these are special decorations. Earrings, bracelets for hands and ankles are definitely needed - the more the better, because when a woman dances, they ring pleasantly. By the way, they can also be made independently from beads or beads. It is necessary to decorate the neck with chains or coarse beads, and fingers with rings. However, it is important not to overdo it with decorations so that the figure is not too bulky.