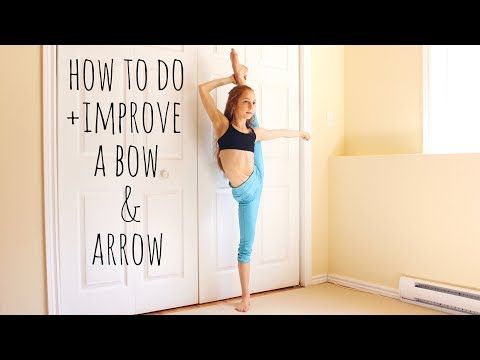
How to stretch for dancers
10 Top Stretches and Exercises to Improve Dance Flexibility
by Stelle World on 0 comments
Flexibility is an important part of dance. Dance flexibility can take up to 6 months or a year of constant discipline depending on the age of the dancer. It can be frustrating for dancers who expect to see results right away.
Here are a few stretches and exercises to improve dance flexibility for young dancers.
1. Standing Hamstring Stretch
This stretch is great for the neck, back, glutes, hamstrings, and calf muscles. Start off standing tall with your feet hip-width apart. Bend your knees slightly and rest your arms by your side.
Exhale as you bend forward from the hips and lower your head to the floor. Try to keep your head, shoulders and neck relaxed as you do this stretch.
Wrap your arms around the back of your legs and hold. Experts suggest that you hold a stretch for 10 seconds to 3 minutes. If you go into a stretch and feel as if you immediately want to release it is a sign that you need to spend more time stretching this area as part of your dancer workout plan.
When you are done holding your stretch bend at the knees and roll your way back up to a standing position.
2. Piriformis Stretch
The piriformis muscle is located outside the butt. It is a deep internal hip rotator. Your deep internal rotators produce a lot of movement at your hips and stretching these muscles should be apart of your daily ballet workout.
Sit on the floor with both legs extended out in front of you. Cross your left leg over your right and place your left foot flat on the floor beside you. Then place your left hand on the floor behind your body.
Put your right hand on your quad or bring your elbow to your knee and press your left leg to the right. You should feel a twist in your body when you are performing the stretch correctly.
3. Lunge With Spinal Twist
This stretch helps open up your hips and improves mid-back mobility, which is a necessary part of ballet turns.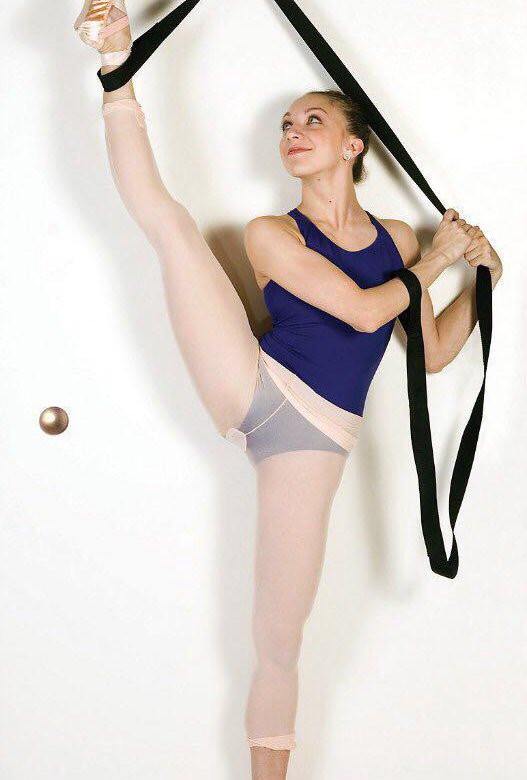
Start with your feet together and take a big step forward with your left foot. Now your feet should be in a staggered stance. Bend your left knee as if you are lunging. Keep your right leg straight behind you.
Your toes should point downward to the ground. You will feel a stretch in your right thigh. Now place your right hand on the floor beside you and twist your upper body to the left. Reach your left arm up toward the ceiling and stretch as if you are trying to touch the ceiling.
Hold the stretch and then repeat on the other side.
4. Tricep Stretch
An area of deep stretching often overlooked by dancers is the arms. Most dancers focus on the legs but you will also need arm flexibility to complete many ballet positions.
For a tricep stretch stand tall with your feet hip-width apart. Extend your arms up over your head. Bend your right elbow and reach your hand behind your head to touch the top middle of your back.
You can gently pull your elbow toward your head yo get a deeper stretch.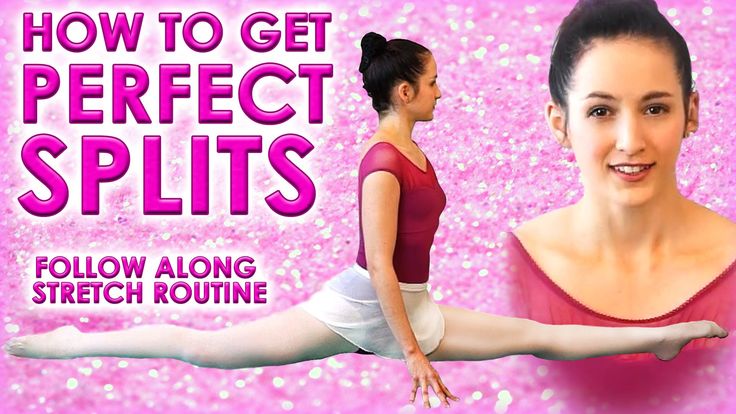 You should feel the stretch in your neck, shoulders, back, and triceps. When you are done holding the stretch repeat on the other side.
5. 90/90 Stretch
This is another great stretch for dancers because it hits both hips at the same time. Sit with your right knee bent at a 90-degree angle out in front of your body. Keep your foot flexed and your sole should be facing the left.
Let your leg rest flat on the floor as you place your left knee to the left of your body. Bend the knee so that the foot faces behind you. Be sure to keep this foot flexed too.
Try your best to keep your right glute on the floor and move the left glute as close to the floor as possible. This may not be possible if you have been dancing a lot and are super tight in your glutes or hips.
Hold the stretch and repeat on the other side.
6. Frog Stretch
Another one of our dance tips for flexibility is to not sit crossed legged. Crossing your legs can lead to tight hips. Here is a stretch you can do if you do happen to sit cross-legged a lot.
Get down on all fours and slide your knees wider than shoulder-width apart behind you. Turn your toes out and rest the edge of your inner thigh on the floor. Shift your hips back toward your heels and keep your feet flat on the floor.
If you can move from your hands to your forearms for a deeper stretch.
7. Butterfly Stretch
This simple stretch helps the hips, glutes, back, and thighs. Sit on the floor with your back tall and your soles together. Bend your knees out to the side.
Hold your ankles or your feet, engage your abs, and slowly lower your upper body toward your feet as low as you can go while at the same time pressing your knees down into the floor.
8. Shoulder Squeeze
This stretch relieves poor posture and releases tension in the back. Sit on the floor with your knees bent and feet flat. Clasp your hands together behind your lower back and straighten and extend your arms.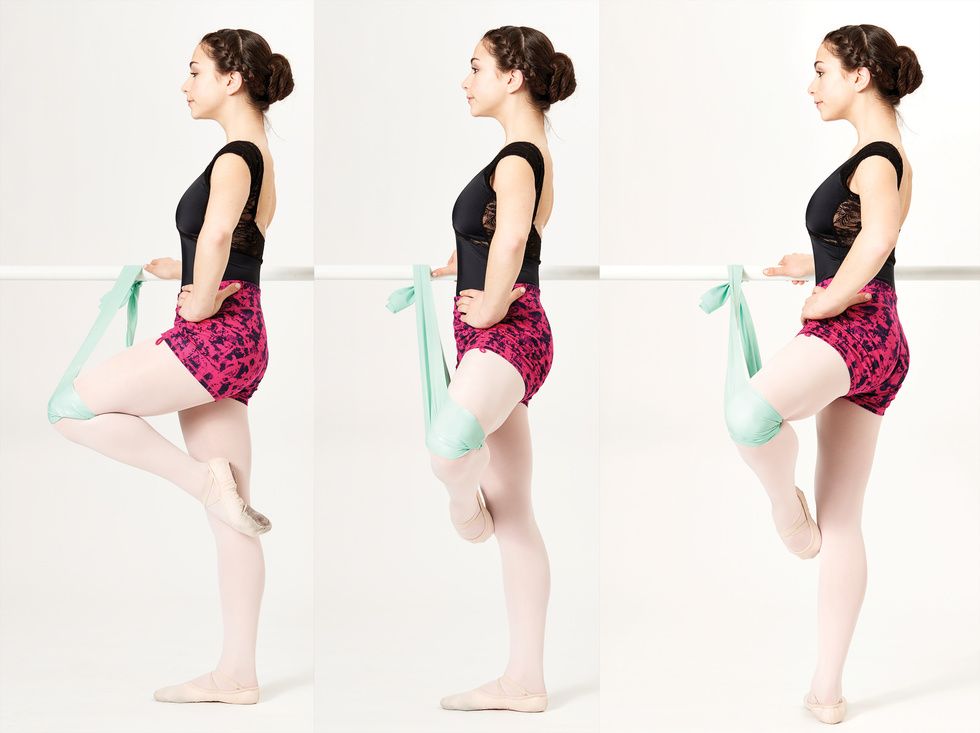
Squeeze your shoulder blades together for a few seconds and then release. Repeat this stretch for 5 to 10 times.
9. Side Bend
This easy stretch keeps the groin, and hips inner thighs flexible. Kneel on the floor with your legs together. Keep your back straight and your core engaged. Extend your left leg out beside you.
The reach your right arm up and rest your left arm on your left leg. Gently bend at the torso and right arm to the left side of your body. Try to keep your hips facing forward as you hold the stretch. Then repeat on the other side.
10. Neck Stretch
Most dancers forget to stretch their necks. A good neck stretch can positively impact the rest of your body.
Drop your right ear down to your right shoulder. Press down on your head to deepen the stretch and hold. When you are done, complete the stretch on the other side.
Keep Working on Your Dance Flexibility
No one has ever become flexible overnight. To improve your dancer flexibility, stretching should be apart of your daily routine.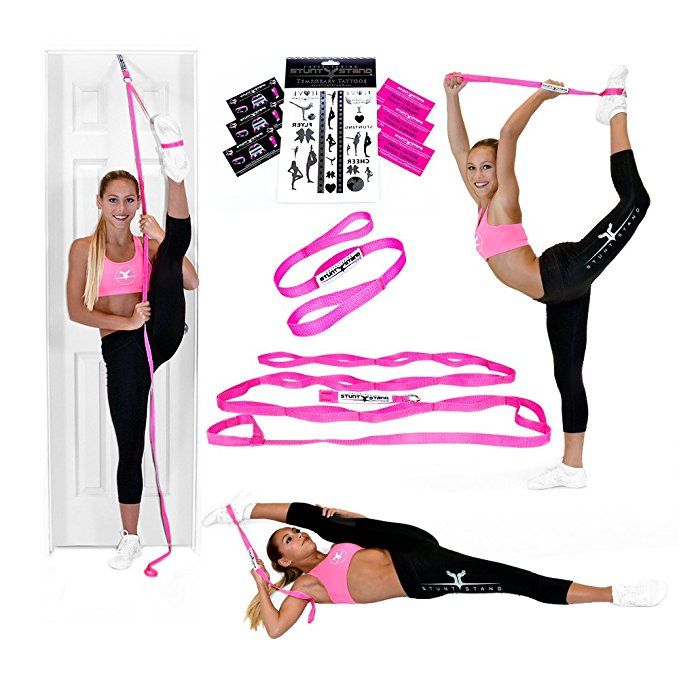 Just keep at it and you’ll start to see a noticeable difference.
Stelle is a dance label created by a mother of three girls who love to dance. Our blog is full of great content like this article on how to help your budding ballerina do a proper plie squat.
- dance, flexible dancing, stretching
Older Post
Newer Post
The Dancer's Ultimate Guide to Stretching
Ah, stretching. It seems so simple, and is yet so complicated.
For example: You don’t want to overstretch, but you’re not going to see results if you don’t stretch enough. You want to focus on areas where you’re tight, but you also can’t neglect other areas or else you’ll be imbalanced. You were taught to hold static stretches growing up, but now everyone is telling you never to hold a stretch longer than a few seconds?
Considering how important stretching correctly is for dancers, it’s easy to get confused or overwhelmed. So we came up with 10 common stretching scenarios, and gave you the expert low-down.
If You Have A Tight Upper Back
You may not think the flexibility of your upper back is relevant to, say, the height of your extension or your ability to get into a full split. But dance physiotherapist Lisa Howell says a tight upper back could have major implications for your neural mobility. “If your upper back is very tight, then the nerves and fascia that lie along the spine can get restricted,” she says. Try these exercises to increase mobility in your upper back.
If You Want Better Feet
Dancers have long been using aggressive methods (read: foot stretchers and making our friends sit on our feet) to try to get archier, stretchier feet. But it turns out, there are safer ways to get better lines—and they don’t necessarily even involve stretching your feet.
Mandy Blackmon, a physical therapist for Atlanta Ballet
, recommends dancers stretch their calves instead, as tight calves can restrict the movement of the ankle joint.
Work on strengthening the feet instead of stretching them, she says, using the tried-and-true method of working through your foot with an exercise band. (Try writing the alphabet or your full name.) If you’re really aching for a foot stretch, use your body weight to push over your pointe shoe; a safer stretch since it requires foot strength as well, says Blackmon.
Matthew Murphy for Pointe
If You’re Stretching As A Warm-Up
Well, don’t.
“Static stretching is not warming up,” says Dr. Nancy Kadel, co-chair of the Dance/USA Task Force on Dancer Health. “It’s much better to walk, or do anything else to elevate the heart rate.” Kadel says that static stretching can temporarily weaken muscles, impair coordination and reduce balance and jump height—not what you want pre-class or rehearsal.
Instead, your warm-up should focus on getting your heart rate up. This can include dynamic stretches, like moving through lunges or a yoga flow.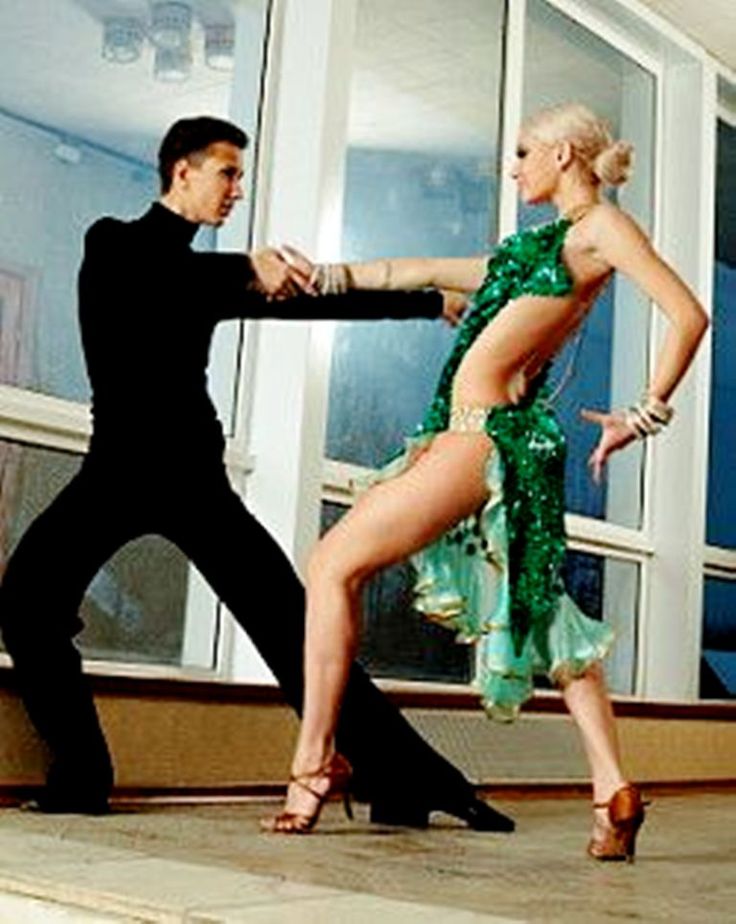 Save short static stretches—30 seconds maximum—for after class or rehearsal when you’re warm.
If You Feel Pain
Stretching should not be painful—in fact going too far in a stretch could actually limit your flexibility. According to former dancers and stretch therapists Ann and Chris Frederick, the brain interprets pain as a signal that something is wrong, and if a muscle won’t let go, it’s probably because it’s protecting itself.
As dancers, it can be hard for us to judge what’s actually painful. Meredith Butulis, a doctor of physical therapy who frequently works with dancers, says that if you feel a line, like a muscle is stretched taut, that’s okay. But, “if you feel a painful spot, like in your kneecap or hip socket, it may indicate you’re tugging at a joint or there’s scar tissue, so ease up.”
If You’re Cross-Training with Yoga
Yoga can be a great place to work on flexibility. But be careful that you’re not throwing away your stretching rules because you’re in a new setting—or because the warm temperature tricks you into thinking your muscles are warm.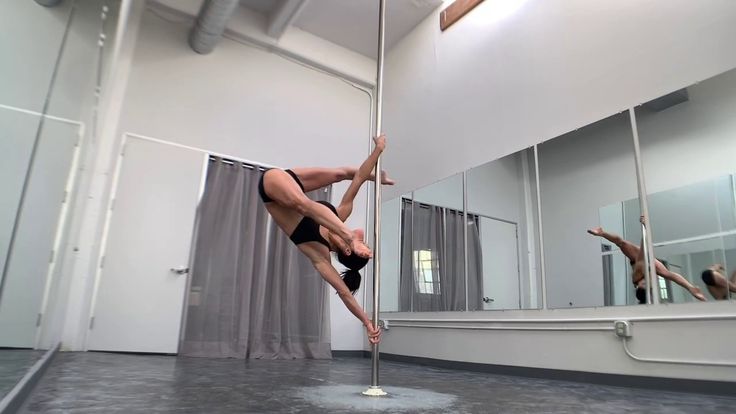
Yoga classes sometimes involve holding stretches longer than is recommended, and dancers may push themselves too far in classes that are not designed for super-flexible bodies. Go easy, focus on alignment and don’t hesitate to leave a position before you’re cued to.
Emily Sea via Unsplash
If You’re Stretching With A Partner
Working with a friend can help give you a deeper stretch. But it’s easy to push it too far. Butulis says it only takes a pound of pressure from a partner to give you that added stretch. “Gentle pressure can activate sensors that allow the muscles to contract and relax,” she says. “However, if you use excessive force or move the limb too quickly, the sensors will react to protect the muscle by tightening, preventing the stretch.”
If You’re Hypermobile
Hypermobile dancers still gotta stretch. But if you have already-loose joints, be extra-intentional about avoiding overstretching.
For one, pay close attention to alignment, says Lastics Stretch Technique teacher Donna Flagg, holding positions with muscular strength rather than hyperextending or flopping into them.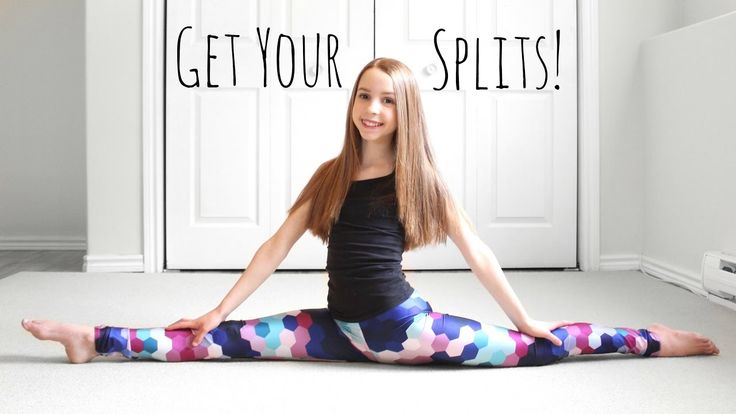 This may mean not going as far into a stretch as you’re used to. Focus on lengthening, rather than pushing into joints.
Stretch areas where you’re tight (hips and quads for many dancers) rather than continuing to stretch areas where you’re already flexible, says Flagg. Instead, work on creating stability in loose areas.
And even if you can split your legs further than 180 degrees, you probably shouldn’t, says Flagg. Only stretch as far as you actually need to.
If You Have Tight Hamstrings
If you can’t seem to be able to get your hamstrings to budge, it might be because you’re not taking into account the fact that there are actually three muscles working together, says Butulis. Most often, dancers aren’t stretching the outermost muscle correctly.
“After you’re warm, work a foam roller or lacrosse ball down the full length of the outer hamstring, and hold in tight spots—you’ll feel them—for about 30 seconds,” she says. “Then roll the whole muscle set for four to five minutes before you move on to dynamic stretches.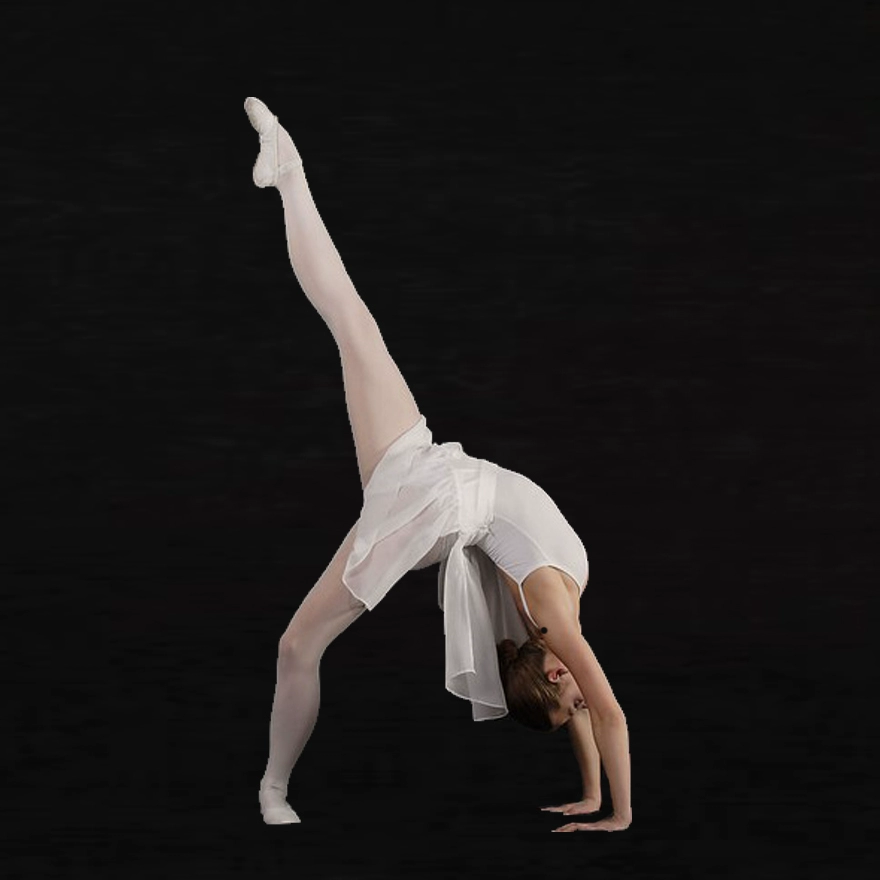 ”
”
Be warned: If your hamstrings are extremely tight, it may mean that your medial and lateral muscles have adhered to one another, which will require the help of a physical therapist or massage therapist.
Nathan Sayers
If You Want More Flexibility ASAP
Developing flexibility takes time. If you’re determined to make progress fast, it’s tempting to go to extreme lengths. But overstretching in positions like frog or straddling between two chairs is just dangerous.
Instead, maximize your flexibility by being consistent with your stretching. Jennifer Green, founder of PhysioArts in New York City, suggests stretching your biggest problem areas five times a day, holding each stretch for 30 seconds.
If You Feel Like You’re Not Getting Anywhere
If you’re stretching consistently and strategically and still aren’t seeing the improvement you want, consider one of these factors:
You need to be foam-rolling, too.
If your tightness is caused by restricted fascia rather than muscle, stretching won’t help—but foam rolling will. “Foam rolling can be done prior to activity, even on cold muscles, or post-activity to release inhibited muscles,” says Leigh Heflin, program coordinator of the Harkness Center for Dance Injuries at New York University’s Langone Medical Center. “Although it doesn’t necessarily increase range of motion, it can allow more freedom in a muscle that was otherwise restricted.”
You should see an expert.
They can help you find imbalances and recommend stretches. Or, a massage therapist can work out areas that have become overly tight.
You should be focusing on strength. Flexibility can only do so much for a dancer. If you’ve worked on flexibility but aren’t seeing the results in your extension, it could be because you haven’t built enough strength. Work on strengthening your core, hip flexors and quadriceps as much as you stretch your hamstrings.
You’re neglecting some muscles.
Stretching some tight areas but not others can create imbalances in the body, says Heflin. If you’re overstretching your hamstrings but neglecting the opposing muscle group, the quadriceps, the quads can become tight and overworked.
You’re stretching in the wrong order.
“There are 34 muscles across your hips—why would you start with the toughest hamstring muscle?” says Chris Frederick. Try stretching the small muscles in your hip and back first to increase your hamstrings’ range of motion.
You need to create space in the joint.
Try gently pulling the limb away from the socket before stretching to help you go further, says Frederick.
is it possible to sit on the twine in a month?
Let's immediately dispel the fashionable Internet myth that anyone can sit on the longitudinal and transverse splits in a matter of days. The mobility of the joints, the softness of the ligaments and the suppleness of the muscles are not the same for everyone. There are "soft" and "hard" people. Some stretch easily and maintain this stretch throughout their lives, while others make a lot of effort to properly sit in the lotus position. Not everyone can even lift something off the floor without bending their knees. And that's okay.
But perfect stretching is needed in ballet, acrobatics, strip plastic and a couple of other styles. In other areas, it is quite possible to achieve results without torturing yourself. For example, the Dragons dance school accepts everyone, regardless of their ability to do twine.
Listen to your body!
This is one of the most important principles of the Dragons. The body, of course, does not know about all its capabilities, but they need to be opened gradually, without undue pressure and, of course, without injury. Therefore, stretching before dancing in hip-hop, illusion or breakdance classes is carried out in the most gentle form.
- First, the body is thoroughly warmed up by exercises from the warm-up complex.
- Then the joints are worked out. Their mobility is the most important!
- And then the key areas are stretched, both involved and not involved in the dance.
This approach allows you to avoid excruciating pain, dislocations and other unpleasant consequences.
Effect in progress
An interesting fact: a person absorbed in dance does not notice progress in the range of motion. And he is! A hot, warm body, a fair amount of serotonin and adrenaline in the blood as a natural consequence of the pleasure of dancing, excitement, the support of roommates and teachers allow each time to lean a little lower, jump a little higher, move limbs at new angles. With each occupation, the movements acquire the necessary completeness, confidence. Stretching the legs in the dance, as well as the arms, muscles of the back, neck, sides, and abdomen happens by itself, you just need not to stop dancing for a day.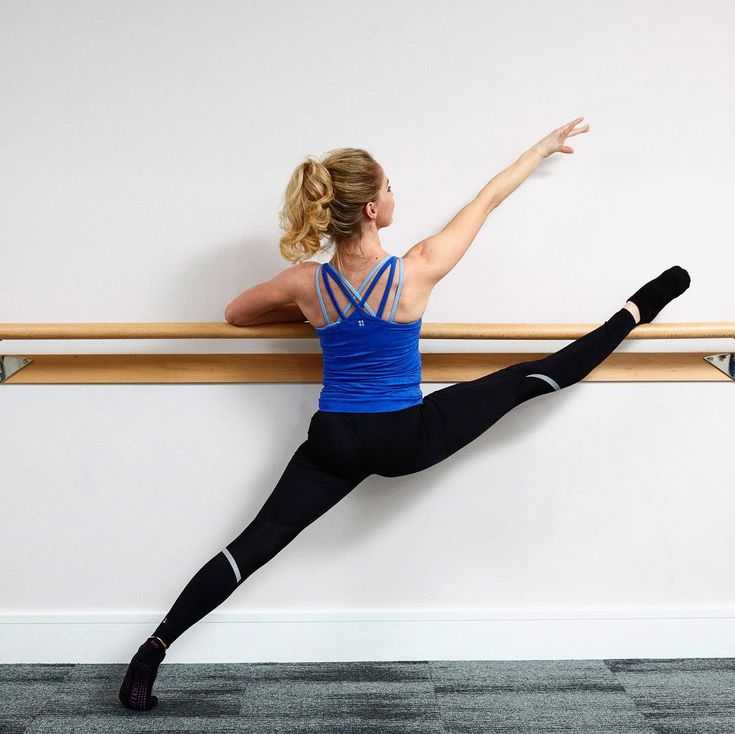
What else can be done to improve stretching:
- dance at home as much as possible,
- walk up the stairs after two, and then three steps,
- after strength exercises, be sure to pull the muscle group that was just intensively contracted,
- bath is a great place to stretch, muscles are especially supple in warm water
- twine is not the most important thing, but a properly made “bridge” is already an important achievement!
Sometimes you don't have the strength and the mood to warm up. In such cases, you can intensively rub the stretched area. But it is better to resort to this trick as little as possible.
At the pace of hip-hop
Stretching, dancing, exercises - all this needs competent control. Teachers of the "Dragon" school know how to teach dance to someone who was embarrassed to go to the dance floor yesterday. In addition to excellent physical shape, mobility, self-confidence in the dance hall, a sense of rhythm, a sense of style and the ability to dissolve in dance without losing oneself, one's individuality are laid.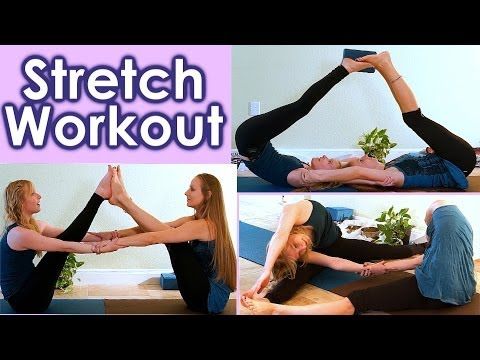 Want to try? The first lesson is free for everyone!
By the way, if it is planned to send a child to dance, he will achieve better results if the parents also begin to master hip-hop or illusion. And stretching together at home and repeating the past is a real pleasure.
Twine stretch. Fitness for dancers
Twine is one of the fundamental elements in sports dances, gymnastics and ballet. The ability to sit on the twine clearly indicates a good physical shape: high elasticity of the muscles and mobility of the joints. All types of twine, even relatively simple ones, look impressive.
This fact justifies the interest in them among the townsfolk who have little knowledge of sports. However, this complex exercise should not be an end in itself. The ability to sit on a twine is a consequence of an excellent stretch, which can be achieved with the help of quite affordable, but always regular exercises.
Why sit on the splits?
The need for this exercise in sports, dance and ballet schools is obvious to everyone.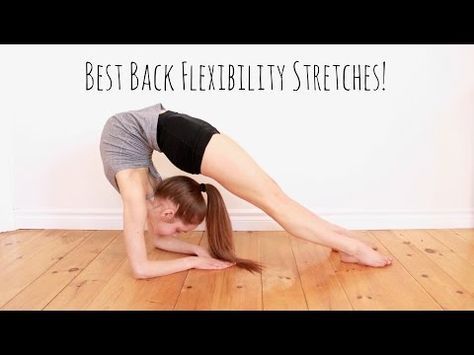 But this skill will also help anyone, as a good stretch guarantees grace and smoothness of movement and helps prevent injuries (both sports and quite ordinary). Stretching activates the metabolism. This means that fat burning will occur faster. In addition, stretching (in particular, all types of twine) improves the blood supply to the organs of the genitourinary system and prevents some of their diseases. People who can sit on the twine rarely suffer from varicose veins. And women with mobile hip joints and trained ligaments have an advantage during childbirth.
Contraindications
Twine is an exercise that requires good sports preparation. There are few contraindications to its implementation, but they still exist.
These include: severe lesions of the musculoskeletal system, bruises, pain in the sacrum and lower back, inflammation of the hip joints, the presence of cracks in the bones and high blood pressure. But even people who do not suffer from these ailments, while stretching, should be careful: you cannot perform the exercise without warming up the muscles and ligaments with a warm-up.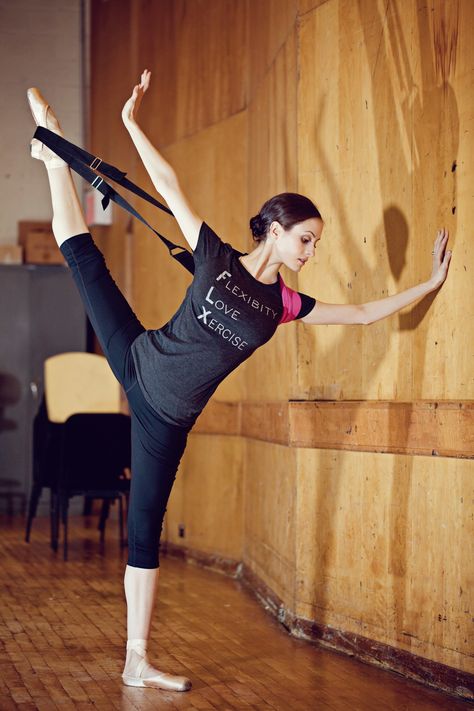
Types of splits
The most common variations of this exercise are the longitudinal and transverse splits.
- With the longitudinal legs extended in one line: one - forward, the other - back.
- With the transverse legs spread apart, the pelvis is on the floor surface.
These twines are considered "plain". Other types are available only to professionals. Among them, we can mention the vertical, which is performed while standing and can be both longitudinal and transverse, and twine on the hands (it can also be both transverse and longitudinal).
How long does it take to do the splits?
Numerous articles posted on the net do not give a clear answer to this question. This is not surprising: the speed of mastering twine is determined by natural abilities, health status, physical fitness, age, anatomical features and many other purely individual factors. It is known that twine is given to young athletes easier and faster.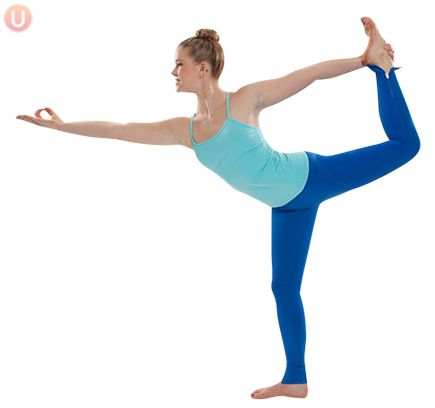 But the point here is not only in the mobility of the joints and the elasticity of young muscles, but also in the fact that in the gymnastic sections with pupils they usually do not stand on ceremony. Adults who exercise on their own treat their bodies more humanely. As a result, progress is slower. Nevertheless, even in adulthood, a person can master the longitudinal or transverse twine.
Another thing is that some of them will take several weeks, while others - several years.
Precautions
Whatever type of splits you are learning, the key exercise should be preceded by a warm-up. It can be any kind of physical activity: jogging (including on the spot), cycling or a simulator, strength training or a set of cardio exercises.
The meaning of the warm-up is to warm up the muscle fibers. This measure prevents micro-tears in the muscles and prepares the joints for stress. In addition, heated muscles relax faster and easier, and this is important, since only a relaxed muscle can be stretched (and even then not immediately).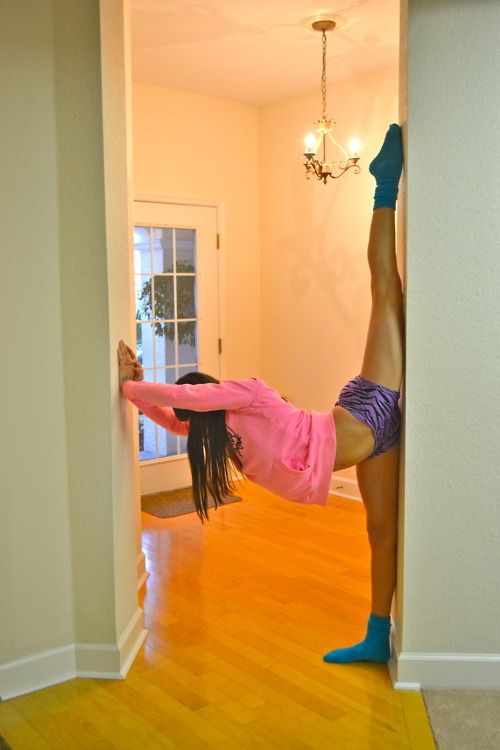 If time is short, a few simple stretching exercises can be used as a warm-up. You also need to remember that stretching does not tolerate haste. Do not even ask how much your friends sit on the twine, otherwise you will always compare yourself with someone.
Listen only to your body! All movements must be performed carefully and slowly; in the same position you need to be at least 30 (or better - 60) seconds. Most likely, you will experience pain, but they should be moderate. Sharp pain signals an injury that has occurred. It is incompatible with training.
Twine stretch for beginners (universal muscle stretching exercises)
It is also important to note that the workout should be long enough - at least an hour. But the most important thing is regularity. Success can only be achieved through daily practice. You should start with simple exercises performed in several approaches: swings with a straight leg, squats with legs apart, forward bends with straight legs.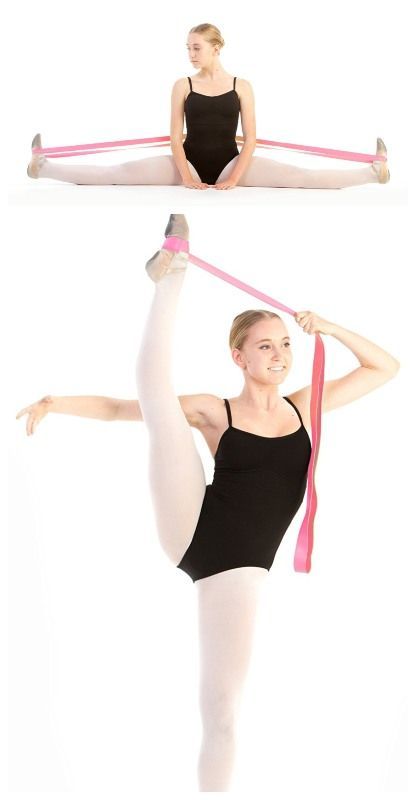 The more muscles involved in a workout, the better.
Also recommended are exercises that are performed lying on your back: right angle leg lift, knee bend and chest pull.
Classical exercises are very useful: "paperclip" and "butterfly". In the first case, it is necessary, on your knees, to spread your heels and lean back (ideally, lie on the floor). In the second case, you need to sit on the floor, bring your feet together and spread your knees, and then try to press your knees to the floor. Twine stretching for beginners should consist of relatively simple exercises that do not cause discomfort. The easier they are given to you, the closer you are to the final goal.
Longitudinal twine
It is believed that learning to perform longitudinal twine is more difficult than transverse, but it is less traumatic. First you need to take the "runner's pose". To do this, one leg is pushed forward (the thigh and lower leg should be at a right angle, and the knee should be directly above the ankle), and the other is set back as far as possible.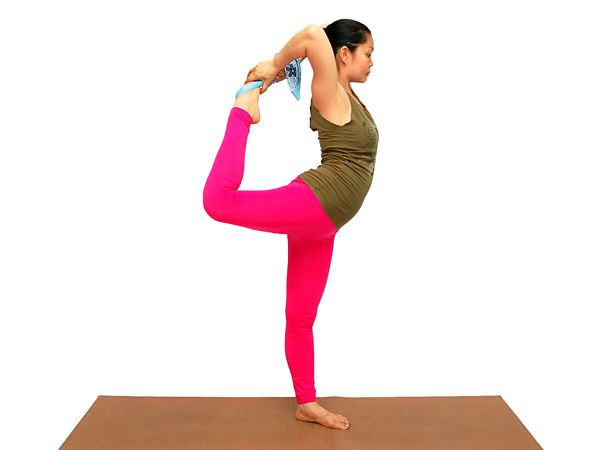 In this case, you need to stretch the heel of your left foot back, leaning on the toe, as shown in the second photo.
Twine is unlikely to submit to you immediately, so you can put blocks or stacks of books on both sides of the mat and lean on them with your hands. Gradually move the foot of the front foot forward and lower the pelvis down (you can put a few pillows under it. As the stretch improves, you will refuse them). It is important to ensure that the torso is located exactly above the pelvis and does not move forward. You can't hurry. When you reach your limit, try rocking back and forth. Hold this position for a few tens of seconds, then repeat all over again. It will not be superfluous to watch some video twine lessons before starting classes.
Longitudinal twine is a complex gymnastic element that is actively used in yoga, dance, ballet and even Pilates. The exercise maximizes the involvement of the hip joints and leg muscles, especially the inner and back of the thighs.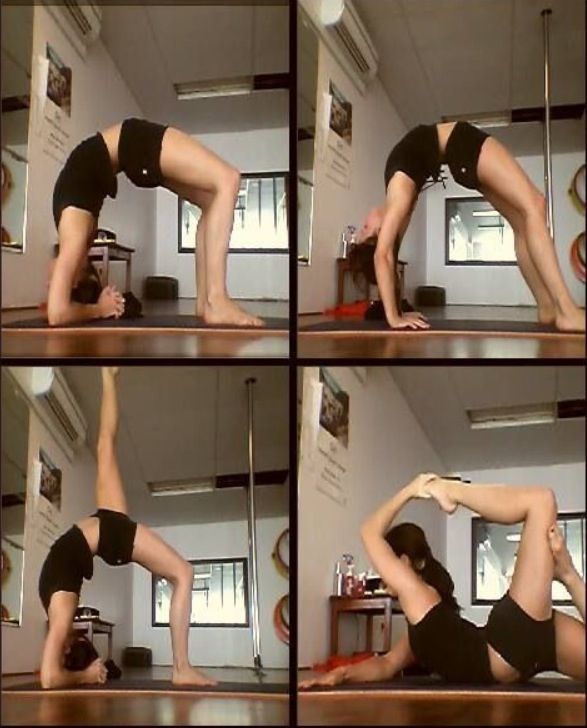 How to sit on a longitudinal twine without pain and injury? To do this, you need to gradually stretch the muscles and develop the mobility of the joints, this is the only way to achieve the desired result with little blood. Of course, you will experience some discomfort, but it is better than walking with torn ligaments and dislocations.
How to sit on the longitudinal split quickly and painlessly?
Follow the golden rules of effective stretching, then training will give you only pleasure and you will be able to count on quick results:
- Any workout should start with a warm-up. Any cardio load can serve as a warm-up for longitudinal twine, but it is better to give preference to a bicycle or a rope.
- If you want to achieve results faster, then train twice a day. Morning stretching is very heavy, but the most effective. In the evening, the muscles are more flexible and supple.
- Try to give preference to static stretching methods, dynamic loading and pulsating movements can lead to sprains and tears.
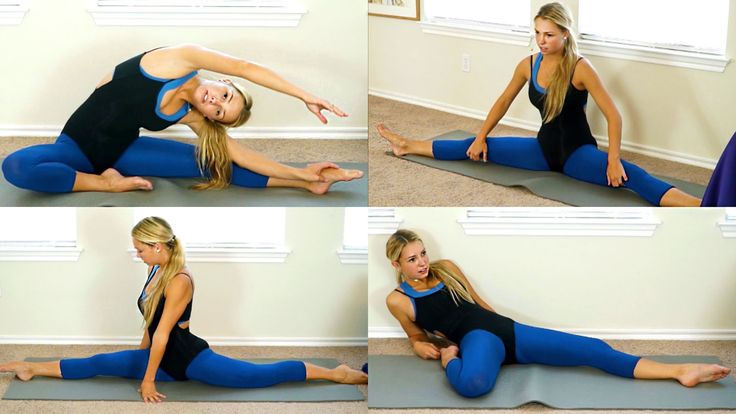
- Each pose must be held for at least 30 seconds, and only then increase the amplitude or change the exercise.
- Always focus not only on technique, but also on your own feelings. There should be no pain, just a slight tension and a slight burning sensation in the muscles.
- Always watch your back, do not round it. If you are doing bends, then reach for your legs with your stomach, and not with your head.
- As in all sports, the main thing in stretching is regularity! Do not start training and try not to rest for more than two days in a row.
And now consider a set of stretching exercises that will bring you closer to the longitudinal twine.
Ballistic lunges
If you are new to stretching, it is best to start with a simple and familiar exercise - classic lunges. In order to sit on the longitudinal twine, this type of training needs to be slightly changed. The load on the muscles should not be dynamic, but static. To do this, you need to fix at the bottom point of the exercise and stay in this position for at least 30-45 seconds. Then you can immediately change the leg. If you perform lunges with dumbbells, then the stretching of the muscles will be stronger and much more effective. You can also significantly increase the amplitude if you perform the exercise on a hill, for example, use a bench or platform. Perform 25-30 repetitions on each leg and move on to the next exercise.
Butterfly Exercise
An excellent exercise for joint flexibility and tendon development. A similar pose is found in the course of yoga and Pilates. This type of stretching will help you master the longitudinal twine much faster.
Technique:
- Sit on the mat with your back straight and your feet together.
- Try to get your knees down on the floor. If you succeeded, then do not waste time and move on to the following types of stretching, but not everyone can boast of such innate joint mobility.
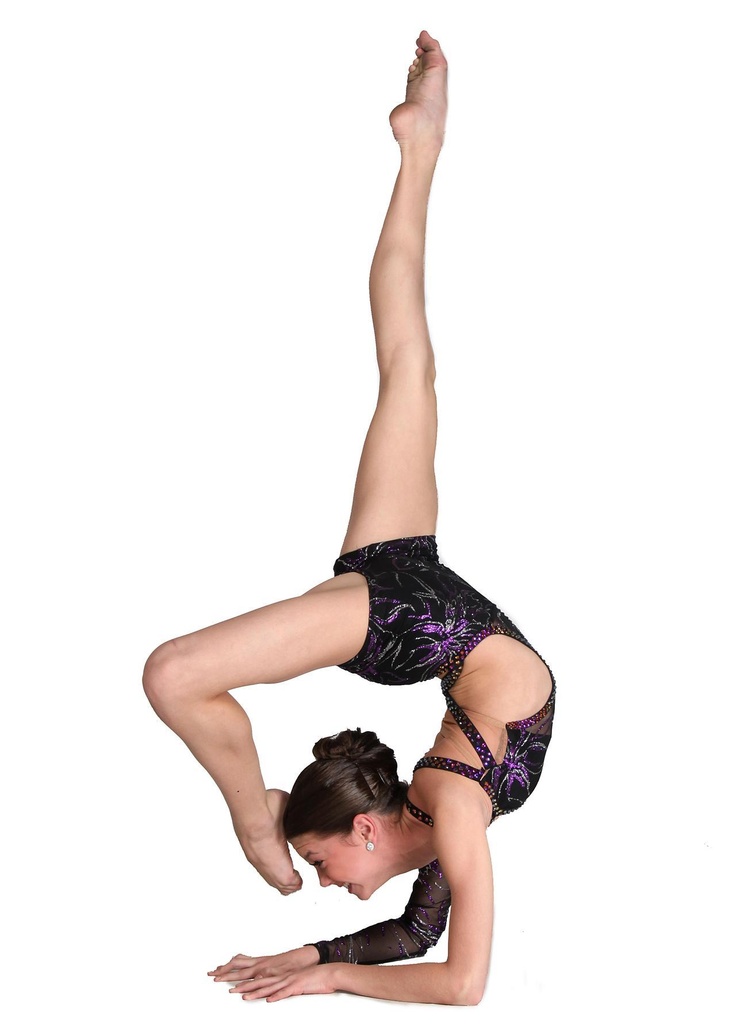
- Slowly press down on your legs with your hands, slowly lowering them down. The main thing here is not to make sudden movements and not to overdo it with the applied effort. Take your time, watch your breathing: at the point of maximum muscle stretch, exhale, and in moments of relaxation, inhale.
Sitting Bends
Mastering the longitudinal split for beginners is a rather painstaking and difficult task, because the muscles adapt to such types of loads for a very long time and reluctantly, especially if you do not have good flexibility from childhood. When doing stretching exercises, always move from simple types of training to more complex and multi-joint ones. Do not forget that you need to stretch all the muscles of the legs separately. For example, tilts from a sitting position work on the inner thighs and adductors.
There are several variations of this exercise:
- One-leg bends. This is an option for beginners.
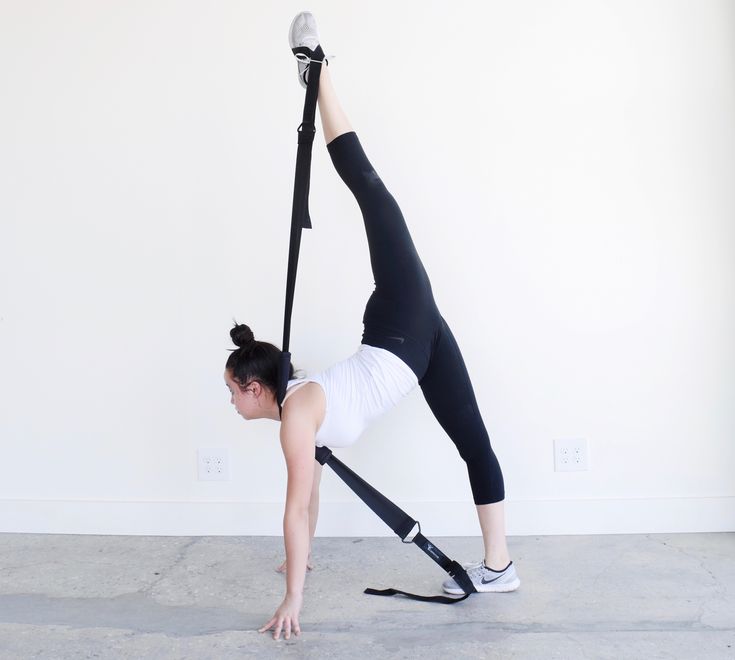 One leg is extended forward, the other is bent at the knee and the foot reaches for the groin. When doing bends, try to stretch your chest to your knee, while keeping your back straight and try not to hunch over.
- Bent over legs. This is a more advanced version of the stretch, it involves the simultaneous study of the posterior and internal bundle of the femoral muscle. Try to spread your legs as wide as possible, you can even do the exercise against a wall or with a partner. Then repeat the tilt technique from the previous type of exercise.
Loom stretching
Longitudinal split stretching can be performed on the barre. However, any crossbar, fence, high table and even a window sill can easily replace it. The main thing is to have a desire to train!
There are several options for stretching with the machine:
- Inclinations to the "working" leg. Put your foot on the machine or support, try to keep it as straight as possible and be sure to pull the toe.
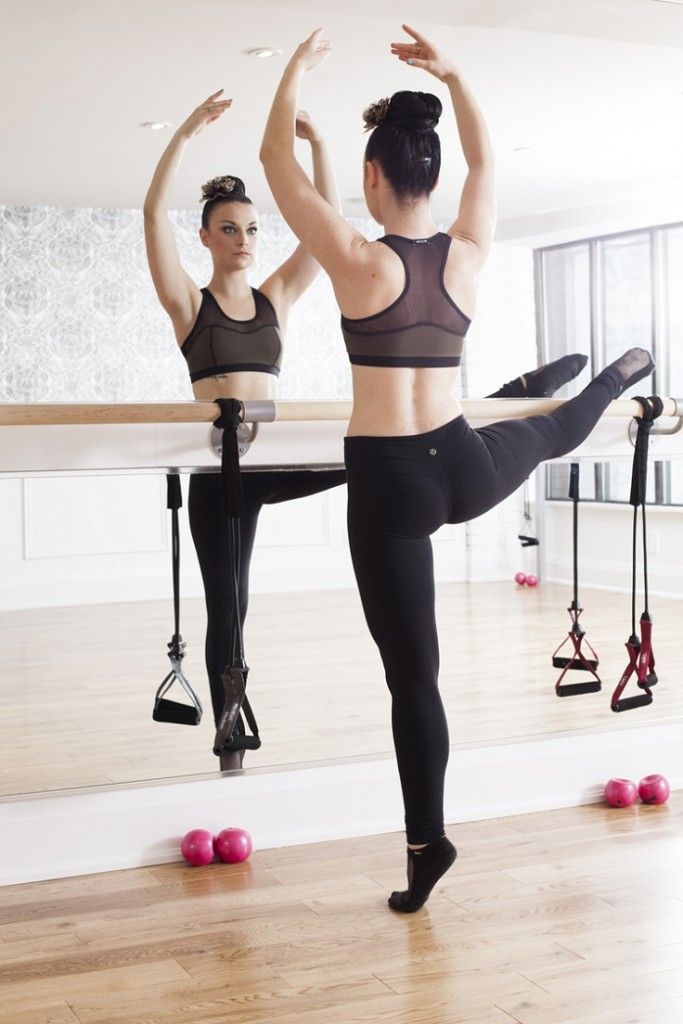 Make a deep bend directly to the leg, you can even wrap your arms around it. At the same time, it is unacceptable to round the back or bend the leg at the knee joint; all phases of the exercise are performed at maximum tension. If you position your "working" leg straight in front of you, then the quadriceps will stretch, and if you slightly to the side, then the inner thighs will take part in the stretch.
- Ballet squats. This exercise requires little experience in stretching and some skill, but it maximizes the load on the adductors. To perform the exercise, fix one leg on the machine and begin to squat slowly. Be sure you will feel how your muscles work and tense. Get as low as you can and pause. After 30-40 seconds, you can climb back.
A Bit of Yoga: Runner's Pose
There are two types of training that are always accompanied by stretching. This is yoga and gymnastics. Longitudinal twine can be very useful when performing complex choreographic exercises and all kinds of asanas.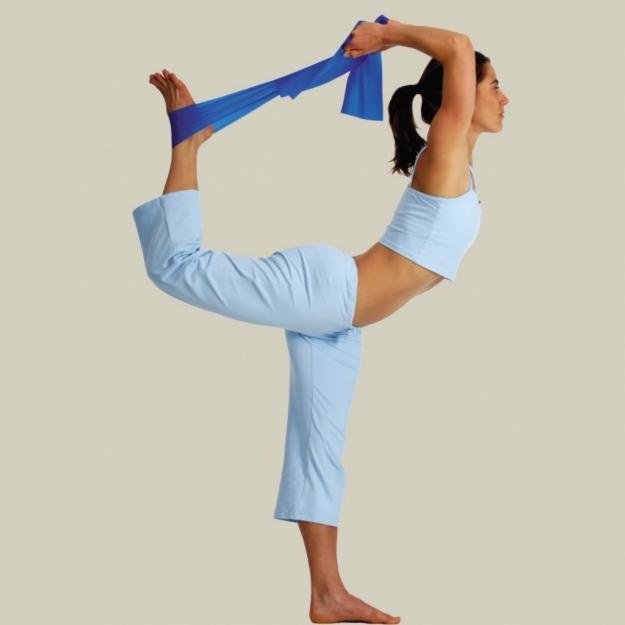 However, some yoga poses can be easily used as stretching training, such as the runner's pose.
Biomechanically, this asana is a bit like a lunge, the difference is only in the placement of the supporting leg. She should be straight, not kneeling. Also, do not forget that this is a static exercise, which means that we simply stand in a pose, while stretching the muscles to the limit, and try to maintain balance as long as possible. It is very important to monitor your breathing here, it should be even and very calm, also try not to twitch or make other sudden movements.
Downward facing dog
We continue to do stretching on the longitudinal twine using yoga exercises. This is an excellent workout for the back of the thigh and buttocks. Your task is to form an absolutely right angle from the body and legs.
It is desirable that the feet remain firmly pressed to the floor, try not to tear off the heels throughout the exercise. This type of stretch can be made slightly dynamic. After you have taken the starting position, start pulling your knees to your chest in turn, this will increase the load on your buttocks.
Hip stretching exercises
If you want to master the right longitudinal split first, you should stretch your right leg more actively. So you will achieve results faster, but your body will be developed disproportionately. It is better to train both parts of the body in equal volume, then you can easily do the splits on each side. To make the muscles softer and more flexible, you need to knead and stretch them yourself. Some exercises can cause overstrain in the legs, which means that it is imperative to perform a warm-up and self-massage at the end of the session. Lie on the floor and try to relax your legs. Lift one of them up and use your hands to pull it to your chest, while intensively massaging the muscle sections. You should not only stretch, but also relax your muscles as much as possible. After all, if they are excessively reduced, all the exercises in the next lesson will be given with great difficulty and pain.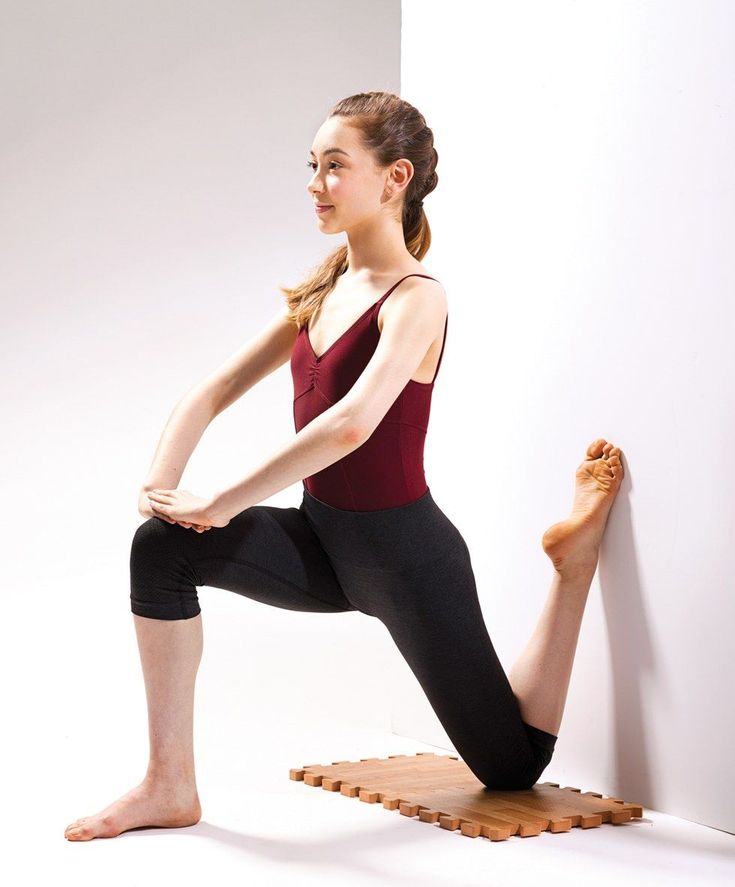
Muscle readiness test
A set of longitudinal split exercises will help you achieve the desired result in the shortest possible time, but you need to constantly monitor the dynamics of success. To do this, you can use a regular ruler or a stack of several thin books. The second option is much more convenient. Place the stack under you and try to sit on the splits, hold in this position for as long as you can. If after a while you feel that you can reduce the distance to the floor, then remove one or more books. Fix again in the starting position. If you feel that you can no longer sit lower, then your muscles and joints are not yet ready. You need to return to training and repeat the test in 2-3 weeks. You will succeed, the main thing is not to rush.
Longitudinal split technique
The most common mistake in longitudinal twine is incorrect technique. If you try to sit in a pose without observing all the rules and subtleties, you can seriously harm yourself.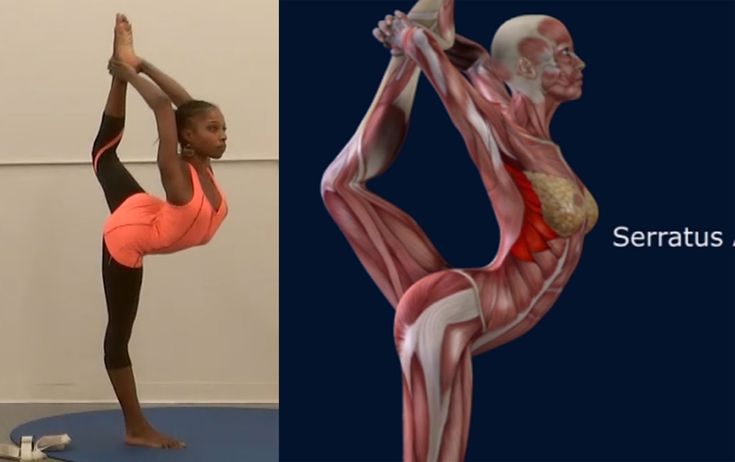 To avoid injury, it is necessary to perform the splits on a slippery floor in closed clothes and socks, so nothing will interfere with the exercise. Take an emphasis while sitting and spread your legs, begin to gradually lower yourself down, reducing the distance between the buttocks and the floor. Don't make sudden movements. If the strength of your hands is not enough to support the weight of the whole body, then do the splits using special stands or on low bars. Before the lowest point, linger a little, this will allow the muscles to get used to the unnatural position a little.
Cross Split
First, spread your legs and do a few forward bends. Try each time to linger in the lower position for a few seconds. Rest your palms on the floor (mat, stack of books, etc.) and begin to slowly and evenly spread your feet to the sides. Bend your elbows and try to lower your chest to the floor. To avoid overstressing the knee ligaments, you need to rest on the floor with your heels, and pull your socks up. Ideally, you should lower your legs, pelvis and stomach to the floor, and then sit up and straighten up. It will likely take you at least a month to master the cross split.
How to sit on the transverse twine correctly?
This type of twine is considered more difficult to perform, many do not have enough willpower to achieve such a result. The main thing here is to set a goal and have the desire to achieve it.
Basic rules on the way to the transverse split
It should be clear to everyone that it will not be possible to sit on the transverse split quickly, so you need to follow a few rules that help you achieve the expected result much faster.
- 1. Muscle stretching. In no case should you do physical exercises without stretching, especially twine. These exercises will warm up the whole body. To do this, it is worth making a few light movements: running in place, tilting the body and swinging the legs to the sides.
 To get a double benefit, it is recommended to warm up after cardio training.
- 2. Daily workouts. To the question of how to sit on the transverse twine, one answer is regular exercises that can lead to success. It is advisable to do stretching at any free time throughout the day. First, it is worth training every other day, and when the body gets used to the loads - every day.
- 3. Clothing. The final result depends on how a person dresses during training. You need to do it only in a warm room, after putting on a loose T-shirt, sweatpants and socks. Just socks allow you to slide on the floor, which has a positive effect on stretching, so it is better to prefer the floor to carpet. Sliding must be controlled, otherwise you can tear the ligaments.
- 4. Workout for two. To make the classes more interesting, you can attach your friend to this. And a more experienced person will tell you how to keep your posture and perform the correct transverse twine.
 A friend can press on the shoulders and legs, which helps to deepen the split.
 - 5. Don't rush. In everything you need to know the measure, this also applies to stretching the muscles. Too much pressure will lead to injury, after which you will have to abandon any exercise for a long period.
- 6. Environment. You can work on the twine both in a quiet and in a noisy place, it depends on the preferences of the person. The setting should be inspiring. Only in a comfortable environment will a person be able to focus on his body and sensations. For example, some people cannot imagine classes without loud music and TV.
Cross Split Exercises
Any workout should start and end with a stretch, especially splits, where all the load falls on working out the muscles of the legs.
To avoid problems such as torn ligaments and muscle tears, you must first warm up the body. In this case, do not try to do all the exercises at once.
"Wasp"
SP: legs wider than shoulders, toes to the side, deep squat. The feet are pressed to the floor, the hips are parallel to the floor, the knees turn to the sides. In this position, you need to rest your elbows on your knees, while pushing your pelvis forward. This will help stretch your pelvic muscles. This exercise will help you start training and bring you closer to your cherished dream - to sit on a transverse twine.
Lunges to the sides
PI: one leg is extended to the side, the weight of the body is concentrated on the other (bent leg). The foot is completely placed on the floor, and the thigh is stretched as much as possible. After 30 seconds, the weight of the body is transferred to the second leg. This exercise can be performed a little differently: the foot is not placed completely on the floor, and the leg rests on the inside of the foot, tensing the muscles in the knee joint.
"Frog"
IP: sit on your knees, bars - on the side. The knees are pulled apart and placed on the bars, hands rest on the floor.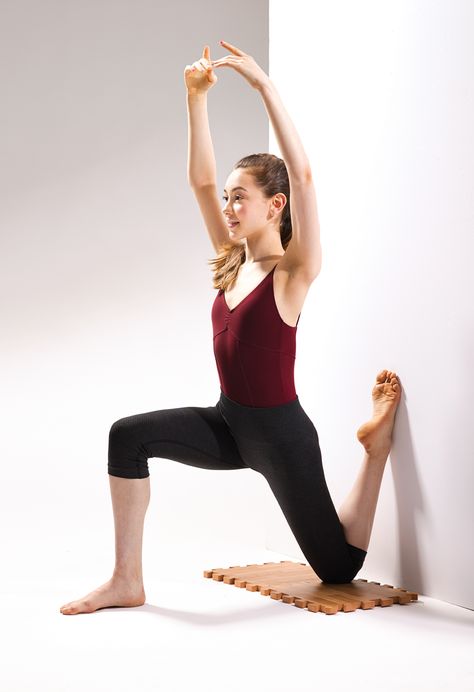 The angles between the thigh, lower leg and body should be straight. Here you need the help of a friend who sits down from above. Now you need to try to relax all the muscles as much as possible, while the partner will observe the correct position of the pelvis. This exercise is a little painful, because the inguinal part is stretched. You shouldn't hurry. For those who do not know how to sit on the transverse twine, but really want it, the exercise becomes more complicated. You need to remove the bar under the knee and stretch the leg to the side. The foot is also fully pressed to the floor. Stretch should be at least 3 minutes, changing legs. Next, the second bar is carefully removed and the second leg is extended.
"Butterfly"
IP: sit on the floor, legs bent at the knees, feet connected. The heels are pulled to the body as much as possible, the knees are pressed to the floor with the help of the hands. The back does not bend and is kept straight.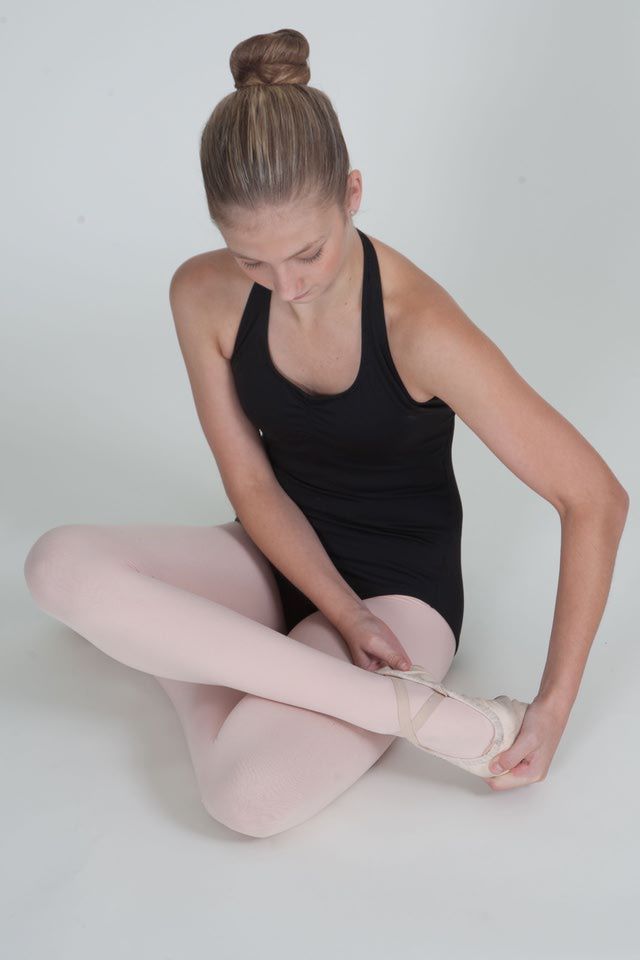 Hands are placed in front of the feet and forward bends are made. The back is straight and the knees are fully pressed to the floor. This exercise helps to stretch the inner thigh and increase the flexibility of the groin tendons.
Pancake
PI: sit on the floor, legs straight, spread apart, toes pointing up. Hands are stretched forward, a tilt is made in front of you. You need to try to touch the chest to the floor and stay in this position for a few minutes. With outstretched arms, turns are made to one leg, and then to the second. You need to try to grab your foot with your hands and do 10 tilts in 5 sets. This exercise allows you to effectively stretch the inner and back of the thigh and tendons under the knee and acts as an effective stretch for the transverse split.
Touching the toes
PI: standing, legs straight, feet together. An inclination is made to the floor - one must try to reach out to the toes. The knees should remain straight, and with each tilt, you need to linger in this position for 40 seconds.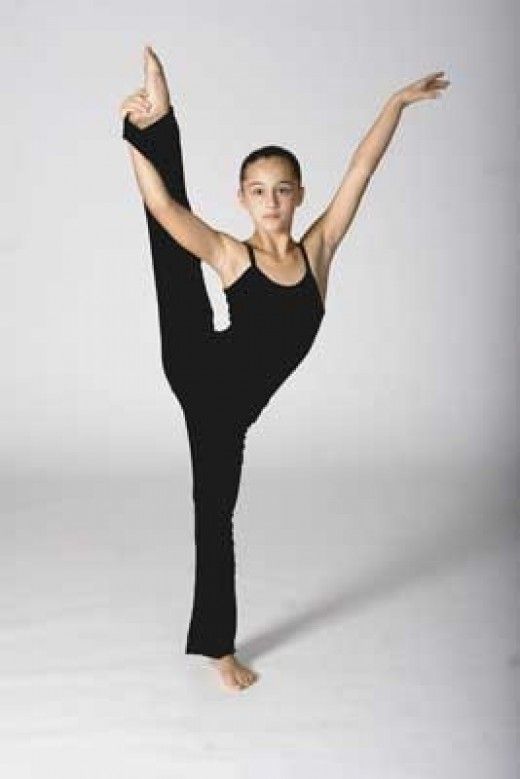
This exercise can be done with one leg bent, which has a beneficial effect on the muscles and tendons in the knee area.
Touching the floor with elbows
SP: standing, feet - shoulder-width apart. The legs should be straight, and when leaning forward, you should try to reach the floor with your hands. In this position, you should bend as much as possible and put your elbows on the floor. Standing, bends are made to the ankles in turn - you must try to clasp them with your hands. This exercise is one of the most important and is performed before you sit on the twine. You need to do it 10 times in 5 sets.
Warnings for beginners
Never sit on the splits abruptly, this will not lead to good results, but only injure the muscles and ligaments.
Unfortunately, many people do not have a question about how to sit on the transverse split, because their body structure is not designed for full stretching. In this case, it is physically impossible to sit on a full transverse split, regardless of the number and duration of training.