How to make ribbon dance sticks
EASY DIY Ribbon Wands (Ready In 5 Mins)
Author: Creative Team
This post may contain affiliate links. Read our disclosure policy.
Here is a simple and easy tutorial on how to make ribbon wands that your kids are sure to love! These are perfect for a princess party or a fun project to make with your kids. These ribbon wands will bring hours of fun any day of the week!
Easy DIY Ribbon Wands
If you’re looking for a simple, affordable, FUN spring craft that your kids will love- this one is for you! I recently made one of these ribbon wands for each of my 4 kids. They literally spent over an hour running around in our backyard playing with them! I love when something so simple is so much fun!
My oldest daughter loved pretending to be Elsa from Frozen and she used the ribbons as make believe snow and ice coming from her hands- she thought it was pretty amazing!
Ribbon wands are super simple to make, and after watching how much fun my kids had with them, I knew this craft was a winner! Here’s a video that walks you through exactly how to make these ribbon wands. As you can see, it’s super simple to do and can be done in about 5 minutes or less.
- Popsicle Stick Flower Pots
- Water Gun Painting
- How To Make The Best Puffy Paint
- How To Make Slime
How to Make Ribbon Wands
Materials You’ll Need To Make Ribbon Wands:
- Wooden dowels (you can buy a pack of 10 or 12 at Walmart for around $2!)
- Various colorful ribbon (I prefer to use satin ribbon)
- Scissors
- Hot glue
- Matches or a lighter, optional
DIY Ribbon Wands Directions:
- Cut the ribbon to your desired lengths.
- Optional: Burn the edges of the ribbon to keep them from fraying.
- Tie one ribbon at a time to the end of the dowel. Secure it from sliding or coming undone with some hot glue, and let it dry completely.
- Once dry, hand one ribbon wand to each kid and let them run around outside on a pretty spring day!
They are seriously going to have so much fun with their new wands!
I love making simple crafts that my kids can have fun with.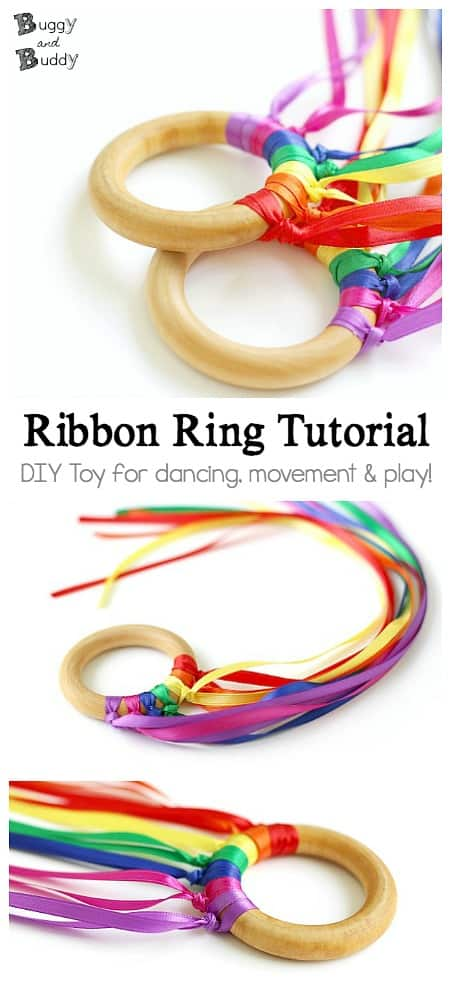
The colors are seriously so fun, and the kids loved them! Even the boys!
Print Pin3.88 from 25 votes
How to Make Ribbon Wands
These ribbon wands are easy to put together and so much fun to play with!
Prep Time 1 minute
Cook Time 4 minutes
Total Time 5 minutes
Servings 24 Wands
Cost $10
scissors
Hot glue gun
Matches or a lighter, optional
- 12 Wood dowels
- Rolls Satin ribbon any color
Cut the ribbon to your desired lengths.
Optional: Burn the edges of the ribbon to keep them from fraying.
Tie one ribbon at a time to the end of the dowel. Secure it from sliding or coming undone with some hot glue, and let it dry completely.
Once dry, hand one ribbon wand to each kid and let them run around outside on a pretty spring day!
Best Mom Ever Award goes to… ME!
Busy moms, this one is for YOU!
Our weekly newsletter grants exclusive access to our favorite projects, recipes, free printables, and more!
Subscribe
Homemade Twirling Ribbon Sticks in 5 minutes
Home » Outdoor Play Ideas » Homemade Twirling Ribbon Sticks
Last updated on
8. 7Kshares
These twirling ribbon sticks are easy to make with just a stick and a ribbon, Kids will love swinging and swirling their ribbons around as they dance and run in the yard. Add this to your list of simple activities to do in the backyard this summer.
Twirling ribbon? Ribbon stick? Twirling ribbon stick? I’m not exactly sure what they’re called, but they were so easy to make! They’re great for pretend play, princess dress-up and fairy activities!
We were outside, making our Pringles can windsock, and the girls were fascinated by the way the ribbons danced and fluttered on the breeze.
They were having such a great time shrieking and squealing and chasing those ribbons around, it occurred to me they might have a lot of fun with some actual twirling ribbon sticks.
You may also like this collection of nature crafts for kids.
I had no supplies with me other than the ribbons we were working with, so these ribbon sticks are basic. REALLY basic.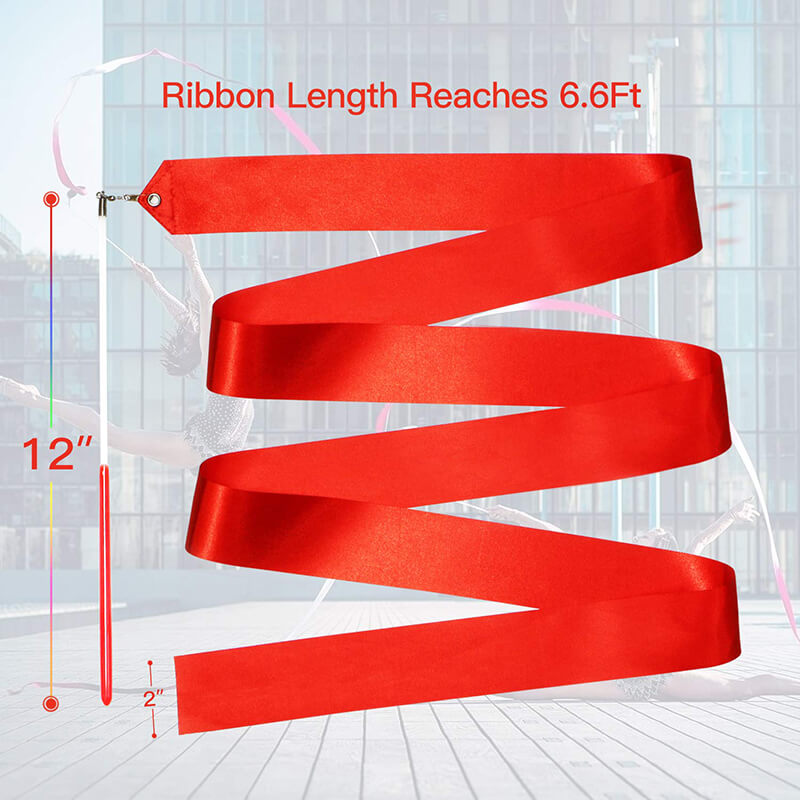 They took all of 5 minutes to make.
Ready to see how I made these awesome Twirling Ribbon Sticks?
- Stick
- Ribbon
- Scissors
That’s it, that’s all. Pretty easy, huh?
I grabbed a couple of sticks out of the garden, snapped them to about 10 inches in length, and the girls picked out their ribbons.
I probably tied about 5 ribbons to each stick and each ribbon was different in width and weight. No need to have everything matchy-matchy here.
I tied the ribbons to one end of the sick, and knotted them a few times to secure them. Then I handed them over to the toddlers.
The were amazing! The girls danced and spun and jumped and twirled, they fell down, they hopped up, and they ran around and around in the yard.
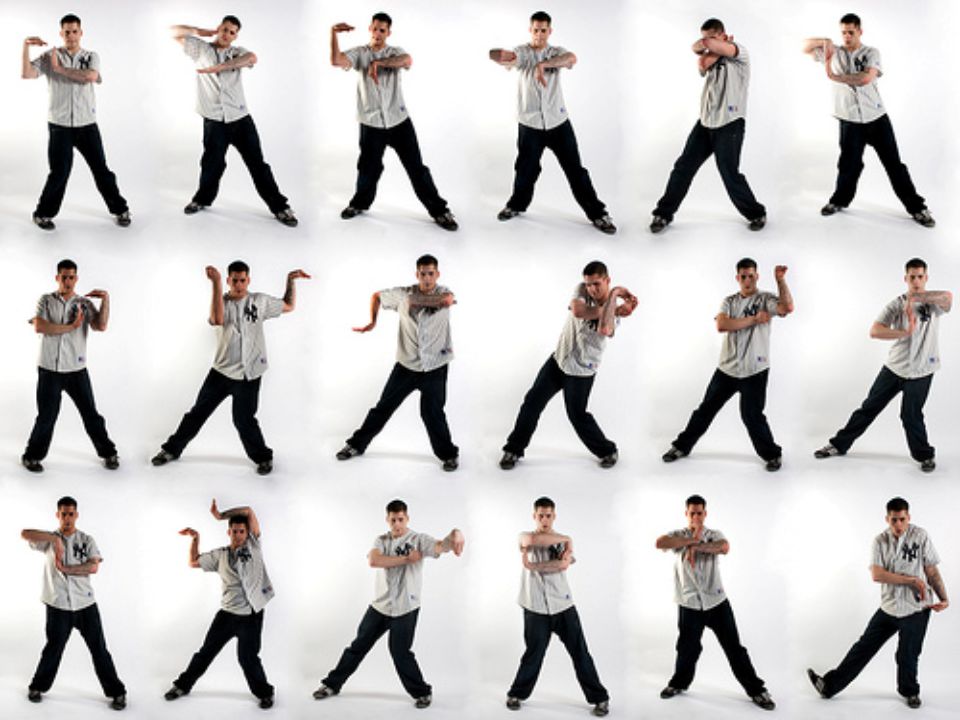
What’s so great about twirling a ribbon?
Our twirling ribbon sticks help develop a number a skills:
- gross motor skills (large arm movements)
- balance (spinning while twirling the ribbon stick)
- exercise (running around waving ribbon stick in the air)
- co-ordination (moving stick in a way that makes ribbons flutter)
What a beautiful and fun way to stretch and exercise those little muscles.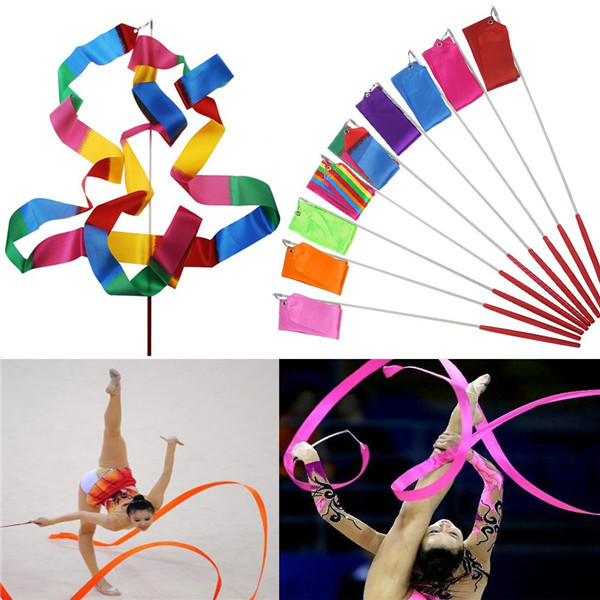
You may also like:
- Bucket and Rope Pulley System
- Back Yard Tight Rope
- Easy, Homemade Water Wall
- Portable Mud-Pit
- Pretend Play Coffee Shop
Get the 3-5 Playful Preschool e-Book!
25+preschool activities, 10 printables, 50 links to activities not featured in the book all for $8.99 Download your copy today:
Follow the Hooligans on Facebook
Jackie Currie
Jackie is a mom, wife, home daycare provider, and the creative spirit behind Happy Hooligans. She specializes in kids’ crafts and activities, easy recipes, and parenting. She began blogging in 2011, and today, Happy Hooligans inspires more than 2 million parents, caregivers and Early Years Professionals all over the globe.
8.7Kshares
Reader Interactions
How to make do-it-yourself sultans?
Festive performances in kindergarten and school often require the presence of sultans. They can also be used to decorate rooms for the New Year or for children's parties at home.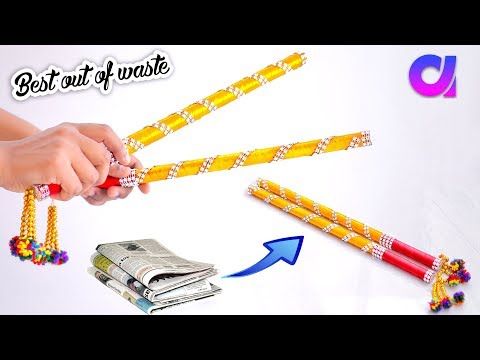 What is a sultan? This is a bunch of bright stripes connected together. If they need to be held in the hand, then this bundle is attached to a stick or the edges are tied with thread, rope, tape. In the article, we will consider in detail how to make do-it-yourself sultans from different materials.
Bundle of ribbons
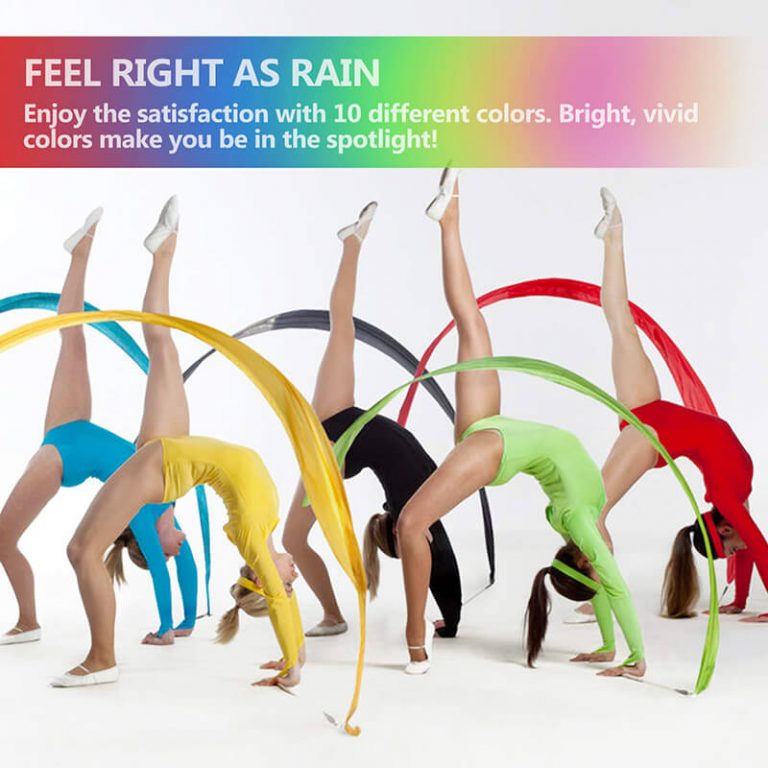
Puffs made of satin ribbons look beautiful. Ribbons can be taken in one color, or in different colors. See what they are for. If a child dances a kalinkui dance at a matinee, then they make red sultans, if the dance of the sun's rays, then they are yellow or bright orange. To make it convenient for the child to hold the product in his hands, before making sultans with his own hands, you need to pick up a small round stick (from an old flag or cut off a tree branch, in extreme cases you can always use a pencil).
How to make a New Year's parrot costume with your own hands?
Many mothers dress up their daughters for the New Year's party like princesses, often ordering evening dresses for this.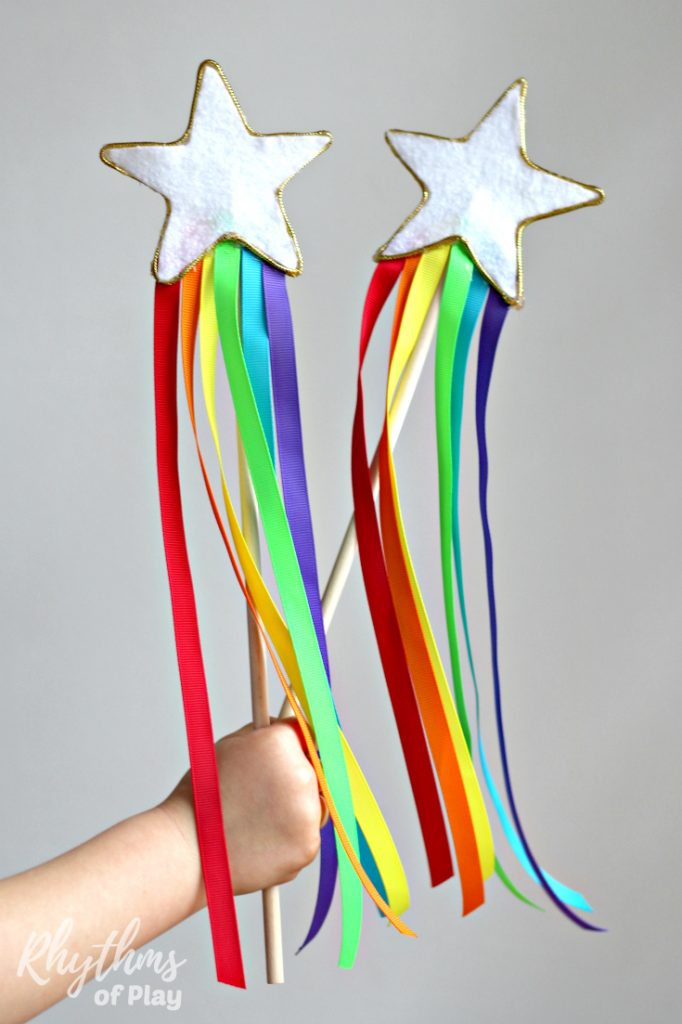 The holder is wrapped with colored tape. Everything, you can go to the holiday.
New Year's buns
If you need lush, shiny bunches for the New Year's holiday, then we'll tell you in detail how to make buns out of rain with your own hands. You can use the rain as one-color, and multi-colored. If a girl is dancing a dance of snowflakes, then it is better to make silver sultans, if this is a Petrushka dance, then colored ones are also possible. It is better to make such shiny products lush, as a half-empty bunch will look deplorable. Smooth and thin rains are sold in strips. This is convenient because it will be easier to make sultans with your own hands.
Learn how to quickly make a pom-pom out of yarn with your own hands
How to quickly make a pom-pom out of yarn without special tools? There are 6 production methods...
The average length of the product is approximately 20 cm. The rain is laid out on the table in even strips, the length of which is 40-42 cm.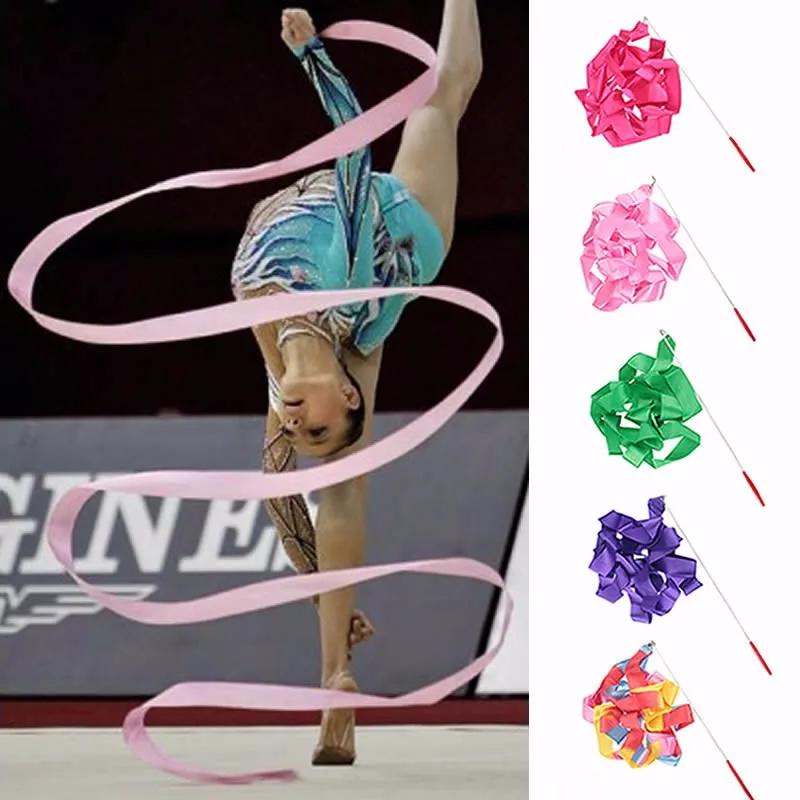 Then we raise the beam by the middle up, and the edges are smoothed down. In order for the child to hold them in his hand, you need to wrap the tape around the knot several times. If the rain at the same time moved out of place, the edges can be trimmed with scissors, cutting off the extra threads. Knowing how to make do-it-yourself rain sultans, you can decorate a group room in a kindergarten or a school class with bright bunches by hanging them on a fishing line under the ceiling or on a school board.
Using paper bags
Plastic bags can be used to make very fluffy frills, for example, for an autumn matinee. It is in the autumn in kindergarten that musical workers often enter the roles of rain and clouds into the script, especially in younger groups. For such dances, you will have to make lush translucent bunches. We will tell you further about how to make sultans from bags with your own hands. First you need to purchase two packs of the simplest bags without a pattern in white and light blue.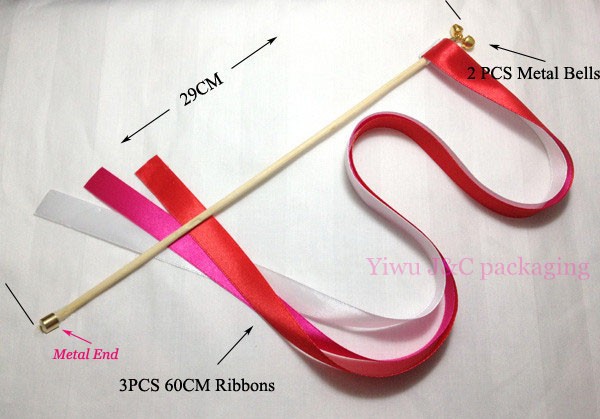
If they have handles, they must be cut immediately without opening the packaging. Then, with scissors, several packages (6-7) of blue color and the same amount of white are cut into strips. But not to the end. A whole strip is left at the end, which, after cutting, will need to be twisted into a tight cylinder and tied with a thread. Then the edge, for which the child will hold the sultan, is wrapped with white tape. If you put the packages so that the colors alternate, you get a beautiful multi-colored bunch.
Learn how to make a smoke bomb yourself
In this article I will talk about how to make a smoke bomb and describe several methods that I know.
Paper products
Next, let's look at how to make do-it-yourself sultans from paper. To do this, it is better to buy sets of corrugated tissue paper in stationery stores. They need to be unfolded and folded in half in width. If the paper is too large, then cut it yourself into rectangles of the desired width. Before you make sultans with your own hands, you need to cut the “noodles” at the edges with scissors. You don't have to cut all the way through. Then unfold the paper.
It should turn out exactly like in the photo. The unfolded strip of paper is folded into a roll, and the middle is tied with a thread. Then we connect both sides together from below, and tie another thread around the knot. It turns out a bunch with a loop on top. Such a paper sultan can be hung on a string by a loop to decorate a room for a holiday, or many sultans can be hung on a fishing line above the ceiling. You will get a beautiful multi-colored lush garland.
Felt drapes
Now needlewomen often use sheets of felt in their crafts. They have bright and rich colors. The material is comfortable to work with. It can be cut, glued, stitched. Before you make do-it-yourself sultans from felt, you need to buy a few sheets in sewing accessories stores.
Then the process is repeated according to the pattern of making paper tartlets.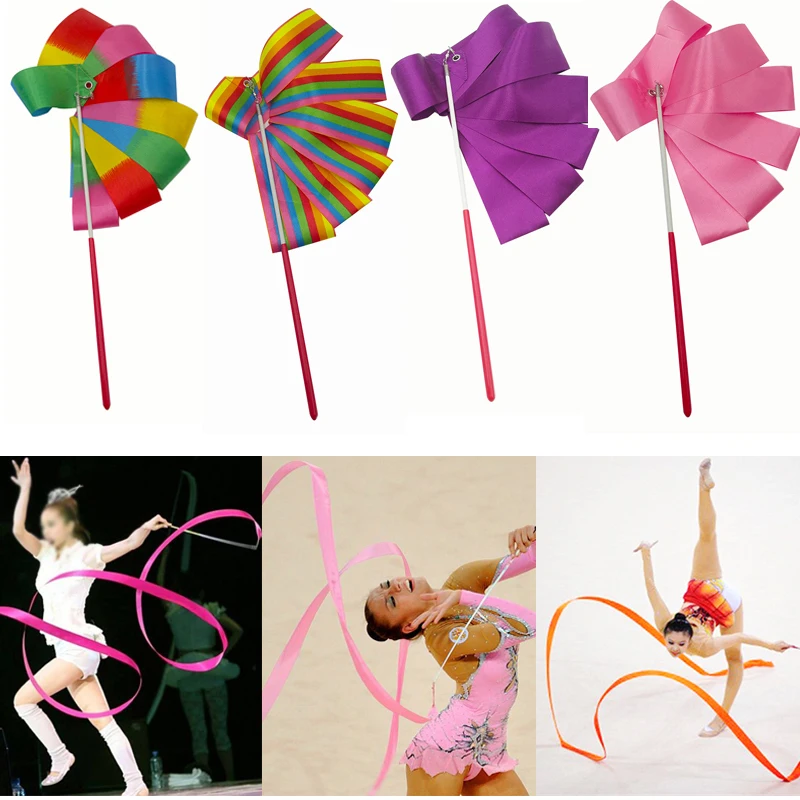 If you need a bunch of cut ribbons to have a holder, then use plastic sticks for balloons. It's comfortable and they look nice. If the stick is long, then it can be cut in half.
Christmas tinsel
Girls love to dress up as princesses, sorceresses and fairies for the holidays. For such a New Year's costume, we will advise how to make do-it-yourself tinsel sultans. Tinsel is a silver-plated or gilded thread that decorates the Christmas tree for the New Year. For a fairy, you can make a magic wand, decorated with an asterisk and tinsel, collected in a plume.
Such an item does not need much splendor, like a regular sultan. Here you can take only a few threads, but of greater length. Attach to the edge of a long stick and decorate it, for example, with a colored cardboard star. With a wave of the magic wand, the tinsel threads will beautifully fly up into the air and sparkle in the light of the lights.
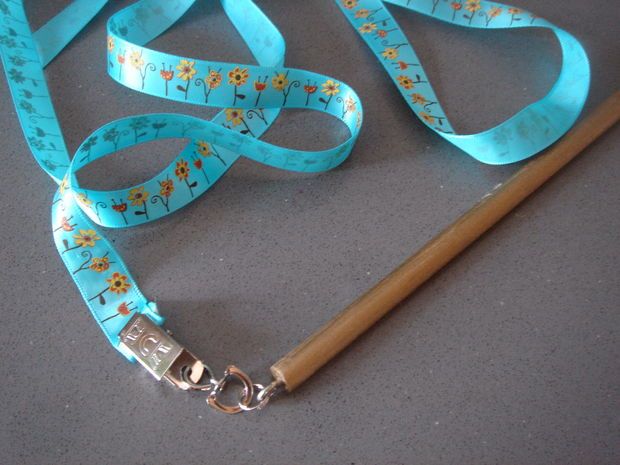
Do-it-yourself gymnastic ribbon
Ribbon exercises are the most spectacular part of rhythmic gymnasts' performances.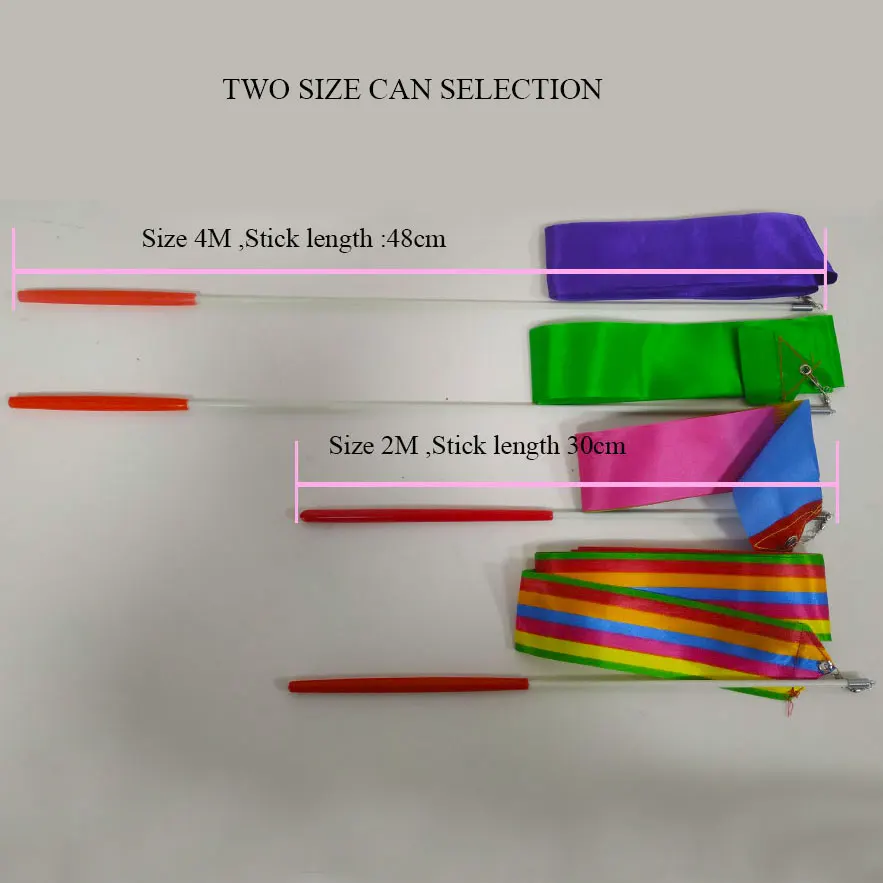 After all, if you know how to control the wand, then a simple tape can do very beautiful tricks. If you are going to perform at competitions, it is better to choose a professional ribbon with a special stick, but if the projectile is needed for training, sports demonstrations, children's choreography, then a home-made gymnastic ribbon that you can make yourself is also suitable.
How to choose a ribbon
Contents
- 1 How to choose a ribbon
- 2 Complex design
- 3 Simple design
Training tapes are three to four meters long and are used not only in gymnastic sports, but also in various demonstration, choreographic performances where a special dance idea is needed.
Professional tape mainly used in competitions and training. The length depends on the age of the gymnast, technical skill and ranges from four to six meters, it is attached to a stick (which has a conical or cylindrical shape) with a nylon pigtail or carabiner. The length of the stick is also different - a six-meter ribbon should be attached to a stick 55 to 60 centimeters long, ribbons from three to four meters long use sticks up to 50 centimeters long. Accordingly, tapes from 4 to 6 meters are attached to a stick 55 - 60 centimeters. But the length of the stick is for professionals. For children, you can take shorter blanks - 25 - 35 centimeters.
The ribbons must match the color of the dance costume, so they are colored with acrylic paints or permanent markers and then ironed to fix the color. Such a tape can be washed in gentle mode, having previously separated it with a stick.
Intricate design
If you try hard, you can make a gymnastic ribbon that will rotate freely relative to the stick. Such a wand is more difficult to use, but the tricks will be more beautiful.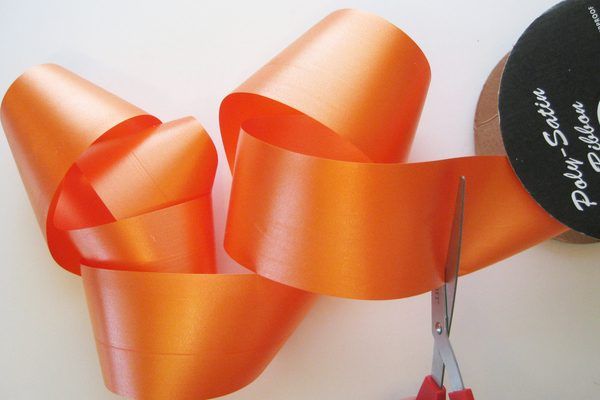
- A plastic tube is taken or the tube is made of tin.
- A plug is placed on one end, a cap with a hole in the middle is placed on the other. The cap can be made from tin.
- A wire about eight centimeters long is inserted into the hole, bent in half - barbs are made on one side to hold it in the cap, on the other - a ring. Barbs should not interfere with the free rotation of the ring.
- At the edge of the tape, make a tube into which a 14 cm long rope is inserted. The ends of the rope are sewn together.
- Now the rope ring is connected to the wire ring with the help of a carabiner, you can use a fishing carabiner (they are intended for attaching a lure to a fishing line).
Simple design
This band will not have as much free movement around the axis as the previous one, but this is the simplest scheme for making this gymnastic apparatus.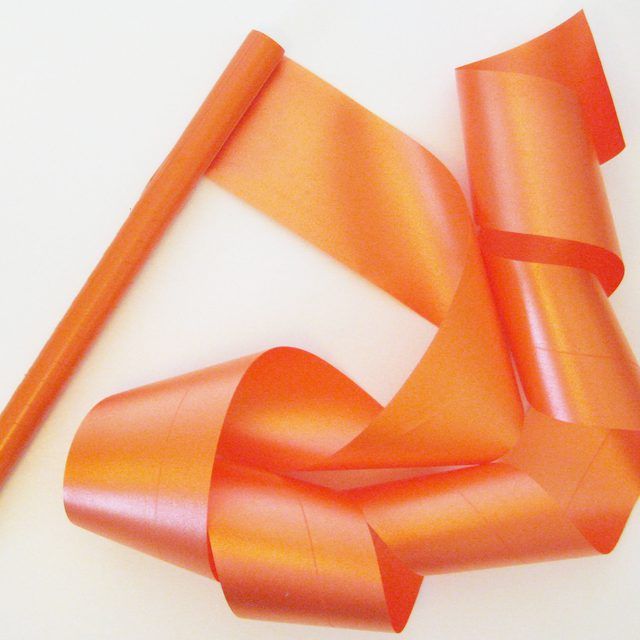 Such a wand will be easier to manage, it is suitable for beginners.
- Requires stick, tape and glue to make.
- Take a satin ribbon four to six centimeters wide. The length for preschool children should be no more than five meters, adults can be given a ribbon even 7 meters long. The color should match the color of the suit, you can sew ribbons of different colors if necessary, but due to the seams, the strip of material may lose its initial elasticity.
- The stick should be about one and a half centimeters in diameter and fit well in the palm of your hand. Children can choose a diameter of 1 cm so that it is convenient to use such a stick. The stick should be light, so you can take a plastic tube or a wooden blank, but you can also use iron or aluminum.
- The edge of the tape can be hemmed to keep it from unraveling, but it is better to burn it with a lighter, for example.
- Bend the tape a centimeter and sew this edge, a small linen tube forms at the end.