How to make dancing oobleck
How To Do The Dancing Oobleck Experiment
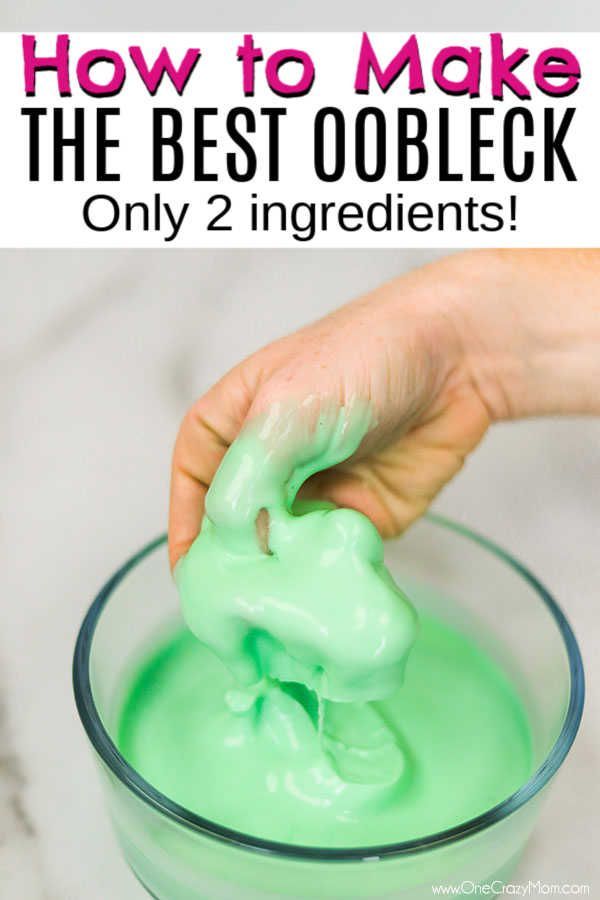
The dancing oobleck experiment is a crowd pleaser, not only for kids but for adults; trust me when I say I amazed even my born skeptical brother with this one years ago! Today I will share with you how to do this incredible experiment at home or in the classroom.
PROJECT NOTE: This project will require the use of some specialty materials including a subwoofer/speaker set and cables to connect it to a tablet or smartphone. I had a set of computer speakers and subwoofer from an old TV sound system thatI was able to use. They will get a bit dirty so make sure this is a set of speakers you don’t mind getting few drops of oobleck on.
Dancing Oobleck Materials- Oobleck Get the recipe here
- Subwoofer
- Tablet/Smartphone
- Plastic Lid OR Plastic Wrap
Dancing Oobleck Experiment
Learn how to do the Dancing Oobleck experiment.
- Make Oobleck
Mix up a batch of oobleck using the recipe here.
- Set up your subwoofer
Place an old subwoofer on a flat surface. Hook it up to a tablet. You may need to hook up a set of speakers along with the subwoofer. Go here and select a low frequency test tone http://onlinetonegenerator.com. 40 Hz is a good frequency to start with. Play the tone and make sure it is audible through the subwoofer.
- Cover the subwoofer
Place a large plastic lid or plastic wrap over the subwoofer. Make sure that it is larger enough to contain the oobleck. Lids work well because they have edges that will contain the liquid.
- Add the oobleck
Place a few tablespoons of oobleck on the lid or plastic wrap.
- Make the oobleck dance
Play a low frequency test tone and hold the plastic lid tightly against the subwoofer. Alternatively use your fingers to stretch plastic wrap over the subwoofer and hold in place.
 The vibrations in the subwoofer will begin to make the oobleck vibrate and cause it to lift up and “move” in a weird and wonderful dance. If it doesn’t start dancing push a chunk of the oobleck with your fingertip to “activate it” and make it move.
 - Test different tones
Try playing different test tones and seeing how it changes the way the oobleck “dances.” Hint: best range is 40hz-80hz
The Science Behind the Experiment
Sound vibrations travel in waves that can be detected by the ear. Sound can be transmitted through air, water, and solids. One of the units used to measure sound energy is called frequency.
Frequency is defined as the number of times per second that sound waves repeat themselves. It is the speed of vibration and is sometime referred to as pitch though pitch is a description of how high or low something sounds, whereas frequency describes the cycle rate of the sound wave itself.
You can’t see sound BUT you can use it to move something thus making it visible.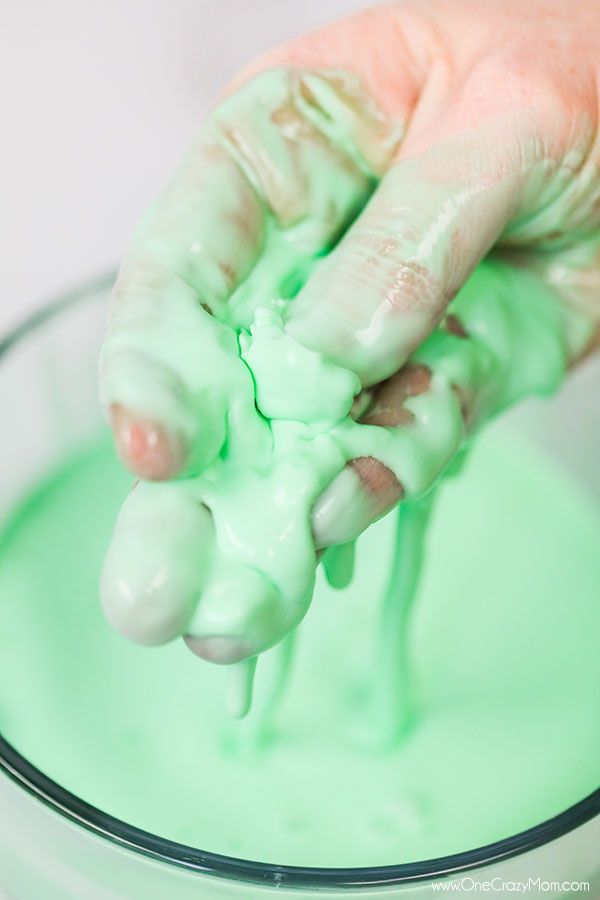 In the dancing oobleck experiment we are able to watch sound waves on the subwoofer and plastic lid. As the subwoofer produces a sound, it’s surface vibrates along with the lid on top. When you put oobleck on the lid, the vibrations move through it and you can “see” the sound waves. If your oobleck is more liquid-like you will be able to see patterns of Faraday Waves on the surface. Faraday waves are standing waves that appear on liquids that are vibrating. If your oobleck is more solid and you press it with your finger it will rise up and move in strange ways because of its unique properties.
Oobleck has two unique scientific properties. It is a non-Newtonian fluid, a term for a liquid whose viscosity changes depending on pressure, and a colloid, a mixture in which a small particles of a substance are suspended throughout another substance but not chemically bonded. These properties make oobleck move in very weird and wonderful waves when subjected to sound vibrations.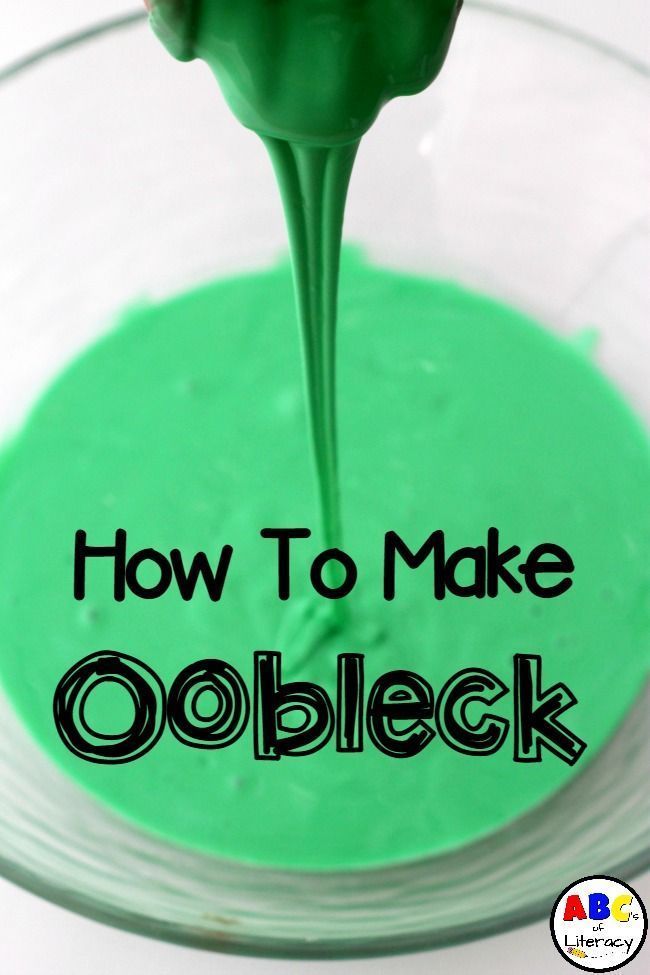
Conclusion & More
If you enjoyed this weird and wonderful project check out this video with two of our other favorite strange science projects for kids:
Dancing Oobleck | Housing a Forest
My kids love trying new Science Experiments, and play recipes. Today we decided to combine the 2 and try to make our Oobleck dance using sound waves. If you have never made it before, Oobleck is a mixture of cornstarch and water. When played with fast it acts like a solid…when allowed to relax it acts like a liquid.
This post contains affiliate links for your convenience.
When we saw a few youtube videos that involved Dancing Oobleck, we decided we needed to take our gooey play to the next level.
Dancing Oobleck Recipe
You will need to make your Oobleck thicker than usual.
- About 2 cups of Corn Starch to 1 cup of water.
Materials Needed:
Once your recipe is ready let the kids play for a bit while you set up the next step.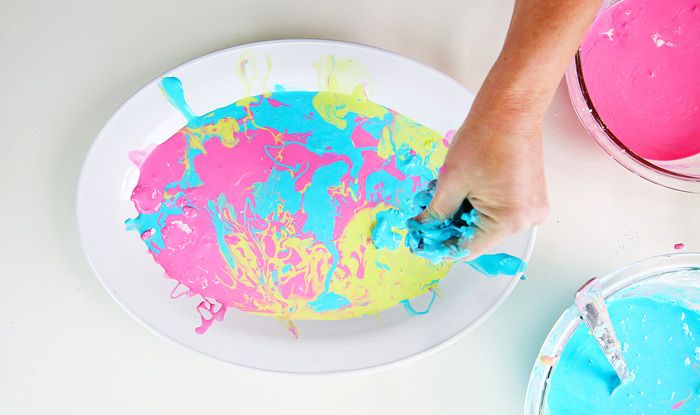
- a Subwoofer
- a thin metal cookie sheet
- a MP3 of an audio test tone ~ you will have to play a bit to see what works best with your equipment.
- Food Coloring
Instructions:
- Place the cookie sheet onto the speaker of the sub, and pour in the Oobleck.
- You can download different test tones and play to see what works best for you. We used 40 Hz, 50 Hz, and 63 Hz, and found that we needed to turn the volume way up. We tried a number of different frequencies but these three seemed to work the best. We did a search for subwoofer test MP3. There are a number of different sites that you can use.
- Before you play the MP3 you will need to place your fingers on the edge of the cookie sheet with gentle pressure. It took a bit of playing to see what worked the best, but the results were amazing.
We decided to add food coloring to see what would happen. I love how the colors dance together and you can see all the layers of each color.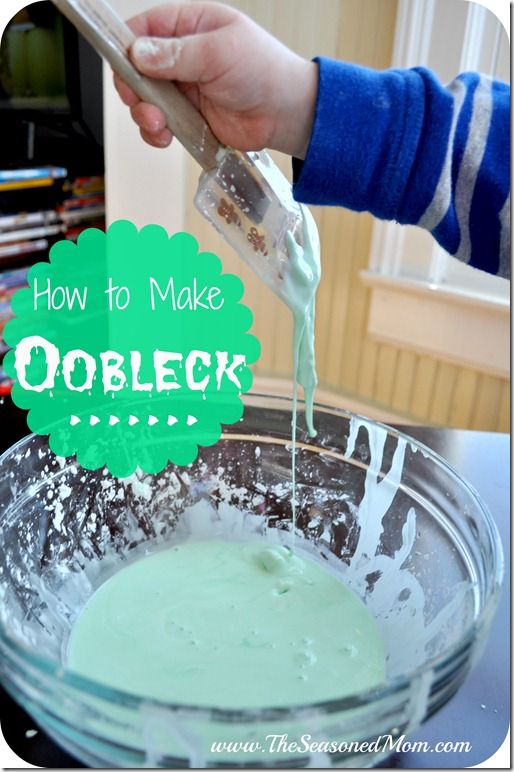 This was the kids favorite part!
Amazing!
Subwoofer Test:
Here are a couple options for subwoofer tests although if you do a search for subwoofer test MP3 or MP3 of an audio test tone.
- Bas Test Low HZ Frequency
- Ultimate Subwoofer Test
Tips and Tricks:
- A thicker consistency of Oobleck works best. Although with that said you don’t want it too thick. We used a ratio of 2:1 (cornstarch to water).
- If your oobleck is not dancing, you may need to change the volume on your subwoofer. You can also try digging your finger in Oobleck to start the movement. In the video the kids do it a few times just to get everything started.
- Keep experimenting until you get it to work. Honestly we played around for a bit until it worked for us. Everyone will be working with different equipment so what worked for us might be a little different for you.
After we were all done I let the kids play with the colored Oobleck. They loved it, but a word of caution if stained colored fingers are not your thing. We giggled at the kids as they tried to wash the color off. I’m sure they will be sporting grey blue hands for a few days.
Walking on Eggs
Ivory Soap Experiment
Packing Peanut Experiments
Exploding Peep Geysers
Shooting Water Experiment
A selection of interesting experiments for children at home
Scientific discoveries have given mankind many original ideas. In rainy weather or when you are bored, some of them will be a great way to have fun. We offer 10 cool experiments for review. They can be carried out at home even by children, but preferably under the supervision of adults. These experiments use elementary ingredients that are always in the kitchen. Simple but interesting tricks are based on the principles of chemistry, physics and biology.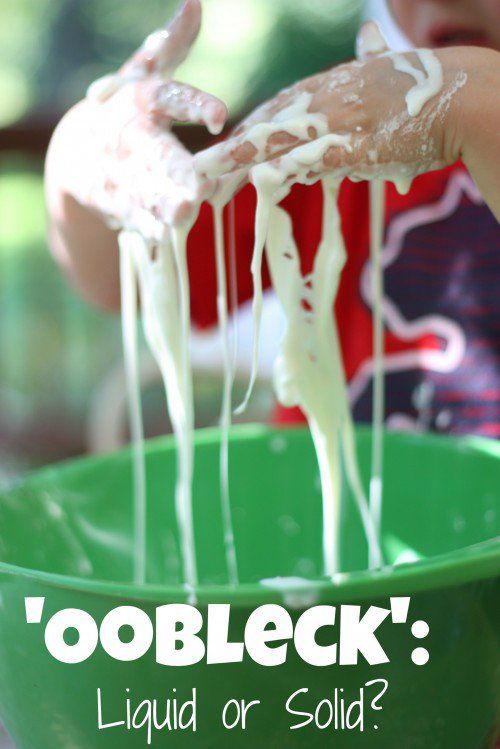 Well, let's get started!
Contents
- Learning how to separate an egg yolk using an empty bottle
- Experiment: create a non-Newtonian substance
- Soda and vinegar - instead of a pump!
- Coloring flowers with the capillary method
- Determining the amount of sugar in soda
- Magic bag
- Cleaning copper coins at home
- Flying ghosts
- Experiment with dancing raisins milk painting0027
- Author: Alesya Vetrova
Learning how to separate an egg yolk with an empty bottle
What you need: a raw egg, two bowls (or plates), an empty water bottle.
The course of the experiment. Squeeze the bottle so that some of the air comes out of it. Then bring its neck close to the egg on the plate, almost close. Opening the plastic container, you will see how the yolk is sucked into the bottle - together with air, it hurries to occupy the empty volume.
Why is this happening? After compression, part of the air was "squeezed out", which means that the pressure outside became greater. Thus, the air literally “pushes” the yolk into the bottle.
Experiment: create non-Newtonian matter
What do you need? Water, cornstarch, deep mixing bowl, food coloring. Put on old clothes so as not to get dirty and cover the table with oilcloth.
The course of the experiment. Pour a glass of water into a deep bowl, then pour a glass of corn starch into the same place and mix everything well.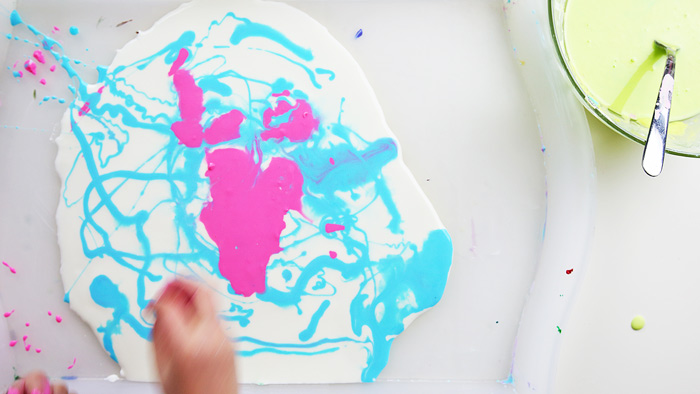 Food coloring can be added if desired. Now slowly dip your hand into the mixture. As you can see, this is very easy to do. Do the same, but with effort - as a result, the substance will "repel" the hand.
Why is this happening? Oobleck is a non-Newtonian substance. Sometimes (for example, when it is poured), it manifests itself as a liquid. But! When you put pressure on the mixture, it behaves like a solid body, and on impact it can even act repulsively.
Soda and vinegar instead of a pump!
What we need: regular vinegar, narrow neck bottles, balloons, baking soda.
The course of the experiment. A mini-geyser is made according to a similar principle, but we slightly modify the well-known experiment.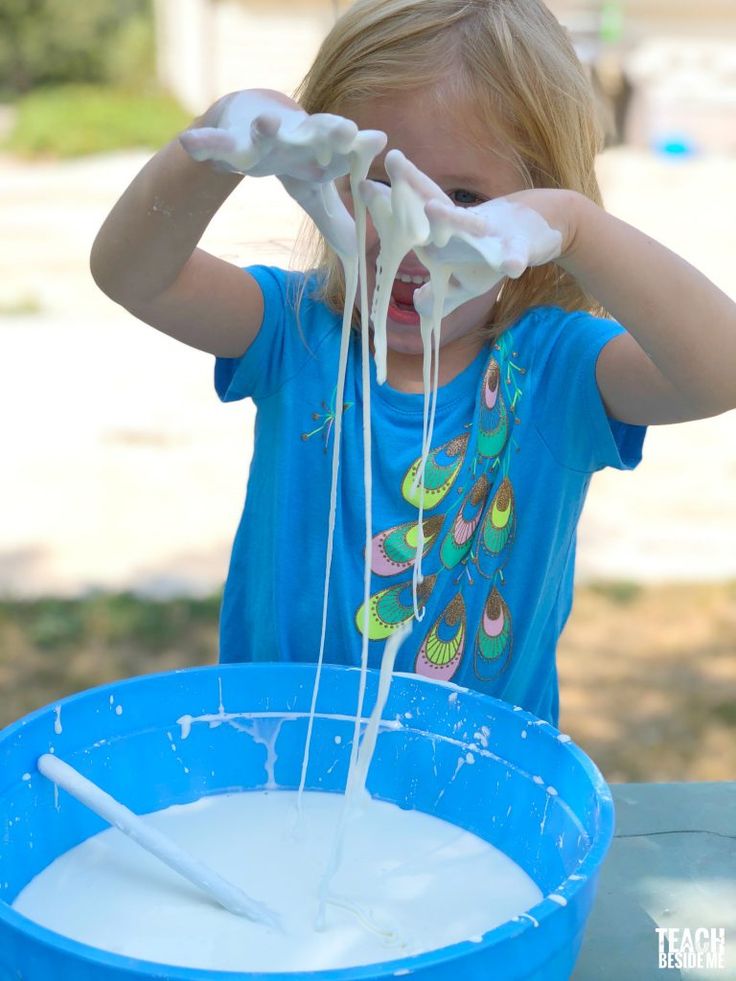 Pour into bottles of 50-100 grams of vinegar. Having made a roll out of paper, we lay one end of it in a balloon that needs to be inflated. Inside the other end of a kind of tube, we fall asleep 2-3 tablespoons of soda. Now you need to carefully put the balls on the necks of the bottles. Be careful not to spill the soda out of these rubber containers prematurely. The preparations are over, you can proceed to the most interesting. Pour the contents of the balls into the bottle and enjoy watching.
Why is this happening? Molecules of soda and vinegar instantly combine, and a powerful reaction occurs. As a result, carbon dioxide is produced (SO 2 ), which inflates the balloon so much that it can even explode it.
Capillary flower dyeing
What we need: fresh white flowers (daisies and carnations are great, you can even use celery for lack of flowers), glass jar, food coloring, scissors.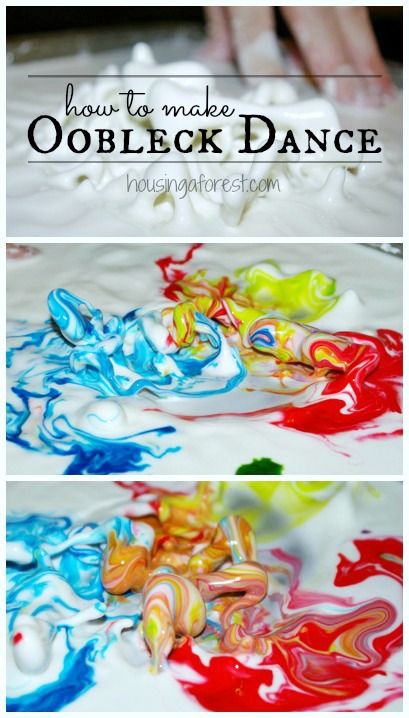 We also advise you to be patient, since you will see the full result of the experiment only after 24 hours. But after a while, you can watch how an amazing reincarnation takes place.
The progress of the experiment. Pour water inside the jar, add a dye of any color there. We lower the flowers into this liquid, and observe how the delicate white petals gradually turn into a different color.
Why is this happening? Water evaporates from the petals of the flower, so the stem absorbs the colored liquid from the jar. Gradually, the colored liquid reaches its petals.
Determine the amount of sugar in soda
What do you need? Unopened cans of diet and sugary drinks, a large container of water (a bath will also work for this experience).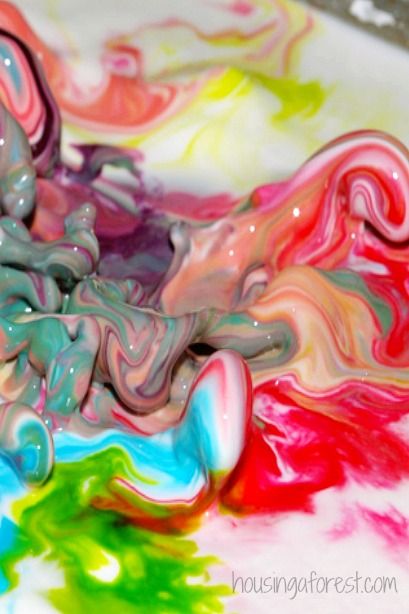
The course of the experiment. Submerge soda cans in water. Not all of them will sink to the bottom. The ones left floating below the surface contain a lot of sugar. "Heavy" drinks can safely drink fans of diets.
What is the reason for this discrepancy? The density of regular and diet carbonated drinks is different, its value is affected by the sugar content. As a result, some jars flounder in the water, while diet drinks boldly go to the bottom.
Magic Pouch
What you will need: A bag with a special plastic clasp, a pair of sharpened pencils, a mug of water. We recommend doing the experiment on the sink or bathtub, as the temptation to pull out the pencils after the experiment will be great!
The course of the experiment.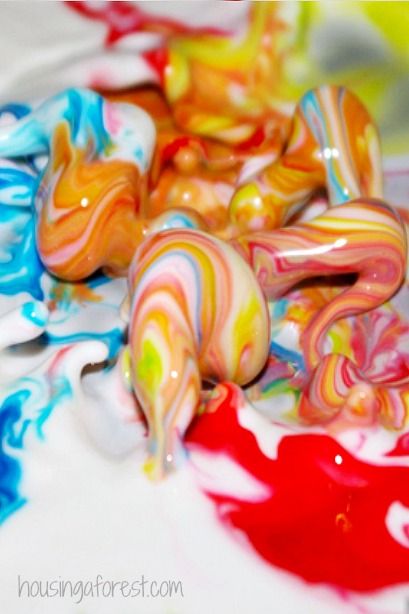 Fill the bag with water and seal. Then we quickly pierce it through with several pencils, one by one. As you can see, the holes did not even give a gap - the bag remained completely sealed.
Why is this happening? The tight bag with a fastener consists of flexible polymers. When punctured, the plastic surface is hermetically sealed around the pencil, so it does not leak.
Copper coin cleaning at home
What do we need? Darkened coins, 1/4 cup white vinegar, one teaspoon of salt, a glass of water, two bowls (non-metallic), paper towels. We recommend wearing goggles to protect your eyes.
The course of the experiment. Pour water, vinegar and salt into a bowl.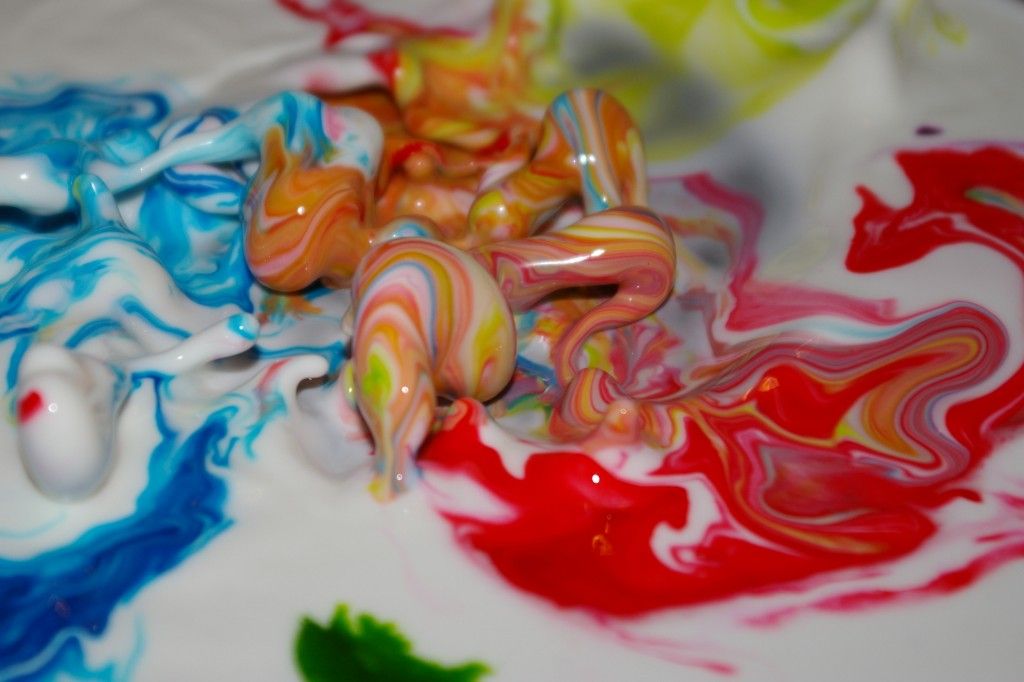 We put coins in the prepared solution. After a while, we evaluate the degree of their purification.
How does it work? Acetic acid reacts with salt, which helps to clean copper pennies from copper oxide. Rinse the coins with water after the experiment, otherwise they will turn greenish. After cleaning a dozen copper coins, do another interesting experience. Put a metal coin into the old solution. You will see the steel color change to yellowish. This happened because the metal attracted copper oxide molecules to itself.
Flying Ghosts
What do we need? An inflated balloon, ghosts cut out of tissue paper, and something to generate static electricity (your clothes or hair will do for this purpose!).
The course of the experiment. We glue the paper figures at one end to the table with adhesive tape. Then we strongly rub the balloon on clothes or hair, and bring it closer to the lying silhouettes. Oh no! The ghosts have woken up and are trying to fly!
How does it work? Rubbing a rubber ball against fabric or hair creates a negative charge on the surface, which attracts paper ghosts to itself.
Experiment with dancing raisins
What we need: raisins, a bottle of mineral water, a transparent drinking glass
The course of the experiment. This experience is extremely simple. Pour mineral water into a glass. We also add a handful of raisins there, and watch how it “dances” in a glass container.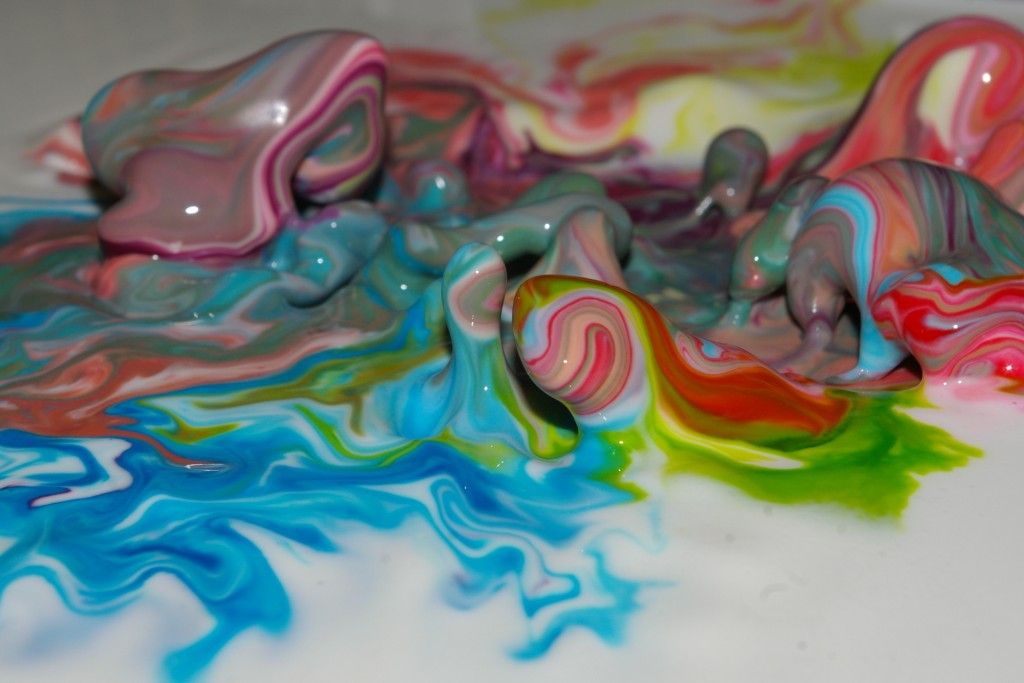
Why is this happening? The smallest bubbles of carbon dioxide (CO 2 ) cling to the uneven surface of the raisins. As a result, they become lighter and rise to the surface, where the bubbles burst. Then the raisins become heavy and fall back down, where they are again overtaken by CO 9 bubbles0062 2 .
Color milk painting
What do we need? Two plastic dishes, milk, food coloring, cotton swabs, liquid soap. Since we will be dealing with dyes, it is advisable to cover the clothes with an apron.
The course of the experiment. Pour some milk into the bowl just to cover the bottom. Then we drip a colored dye on its surface. Having dipped a cotton swab in liquid soap, we touch the epicenter of color blotches on the milky surface. Now we start to draw surreal divorces.
Why is this happening? Food coloring is not as dense as milk, so at first its drops stick to the surface. But adding soap to the tip of a Q-tip breaks the surface tension of the milk by dissolving the fat molecules. The paint molecules move smoothly over the milky surface, starting from the soap layer.
Do these fun experiments at home, with your kids, or with friends. You yourself will not notice how quickly time flies for this useful entertainment, and the inquisitive minds of young know-it-alls will board all new scientific peaks.
Rate this article:
(1 vote, average: 1 out of 5)
Share with friends!
January 2013 :: At home and on the street!
Globe papier-mache
We continue to study geography.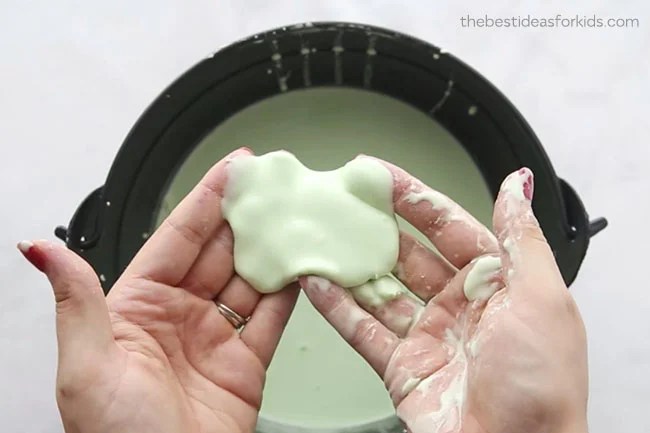 We have various maps, a small globe, contour maps, atlases and, of course, books. And now a globe!
How to make a papier-mâché globe with your own hands
We glue
First you need to make a ball out of papier-mache. I decided to make a very large globe. So I needed a very large form.
I took a gym ball, wrapped it in shrink wrap and started papering it. Leva cut strips, poured glue, in general, took an active part.
We started making the globe before this blog appeared, so I didn't film the whole process.
If someone wants to repeat, I will say right away: do not repeat my mistake - leave a free hole through which you will then blow off the balloon!!! I sealed it completely and then I had to VERY try to keep our jumper safe and sound. I succeeded, but it was very difficult.
I had 8 or 10 layers of paper. I don't remember anymore. Each dried out for several days. It took a lot of glue.
We paint
So, if you did everything right, then you need to deflate the balloon, pull it out through the left hole, glue it, dry the balloon again and you can start coloring.
I mixed gouache with PVA (so as not to get my hands dirty when playing). Guess who painted the ball? ))
We glue the continents
You can draw the continents. But I took a simple path: I bought contour maps, cut out the continents and pasted them. A little did not fit into the scale of the ball, but in general it turned out believable.
All. Do-it-yourself globe is ready!
The game has begun!
Well, now the most important thing has begun. We have already signed the names of the continents, large islands, oceans.
And they started painting Eurasia. We now know what color mountains, forests, deserts are designated, we know how rivers are designated.