How to make a cheap temporary dance floor
Build Outdoor Dance Floor on Ground
If you're wondering how to build a dance floor on uneven ground, then consider this DIY dance floor option, the quick answer is you should check into portable dance floors from Greatmats.
One of the great advantages of portable DIY dance floors is that they can be used in many different locations, so you can literally take the dance floor with you. Whether you're setting up a dance floor for a special performance or need a dance floor for a wedding or other event, you may find yourself in search of flooring for dance that can be used outdoors.
DIY Dance floors are versatile, but they aren't all versatile enough to be used on grass. Grass poses a number of different challenges. First of all, you'll need an outdoor dance floor on uneven ground that can withstand moisture without being damaged. Secondly, outdoor use means that you'll need a floor that can withstand UV rays. This article can inform how to build a outdoor dance floor on uneven ground.
Don't worry, though - at Greatmats, we understand the importance of being able to install a DIY dance floor over grass. That's why we stock a number of suitable temporary dance floor products that can give you the versatility that you're looking for. This article can inform how to build a portable outdoor dance floor on uneven ground.
Necessary Features for A DIY Dance Floor on Uneven Ground or Grass
Waterproof Flooring: Make sure that any dance floor you consider for use on top of grass is fully waterproof. Even if you plan on covering the floor with a tent, there will still be moisture in the grass which a non-waterproof floor could absorb. We offer plenty of waterproof flooring options that are suitable for outdoor use.
As an added benefit, if you're working with waterproof flooring, it's no big deal if a guest spills a drink. Cleanup is easy.
If the ground is uneven, you'll need to provide a surface to help level it out before installing a dance floor, such as a waterproof composite mat system with strong interlocks. If you are confident that the ground won't get wet, simple plywood may do the trick to create a stable subsurface.
Shop Waterproof Flooring
UV Resistant Dance Flooring on Grass
Even a temporary outdoor dance floor on grass will be exposed to UV rays, which can cause your average flooring to fade, and possibly degrade the quality of the flooring over time. Look for a dance floor that has been treated for UV protection so that it can safely be exposed to the sun.
Portable DIY Dance Flooring
When you're working with a grass area, chances are you won't have a flat floor to wheel a flooring cart over. This means you'll need to carry the dance floor, so the portability of the floor is a major factor.
Modular dance flooring tiles are an ideal solution. These tiles are conveniently sized and easy to lift and carry, so even if you're installing the floor in a large field, getting the flooring into location won't be an issue.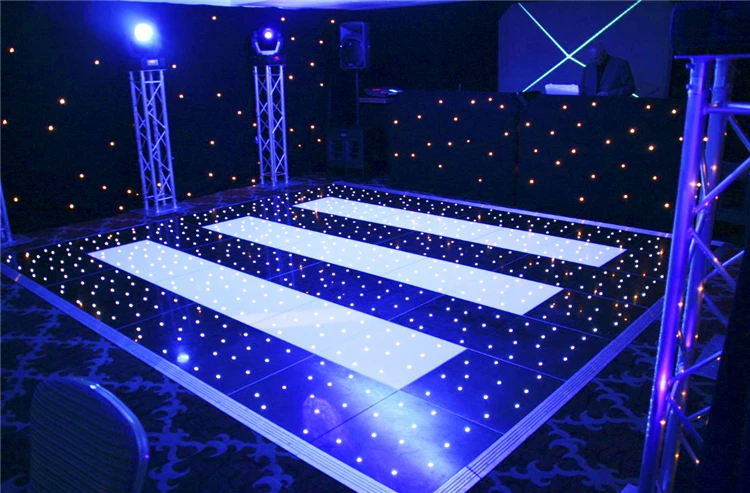 This will make installing the portable outdoor dance flooring on uneven ground or grass, and depending on the size of your floor, it's a task that a single individual can perform; no need for a professional installation. If you're attempting to install an outdoor dance floor over uneven ground, you may want to consider first laying down a layer of plywood, ground protection mats, or composite mats to level out the surface and prevent tiles from separating.
Easy DIY Dance Floor Installation
When you're working with tiles, you'll want a flooring product that connects together easily. Most of our tiles have a snap together or tab and loop closure design. Either of these systems is easy to use, and lets you quickly connect and disconnect tiles. This means you can quickly assemble the dance floor on grass, giving you plenty of time to finish with the rest of your event preparations.
Additional Tips for Choosing the Right Portable Dance Floor on Grass
We outlined a few specifications above about what to look for in a dance floor that will be installed on grass, but there are a few other tips you should know about choosing a dance floor for any event or venue.
- Consider the type of shoes dancers will be wearing - Footwear, particularly high heels, can damage some types of dance flooring. Make sure you select a product that-s appropriate for what people will be wearing.
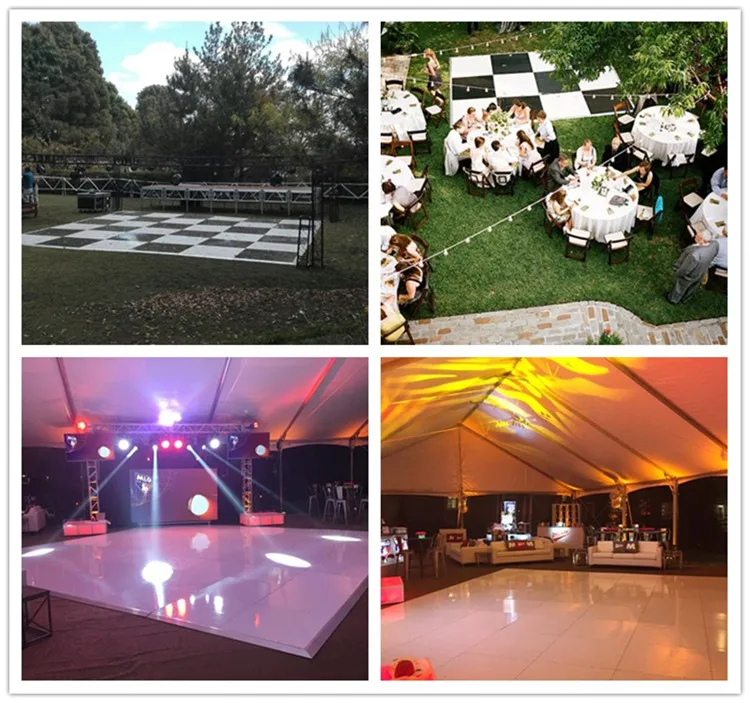
- Think about the aesthetic that you want - Are you looking for a classic floor with a wood grain finish? Or is a more generic tile suitable for your needs?
- How large of a dance floor on grass will you need - How many dancers will you have, and how large does your finished floor need to be? Remember, you can always add or remove tiles to customize the size and dimensions of your floor during different events.
- Think about additional accessories you'll need, like ramped edges. Many of our products are available with ramped edges for safety, and for an overall clean finish.
Dance Floor on Grass - DIY Tile Options
Portable Dance Floor Tiles: Our Portable Dance Floor Tiles are versatile enough to be used both indoors and outdoors. These tiles are UV treated, so they'll resist fading when used outdoors. The tiles fit together tightly so you don't have to worry about them pulling apart while in use, and the commercial grade vinyl top surface is durable enough to hold up to serious dancing. Ramped border edging is available to create a clean, finished edge that is both safe and attractive.
One major benefit of these tiles is in their construction. The tiles themselves are built on a raised base, so air and moisture can circulate freely beneath the tile's surface. This helps to prevent water from working its way up to the actual dancing surface, even when the tiles are used outdoors.
Sized at 12x12 inches, these portable dance floor tiles are easy to handle and transport. You can vary the size of the floor by setting up just some or all of the tiles, and can also customize the floor's dimensions according to your needs. The tiles fit together quickly and easily, and you can assemble a 10x20-foot dance floor on grass in just minutes. They can be installed over grass, but note that they're only intended for temporary outdoor installations and do still require a hard, flat surface. Significant bumps, spongy ground and/or mud in you grassy surface can cause the installation to become difficult and/or uneven.
With a choice of eight different finishes, including six eye-catching wood grain options, you can have a beautiful floor suitable for any event.
Shop Portable Dance Floor Tiles
Portable Outdoor Floor Tiles
For a highly durable option, consider our Portable Outdoor Floor Tiles. These tiles are extremely strong, and can even support the weight of vehicles. While they don't offer the traditional wood grain finish of a dance floor, they are highly versatile, making them a great investment for event facilities.
These tiles are both waterproof and UV resistant, so they can be safely used outdoors. Their unique hinge system makes installation a breeze, as it quickly locks into place for a secure fit that won't separate during use.![]() Measuring 3/4 inch thick, these tiles are made of a polypropylene plastic that is strong enough to easily support large crowds.
Measuring 3/4 inch thick, these tiles are made of a polypropylene plastic that is strong enough to easily support large crowds.
Perhaps the greatest benefit of these tiles is the fact that they can be used over many different existing surfaces, including uneven terrain. There's no worrying about finding a perfectly flat space, which will save you both time and stress. You can place these tiles directly on top of grass, and the tiles can even be rolled up for easy storage and a faster installation the next time. Just keep in mind that the tiles will, to a certain degree, conform to the ground it is sitting on, so you will not have a completely level dance floor on grass if the subsurface is uneven.
Shop Portable Outdoor Floor Tiles
Durable Dance Flooring Tile
Want a durable dance floor on grass with the look of real wood? Our ProCourt Gym Flooring Tiles offer you both. These tiles feature a generous 20-mil wear layer that is both scuff and stain resistant, ensuring the tiles continue to look great. Please note that these tiles aren't UV treated, and should only be used outdoors temporarily.
These tiles offer a raised flooring surface which will grip and accommodate grassy surfaces. They snap together easily for a fast installation, and are designed to withstand repeated installations.
Shop Portable Outdoor Floor Tiles
What You Need to Know About Installing a Dance Floor On Grass
While the above products are suitable for use as a portable outdoor dance flooring on uneven ground, it's important to realize that these products are only intended for temporary use. Don't leave them in place longer than necessary, and if possible, install a tent or find another way to protect the flooring from the weather, which will prolong its life.
When deciding where to install the dance floor, look for an area that is as flat and as level as possible. Installing the flooring on an uneven surface may make it difficult to get the tiles to connect correctly, and can place unnecessary stress on the tiles. It may also make the flooring itself uneven, and an uneven dance floor on grass can be dangerous for dancers.
You'll have the best results if you install the flooring over grass that has been mowed, since it will create a firmer, flatter surface than you'll have if you're working with grass that is longer. Placing a layer of plywood under any of these tiles will definitely help create a flatter, more stable and safer dance surface as well.
When it comes time to uninstall the flooring, try to do so when the flooring is thoroughly dry. If the weather isn't cooperating, then dismantle the flooring and allow it to dry indoors before stacking it and storing it away in a closed space, like a closet.
Most of our dance flooring tiles are designed to be easy to clean, but be sure to review the specifications for the particular product that you purchase. In most cases, you can damp mop the floor with a household cleanser.
Please don't hesitate to contact our great customer service team if you have any questions as you explore our many outdoor dance floor options.
How to Build a Dance Floor
Home / Latest Posts / Life / Party Ideas / How to Build a Dance Floor
By: Leigh Anne Wilkes
This tutorial will show you how to build a dance floor using 2 x 2’s and sheets of plywood. So easy and less expensive than renting one.
I shared with you in a previous Wedding Carnival post the story of our dance floor. When we decided to book a live band for the Wedding Carnival I thought we needed a dance floor. My husband did not. We have a large backyard and plenty of grass and he thought dancing on the grass would be just fine.
I am not easily dissuaded or discouraged.
I got on line and immediately started pricing dance floors from rental companies. They are not cheap, between $700-800 for the size we needed. It wasn’t in the budget so I decided I needed to get creative.
To make a somewhat long, 5 month long story short, I had a dance floor and then I didn’t have a dance floor, I had a dance floor and then I didn’t. In fact I thought I had a dance floor until the Sunday before the Wedding Carnival. It fell through – five days before the event.
Remember I am not easily discouraged so I decided we were going to build a dance floor. Or rather my daughter Cali and her friend Hannah were going to build me a dance floor (with some help from dad of course.)
By this time I had totally broken Jim down and he agreed so we headed to Home Depot on Monday night (the Wedding Carnival was Friday).
Dance Floor Supplies
- 6 sheets of 1/2″ plywood
- 30 eight foot long 2 x 3’s – cut 18 of them into two 45″ pieces (you will have pieces leftover) This will leave 12 of the boards 8 ‘ long. They cut them for free for you at Home Depot.
- Nails and hammer
- Floor Paint and supplies for painting
- Painters Tape
- 6 Mending plates to join the pieces together
How Big is the Dance Floor?
The dance floor measured 12 x 16 and was created out of 6 sections that were 4 x 8 which is the size of a sheet of plywood.
How to Build A Dance Floor
The whole neighborhood got involved or enjoyed watching the process taking place out in front of our house.
The above photo is about how involved Tessa got – she held a hammer for a photo but she was working full time so we need to cut her some slack.
- Create 6 frames from the 2 x 3’s that measure 4′ x 8′.
- Add four support pieces to each frame
- Nail a sheet of plywood to the top of each frame. Nail it down along the edges and across the support pieces.
- The moms got involved in this step of the process. Had to bring in the big muscles!
How to Paint a Dance Floor
The next step was the painting process. I decided that I wanted the floor to be checker board to go along with the carnival theme so I purchased black and white floor paint. We primed the boards first and then added a coat of white paint to each section.
Yes, I sat in a chair and watched it dry! I like watching paint dry.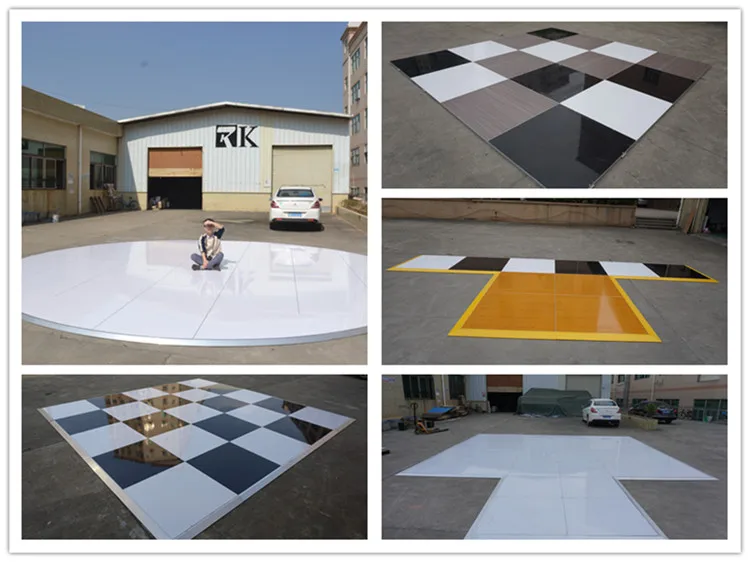
After it was dry, the girls used blue painters tape to tape off the squares. The squares measured 24″ x 24″ so each 4 x 8 section had 2 x 4 squares.
Using small foam rollers the girls rolled the black paint into the taped off squares.
We waited for the paint to dry, removed the tape and we had a dance floor!
Finally, we numbered the pieces so that we knew how to put it back together once we moved it into the backyard.
The mending pieces were hammered into to hold the pieces together.
How Much Does It Cost to Build a Dance Floor
Total Cost of Dance Floor (including paint but not including labor) Approx. $300.00.
It was perfect and it was a wonderful addition to our carnival and YES, we needed a dance floor. Even my husband admits that now. It added such a fun element to the carnival and really got people dancing.
Who wouldn’t want to dance on a black and white checkerboard dance floor!!!
Reader Interactions
Temporary fence made of board/slab, corrugated board or chain-link mesh?
Such fences are built from mesh, slate, concrete blocks, slab, metal, profiled sheet and other available materials. They do not require a foundation, decorations and fortifications - too. It happens that a temporary fence at the construction site of a house remains for many years, but usually it is removed after a year or two to be replaced with a capital one.
We tell you how and from what to make a temporary fence - on a budget, quickly, on your own.
What are temporary fences for?
Temporary fences have many purposes:
They are also placed in the case when there was not enough budget for the capital fence.
Temporary fences are installed around concert venues and fairgrounds, construction sites, parking lots, warehouses, they are put up for the duration of road works and to show that an emergency zone begins behind them - for example, they are fenced off at the places of convergence of a landslide or the destruction of a bridge. But in this article we will talk about temporary fences on the site during the construction of a private house or cottage.
Main features of the temporary fence
It is assumed that even a non-professional can build it, and quite quickly. Therefore, its characteristics are as follows:
- low cost, so that it would not be a pity to disassemble and dispose of;
- simple design, so you can install it yourself;
- lack of capital, foundation, the need to level the ground;
- high erection speed;
- optional - mobility so that you can assemble, move and deliver.
But the latter is relevant for public services and companies that specialize in construction. A simple fence for private use is usually replaced by a capital one, without being reused.
What temporary fences are made of in front of the house
You can build a fence from anything, but it must primarily perform a practical function, so the materials must be appropriate. The most commonly used are:
- boards or slabs - a log that has been sawn off on one side only;
- chain-link;
- corrugated board.
We will consider these options.
Temporary slab or plank fence
It makes no sense to use quality timbers for a fence that will last at most a year. It is easier and cheaper to take a slab: it is ugly, but does its job perfectly.
The first thing to do is decide how the fence will hold up. There are two options:
- on poles dug into the holes;
- on a jib and a leg made of timber, which will support the fence, preventing it from falling over.
Digging holes is a more labor-intensive process: you will have to dig a hole every 2-3 meters and install a support post in them, and the depth of the holes should be at least 50 cm. The leg and jib are easier to install, but they are powerless against hurricane winds . If the site is in open space, it is better to dig in poles or use a chain-link mesh, because its windage is lower.
Boards can be placed vertically: logs of logs are nailed to the posts, and boards are already attached to these logs. They can be positioned horizontally, then they are nailed immediately to the supporting pillars. If jibs are used, then the section is first assembled, and only then placed on the leg.
Such a fence is very easy to manufacture, especially since it does not need to be processed, painted or put in order, but after construction is completed, the materials are suitable only for kindling.
Temporary chain-link fence
Mesh is the most common option.
It has many advantages: it is cheap, especially if you take a "black" chain-link without galvanization, light, quick to install, it is difficult to climb over it - it copes with the protective function perfectly. She has a low windage, and she will not collapse from gusts of wind. Minus - visibility: everyone will see what is happening on the construction site.
There are several mesh mounting options:
- on support poles - we already wrote about this in the blog;
- for purchased screw piles - perhaps one of the fastest options, but it will cost more;
- on poles set in "shoes" made of concrete or in ordinary car tires: not very reliable, but suitable for "signal" purposes, to delineate the boundaries of the site.
Another type of temporary fence made of chain-link mesh - ready-made sectional options that are placed on concrete "shoes". This is a mesh, sharpened in a metal frame: it does not need to be built, it is enough just to assemble it. But sectional fences are only suitable for installation on flat surfaces, for example, on asphalt, so they are often used for parking lots and fan zones at concerts, but rarely for construction sites.
Temporary fence made of corrugated board
Corrugated board is ideal in every respect - it is light, quick to install, opaque, and quite cheap. Used sheets can be bought from Avito, because for many, corrugated board remains after the construction of houses.
Like the previous options, the profiled sheet is installed on metal poles or a wooden frame, there is a variant with ground support posts, similar to slab fence slabs. Sheets of corrugated board are interlocked using the locking method, so it is not difficult to make a solid fence out of them.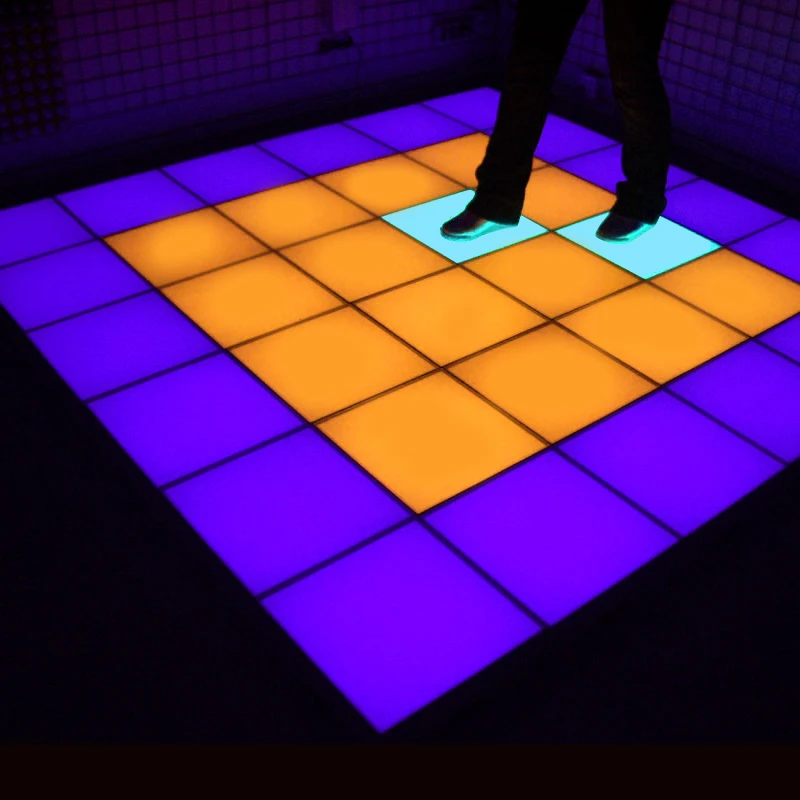
General principles for the construction of a temporary fence
No matter what you choose, slab, corrugated board or chain-link mesh, the construction principles for all materials are the same:
- measure the perimeter;
- drive pegs in all places where the section breaks;
- install the main support posts in place of the pegs, which will bear the maximum load;
- stretch the rope from pole to pole - other supports and an entrance group will be placed along it: gates with wickets.
You can make a temporary fence cheaply from other materials, but we have touched on the most popular, proven and in demand. They perform their main function: they protect the territory of the house from uninvited intrusion and keep idle onlookers, lovers of construction and unfinished construction aside. A hastily assembled temporary fence will last for the entire construction period. The main thing is not to forget to replace it with a more durable one after the house is built!
Tent and tent pavilion cooling
In Moscow, the field organization of private and corporate events is becoming more and more in demand - they are held not in stationary halls, but in temporary structures in the bosom of nature.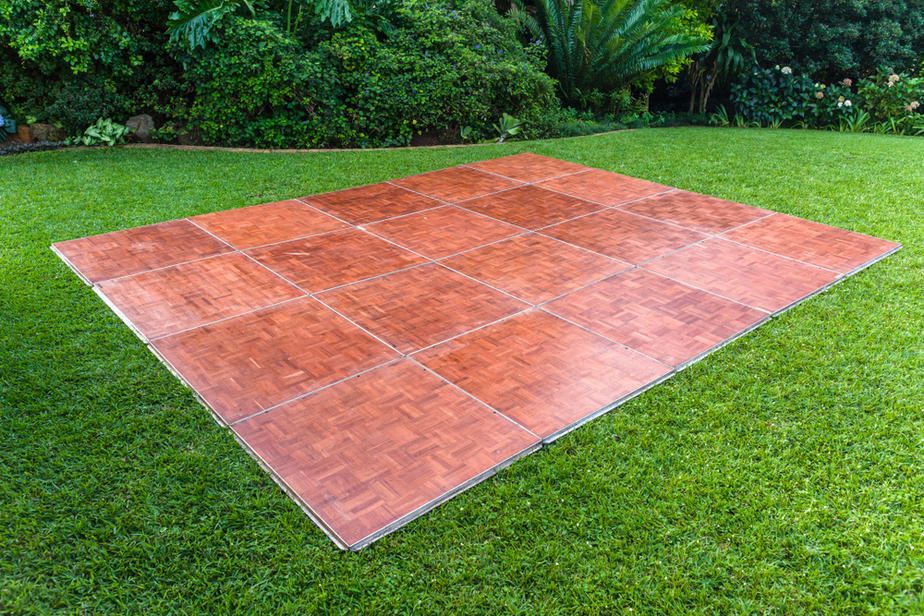 For the organization of celebrations, celebrations, promotions and other events, facilities of various sizes are used, from small tents 3x3 m to large-scale areas up to 2000 square meters. m. These are not only tents, but also verandas, canopies, extensions to buildings and much more.
Features of air conditioning of tents and other temporary premises
The specificity of air conditioning of all types of tents is related to the conditions of their installation. Almost always, such structures are erected in the summer, when the temperature outside is the highest. They are placed outdoors, so they quickly warm up in the scorching rays of the sun. In addition, there can be a lot of people in the room during the event, while the greenhouse effect creates a strong feeling of stuffiness, and the temperature inside rises rapidly.
Installing air conditioners allows you to provide a comfortable temperature and create the right conditions for any event. The choice of equipment depends on the size of the tent and its design.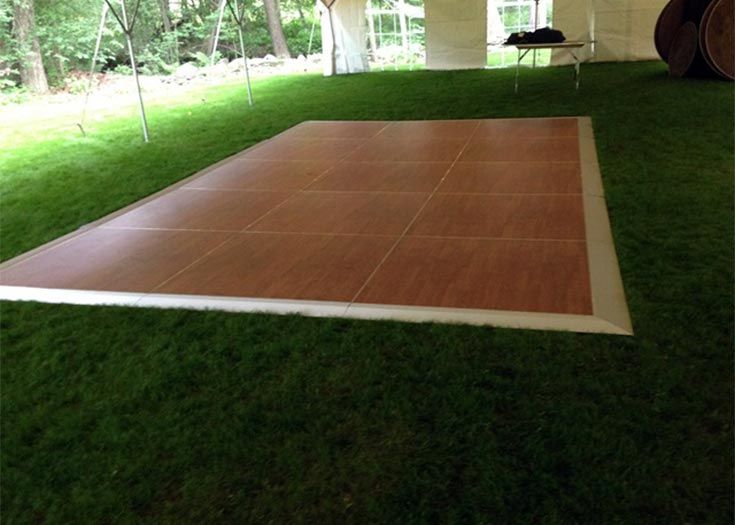 Our staff will select and install the appropriate model to obtain the desired result.
Rental of mobile air conditioners for small tents
The simplest option for a temporary construction of a small area is to install a mobile monobloc air conditioner. This is a compact and inexpensive technique for creating a comfortable microclimate: it quickly cools the air in the room and does not require large energy consumption. It is used in tents and other temporary structures up to 50 square meters. meters.
This solution has several advantages:
- Easy to install. The only requirement for installation is the ability to discharge warm air to the street using a corrugated hose. It is brought out through a door or window.
- Convenient transport. If necessary, it can be moved to another location.
- Small size. The monoblock will not take up much space even with a very limited space.
Mobile air conditioner can be used not only for closed tents, but also for awnings or open verandas.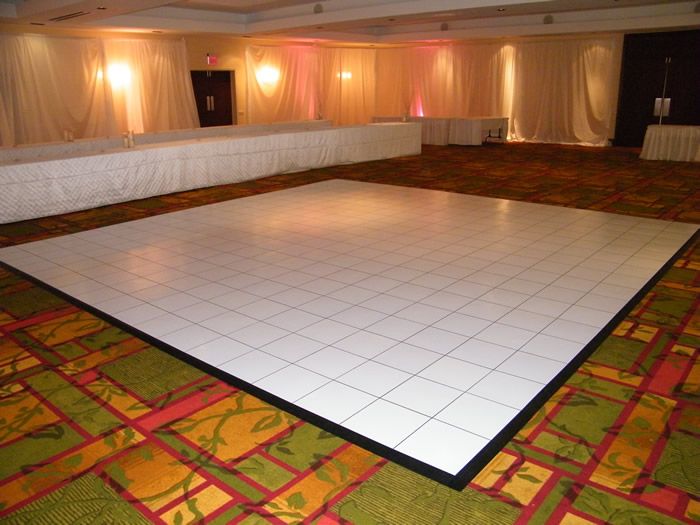 It is impossible to maintain a constant temperature in them, but you can direct the flow of cool air to the actors of the event, to the birthday cake, etc. Properly installed air conditioning equipment helps to hold the event at a high level. This solution is in constant demand, our company has already successfully completed dozens of orders.
Rent of air conditioners for medium tents
Medium sized tents are from 50 to 500 square meters. meters, they are often used for weddings, anniversaries, corporate parties or other festive events. Stationary structures are often placed on the territories of country recreation centers, sanatoriums, hotels. Such facilities are complemented by panoramic glazing so that guests have the opportunity to enjoy beautiful views during the holiday. However, this creates an additional problem: the closed room is quickly warmed up by direct sunlight, and it becomes very hot in it.
The solution to the problem is the installation of a columned air conditioner or rooftop. This is a more powerful air conditioning technique: it is able to quickly cool the entire space and maintain a comfortable temperature level. Equipment power is selected taking into account the following factors:
- The area of the cooled space. The larger it is, the more powerful equipment should be installed.
- Number of guests. If a large number of guests is envisaged, additional capacity must be included in the project.
- Construction of a tent. If it has an open fourth wall, it is more difficult to maintain a comfortable temperature. You will need to install more powerful air conditioning equipment
It is much more profitable to rent a columned air conditioner or rooftop than to buy it if you only need it for 1-2 times. Our experts will help you decide on the right model and install it in the room.
Rent of air conditioners for large tents
Large tents are designed for large-scale celebrations, weddings, large corporate events and conferences.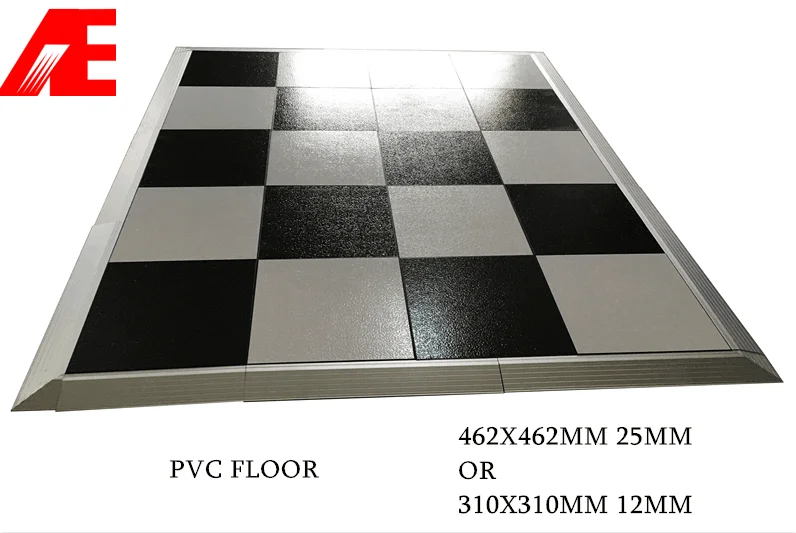 The area of such facilities is from 500 sq. meters. They can be either one single tent or several structures connected into a common space. In some cases, several tents up to 500 square meters are installed. meters, they are interconnected by covered passages. Such a device allows you to simultaneously hold several events in one area. Each of these options requires the selection of a certain type of air conditioning equipment.
A single large space is cooled with a rooftop, a powerful monobloc unit located outside the room. If it is required to additionally cool any areas, for example, a place where a presentation is held or a buffet is held, the customer can additionally choose to install column air conditioners.
Combined cooling allows you to create a comfortable temperature throughout the space. From the column air conditioner, a powerful stream of cold air is directed towards the bar area, towards the newlyweds at the wedding, to the dance floor or to other busiest areas.