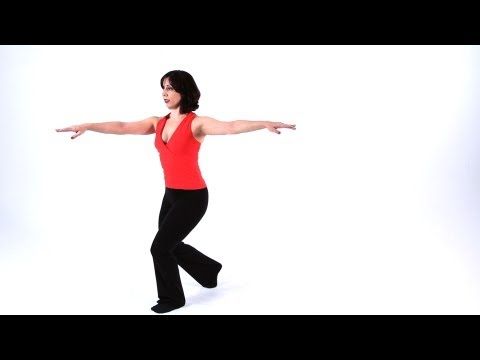
How to do the stroll dance steps
The Stroll Dance Mixer How To
Posted on by Holly Collins
The Fabulous fifties are a great period. From race cars to poodle skirts, this is a fun era. Films like “American Graffiti” and “Grease” paid tribute to the stroll dance mixer. After doing an “American Graffiti” photo shoot for the Historic Elitch Theatre, I thought I would share how to dance the stroll.
History of the Stroll
The stroll was reported in 1957 by Billboard as a new dance craze. That same year the Diamonds had a hit song named the “Stroll.” By 1958 the stroll was featured on a local TV show in Idaho as one of the biggest dance crazes from American Bandstand. From there It became the feature dance on the TV show “Soul Train.”
The Stroll Dance Mixer How To
The stroll begins with two lines of dancers, gentlemen on one side and ladies facing them. While in line they keep time with the basic stroll movement described below. When they get to the top of the line, facing partners will “stroll” to the bottom of the line improvising their favorite dance moves.
Stroll basic movement
Gentlemen
- Side left foot tap right foot 3 times, (Step left foot side, tap right foot in front, side, front. Count 1,2,3,4,)
- Side, cross behind right (Step side right foot, cross left foot behind right foot count 5,6)
- Side right foot tap left foot 3 times. (Step right foot side, tap left foot in front, side, in front Count 1,2,3,4,)
- Side cross behind left (side left foot, cross right foot behind left foot count 5,6)
- Repeat from the top until you are at the top of the line
- At the top of the line improvise your favorite moves down the line
- At the bottom get back in line and repeat the basic movement.
Ladies
- Side right foot tap left foot 3 times. (Step right foot side, tap left foot in front, side, in front Count 1,2,3,4,)
- Side cross behind left (side left foot, cross right foot behind left foot count 5,6)
- Side left foot tap right foot 3 times, (Step left foot side, tap right foot in front, side, front. Count 1,2,3,4,)
- Side, cross behind right (Step side right foot, cross left foot behind right foot count 5,6)
- Repeat from the top until you are at the top of the line
- At the top of the line improvise your favorite moves down the line
- At the bottom get back in line and repeat the basic movement.
Song:
“The Stroll” by the Diamonds.
Film Locations
We filmed in two locations.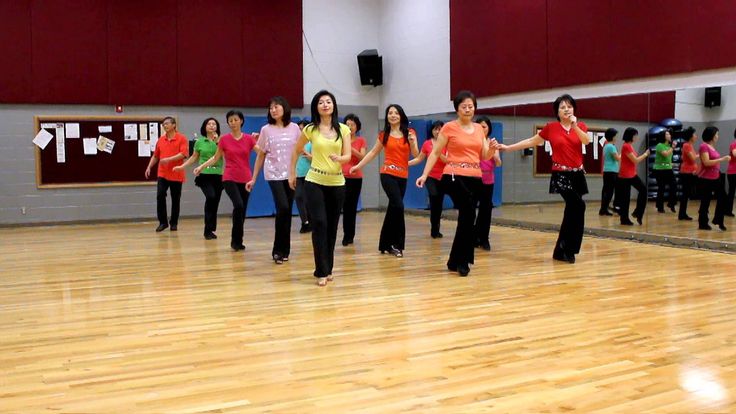 The dance demonstration was filmed in front of Local 46 on Tennyson street in Denver with the friends of Historic Elitch Theatre. Dancers included Tim Nikkel, Tawyna Studdard Sarah Mares Angelic O’Halloren, Collette Susman, Jessica Virgo, Craig & Holly Tomazin.
The dance tutorial was filmed in front of the historic Olinger Moore Howard Chapel on Tennyson street Denver. The narrator is Holly Tomazin, sporting her great aunt Nelle’s blue dress she wore as miss Trinidad in 1950. Holly is assisted by her handy husband, Craig.
Last of all is a photo from the American Graffiti shoot taken on the lawn of the Historic Elitch Theatre by Aaron Virgo. Featured in that photo were Michael Bliss, Tim Nikkel, Tawyna Studdard Jesse Lockwood, Amanda Blackwood, Sarah Mares, Ruiari Sussman, Jimmy & Angelic O’Halloren, Collette Susman, Jessica Virgo, George the poodle, Craig & Holly Tomazin.
Thank you to everyone for all you do.
Holly Collins
WEDDING DANCE instruction
DANCE LESSONS.
author of
Holly’s hot wedding tips,
Historically Accurate Princess Dances,
Winner of:
The Knot Hall of Fame best wedding dance instruction,
top 50 Dance Blogs
Champion Ballroom Dancer & Coach
owner of
Adventures in Dance
720-276-0562
[email protected]
www.adventuresindance.com
For dance tips,
join my email
References
http://www.vintageinn.ca/tag/the-stroll/
http://socialdance.stanford.edu/syllabi/teen_dances.htm
https://dance.lovetoknow.com/The_Stroll_50s_Dance
https://en.wikipedia.org/wiki/The_Stroll
1958 stroll mixer https://youtu.be/UrGLNtZ0rEg
Stroll 2 https://youtu.be/aEGMm0Dgsbs
This entry was posted in How to and tagged dance, How to, mixer, Stroll, The Stroll Dance Mixer How To. Bookmark the permalink.How to Do an Advanced Party Stroll in Step Dance
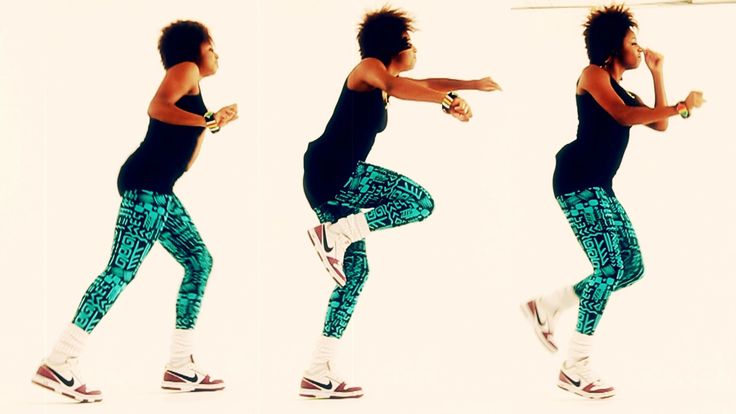
Learn how to do an advanced party stroll from choreographer Victor Sho in this Howcast step dance video.
Transcript
Hi my name is Victor Sho and I'm going to teach you an intermediate party stroll, this is my assistant Oscar Asalido and we're gonna get right into it.
So what were going to do, is we're gonna do simple party stroll to left, party stroll to the right, simple.
And what we're gonna do after that is we're gonna slide we're gonna shoot our arms this way we're gonna slide with a nice lunge this way.
And we're gonna do that into a stomp with our arms with our right leg and contract right here, so after we do a party stroll to the left right stomp, party stroll to the right left stomp, gonna slide and stomp with our right leg.
And then what you're gonna do is take a step and pivot with on your left leg, here. What you're gonna do is bring this right hand back up here.
Why? Because it's prepping to clap under here. Take it back. So gonna go stroll to the left right stomp, stroll to the right left stomp, slide to the left right stomp, step over with your right left, clap under your left.
[inaudible 1:28]
Alright, okay so from here what you're gonna do is you're gonna hop onto your left leg and stomp on that left leg as you raise your hands up. So from here you're gonna go [stomping noise 1:40] yep and you're gonna clap over your leg, and then under your leg, okay?
Let's take it back. So stroll to the left right stomp, stroll to the right left stomp, slide to the left right stomp, elbow with your right clap under your left, hop on your left, clap under, clap over then under, okay?
From here we're going to take this right leg and we're going to step over with our hands, pivot to the side this way, and then you bring this left leg and you stomp right here. Once again after we take this step over here, clap under, stomp, clap clap, step here.
Let's take it back.
From the beginning 5, 6, 7 and it's left, right, right, left, slide left, right slide, right here, clap under, step here.
From here what we're going to do is we're going to start strolling back. Starting with our left leg hiking up our right left and then we're gonna contract our torso. So it's gonna go like this [inaudible 3:05] and that's not gonna be any sound right there. The sound starts as soon as we throw our hands towards our front, so we put our right leg down. Now we stomp on our left and hike up our right and we stay low.
Contract a little bit so you're not coming fully up but your hands drop as your right leg drops and then stomp on your left leg again. Now you do a quick ball change as you get up, right, left, and then you start on your left again to start the whole thing all over slowly. Stomp right, left stomp slide left right stomp, step right clap under your left, hop stomp clap clap, step to your side stomp with your left facing forward. And you're gonna put all your weight on your left leg hiking up your right and you just gonna silently go down and you keep this groove going here. Now you shoot your arms up here. Okay.
So this groove is simple, you're just gonna continuously pick that right leg up as you stomp this left leg.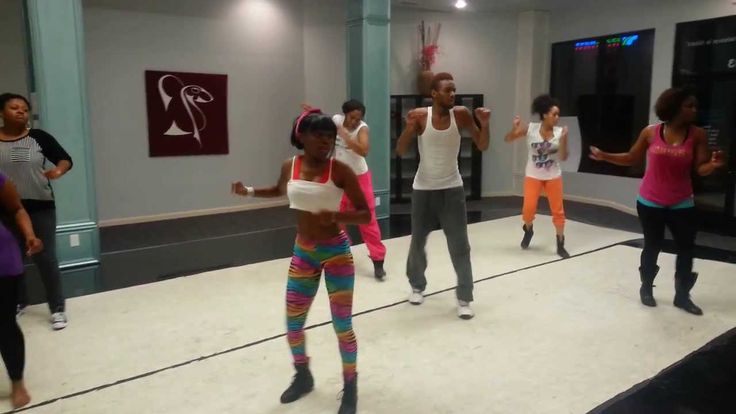 But the first one is soft, it comes down. And then this last one right here you gonna ball change. And that's how we do it.
Let's try it again from the beginning, all the way to the end slowly. 5, 6, 7 go left stroll right stomp, right stroll left stomp, left slide right stomp, right step clap under your left, hope clap clap, side step front step , soft boom, boom ball change. Okay and you see that ball change leads into the stroll so after you go back right here you're going down soft stomp, soft stomp to start the ball change right here, into the stroll, starting over again.
Slide boom, clap, boom bap bap, side step front, here softly stomp, softly stomp we finish.
Now me and Oscar gonna do a little bit more on the tempo and then full out here we go.
5, 6, 5, 6, 5, 6, 7. ho ho hey, slide out . . . ball change . . . slide . . . side step front step, softly, hard, softly, and finished.
Alright now we're gonna show you how to do it with music, and you'll see how the music effects our bodies and our movement, okay.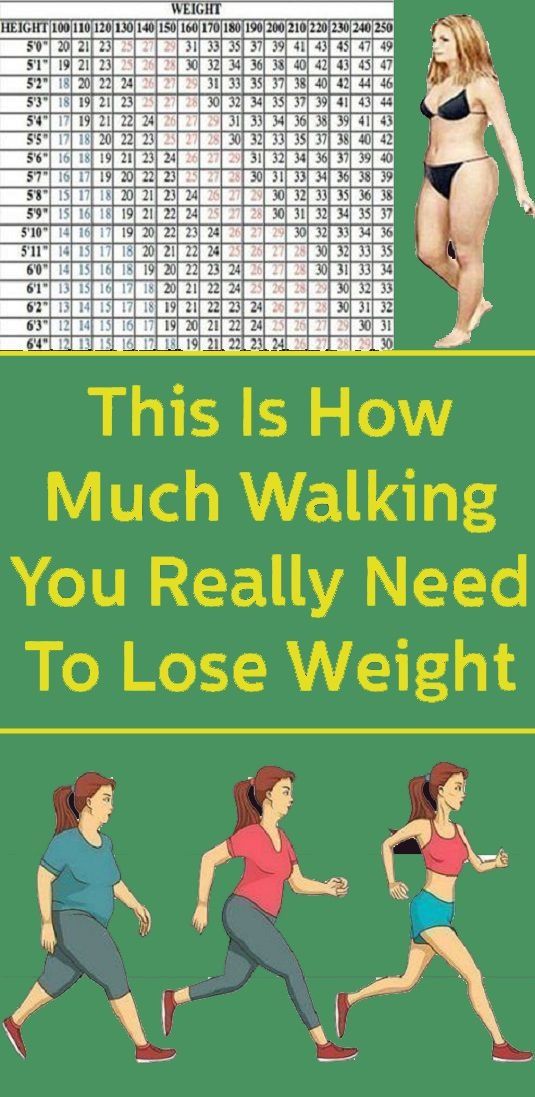
5, 6, 5, 6, 7.
| Castle walk. The Castle Walk. Richard Powers Translated by Vyacheslav Filyukov. English text here. Vernon and Irene Castle served as the prototype for the American social dances of the ragtime era. The Castle Walk The One-Step was the Castle dance style most popular at the time. The way the Castles danced is preserved in their 1915 film The Whirl of Life (available on YouTube) and Fred Astaire accurately described their dancing style in the 1939 film The Story of Vernon and Irene Castle. Astaire is credited with being the originator of this style of dancing because he saw the Castels dance many times while playing vaudeville as a teenager. Music: Too Much Mustard by Cecil Mackin.
From the 1939 film “The Story of Vernon and Irene Castle”
Introduction : 4 measures (1 measure equals the time of two steps) or 8 counts. Touch-kick on the last 2 counts: touching the floor with the toe of the inside leg without weight (feet together), with a slight descent and a sudden jump, then kick it back with a slight bounce on the supporting leg.
1. CASTLE WALK In closed waltz position, taking one step per count, L back, starting from PN, K face on LT, starting from LN. The style is a smooth walk without long steps, swinging, but without strong pulsations of the arms. Walk 14 steps (full phrase of 8 plus 6 more) and touch-kick on the last two counts. Repeat 14 steps and touch-kick.
2. EIGHT STEP & CHASSE In closed promenade position, both take 3 steps forward on the LT with a half-turn pivot clockwise on the third step. Eight repeat. 3 chasse (gallop) on LT. On the account of 4 half turns clockwise with a step-jump. Repeat with the other leg in the counter promenade position on the LT. Repeat the eight again.
3. POMANDER TURN. (TURN "BALL") Move to the right Y-position (right side of the chest to the right side of the partner's chest) and rotate around each other 8 steps, descending on the 8th step to stop, then both rotate counterclockwise 6 steps and turn the lady: he stops and turns her under her raised HR, and she makes a full right turn in two steps. PN, LN. Repeat.
4. GHAPEVINE & PROMENADE TURNOUT. (THE ROPE AND THE PROMENAD TURN FROM A CIRCLE) Facing the partner, both take a lateral step along the LT (he is LN, she is PN). Then cross with the other leg in front of the first. Both take LT 2 steps in closed promenade position, then pivot on 2 steps (He walks around her RL and she steps RL between his legs, then she walks around him). (Pivot turn is performed so that K is facing LL) Pivot exit turning to left Y-position (left shoulder to left shoulder of partner)
5. ZIG- ZAG. ZIG-ZAG In the left Y-position K takes 3 steps forward to the right diagonal, on the count of 4, he makes a PN point without weight and with a twist turn goes to the right Y-position. Then he steps forward into the left diagonal 3 steps (LN-LN-PN), point LN and twist to the left position. Repeat. Of course, the lady walks with her back, working her legs in a mirror, always placing her leg crosswise behind.
6. SERPRNTINT. K takes 8 steps backwards against the LT, L advances: each step is twisted and crossed in front or behind the other leg (i.e. Y raises his RL and puts it on the left side, then immediately raises the left leg and puts it to the right, etc.) After 8 steps K moves forward along the LT, and D moves back. Both take another 8 steps in a serpentine.
7. WIND- UP. FINAL Everyone takes two steps back from each other, continuing to hold the hand (he on the left, she on the right), while the arms are fully extended. Then he turns in place to the left for 4 steps (half turn), and she takes 4 steps to her left, going around TO clockwise, while her PR wraps around his neck (like a scarf) . This continues until they are face to face and assume a waltz stance to start advancing into the turns.
8. PIVOTS ( TRAVELING TURNS) On counts 7 and 8 of the previous phrase, the dancers begin a long sequence of pivots. After item 7. WINDUP. FINAL is done 8 pivots. Then, in the continuation of the musical phrase, 6 more pivots and a touch-kick.
9. CASTLE WALK Repeat step 1
Video version for performance. Paragraph 9 is slightly changed. The third step of the first eight is performed on the chasse (count 3-and-4), while the legs change, the second eight without advancement. |
Gliding step in dance
Name
Pas (fr.) - step
Glisser (fr.) - to glide.
Pas glissé (pas glissé) - a sliding step that begins with a preliminary rise to half-toes on both legs.
Glide is performed without lifting the toe of the working leg from the floor, while performing the movement, the toe must slide on the floor.
Music
Time signature 2/4.
Glide takes 1/2 beat.
Score: I-1-I-2 (I)
Preparatory exercises
- Transfer of body weight from two legs to one.
- Bringing the leg to the toe - battement tendu - tandu battman in 1 and 3 positions in a cross one at a time (right foot and left foot).
- Rise on half-toes (relevé - relevé) in 1 and 3 positions.
PA GLISS FORWARD
Starting position:
The dancers stand in a circle, facing along the line of dance.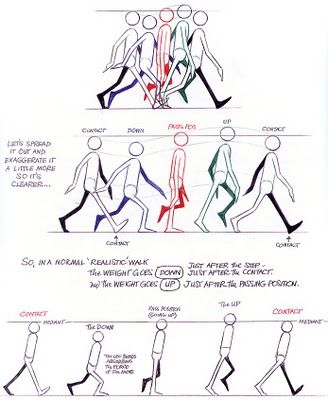
Legs - in 3 positions (right leg in front).
Hands - on the belt or in the ball position.
| Account | Movement description |
| Start (I) | Rise on the toes of both legs in 3 pos. Knees almost straight. |
| 1 | Right foot glider:With a sliding motion, without lifting the toe off the floor, bring the right leg forward to the toe in 4 pos. and take a step with the right foot forward from the toe to the entire foot. Shift your weight onto your right leg. Right knee softens slightly. The left leg remains behind on the toe (in 4 pos.). The knee of the left leg is straightened. |
| and | Straightening the knee of the right leg, with a sliding movement of the toe along the floor, pull the left leg to the right leg in 1 pos. and rise on the half-toes of both legs. Knees almost straight. |
| 2 | Left foot glider:With a sliding motion, without lifting the toe off the floor, bring the left leg forward to the toe in 4 pos. and take a step forward with your left foot from the toe to the entire foot. Shift your weight onto your left leg. The knee of the left leg softens slightly. The right leg remains behind on the toe (in 4 pos.). The knee of the right leg is straightened. |
| and | Straightening the knee of the left leg, with a sliding movement of the toe on the floor, pull the right leg to the left leg in 1 pos. and rise on the half-toes of both legs. Knees almost straight. |
Next - continue moving again with the right foot.
Glide REAR and Glide SIDE
The movements are performed in the same way.
Notes:
- Glide begins with a preliminary rise to half toes on both feet.
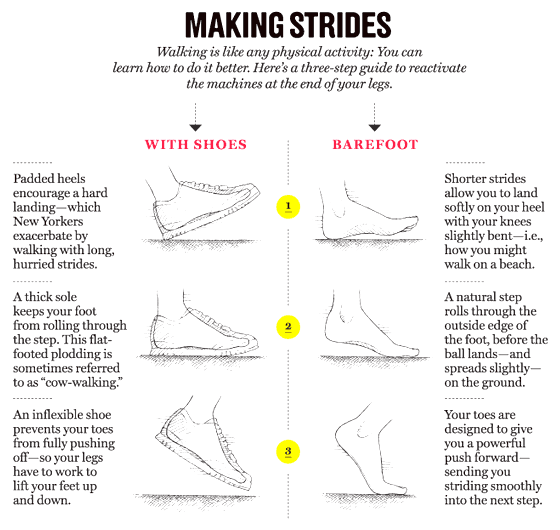
- When lifting on half-toes, be sure to bring the legs together (connect the feet in 1 or 3 positions, compress the knees and hips).
- All movements must be gliding (glide the toe along the floor without lifting it off the floor).
- Steps start at the toe. Feet - turn out.
- Glide slightly longer than normal pitch.
- Pas gliding can be performed all the time with one foot, or alternately, then with the right, then with the left foot.
- Before starting the step on the other leg, the free leg is brought forward through 1 position with a slightly bent knee. Then the knee should be straightened.
- Gliding can be done both forward and backward, keeping the same sequence of movements.
Literature
- " Ballroom dance of the 16th - 19th centuries ". Ivanovsky N.P. Under the editorship of Yu.I. Slonimsky. Moscow-Leningrad, ed. Art, 1948 g.
- " Historical and everyday dance ".

 In a counter-promenade position, three steps on the LT with a half-turn pivot on the 3rd step. On the 7 8 account, a full pivot is a two-step turn.
 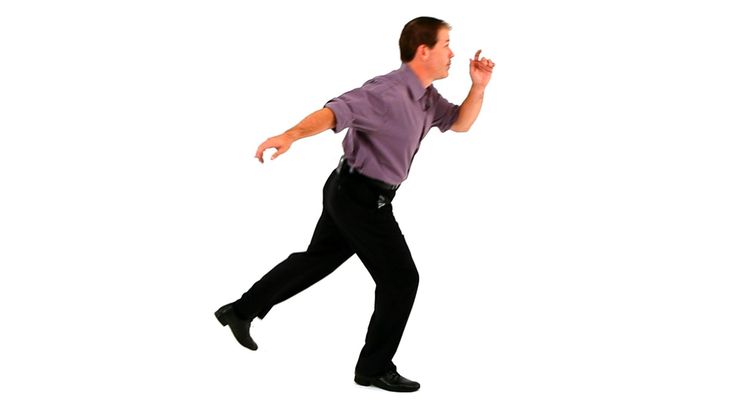 Side step and step with the other foot crosswise behind the first foot. Repeat these 4 steps two more times. (12 steps with a rope).
 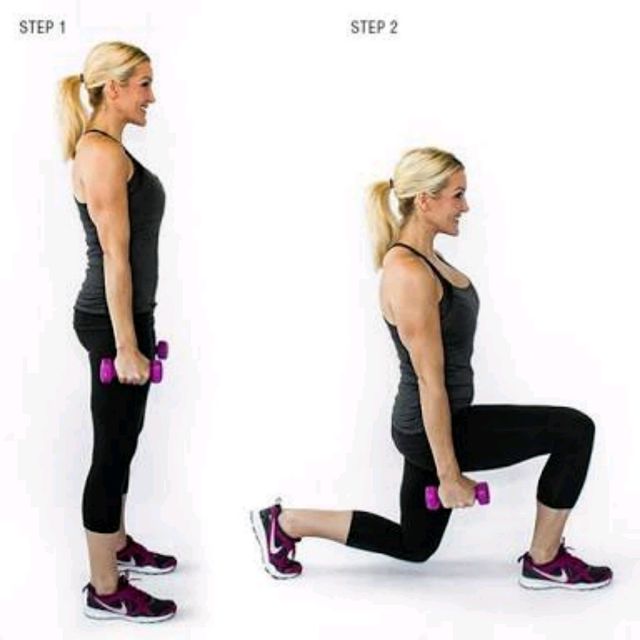 serpentine
 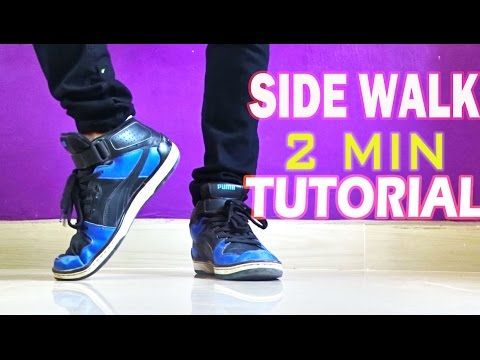 These are the same pivots as described in point 4 above, but for every two steps a full 360 rotation is performed. These pivots can be performed in place, but ideally in a straight line, moving along the LT. To achieve this, each must help the partner to turn. Take small steps of LN around the partner (PN steps forward between the legs of the partner), small steps to the side. LN can kick from behind when free.
  Three points back and forth PN, at the expense of 4 change of legs, two points back and forth LN (Ladies mirrored) and 7.8 touch-kick. Eight repeat.