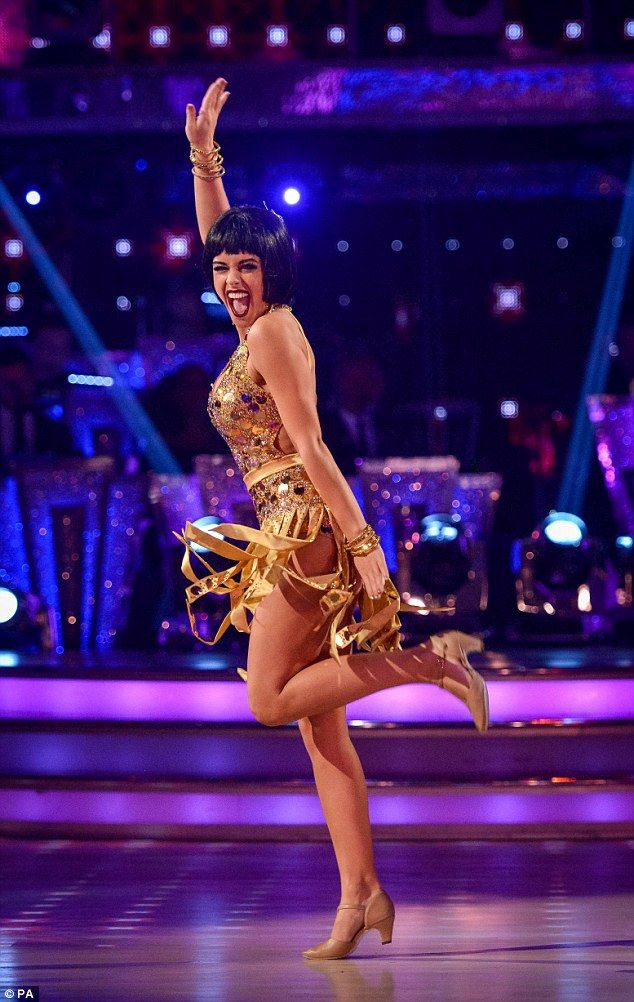
How to do dance turns
How to improve your dance turns. Here’s 5 Tips To Fix your Turn Technique
How do I improve my turns? We gave you the tools to improve your core & now we are giving you the steps to better your turns.
Here are 5 tips to fix and improve your turning technique:
- Be ready
- Practice makes permanent.
- Find your spot, hold your core, use your plié, drop your shoulders and remember to breathe
- If you do not spot, you will get dizzy
- Think of “connecting” your arms with your back muscles
Alright let's dive a little deeper into each one of the five.
1.
You ready?One of the worst things for your dance training is to do advanced turns before you are ready. If you haven’t mastered proper technique or built required muscle strength, you run a very high risk of developing bad habits. Do you know what takes longer than learning a difficult yet awesome dance move? Having to break a bad habit and then relearn the move correctly. Chat with your dance teacher to make sure you are ready for advanced turns, like fouettés. They just want wants best for you ?! #HardTruth
2.
Practice makes permanent.Practice at the barre before you take your new moves to center. Not to go all mad scientist on you, but dance really is a matter of physics and manipulating your body to do cool things regardless of inalienable realities like gravity. Practice your movement so that when you are dancing in center, your muscle memory takes over and your legs, hips, arms and so on will know exactly what to do when you add a whole new element — the actual turning part.

3.
Put a little PREP in your step.Good ol’ Benny Franklin had it right, without a solid prep, your turns will be a mess. Before you bust out 64 fouettés on pointe, find your spot, hold your core, use your plié, drop your shoulders annndd remember to breathe.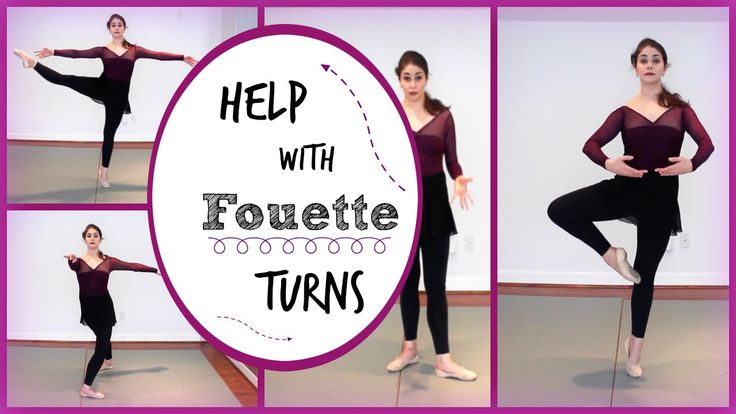 We know, it’s a lot to think about — that is why #3??is so important! Use repetition to your advantage — get that muscle memory down so you can focus on one thing at a time. Set yourself up for successful turns with a solid prep.
4.
Don’t stop the spot.See, even Channing knows the importance of spotting. Fact: if you do not spot, you will get dizzy. And, who can whip out beautiful turns if they are too dizzy to even stand up straight? If you’re having trouble spotting, put a post-it or bright colored tape on the mirror to help your eyes locate your spot quickly. It’s also a good idea to take it back to a more basic turn like chainés until you can spot like pro. Then, you’ll be ready to execute more advanced turns.
5.
You’re either with us or you’re against us.Your arms will either help your turns or hinder your turns — there is no neutral. Make the wise decision and enlist your arms to join you in your Flawless Turn Army. Think of “connecting” your arms with your back muscles. Engage (don’t tense!) your muscles to help you hold controlled, intentional movements versus letting your arms flail about, throwing you off your center. PS don’t use your arms to “wind up” your turn. Dancers are not mindlessly spinning like some crazies think we are. Beautiful turns are a result of hard work, training, proper technique and being a genius by using the laws of physics to create art?. Sir Isaac Newton’s Laws of Motion? Yeah, we know all about that.
Learn to Turn
Consistent turns are a must for aspiring professional dancers, but pretty much everyone struggles with pirouettes at some point. Luckily, since we’re all beholden to the same rules of physics, there are concrete steps every dancer can take to reach his or her top turning potential. “Three is the new two when it comes to pirouettes, but the secret to turning is technique, not magic,” says Bojan Spassoff, president and director of The Rock School for Dance Education in Philadelphia.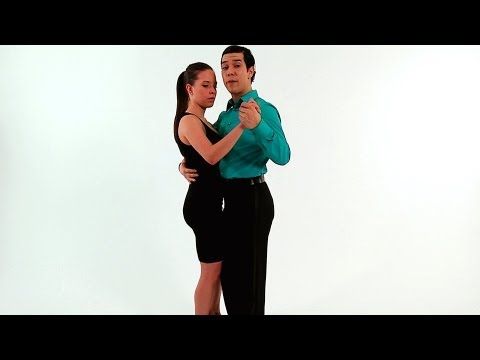
Falling out of your doubles? Aspiring to go revolution for revolution with your class’s star turner? No matter where you lie on the turning spectrum, our 360-degree guide to pirouettes will help you improve.
Do Yourself a Solid
The stability of the passé position is the heart of every good pirouette. “I wasn’t always great at turning,” says 12-year-old Sophia Lucia, who holds the Guinness World Record for the most consecutive pirouettes (55). She’s learned to go down the RAFT checklist—rectangle, arch, focus, tightness—before each turn. Her shoulders and hips should be level, so the outline of her torso forms a rectangle. Her arch should push over the second toe of her supporting foot. She should focus her eyes on a specific spot. “And there shouldn’t be one loose muscle in my body,” Sophia says. “I’m not tense, just compact, which holds the whole position together as I turn.”
Assess your own passé position in a simple balance. Are you using your highest possible relevé? “You should feel a stretch through the top of your foot, like someone is lifting under your heel,” says Stephanie Wolf Spassoff, co-director of The Rock School. The front of the hips should be flat and level; your core muscles should support your passé; and your back and shoulder muscles should support your arms. Be sure to draw your passé up to its fullest height. “In a good position, you’ll feel taller than you’ve ever felt before,” says Darla Hoover, artistic director of the Ballet Academy East Pre-Professional Division in NYC. Once everything’s properly placed, you should be able to balance easily.
(Rosalie O’Connor, courtesy Ballet Academy East)
Whip It Good
Your preparation is what sets that perfect passé in motion—and the key is a deep plié that gives you the force you need to get on top of your leg, according to Denise Wall, artistic director of Denise Wall’s Dance Energy in Virginia Beach, VA. “Especially in fast-paced pieces, I see dancers bending their knees in plié without really connecting to the floor,” she says. Feel your weight in the plié and push off the floor equally with both feet as you go into your turn. “Then find the quickest, most direct way to get from preparation to passé, and don’t let the position lose integrity,” Wolf Spassoff says. “There’s a tendency for dancers to use a lot of force and go for as many turns as possible, but they literally throw themselves off balance. You have to be controlled and coordinated as you squeeze up to that position.”
A strong spot will also help whip you around—but don’t let your head go wild. “Your head is the heaviest part of your body, and it should drive down into the supporting leg,” Wall says. Otherwise, the weight of your head will pull you off balance, causing you to fall out of the turn. “Your eyes should truly see something right from the moment of takeoff,” Hoover adds. “If you have trouble spotting, practice by doing chaîné turns, which are simpler and naturally rhythmic, and put up actual targets to spot.”
And don’t forget about your arms. “You wouldn’t want to be on a plane with a flapping wing,” Hoover says. Engage your latissimus dorsi (lats), the large muscles that run down the back.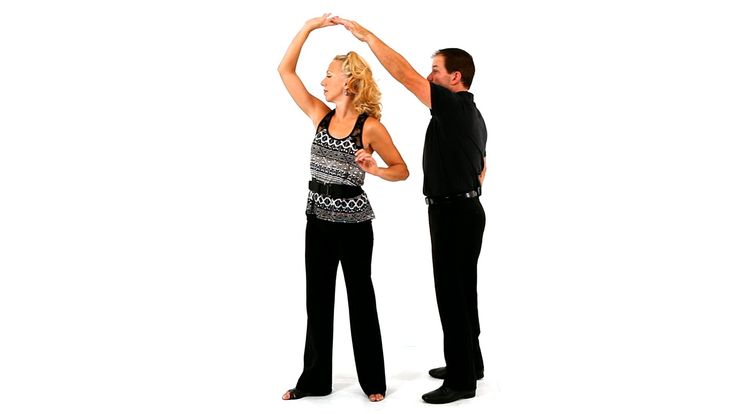 If you’re having trouble finding that feeling, start by pirouetting with your hands on your hips, keeping your elbows from moving. But don’t let your upper body get stiff. “The arms don’t have to be static,” Wolf Spassoff says. “They should feel supported and buoyant—almost as if they’re floating on water.”
Troubleshoot (a Video)
The foundations of a good pirouette may be the same for all, but because everyone’s body is different, corrections for one dancer don’t necessarily apply to the rest of the class. “I’d love to be able to say, ‘Go take your pirouette vitamin,’ like the answer is the same for everyone,” Spassoff says. “But your body is unique, and you need to find out how to use it most efficiently for your turns.” Ask a friend to record a video of you doing a series of preparations and turns on both sides, and analyze what you see. Falling sideways? You might be hiking up your working hip as you draw your foot up to passé. Falling backwards? You might be raising your shoulders or throwing your arms behind you. Rewind, rewind and rewind again, looking for the keys that will unlock your perfect pirouette.
When in doubt, check in with that passé position, and don’t get discouraged. “A turn is a living thing you’re molding,” Wolf Spassoff says. Everyone has moments of frustration. “The day before a performance, I ran my solo 10 times and wasn’t getting my turns,” Sophia remembers. “I had a meltdown. But my mom helped me be confident by reminding me how hard I’d trained.” On days when your pirouettes aren’t working, remember that you’ve already got the tools you need to fix them in your turning toolbox: science, strength and awareness.
Is There Such a Thing As a “Natural” Turner?
Basically, yes. “Natural turners do exist,” says Darla Hoover, artistic director of the Ballet Academy East Pre-Professional Division. “Some people have better equilibrium. I’ve found that many of my students who are natural turners also walked at an early age.” Bojan Spassoff, president and director of The Rock School for Dance Education, agrees.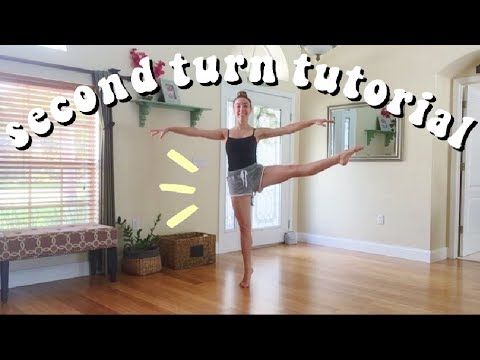 “More compact bodies have a lower center of gravity, which is better for balance, and it may be more difficult for dancers with longer bodies to turn,” he says. But that’s not a reason to give up. “The keys to good turning can be taught to anyone,” Hoover says.
Turning vs. Spinning
Everyone wants to bang out as many pirouettes as possible, but don’t fall into the spinning trap. “Spinning is just rotating on the foot,” says Denise Wall, artistic director of Denise Wall’s Dance Energy. It’s the ice skater’s approach rather than the dancer’s. “I see kids do 10 pirouettes on a one-inch relevé, and that doesn’t count as turning,” Wall says. “To turn, you must be on top of the leg, on your highest relevé, spotting, and in control.”
Rotations and turns in dancing (practice)
- Posture
Rotations are performed with a taut and even body, "coccyx retract", "long neck", chin looks up.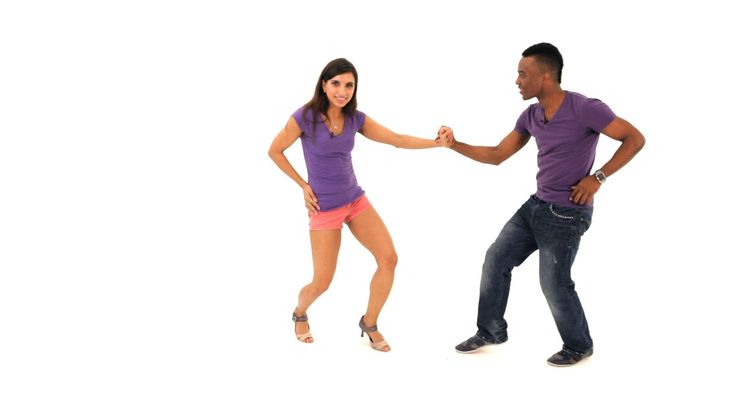 This will help you balance and tighten the axle needed for long term spins.
- Dot
All dancers know to "hold the dot" to spin, but I wonder if you can change dot fast enough? In order to rotate long and hard, you need to train a sharp and lightning-fast change of point. The point should be kept at the level of your eyes and a little higher. Don't look at the floor or you'll end up there.
- Alignment (cross)
Concentrate on aligning the line of the shoulders with the line of the pelvis, they should be parallel. If you do not align the lines of the shoulders and pelvis during the beginning of the rotations, you will not be able to catch the balance and your rotation will not be long, a maximum of 3 pirouettes. To do this, you should train in front of a mirror, stand in a relevé and make sure that the lines of the shoulders and pelvis (hips) are parallel. Also, in front of the mirror, you should control the position of the body, become sideways and make sure that you are not leaning forward or leaning too back.
- Balance
When pirouettes, you balance on a half-finger (relev), practice balance without rotation. If you can’t stand on a half-finger without spinning, then you won’t be able to stand in a turn either. Practice balance on half toes without rotation, train both the left and right foot, you should stand eight counts at a very slow pace, this will strengthen your axis. What type of spin do you train, classic turnout or jazz closed? Practice every type of balance until you can, it will come in handy in your career as a dancer, modern show groups use all kinds of techniques.
- Your thumb
Where does your thumb point when you rotate it? If your finger is not pointing in the same direction as your knee, this rotation is not considered correct and you will not be able to achieve a multi-spin.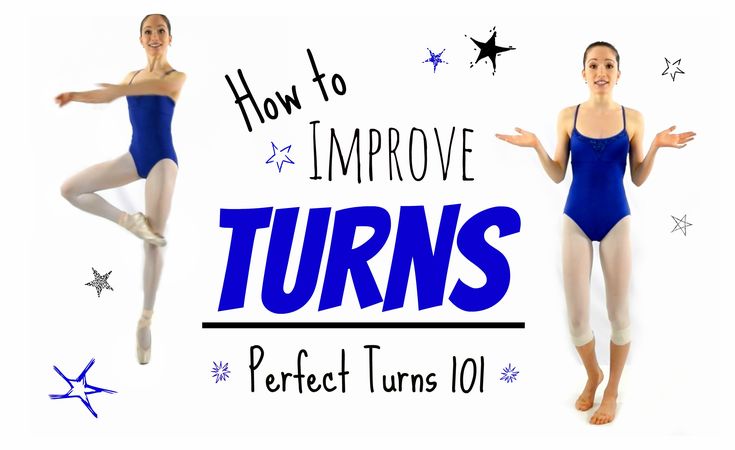 Stand on your half-finger and make sure you don't "clubfoot" that your thumb is pointing in the same direction as your knee. There is nothing worse than a clubfoot dancer! If the foot is placed correctly, the weight is also distributed correctly and you will be able to build the best axis for rotation. Make sure that during the rotation you do not jump on the half-toe, do not "play" up and down and your instep is stretched as much as possible. Throughout the rotation, you should stand on the maximum possible half-finger.
- Use the dance floor (parquet)
Push off the deep plié floor with all your strength to set the maximum possible rotational energy. Imagine a Devil in a Box spring toy, you push it down into the box and when you open it, it kind of shoots up with maximum force, while you direct this energy into rotation with your hands. Push off from the plié with enough force to get on your half toe and extend your knee, and of course not more than necessary, otherwise you can not resist.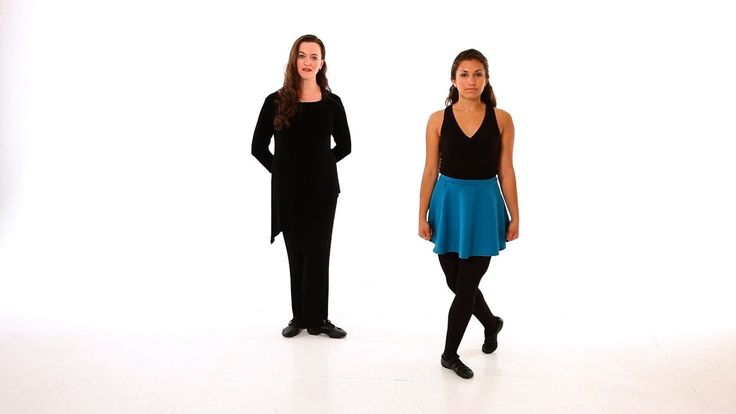 Also, there is a technique in which, during the performance of the plie, the dancer exhales and then briefly inhales during the first turn, which allows you to increase the moment of rotation using an additional force.
- Matching shoes
Depending on the choreography, wear specialized dance shoes. It is not recommended to do rotation without shoes, you can comb the skin on the balls of the feet.
- Arms
Have you noticed that when doing a series of pirouettes, the arms are closer to the body in subsequent turns than in the first turn? Quite right! During a series of pirouettes, it is very important not to lose the energy of rotation, for this the dancer must skillfully collect his hands to the body, distribute energy for each turn, so that in each subsequent turn the hands are a little closer than in the previous ones. Try it in practice, if you do not bring your hands together, then the rotation will not be fast and not long, but if you sharply take your hands to the body, then you will sharply spin at a higher speed. Now that you know what to do, you should train the most important condition - while bringing your hands together, hold the "cross" (the line of the shoulders and the line of the pelvis should be parallel).
- Pulling
Imagine that while you are spinning, someone is pulling you up by the top of your head. This will allow you to keep a straight axis and rise as high as possible on the half-finger with the involvement of the main muscles of the body.
- Practice
Pirouette, like a circus trick, performing a series of pirouettes requires long hours of regular practice.
"When I was preparing to break the world record, I worked out at least three days a week for several hours. And it took about a year for me to start rotating from 19
Turns and spins | Belly dance
So far we have only talked about moving in a straight line with a change of direction.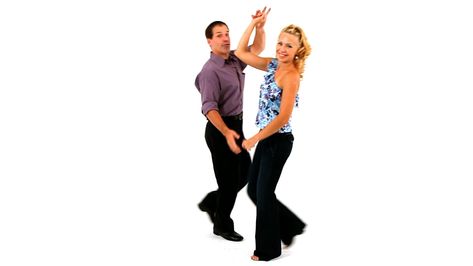 with this task, we can diversify our dance to infinity.The most difficult thing in rotational movements is to overcome dizziness and not lose orientation in space.If any of you had a chance to do choreography in childhood, then it will not be difficult for you, since rotations are characteristic of many dances, from classical to folklore.For those who have never encountered this in their lives, let's reveal a little secret.In order not to feel dizzy during rotation, you need to kind of "catch" your gaze on some point in space.It could be a picture hanging on the wall, someone's face or just a nail.But after each turn, you must return your eyes to this subject. Try this and you will notice that it not only reduces dizziness, but also helps you stay in the same place during the rotation.
There are several ways to perform a rotation. Consider the most popular.
Pivot
Stand with your feet about the length of your foot. Imagine that your spine is an axis. Start stepping over your feet, moving as if around your own spine, constantly returning your gaze to the same point. Repeat the movement several times clockwise and several times counterclockwise.
Single leg rotation
Get into the starting position. Shift your body weight onto your right leg. Imagine as if an invisible axis passes through this leg. Start moving your left foot in a circle, keeping your right foot on the floor, only slightly twisting it after your left. Make a few turns, not forgetting to “cling” to a point in space with your eyes. Stop. Shift your body weight to your left leg. Repeat the rotation in the other direction.
Square rotation
Place left foot straight and turn right foot at 9 angle towards it0 degrees. Take a step with your left foot so that the feet are parallel to each other. Rotate your right leg again at a 90-degree angle to your left leg. Again, place your feet parallel. Make a full circle in this way and continue moving further in the same direction. Stop. Repeat the same movement several times in the opposite direction.
Once you get the hang of turning and spinning easily and simply, you can try to fix your eyes on the ceiling.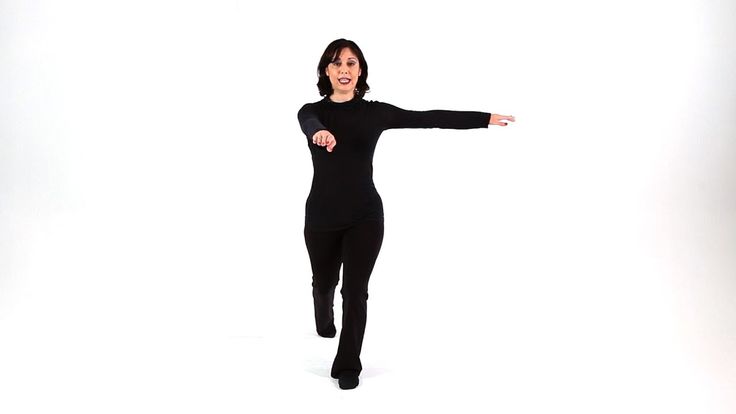 But don't try to do it right away. The head may not be spinning, but a collision with the wall is guaranteed. Also, later on, you will learn to focus your eyes on some object in your hands, such as a bedspread or a cane, or simply on your own palm. But at first, you still shouldn't do it.
Hand positions in dance
We have already spoken at the beginning of the book about the special significance of gestures in oriental dance. But, in addition to the encrypted meaning, you need to think about the simple spectacular effect that a gesture has in any dance. Hand drawing is extremely important for creating style. You will not confuse with anything the wide gestures “from the chest” in Russian dance, the specific throwing of the arms up and back in the gypsy girl, the flamenco hands laid behind the back.
Belly dance also has its own characteristic hand positions. First of all, these are all movements that draw attention to the work of the hips. Most hand positions provide a good view of the hip line, that is, the arms are raised up.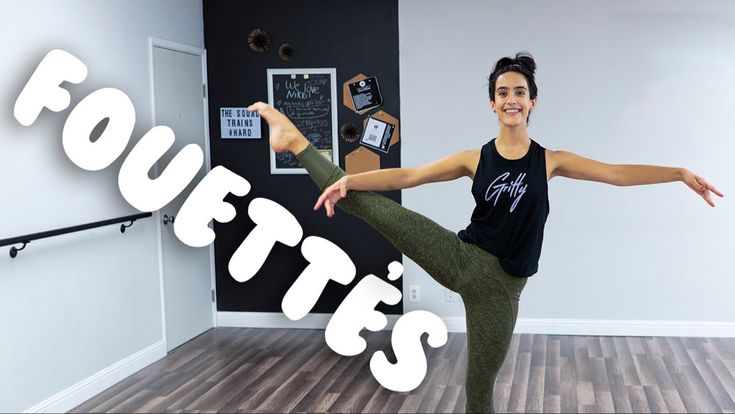
Here are the most common hand positions in oriental dance:
1. One arm is freely raised up, the other is lowered down and slightly bent. The position of the hands resembles the letter "S". This is a very stylish and elegant pose (Pic 50).
2. One arm is raised up, the other, bent at the elbow at chest level, tends to it. This position is very suitable for all unilateral movements (photo 51).
| Photo 52 |
3. One arm extended forward, the other behind the ear. It turns out very coquettish and sensual (photo 52).
4. One arm is extended forward and turned palm up, the other is slightly bent and raised up. This movement looks very advantageous when stepping forward.
5. Both hands are raised up and folded “in a frame”. The ideal position for head shifts (photo 53).
6. Palms facing the floor, folded with middle fingers under the chin and slightly arched upwards. This gesture will also favorably emphasize head movements.
