How to upload dance video on youtube
How To Create A YouTube Dance Video For Beginners - Online Creator Institute
If you want to know how to start making YouTube videos, you’ll love this guide.
With a few simple steps, you’ll be creating content in no time!
Let’s go!
In a world that is so advanced and easily accessible at that touch of a finger it is crazy to think that YouTube wasn’t around 10 years ago and is now one of the worlds largest video sharing platforms, with over 300 hours of video content uploaded every MINUTE. So it’s no secret that YouTube is the ultimate place to post your content. But the thing is you’ve never uploaded a video to YouTube before or let alone even made one and you’re stuck on how to get started.
Well you’ve come to the right place
Before uploading there are a few things you want to establish, so continue on reading to learn everything you need to know about creating a dance video when starting out!
Tip #1 – PLANNING YOUR YOUTUBE DANCE VIDEOSGreat you’ve made up your mind and want to make a dance video showing off your cool moves and new routine but aren’t quite sure on how to start it off.
Before starting anything it’s a good idea to plan it out. Layout all your ideas and see how you can bring your vision to life!
Not everyone is great at planning/ organising things and that’s okay but i’ll help set out a few points and guidelines to which anyone can use and do to help make it happen.
What is the concept?
Do you want your video to have a theme? Is there a storyline? Are you trying to send a message? A certain aesthetic theme or just a simple video?
Make sure you know what you want to achieve/portray before planning anything else as this will help everything else fall into place and easier on yourself and others involved in the process.
Inspiration
If you’re stuck on ideas, watch other dancers, their choreography, how they move, how they utilise camera angles, locations, back up dancers, lighting etc.
Music/Song Choice
A dance video revolves around music so you need to choose your music before or during the planning stage.
Once you have your song choice it will make planning so much easier and just really help make sense to yourself and others of your vision/goal and everything revolving around it.
Frame/Blocking/Staging
Shooting a choreographed video is like a dance between the character and the camera. In this dance, the lead is the characters’ movement through the action, called blocking.
The following is the camera’s motion in response to blocking, often referred to as planning or staging. The camera angle should also be taken into account in your staging, as it has a lot of effect on the final result.
Also the location plays a big part so don’t leave that till last as that determines your layout and lighting.
Set Action Points
Plan out your shots. Action points are movements where there’s change in tempo, vocals or instrument. Encourage different angles, lighting, location etc as that’s really going to tie in the dance and bring it to life.
Have fun with this stage, play around with it and really engage with it.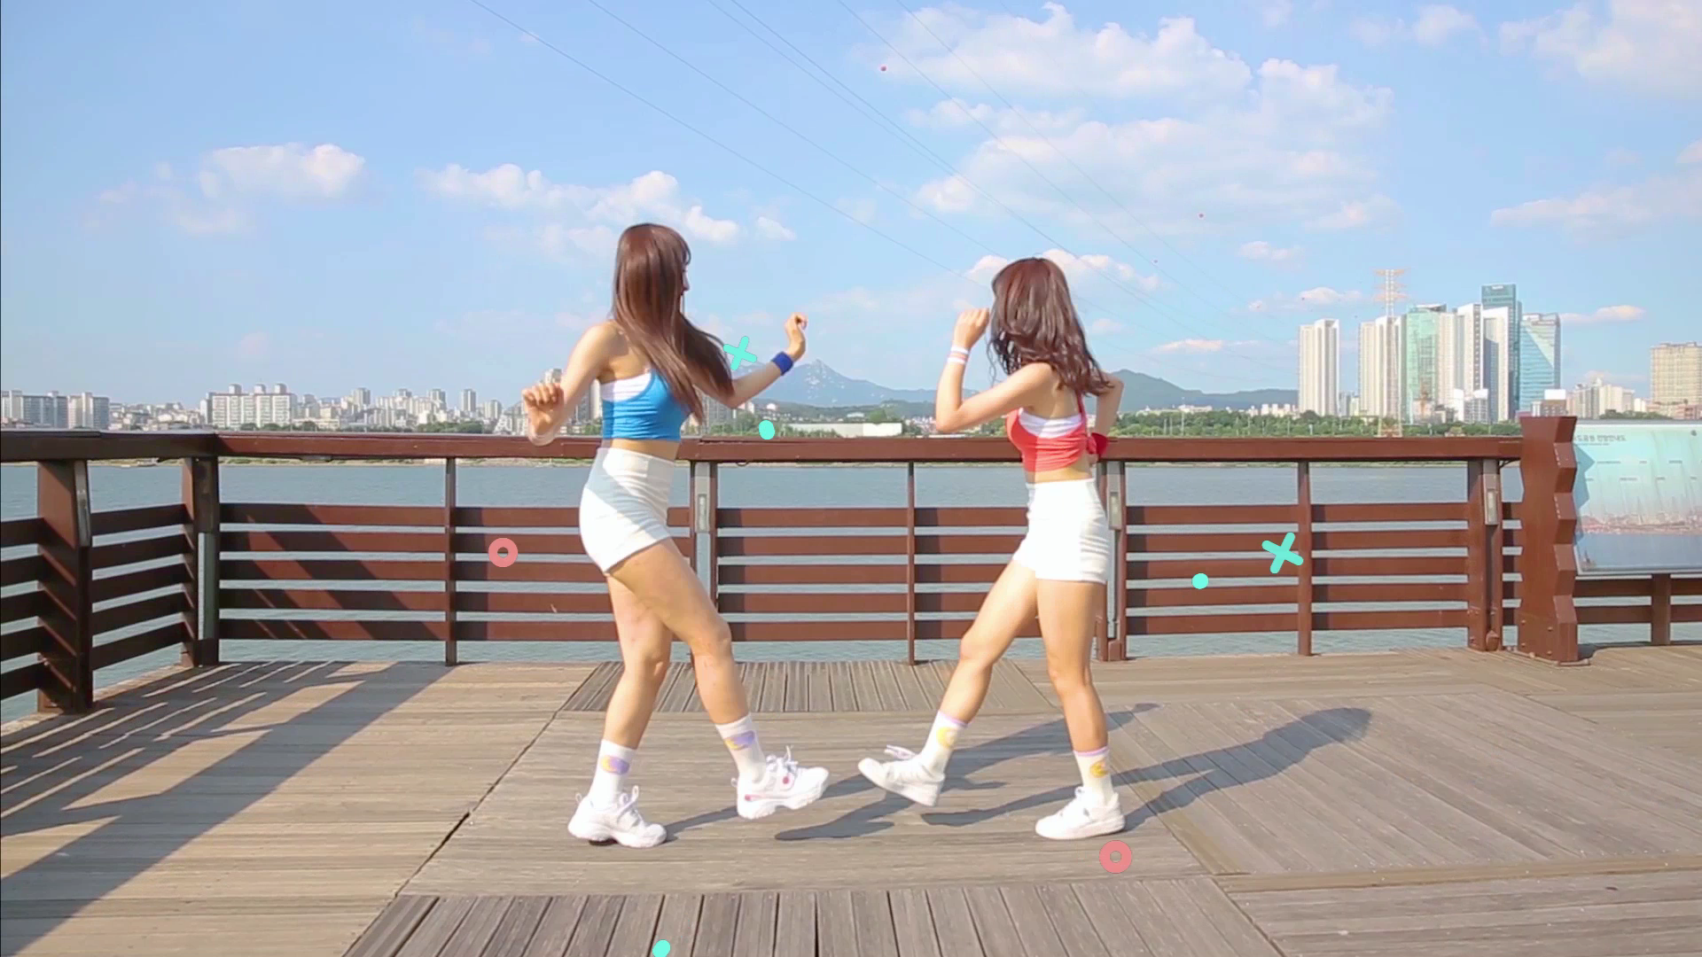
Rehearse
Practice practice practice. This is the only way you will be able to perfect your moves and get them down pat as well as figuring out what looks good, what doesn’t, what you need to add or take out etc.
Use researching as a mini performance, give it all you’ve got before the final piece. If you’ve got other dancers with you utilise their talents, converse with them, see if they have any ideas or different outlooks that might interest you.
Really use this time to your advantage. And don’t forget to just really communicate with the people you’re working with, make sure you’re all on the same page.
Tip #2 – WHAT IS THE BEST YOUTUBE GEAR/EQUIPMENT FOR DANCE VIDEOS?So you’ve got the moves down pat and the whole routine ready to go but you’re missing one thing EQUIPMENT! Now starting off you might not have a lot of knowledge or insight on what or how to use and it can be a little overwhelming.
But fear not because i’ve got you covered. When you are thinking of what equipment to get, you have to consider what you are shooting because equipment is very circumstantial.
With all my research that I have conducted I will give you an easy overview as to what you need to help take off:
YouTube Cameras
Now you don’t need a fancy-schmancy, high tech break the bank camera when filming your videos, especially if you’re just starting out.
With today’s technologies it’s very easy to get your hands on a camera pretty much anywhere, if you take a look at your phone you’ll notice there’s one right there! BAM problem solved.
You know the ins and outs of your phone and it’s such a simple device to use that it won’t take you long to set it up and won’t cost you a cent.
And if you’re not happy with the quality of your phone then maybe borrow a friends or family members. In conjunction with this you’re set on filming with a camera then let me run you through a few options to help you out:
- Affordability and quality: Canon Rebel series
- Starting off: Canon Rebel T2i
- Shoot something straight-forward: Canon Powershot
- Small and compact: Sony ZV-1
- A tiny gimbal-mounted camera for ultra-smooth travel shooting: DJI Osmo Pocket
- Accurate autofocus and in-body stabilization: Sony A6600
However if you do decide to go with a camera then I suggest investing in some lenses, as they create a different effect and you can really just have fun and play around with them.
If you’re not really sure on what lens to go with or start off with I’d suggest going with a wide – angle lense. You want to show as much of the dancing as possible by shooting at a wide angle, so the viewers can see everything.
Tripod/Stands for Cameras
Tripods? Stands? Ahhhh what to do, what to choose? These nifty little contraptions are essential when filming especially if you’re doing it lone wolf style and don’t have any help.
Again there’s so many out there so how do you know which one to choose? Depending if you prefer to just hold the camera and go with the flow then you don’t really need one but for those of you who are looking, have a look at these little beauties…
Joby Gorillapod and Ballhead X
Geekoto 77″ Aluminum Tripod with 360 Degree Ball Head
Manfrotto Mini Tripod
A Good + Cheap Phone Tripod
Lights
Lights? Why would I need to focus on lighting? Good question.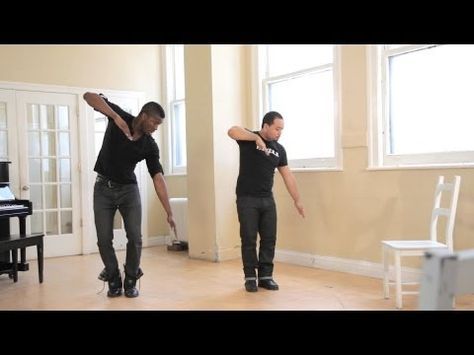 Lighting is very important as it helps viewers see you and your moves but also helps tell your story and what mood you want to set the tone of the video.
Lighting can turn a production into one that looks like it’s worth thousands. But then again, if you’re just shooting class videos, ain’t nobody got time for lighting – just shoot and go!
For someone starting off, I would recommend those construction lights that they use on sight. Even though they are super bright it really helps to see the dancer/s and their movement which is what you want and not to get lost in the dark.
Lighting really depends and what you’re going for so you could be indoors and use normal lights or coloured lights etc or if filming outside you could use the sunset or at night car lights or torches. Use lights to your advantage, a lot of people underestimate what good lighting can do and don’t utilise it enough.
Speaker
You’ll need a device to play your music when filming, although i’m sure you know the song and probably have it stuck in your head from replaying it over and over you’ll need a decent portable speaker that’s loud enough to hear when filming.
Computer
Now you’re thinking why would I need a computer if I’m just filming myself dance and then going to upload it straight to YouTube? You have a point there but it’s not as simple as 1,2,3.
If you plan on making a lot of content you’ll want a decently capable computer. The first thing to consider is your hard drive size.
If you’re recording a lot of footage, particularly at higher resolutions and framerates, it’s going to take up a lot of space.
How much space you can use will vary based on how much footage you save, and how much/long you film, so if you erase old footage before starting the next video, you can get away with having less space.
Your computer will be your home base where you put your masterpiece together.
Tip #3 – MUSIC FOR YOUR VIDEOS & WHERE TO SOURCE ITObviously you’ll need music otherwise how else would you know when to do the steps on beat (DUH) but when using another artist’s music make sure you state it for copyright reasons otherwise your video will be pulled down and all that hard work gone just like that.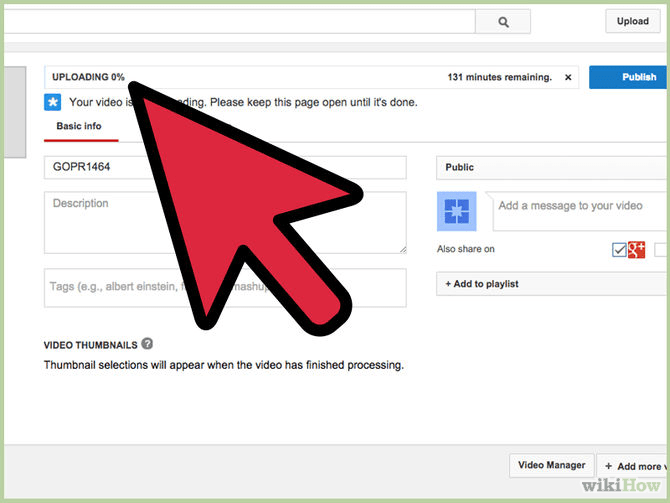
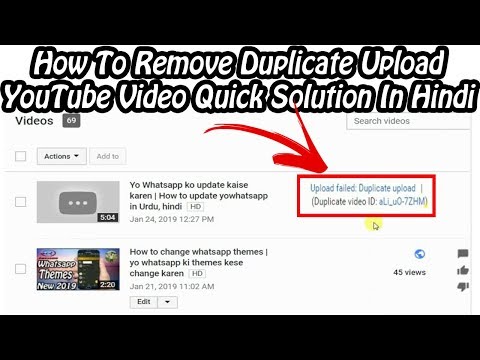
So when videos are uploaded to YouTube they run through a system to see if the content is copyrighted.
Unless you are an artist or decide to make your own music you don’t have to worry about copyright as that song is yours and an original!
But… not everyone is an artist or makes their own music, so what do you do? You can easily access Royalty free music which is a site that requires you to pay once and that’s it! It’ll gain you access to different music or other content whenever you want with no other fees.
It can be found on a number of different sites all you need to do is search royalty free music on google and let your fingers do the walking.
Tip #4 – ALL THE RIGHT ANGLESLights, Camera, ANGLES! If you’re not planning on doing anything flashy and just want to keep it simple there’s nothing wrong with that but for those of you who want to make it edgy and give it some sparkle, angles are a great way to do that but don’t get too carried away otherwise it’ll just look like a hot mess.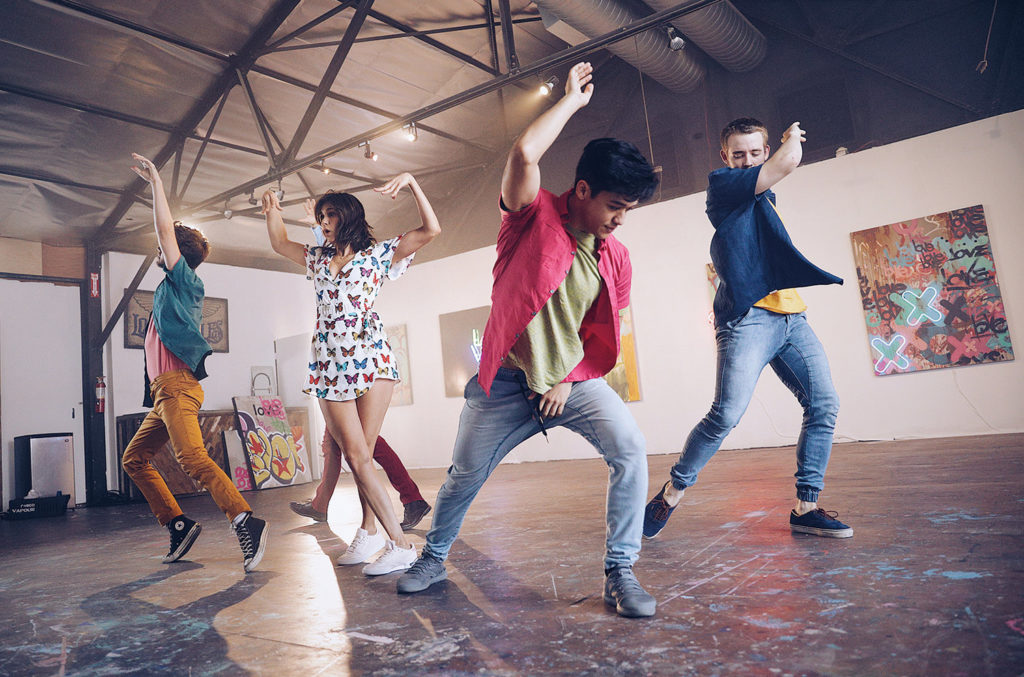
Angles give your video a different perception and vibe, they can really capture the essence of dance and really showcase your moves. You should always film a couple times so you have versatile angles and can play around with which ones you like and don’t like.
Keep it consistent, try not to cut and change a lot as it will look choppy and will just give the viewer a headache from trying to keep up but also trying to focus on you dancing. Timing is everything so play around with it, have fun and go with what looks good but helps capture your vision.
Tip #5 – EDITING YOUR YOUTUBE VIDEOThis is your most important stage when compiling all your videos together. There are so many editing sites and programs you might not know which is best and end up spending half your savings.
Some are simple and some are a little more complex in the end the choice is yours and what feels easy or right. Here are just a few sites you could use to help give you that head start:
- Lightwork: Is a simple, free editor, and is pretty simple to learn.
 Operates with OS X, Windows and Linux.
 - Adobe Premier: It is the industry standard for video editing, though it is expensive and the learning curve is high – its more suited for complicated content
- Davinci Resolve: Is a great and free tool and is likely the best free editor that you can get, which also has a pro version for more advanced content. It is suitable for MacOS, Microsoft and Linux
- iMovie: Macs built in editing tool. It’s very simple and easy to use and pretty straight forward and won’t cost you a thing unless you upgrade to the pro version.
There are many, many more out there, you just have to find the one for you and your computer.
Tip #6 – UPLOADING YOUR VIDEO TO YOUTUBEOnce you have filmed and edited, export your video to a file and prepare to upload! Keep in mind that the uploading process can sometimes take awhile depending on the image quality, size of your video, and your internet connection, so make sure you leave enough time at the end of the weekend for this.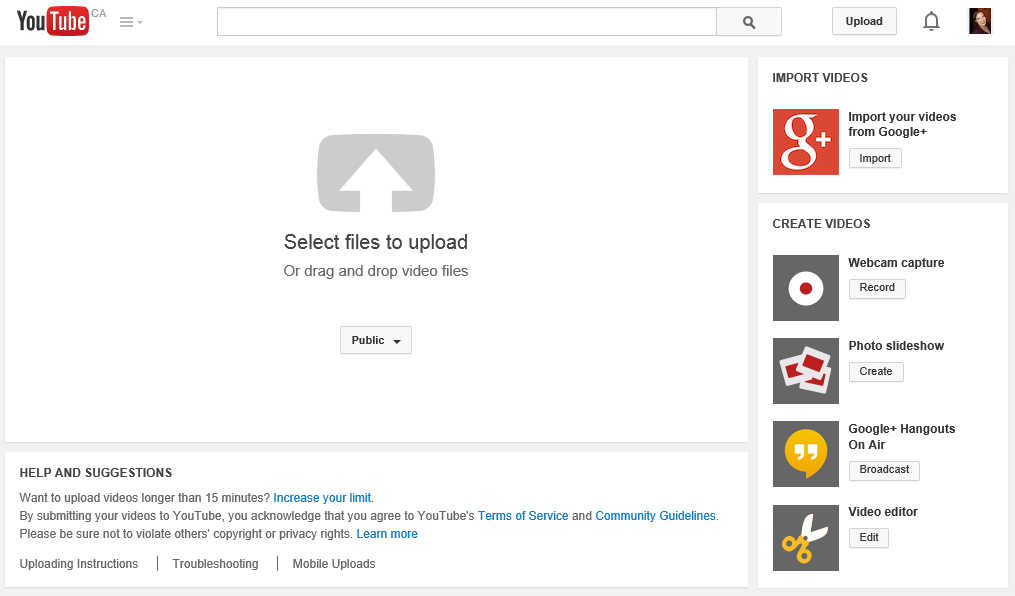
Fear not if you have no idea how to work youtube and aren’t sure exactly how to upload or what goes where, here are a few simple steps:
Rendering and Uploading Your Video
Once you’ve finished editing, you’ll want to render out your video to a file in whatever application you used to put it together.
Once it’s done though, you’ll want to head over to YouTubes upload page and drop the file in there. Some programs will allow you to directly upload to youtube therefore minimising a step.
YouTube also needs time to process your video before it goes live, to get it ready for distribution. So don’t stress if it’s taking awhile it just needs time to process.
Titling, Tagging, Thumbnails
So once you’ve uploaded your video, you’re not quite finished yet, there are a few things you’ll need to do to finalise everything. You’ll need to fill out your video’s title, description, and tags—all of which help YouTube more easily figure out how to recommend it to people.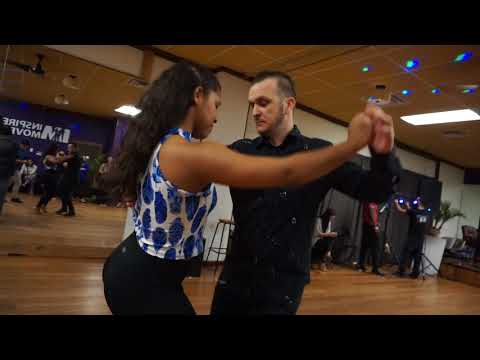 Your thumbnail matters a lot as well.
YouTube will automatically pick a thumbnail from a random spot in your video, but you’ll almost always want to use a custom thumbnail to attract more people.
You can also add text over the thumbnail but you’ll need to use another program such as photoshop or GIMP. Once that’s all done and finalised and you are happy with the way it all looks it’s ready to make its great debut.
Tip #7 – PROMOTING YOUR YOUTUBE VIDEO TO THE PUBLICAh the final piece of the puzzle. You’ve finished editing and made it look AH-MAZ-ING and have finally uploaded it to the famous YouTube platform, but what now, how do you create attention so people can view your amazing masterpiece? There are a few things that you can do to help promote your video.
- Write engaging must see titles
- Set up your youtube SEO
- Figure out what your audience wants
- Engage with the YouTube community
- Customise your thumbnails
- Collaborate with other dancers/YouTubers
- Promote your content on other social media platforms
I would like to emphasise that the amount of views / likes / shares that every video gets is not representative of its content or popularity.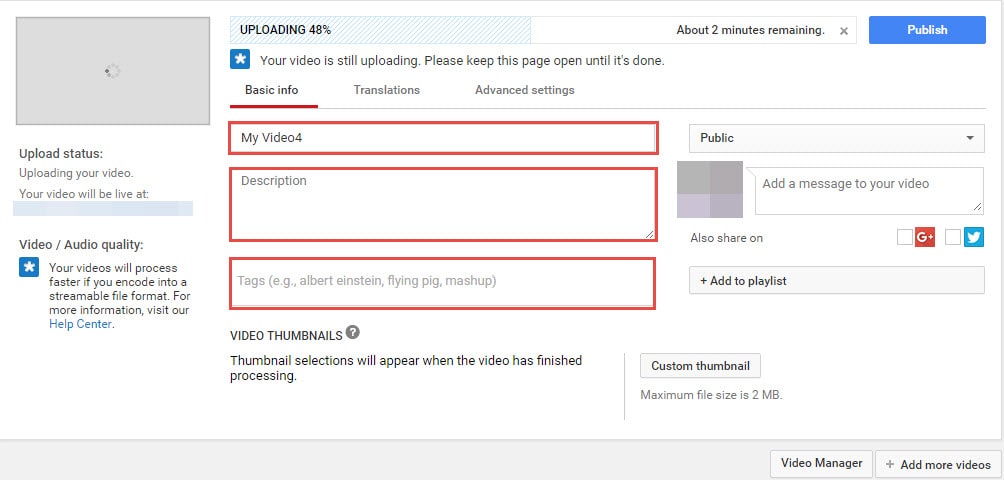
If you are really serious about the youtube game and would like to expand your channel and knowledge further then I recommend having a look into The Online Creator Institute. It’s jam packed with masterclasses, tons of helpful and reliable info and there’s zero commitment so it’s on your own terms!
What Is Music Copyright? How Does It Affect Dancers?
Due to music copyright infringement, a dance video gets muted. Or taken down. Someone’s account gets a strike. Then their whole account is terminated completely…
THIS ISN'T JUST A DANCER'S NIGHTMARE. IT'S REAL LIFE!!
While music copyright regulations create somewhat of a crappy conundrum for dancers who want to share their work, you don’t have to feel completely helpless about it.
If you want to keep posting dance videos, then you should study how copyright music works on YouTube.
You can find smart ways to upload and share on YouTube, and know what to do if you run into a copyright infringement issue.
Here are the things you (and all dancers) should know about music copyright, royalty free music, copyright infringement, and more.
What is music copyright?“Copyright” basically means legal ownership over the things you make.
Copyrighted music belongs to another entity, whether it be the artist, music label, production company, etc.
There are 3 main types of licenses that allow you to legally "own" music:
Master Use LicenseMaster rights are owned by big music companies such as Sony Music, Broadcast Music, Inc., Warner Music Group, EMI, Universal Music Group, etc.
They basically own the original recording file of the song.
Publishing LicensePublishers are mostly music labels, such as Def Jam Records. Think of them like book publishers to the song.
They own the rights to the composition and can use the song in their published content. Sometimes Masters are also Publishers, sometimes they’re not.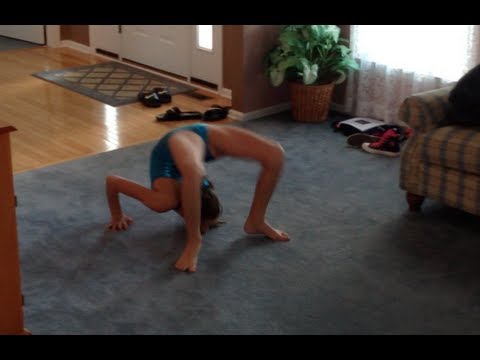
A Sync License, usually granted by the Publisher, allows the holder to sync the song to some kind of visual output (like a movie, TV show, video game, or advertisement).
***This license is the most relevant to dancers, since we are are syncing choreography to music!!!***
The tricky part about uploading your videos to YouTube is that some licenses don’t get cleared by certain publishers.
When you see that a video is ”blocked in (Country),” – it’s because the publishers don’t have the rights in that country.
You may be starting to realize...
YouTube is not the bad guy!
So many of us are quick to blame the platform itself because that's the place we’re running into the issues. But YouTube is actually your friend! It's trying to help you!
They have an entire team trying to get rights for music so that you can post your concept video – without getting sued.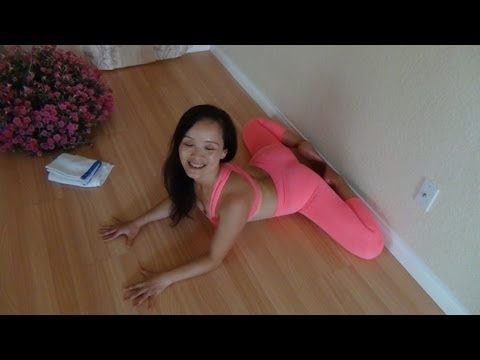
YouTube keeps things fair to music creators by finding the songs that people are using (through *matching), then running ads on those videos.
The money from those ads go to the music creators so they can make some sort of profit off of their content that other people are integrating into their own.
When someone writes a book, they, as well as the publisher, make profit from those who purchase the book.
For music, records, tapes, and CDs worked under a similar model, but with the frequency that music gets used on the internet, it gets difficult to regulate.
That’s why music copyright is such a big deal. Without it, it’d be this free-for-all of someone else’s intellectual property.
You wouldn’t want someone taking your choreography, using it, and making money off of your work without your awareness or involvement, right?
Find other ways of finding music to choreograph to! How To Use SoundCloud To Find Music As A Dancer
*Copy ID MatchWhen videos are uploaded, they run through a system that basically Shazams it to see if its contents are copyrighted.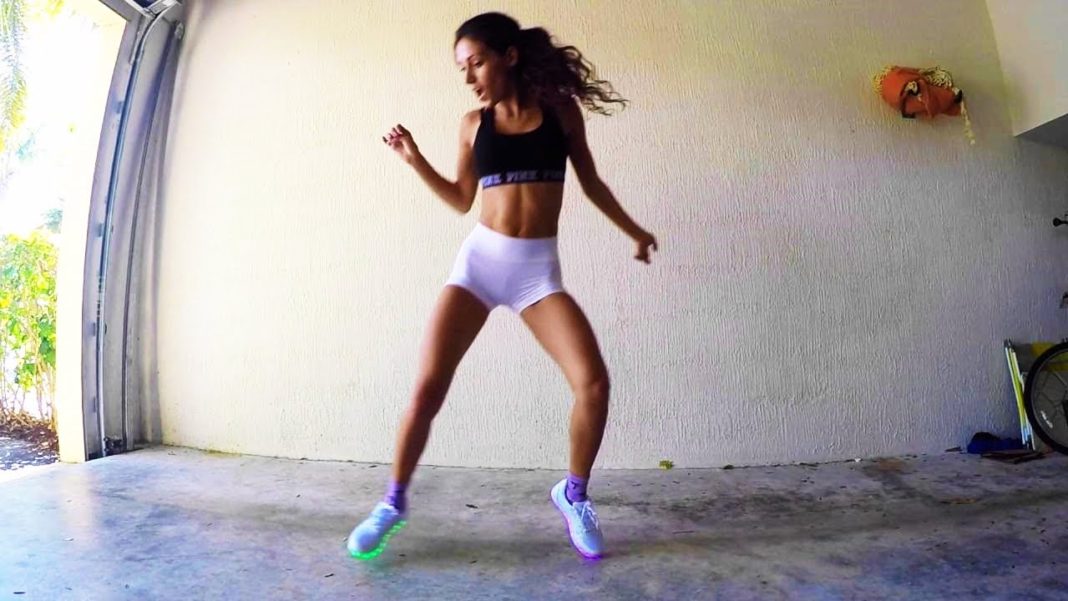
If it is (which most songs probably are), the owner of the original content is notified. They can then either choose to block your video or monetize on it through ads.
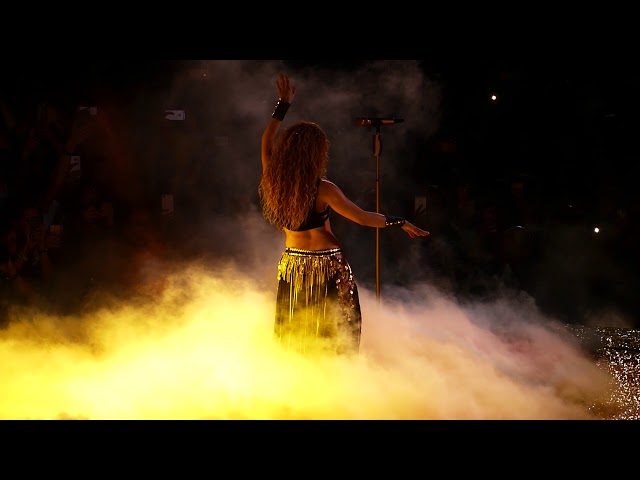
For example, you probably didn’t pay Rihanna for using “Work” in your video. So YouTube gets money from advertisers to pay her for ya.
This really sucks for dancersYou can dance without music. But most of the time we do use music.
This is why, for so long, dancers had a tough time making money – because choreographers and dancers were always at the mercy of the musicians.
Think about it: at a concert, the headliner is the singer or band. Then there are the backup dancers. “Backup.” Just accompanying the singer.
But now, with YouTube and social media, dancers can self-publish their work and get recognition for it.
We’re pushing ourselves to the forefront by saying “Hey, I created this movement.”
But the song still belongs to someone else. And you could still get in a lot of trouble for it.
As mentioned, some songs are okay to use, and some are not. It’s important to always CHECK to see if the song you used is going to be cleared before you upload it.
If you know you’re going to make a video out of a certain piece, then check for copyright infringement FIRST.
Content ID, as explained in this video, lets you know exactly what will happen if you use a specific song in your video.
You can stop putting your video or account at risk! Here are a few other ways to avoid running into copyright issues:
Use completely original musicObviously, if you make a song yourself, you’re the creator and owner of that music – therefore not subject to copyright infringement.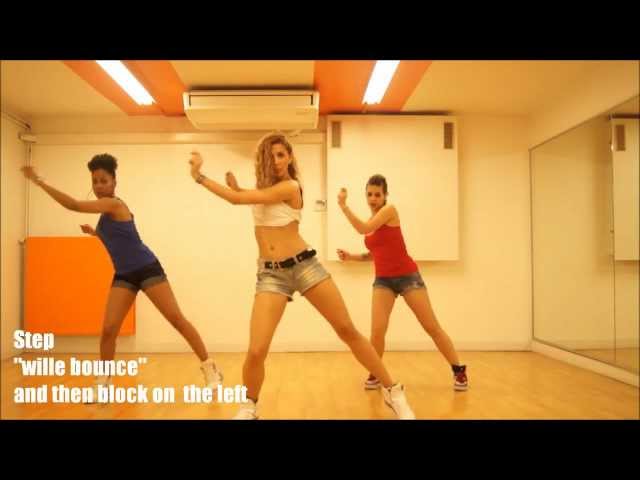
This is similar to the first point, but rather than learning how to produce your own music, you can collaborate with artists who create their own original music.
The end product would have been completely self-produced by you and the artist, allowing that content to be uploaded and even monetized.
220 recently worked with SoundCloud artists to create royalty-free dance videos.
Purchase royalty-free musicRoyalty-free music is music that you pay for once, and can use it in whatever content after that.
When you buy a song off iTunes, you’re only buying the private rights – meaning you can listen to it wherever you want, but you cannot use it in any media production thereafter.
You can find royalty-free music for your dance videos on a number of different websites.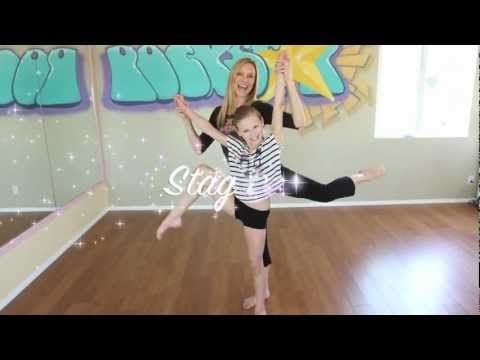
Music isn’t a tangible item, but it is intellectual property. Taking and using it is considered theft as would taking someone’s wallet.
So when you get a strike, you will, unfortunately, suffer consequences like losing access to certain YouTube features.
If you receive three copyright strikes, then your account and all your videos will be terminated.
You will be unable to create any new accounts under that e-mail address.
It’s important to note exactly why you received a strike, so that you can take steps to contest it, and not repeat the same mistake.
You can find out why going to Creator Studio > Video Manager > Copyright Notices> Copyright Strike. You will be able to find more information on that removal.
To resolve a strike, you'll have to wait the 6 months for it to expire while laying low to not receive any additional strikes in that time.
You also have to complete Copyright School.
Copyright School is actually quite beneficial to watch to prevent any of that from happening.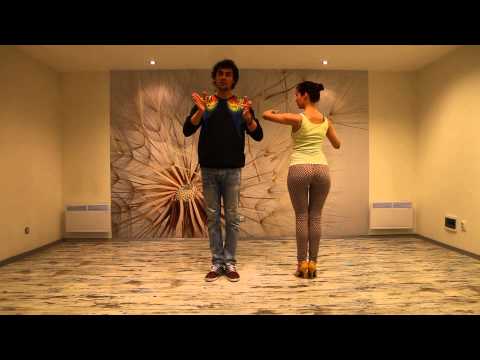
In addition, you can also get what’s called a “retraction."
This means taking away the strike by asking the person who gave you that strike and asking them to retract their claim.
If your video was removed by a mistake – as in, you really didn’t breach any copyright laws, then you can submit a counter notification.
If becoming a successful choreographer is the goal, knowing how to market yourself is crucial.
And you can’t put your work out there if you have no idea why your videos keep getting taken down!
We hope this helped you content creators understand music copyright laws better.
Have you run into music copyright infringement issues? Got any tips? Leave a comment to share!
FitStars | video workouts for home
Why or what is FitStars?
FitStars.ru are workout videos designed by professional trainers specifically for practicing at home: they require no training or special equipment.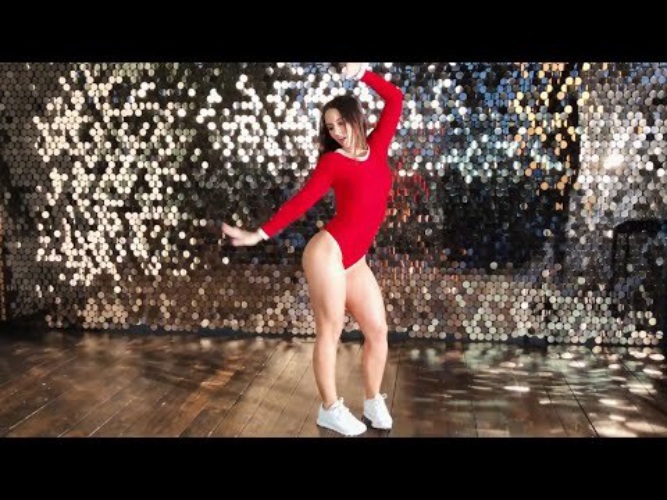 All workouts are divided into areas: weight loss, stretching, yoga, twine, relief and many others for every taste. It is important for us that each of you find the most effective way to achieve your goals!
What makes FitStars workouts special?
We have been doing home workouts since 2017. We have helped over a hundred thousand people feel healthier, more confident, stronger and more beautiful. Our fitness trainers and their programs have stood the test of time and received thousands of positive reviews. Our main goal is to continue to delight our users with quality content and fill their lives with positive emotions through love for sports and for ourselves.
How often do new programs appear?
There are currently more than 50 training programs available on our platform. Filming is taking place every day. Usually we try to release 1 - 2 new programs for 30 workouts per month.
Are the training programs suitable for beginners?
Yes, most of our programs are built on the principle of increasing load. With each subsequent workout, the complexity increases, which allows you to achieve maximum results.
Does the subscription give access to all programs?
Yes, the subscription gives access to all programs and video workouts.
Does the subscription give access to courses?
Yes, from 08/01/2022 courses are available under a single subscription.
A new program has been released, but it is closed. Why?
For all tariffs except UNLIMITED, access to new programs opens automatically 30 days after its release. For users on the unlimited tariff, access opens immediately.
How does the subscription work?
You can subscribe for a month, a year or 100 years. By subscribing, you get access to the closed materials of the site: programs, workouts and delicious recipes. You can do one program or several at once. After the expiration of the subscription, access to the programs will be closed. When you renew your subscription, all programs in your account will be activated, and you will continue training from the moment you left off.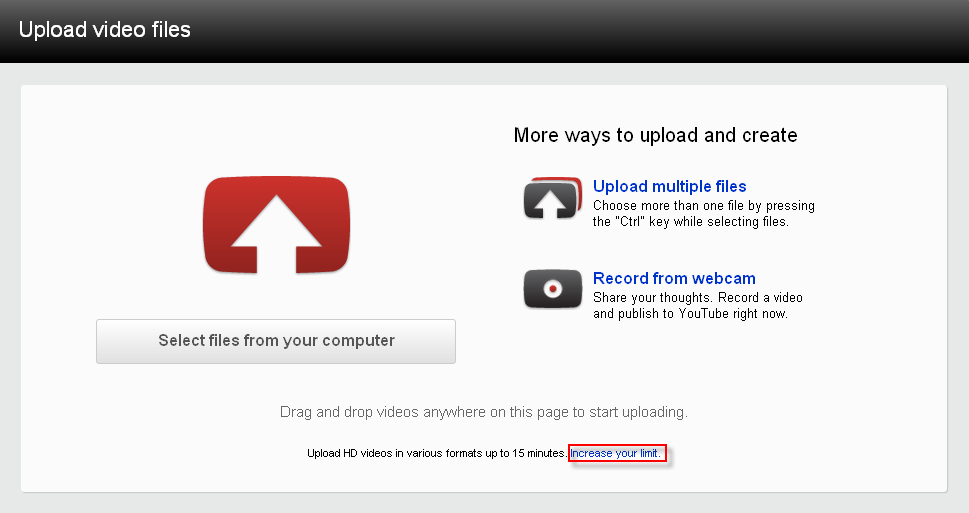
How can I pay for the subscription?
We accept Visa, MasterCard and MIR credit cards, as well as PayPal, QIWI, Webmoney and Ya.Money. In addition, you can pay for the subscription from the balance of the mobile operator Tele2.
Result Guarantee or Money Back
We are so confident in the effectiveness of daily training that we guarantee results for everyone who starts training with our programs. If in 14 days you are not convinced of the effectiveness of our training, while you have been training every day since the purchase and you feel there was no improvement in your physical form, then you can request a refund, we will consider your application within 30 days and return you money. A prerequisite for a refund is at least 10 completed workouts from the moment of payment.
When will I receive my login details?
Data for entering your personal account is sent to the e-mail specified during the order immediately after payment. If you have not received an email within 5 minutes, please check your spam folder. If you find an email with registration data in spam, be sure to mark it as "not spam". If the letter has not reached, write to the support service [email protected].
How do I cancel my subscription?
If you signed up for a monthly subscription on the site, you need to delete the linked card in your account in the "My subscription" section. If you subscribed in the application, then the subscription is canceled through the AppStore or GooglePlay
What if I forgot to cancel my subscription?
If you forgot to cancel your subscription and do not plan to study during the paid period, then within 72 hours after the payment was debited, you can request a refund in a free form by any available method (e-mail or chat). We will refund your money for this auto charge within 7 business days.
How does auto-renewal work?
When purchasing a 1 month subscription and paying with a Visa/Mastercard, the card is automatically linked for automatic renewals. Automatic renewals are subject to your discount.
Will I get access to the FitStars app with a subscription?
Yes, a subscription on the site gives you the opportunity to use the application. The application is available at the link for Android For iOS
Can I buy a subscription and activate it later?
Yes, you can. After purchasing a subscription, write to our support team that you plan to start training later (on Monday or in a month) and indicate the order number. On the day you start training, write to us again and we will renew your subscription.
8 tips on how to make a decent dance video yourself.
Today I want to give some advice on how to make yourself a decent dance video. Why is it important? Dance is a visual art form, which means that you must and must be able to do it well. Many dancers have become famous only thanks to their videos on YouTube. Isn't it time to join their ranks?
Listed below are 8 top tips for making your own dance video.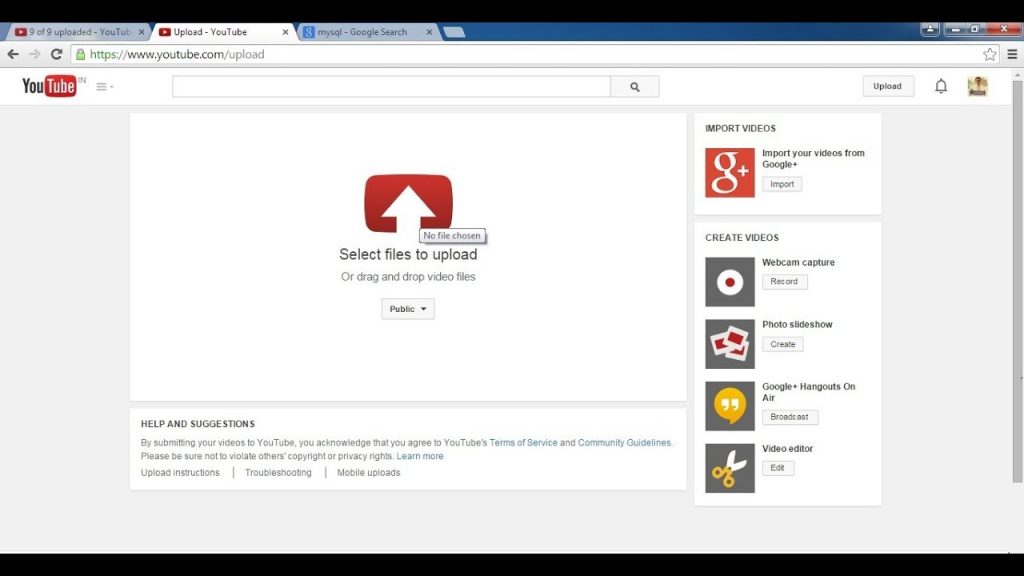
1. Musical composition. The track determines what and how you will dance. Based on it, you create your image, look for a suitable location for shooting. A couple of tips for choosing music. It should motivate and inspire you. This is the main thing. By duration. Dance videos are best done within 2-2.5 minutes. Then the viewer will watch to the end and like.
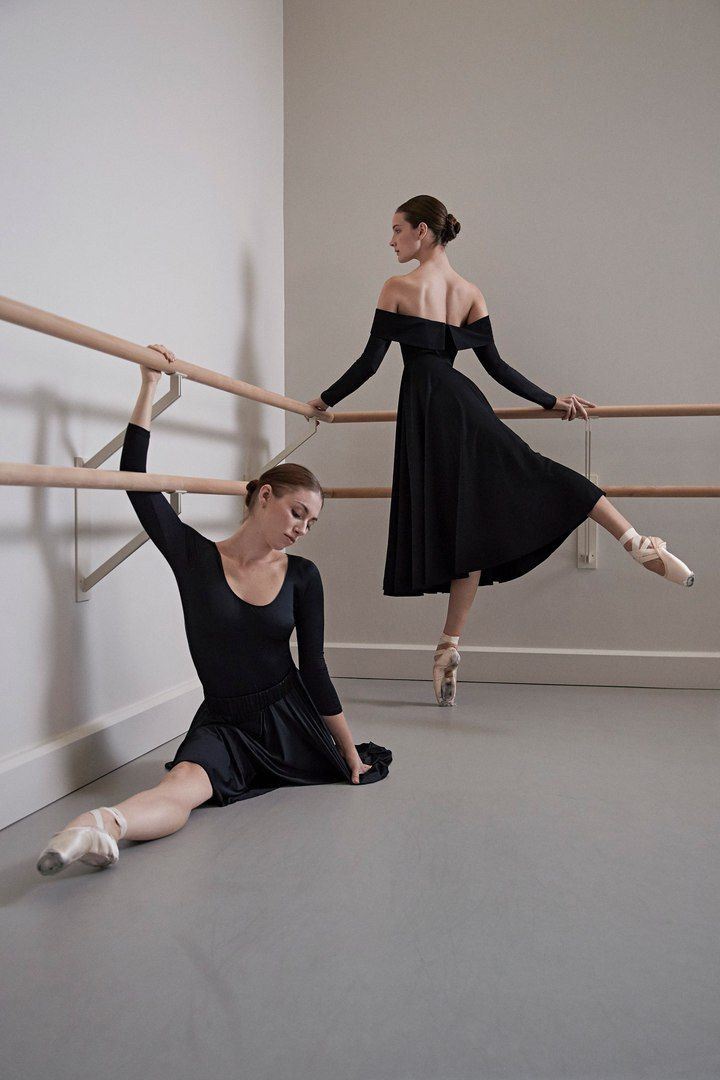
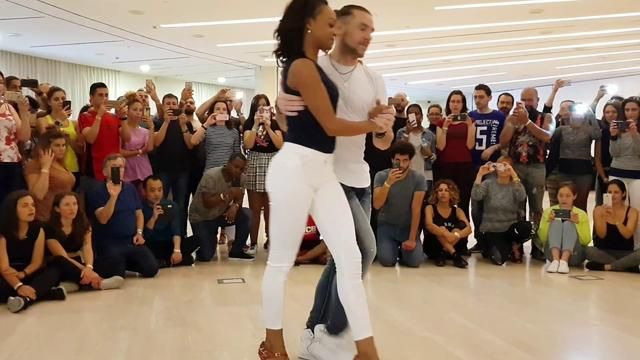
2. The main character of in the frame is you. And that means you have to take your appearance seriously. Choose clothes that look beautiful on the one hand, and are comfortable to dance in on the other. If you have an idea in your video, then the costume can emphasize it. The same applies to hair, make-up (if you are a girl), shaving / unshaven (if you are a guy). Be smart and in style.
3. Choosing a location for filming . The location should reflect the general idea and reinforce it. For example, you decided to make a downhole hip-hop video to the “rocking track”. Suitable city, busy streets, underground courtyards, graffiti, etc. This will create the right atmosphere. Now imagine that you, so cool and pretentious, will shoot your video against the backdrop of a dull village courtyard, where a cow grazes in the background and the wind sways the nettles. Feel the difference?
4. Scenario . Every good film has a premise, a plot, and a climax. It's the same with your dance. He must develop. Otherwise, the video will turn out to be monotonous and the viewer will become bored. As a rule, I do not prepare all the movements for filming, but simply outline that here I dance with a small amplitude, then I start to diverge, then I pause, and here I burn, and so on. Videos are greatly enhanced by original ideas, tricks, etc.
5. Camera and light. Now it's easier to make a high-quality picture on video than before. Even shooting on the phone, you can get a very decent quality. The main thing is more light in the video.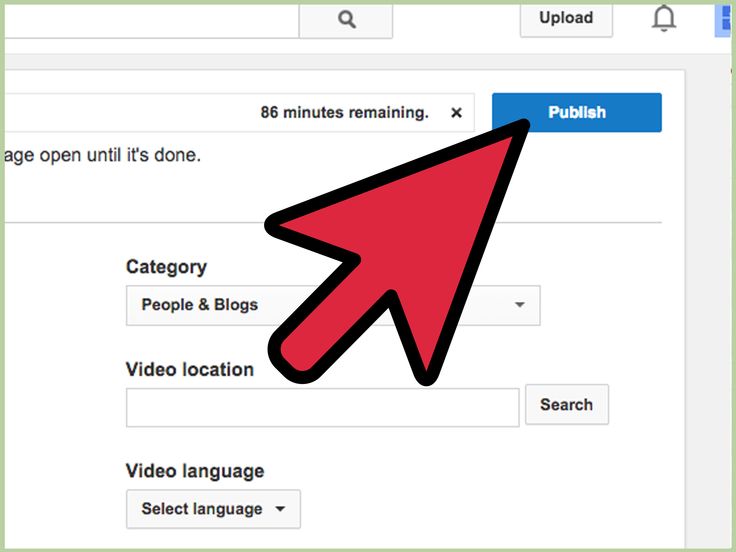 It can be natural light on the street, light from windows if you are indoors, special light from spotlights, etc. The main thing is that it should be, then the picture will come out bright, with rich colors.
6. Operator. If possible, call the operator. Hire or find a free one. Now enough people are addicted to video shooting, so it will be great practice for them to work with you. If there is no one at all, then use a tripod. The main thing is to pre-build the frame so that you look beautiful in it and there is nothing superfluous. And click on record.
7. Shoot more. The more practice you have, the better the result will be. You will begin to “see the frame”, understand how to fully reveal the dance on the video. More practice, more success.
8. Something always goes wrong . I have shot about 500 dance lessons and videos. And almost always something went wrong. Either people walk in the background, then the rain starts to drizzle, then the operator is late, then you forgot to do something, and so on.