How to make dance shoes not slippery
How to make your ballet shoes less slippery
For our series Ask A Dance Teacher, we asked ballet teacher Johanna Hadley some common questions about ballet training.
Our question was, “How can we make our ballet shoes less slippery?”
Watch our video and find out:.
How to make your ballet shoes less slipperyCheck your dance floor
If you are struggling with slippery ballet shoes the first thing I would recommend that you do is to check the flooring that you’re dancing on. I’ve normally found that it’s not actually the shoes that are causing the problem but the flooring. So check for things like, is the flooring clean or does it have a layer of dust and dirt on it. Or is it a highly polished floor, because all of these are going to make your ballet shoes feel a lot more slippery.
Dampen the sole of your ballet shoes
For the next two methods I would recommend speaking with your dance teacher first, because they can damage flooring especially if you’ve got specialist dance flooring in your room. So do check these methods with your dance teacher. I found these next two to be very useful. My first suggestion that I have for making your ballet shoes less slippery is to actually dampen the sole of your ballet shoes. Now we don’t want the shoe to get wet, it’s just the sole of the shoe here that we’re wanting to dampen. The best way to do this is to use a paper towel. Just a damp paper towel and you can either wipe it on the sole and the heel of the shoe, or if you pop it on the floor and step on it, it will make the sole of the shoe a darker colour. It really does make a huge difference for just giving that little bit more stick to your shoe as you’re dancing. Just be aware that as soon as it dries out, it will go back to being slippery again.
Use rosin to help reduce slippery shoes
My final suggestion for making ballet shoes less slippery is to use rosin.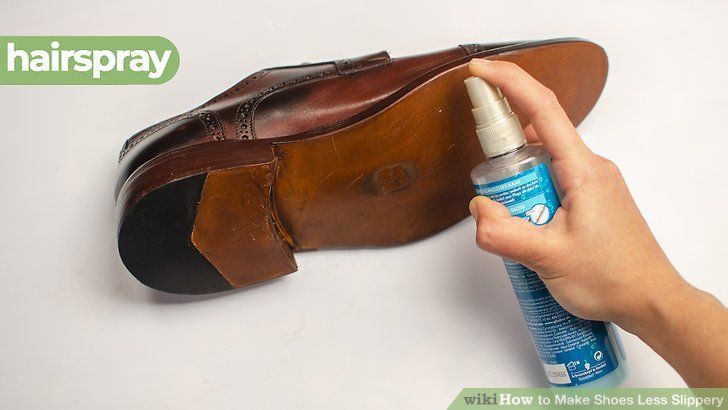 Now this is something that has been used for many years by ballet dancers it’s used particularly for point shoes, especially when dancing on modern floors. But it’s also really good for flat ballet shoes. Now as I did mention earlier on in the video, do check with your dance teacher because if you have a specific dance flooring you can’t use rosin on those floorings. This would only be ideal if it’s say like a wooden flooring. You can either buy rosin like a ready crushed form. Get a little tray, sprinkle some rosin in it and then you can just step in it. It does create a little bit of a cracking sound but it creates a much more resistance underneath the shoe. Just be careful you don’t put too much on because it can also then go to the other way where you can actually start getting stuck as you’re dancing. Alternatively you can just get it in a solid block form like you would use for a violin. Crush it up yourself and put it in a tray as before.
Johanna Hadley
Johanna Hadley is a fully qualified dance teacher at the Janet Lomas School of Dancing in Bury, Lancashire.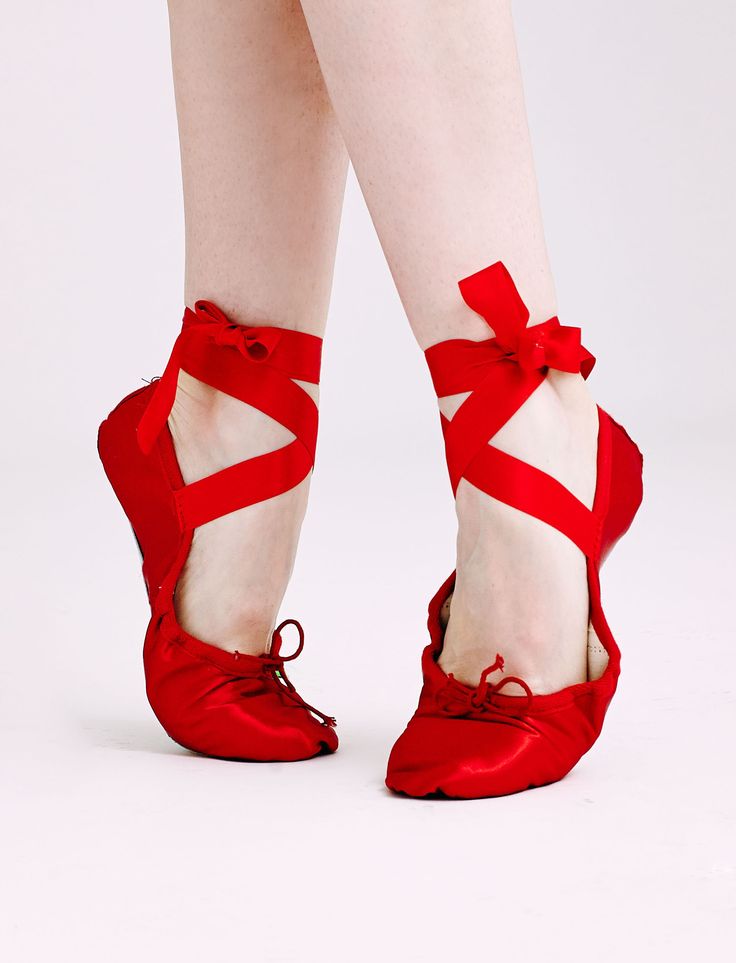
She regularly teaches children from beginner to advanced levels, with students gaining places at some of the UK’s top full-time ballet schools.
Her Silver Swans® ballet class have been widely featured on TV, radio and in national newspapers.
10 Methods How To Make Dance Shoes Less Slippery – Dancewear Tips
It can be very uncomfortable and distracting when you step on the dance floor, and you notice that your dance shoes are too slippery. You simply cannot relax and put your best foot forward, literally. Latin and Ballroom dance shoes have a suede sole that allows dancers to slide easily on the dance floor. It is not good when dance shoes are too slippery, so this article will cover ways on how to make your dance shoes less slippery while dancing.
The last thing anyone wants is to slip and fall while dancing and risking injuring yourself and your dance partner. I am sure this is one of the reasons you cannot fully relax and enjoy your dance session. I want you to be carefree on the dance floor, so I will provide you with various methods to make your dance shoes less slippery.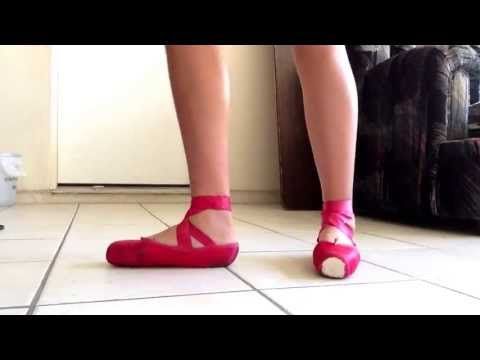
Dance shoes should be slippery and are made with suede soles for you to easily spin, slide, and turn while performing those fun dance moves. However, they shouldn’t be too slippery, so you might worry about your safety and the safety of others around you.
How To Make Dance Shoes Less Slippery?
New pair of dance shoes or dance shoes that are too worn out can have slippery soles. It is not just inconveniencing having too slippery soles; it is actually a matter of safety because you could injure yourself and others around you by slipping and falling.
With a few simple tricks I will mention below, you don’t have to get rid of your slippery dance shoes, but rather make them grip better on the dance floor while having fun dancing.
1.Remove Excess Hair
Remove the excess hair from the bottom of the dance shoes. Ladies shed a lot, and it not uncommon that the floor is full of hair, although we cannot see it with our eyes. This can make our shoes very slippery without you even realizing that’s the cause.
When you notice that your shoes are more slippery than usual, just rub the shoes’ soles against each other, and all the hair stuck there will fall off. This way, you don’t have to touch the hair if you are disgusted by it.
2. Use Rosin
Before I start talking about rosin, I would like to inform you that rosin should never be in contact with bare feet or hands. Pour it into a carton box, put your shoes on, and dip the bottom of your shoes in rosin.
I would recommend using Pale Yellow Rock Rosin that you can find on Amazon. Just apply a little bit of it on the bottom of your shoes, and you are good to go. This is an ideal size for travel, and if you find that the pieces are too big, you could crush them in an old sock.
Ballet dancers most commonly use rosin to better grip the floor. However, other dancers can use it too if their dance shoes or floor are too slippery.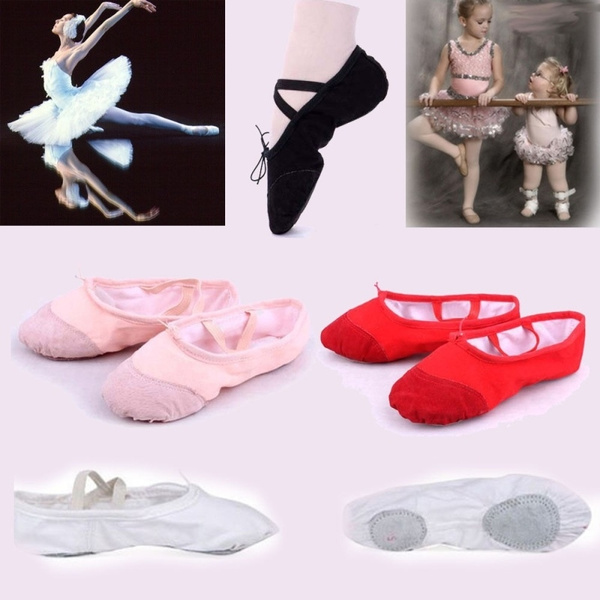
Please note that you need to talk to your dance instructor if it is ok to use rosin because it may leave debris or damage on the floor (depending on the type of floor it is). Rosin can do a lot of damage to the wood floor, so please consult your dance instructor before using rosin.
3. Use Hairspray
My next tip to make your dance shoes less slippery is to spray the soles with hairspray. This is an old trick but comes in handy now and then.
Simply spray the bottom of the shoes with hairspray and let it air dry for a little bit while and gently tap it with your fingers to create more texture.
4. Use Wet Napkin
The next tip is to dab your dance shoe soles with a wet napkin. Before you have a dance session, go to a bathroom and pour a little a bit of water on the napkin and gently dob it on the shoes’ sole.
Keep extra wet napkin close to you while dancing. If you notice that your shoes are getting slippery again, just apply wet napkins on the bottom of the shoes and continue dancing again without slipping.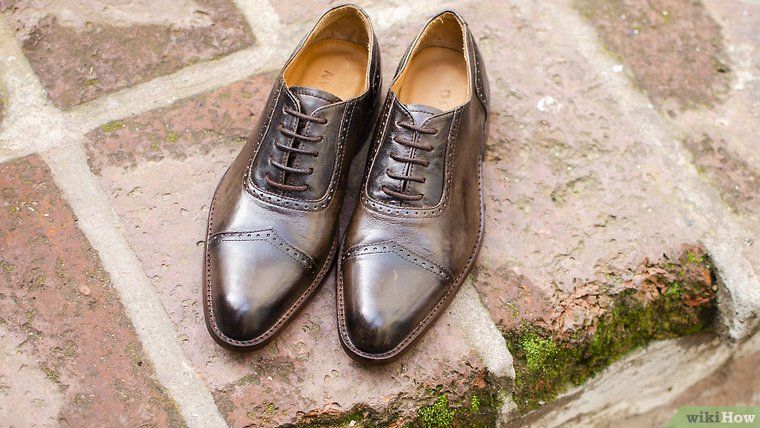
You will have to do this method a few times during your dance sessions, but this is the least messy method out of all the options I have mentioned so far.
5. Scuff The Sole On Rough Surfaces
If you got a new pair of dance shoes or your old dance shoes are too worn out, they may be too slippery for your safety and performance. Usually, dance shoes will get a better grip once they are worn a little bit.
Ensure that whatever method you are using does not attract more dirt on the dance floor because this will make everything more difficult for other dancers. To make your dance shoes less slippery, just walk a little bit on a concrete surface that is dry and not too dirty.
Please don’t overdo it because you could damage the sole permanently and the shoes won’t be suitable for dancing anymore.
6. Wear Your New Dance Shoes
If you’ve got a new pair of dance shoes, it is expected they may be too slippery.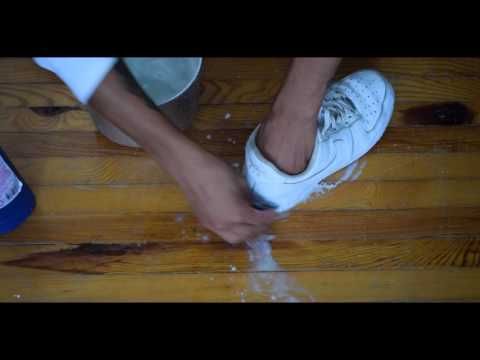 If this is the case, wear them around your house while you are doing the chores. It will help by improving traction, and you will be ready for the dance floor.
7. Sandpaper
Sandpaper can help in making your dance shoes less slippery. Simply, rub the smoothest part of your shoe sole with sandpaper until they develop a more textured feel. Don’t overdo it because this could make your dance shoes not slippery at all, and we don’t want that. Test your shoe’s slippiness after you rub sandpaper on them for a little bit. If they are still too slippery for your liking, then rub them some more.
8. Use Nail File
If you don’t have sandpaper handy, a nail file will do a good job as well. The procedure is the same as with sandpaper. Scuff the smoothest part of your shoes that come in direct contact with the floor.
9. Purchase Grip Pad
Grip pads are an excellent choice to make your dance shoes less slippery temporarily. If you have an older pair of dance shoes, the issue could be that the sole is too worn out. So, investing in a grip pad could solve the problem.
Simply apply the grip pad on your dance shoes’ sole and start busting some dance moves carefree.
I would recommend purchasing Foot Self-Adhesive Non-Skid Shoe Pads Anti Slip Shoe Grips for High Heel of the Amazon. These non-slip cushioned pads will provide you with stability on the dance floor and make you feel safe to walk and dance.
10. Apply Coke On The Sole
Mix a little bit of coke and water, and then use cotton balls, dip them into the mixture, and gently dab it into the sole of your dance shoes.
If you find that your shoes are not soaking up the mixture very well due to the sole’s material, then soak up a sponge into the coke and water mixture and step onto it.
However, make sure you talk to your dance instructor before doing this because this method is too messy and might leave sticky marks on the floor that other dancers might not like.
What If The Dance Floor Is Too Slippery And Not Your Shoes
Whether you are a professional or social dancer, a slippery floor can make you very uncomfortable. If you are not heavily involved with the studio, especially if you are a beginner or learning to dance for social purposes only, then talk to your dance instructor, and they will know what to do.
Depending on the type of floor it is, the slippiness could be caused by something on the finish that could be removed. A clean floor should not be slippery. The reason for slippiness could be too much wax, water, or dirt and dust on the floor. If you notice that the floor is too dirty, mentioned it to the person responsible for the dance studio.
To make the floor less slippery, combine one part vinegar and two parts water. Mop the floor with the mixture to remove old waxy residues and cleaning products that make floors slippery.
If the floor is wet to the touch after mopping, run a dry mop over it to absorb excess liquid.
Final Words
Dancing is one of the most fun activities out there. It should be relaxing, and you shouldn’t be worrying about anything. Especially, you shouldn’t be concerned if your shoes are safe enough for you to dance in them. I know it may be hard to focus on your dance steps when you are worried that you might slip and fall and injure yourself and the people around you. These ten methods of making your dance shoes less slippery should make you feel safer and help you enjoy dancing even more. These methods will give you “pep in your step,” the figure of speech 😉
Happy dancing!
how to make shoes not slip
Ice is one of the unpleasant and traumatic phenomena of winter. The risk of serious injury from a fall, slipping "out of the blue" is quite high. The problem is exacerbated by sliding shoes, which in some cases become a real disaster. To prevent the negative consequences of walking on ice, you need to take care of your own safety in advance, ideally at the time of buying shoes in a store.![]() Simple recommendations for choosing warm boots or boots for the winter period will help you choose the model that is optimal in terms of safety:
Simple recommendations for choosing warm boots or boots for the winter period will help you choose the model that is optimal in terms of safety:
- Presence of an anti-slip tread on the sole with a deep relief pattern. Refuse to buy a pair with a smooth sole.
- Choose models from manufacturers that adapt their products to the conditions of a long winter.
- To keep shoes from getting slippery with the onset of frost, choose models with rubber or polyurethane soles.
- For everyday wear, opt for solid bottoms or heeled designs, eschewing stilettos, pointed toes and platforms that are too high.
How to make shoes not slip with the help of improvised means?
Selection tips are suitable for those who are just going to the store for a new pair of boots. But even for "worn out" boots, there are several ways to keep the shoes from slipping.
The best option is to take winter boots to the master to add rubber or polyurethane overlays to them, creating a relief surface. There are also folk ways to make the sole non-slip:
- Adhesion of fabric adhesive plaster with free pattern - suitable for dry and frosty weather, the material falls off in slush.
- Adhesive dots applied on a dry and clean surface in a random pattern.
- Sticking pieces of sandpaper or using abrasive to rub the surface.
- Sand and glue combination - glue applied to the surface of the sole is sprinkled with sand.
Methods that do not work
The practical application of some methods proves their uselessness. Among the proposed options:
- Hairspray - a layer of varnish is applied to the sole to increase the grip of shoes on asphalt;
- Rubbing the soles with raw potatoes - the starch remaining on the surface is designed to make shoes less slippery;
- Use of a sole grater.
Such recommendations can lead to damage to the shoes, while you still remain the owner of slippery shoes.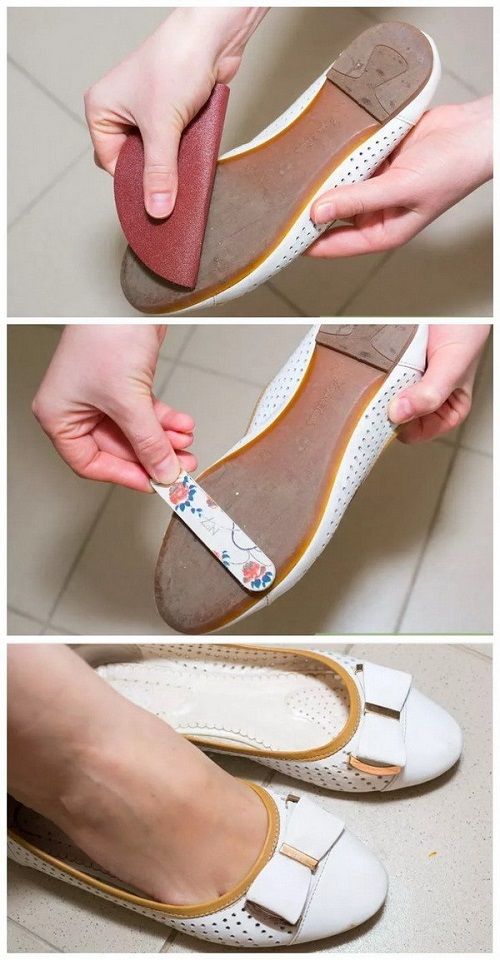
Select authorization option
Forgot your password?
Password received during registration
Request code again
ᐈ To prevent shoes from slipping: 10 reliable methods
At the beginning of winter, when the weather fluctuates between minus and plus temperatures, simultaneously plunging the world into tenacious ice, winter boots with non-slip soles are the ultimate dream. But if the pair you chose was not initially lucky enough to be created with a stable sole, then it’s quite possible to fix everything yourself. Or almost independently, resorting to the one-time help of shoemakers.
In general, reliable protection against ice on shoes exists! And what exactly - we will tell you further!
By the way, 2 years ago we already wrote an article "Ice is not terrible! Becoming stable - simple tips.
" Some methods and recommendations are there, but this year we decided to go through the most popular and effective methods, even if some of them sound very strange.
Home ways to make the soles of shoes non-slip
Let's take the path of increasing the reliability of the methods. Since it happens that it is necessary to remove the slip of shoes for only a couple of hours or days (for example, if you are afraid to ruin a pair, and you need to go out on ice urgently and not for long), but basically - forever.
1. With adhesive tape. Duration - 2-3 days.
Essence: you buy a roll of tissue adhesive tape in a pharmacy. Cut off a few pieces of 3-4 cm (depending on the parameters of your foot) and glue them in a crosswise pattern on a dry and clean sole. The method is suitable for dry frosty winters, during slush the patch will fall off instantly. In this case, we recommend that you always carry it with you and be ready to replace it at any time.
2. With felt. Duration of action - 1-2 weeks.
Bottom line: first you need to get pieces of felt (for example, take old felt boots as a basis) and glue (both “Moment” and ordinary PVA will do). Apply glue to a clean and dry sole of winter shoes, and immediately carefully glue pieces of felt along this entire perimeter and wait for it to dry completely.
Please note that this method is also only suitable for dry winters. During the slush period, this is not a good option, since the felt will quickly peel off, like a band-aid.
3. With adhesive. Duration of action - 1-2 weeks.
Essence: take super-glue or traditional PVA. With it, apply the pattern to the dry and clean sole of the pair. Wait for the “protective pattern” to dry completely and you can safely test it on ice. A popular modification of this method: to fix the anti-slip effect, immediately cover a fresh layer of glue with ordinary sand.
4. With sandpaper.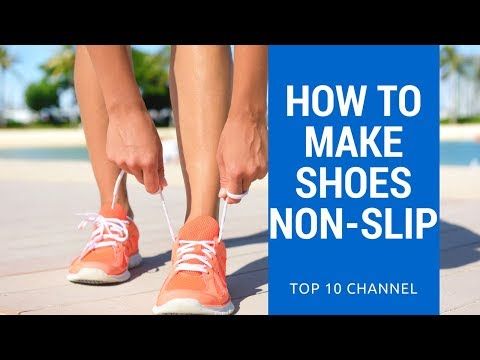 Duration of action - 2-3 weeks or up to 1-2 months.
The first option, when sandpaper will help you stay on ice for 1-2 weeks, is similar to the previous method: just stick pieces of sandpaper of the maximum grit instead of felt.
The second option is slightly aggressive and radical, but more reliable if used periodically. The bottom line is that the non-slip sole of winter shoes is formed if you rub it with fine-grained sandpaper from time to time.
5. With socks. The duration of action is eternity (or until the socks are worn off).
The bottom line: the method is rather strange and even funny. You just need to put on socks not under the shoes, but on top of it. Cotton, from which socks are usually made, perfectly resists ice, so this construction is a guarantee of your durability on ice. Therefore, if style issues are secondary to you, feel free to use this life hack.
Professional ways to make the soles of your boots non-slippery
We understand that not everyone will decide on a patch under the sole or a sock over Italian boots (what can we say about socks over shoes), so now we will tell you about professional and aesthetically adequate methods.
1. Tread recess.
The most non-slip sole is always equipped with a deep tread. If on your pair it is not deep enough, then the shoemaker can fix this moment. Please note that this method is only suitable for models with a thick sole, a thin one will be damaged or burst.
2. Iron heels.
Carefully built into the heel, this tiny detail will keep you firmly in place on any slippery surface. True, a loud knock when walking will rarely please, but if stability on ice is a priority, the method will help you.
3. Metal nails and screws.
The action is similar to the previous method, but here the metal parts are attached over the entire area of the sole. It should be thick and dense, and a professional should mount the nails and screws.
4. Polyurethane protection.
Polyurethane is a practical material that even makes comfortable shoes. Applied to the sole, it reduces the level of its slip, and lasts long enough.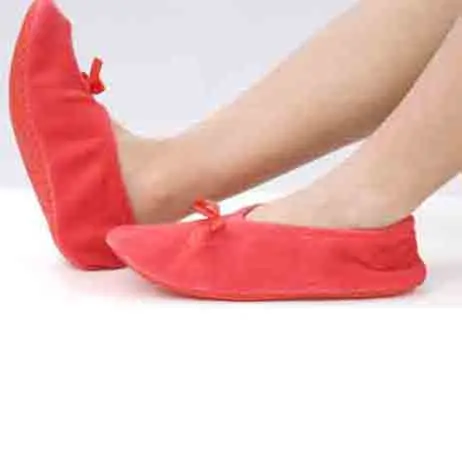 Again, it should only be applied by a professional.
5. Ice access or ice drifts.
Devices that are literally sold on every corner. Their variety is so impressive that you can find samples for rough men's winter shoes, model women's, children's and others. It looks like a construction of rubber straps and a studded nozzle located in the center. Rubber straps are attached to the heel and toe of the shoe, and a wide studded part is placed in the middle of the foot. Ice drifts are the most practical and reliable product of all known to us. Indeed, so that shoes do not slip in ice, this is the best way.
"Don't even try": methods that will never keep your shoes from slipping
In addition to effective and effective methods, we have created a mini-list of "how not to survive on ice" life hacks based on opposite recommendations.
- Potato .
Yes, just like that - potatoes. Or rather, a half of a raw potato, with a cut of which it is recommended to generously grease the soles of a winter pair.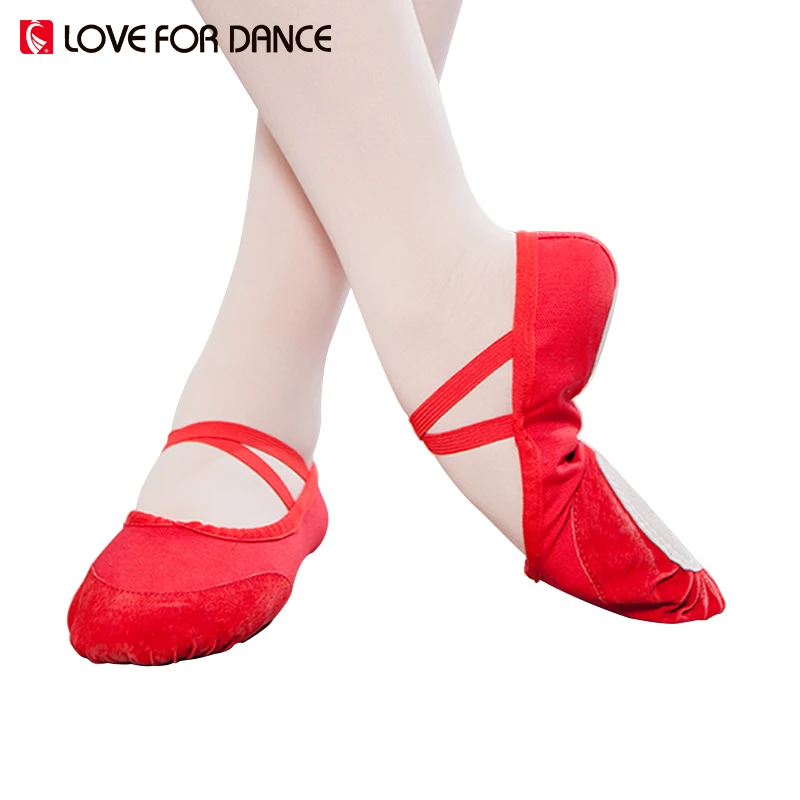 In the forecast, this will help her to survive on any ice, in fact - such shoes “shine” only white stains from starch, and we can’t talk about stability here.
- Grater .
It sounds frankly strange, but sometimes, as an effective method, it is advised to literally walk on the sole with a coarse grater. We will upset you, but apart from the hopelessly damaged base of boots or boots, this will not bring any other result. Moreover, in some cases, the sole may simply “float” after such manipulations.
- Hairspray.
It is said that if winter shoes are treated with plenty of hairspray, then the output will be anti-slip soles. But practice shows that this is another inefficient method. Therefore, it’s better not to even torment a couple - it won’t work.
P.S. What it is - non-slip shoes: painting the perfect portrait
The perfect portrait consists of details, but in our case there is only one key point - the sole.