How to build a dance stage
How to Build a Dance Floor
Home / Latest Posts / Life / Party Ideas / How to Build a Dance Floor
By: Leigh Anne Wilkes
This tutorial will show you how to build a dance floor using 2 x 2’s and sheets of plywood. So easy and less expensive than renting one.
I shared with you in a previous Wedding Carnival post the story of our dance floor. When we decided to book a live band for the Wedding Carnival I thought we needed a dance floor. My husband did not. We have a large backyard and plenty of grass and he thought dancing on the grass would be just fine.
I am not easily dissuaded or discouraged.
I got on line and immediately started pricing dance floors from rental companies. They are not cheap, between $700-800 for the size we needed. It wasn’t in the budget so I decided I needed to get creative.
To make a somewhat long, 5 month long story short, I had a dance floor and then I didn’t have a dance floor, I had a dance floor and then I didn’t. In fact I thought I had a dance floor until the Sunday before the Wedding Carnival. It fell through – five days before the event.
Remember I am not easily discouraged so I decided we were going to build a dance floor. Or rather my daughter Cali and her friend Hannah were going to build me a dance floor (with some help from dad of course.)
By this time I had totally broken Jim down and he agreed so we headed to Home Depot on Monday night (the Wedding Carnival was Friday).
Dance Floor Supplies
- 6 sheets of 1/2″ plywood
- 30 eight foot long 2 x 3’s – cut 18 of them into two 45″ pieces (you will have pieces leftover) This will leave 12 of the boards 8 ‘ long. They cut them for free for you at Home Depot.
- Nails and hammer
- Floor Paint and supplies for painting
- Painters Tape
- 6 Mending plates to join the pieces together
How Big is the Dance Floor?
The dance floor measured 12 x 16 and was created out of 6 sections that were 4 x 8 which is the size of a sheet of plywood.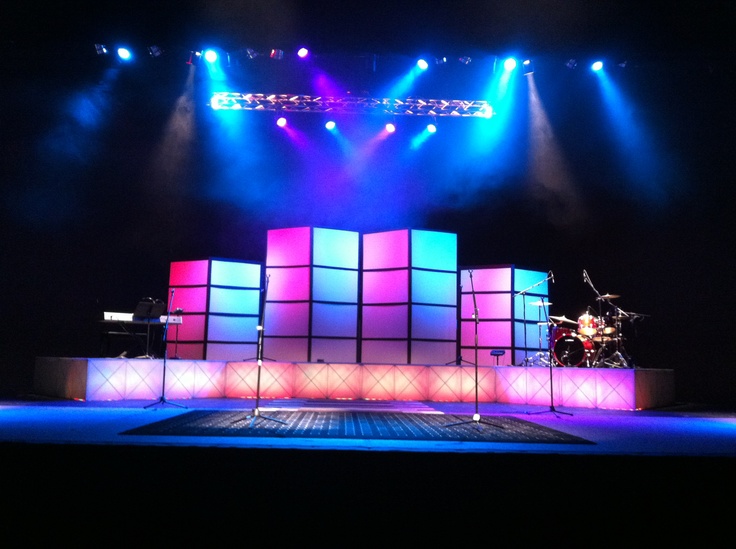
How to Build A Dance Floor
The whole neighborhood got involved or enjoyed watching the process taking place out in front of our house.
The above photo is about how involved Tessa got – she held a hammer for a photo but she was working full time so we need to cut her some slack.
- Create 6 frames from the 2 x 3’s that measure 4′ x 8′.
- Add four support pieces to each frame
- Nail a sheet of plywood to the top of each frame. Nail it down along the edges and across the support pieces.
- The moms got involved in this step of the process. Had to bring in the big muscles!
How to Paint a Dance Floor
The next step was the painting process. I decided that I wanted the floor to be checker board to go along with the carnival theme so I purchased black and white floor paint. We primed the boards first and then added a coat of white paint to each section.
Yes, I sat in a chair and watched it dry! I like watching paint dry.
After it was dry, the girls used blue painters tape to tape off the squares. The squares measured 24″ x 24″ so each 4 x 8 section had 2 x 4 squares.
Using small foam rollers the girls rolled the black paint into the taped off squares.
We waited for the paint to dry, removed the tape and we had a dance floor!
Finally, we numbered the pieces so that we knew how to put it back together once we moved it into the backyard.
The mending pieces were hammered into to hold the pieces together.
How Much Does It Cost to Build a Dance Floor
Total Cost of Dance Floor (including paint but not including labor) Approx. $300.00.
It was perfect and it was a wonderful addition to our carnival and YES, we needed a dance floor. Even my husband admits that now. It added such a fun element to the carnival and really got people dancing.
Who wouldn’t want to dance on a black and white checkerboard dance floor!!!
Reader Interactions
24 DIY Dance Floor Ideas For Weddings, Events & More
Published: · Modified: by Allison · This post may contain affiliate links · This blog generates income via ads
Dancing has found its magical way into society and it's the next big thing. Dancing is not just an act of moving the body to the rhythm, it is an Art! Therefore, a special place and attention should be given to it if you want to master the Art.
If you are in need of a dance floor, check out these 24 DIY Dance Floor Ideas, they are cheap and easy to make.
1. DIY Sprung Wood Dance Floor
Do you want to know how to DIY a wood dance floor? Then, this is a guide for you. In this guide, you will learn how to make a sprung wood dance floor from scratch, including how to develop an elevation plan and calculate the size for sleeper thickness.
Click for more details
2. Dance Dance Revolution Floor Pad DIY
Makey Makey floor pad! Awesome. If you are new to Makey Makey floor pad, you don't have to worry. Here is what you need for the project: 1 Makey Makey kit, computer/laptop, cardboard aluminum foil, wire, wire cutter, scissors, hole puncher, and packing tape.
Click for more details
3. DIY Tap Dance Floor From Scrap Wood
If you need a quick and urgent tap dance floor, you should read this guide. It is an urgent project that requires only materials you have around. It is built out of shelves from an old bookshelf, scrap wood, and scraps of EVA foam.
Click for more details
4. How To Make A Dance Floor Out Of Plywood
In this guide, they discuss a couple of methods by which you can DIY a dance floor. The first method which is the most amazing is through the plywood. The instructor started by laying the base using 8ft 2×3 plywood pieces laid horizontally.
Click for more details
5. Dance Floor DIY
Making a dance floor can be simpler than you thought. The first step is to get all the materials (the list is given in the description box of this video). Then, rough sand the plywood using a belt sander. Use clean-up paint to remove the sawdust before staining the plywood boards.
6. DIY Dance Flooring
One material that needs extra attention on this DIY dance floor is the pool noodles. It is very advisable to cut it with a jig but if you don't have a jig you can make do with a serrated knife. However, make sure each disc of pool noodle cut is about 1¾".
7. DIY Ultimate Dance Floor
Every dancer needs a good dance floor for practice. The instructor started by giving a detailed explanation of the type of material required for the dance floor and how you can get them at a cheaper cost.
8. How To Build A Floating Dance Floor
What is your motive for building a floating dance floor? Floating dance floors are exceptionally exceptional, they give an extra bounce to your dance floor and thus make you feel good to dance on it.
The base of this floating dance floor was made from foam pads and 2×4 pieces of wood assembled to form a grid.
9. How To Make An Outdoor Dance Floor
Are you having an event or any outdoor gathering that involves your guests dancing? Then, you need to learn how to DIY this outdoor dance floor to spice the dance up.
You need only these 5 simple steps to take before the outdoor dance floor can be yours; let's check the first two.
The first step is to determine the location- it must be a place where you can lay out your party. The second step is to determine the size.
Click for more details
10. DIY Indoor Epoxy Dance Floor
With a high gloss resin floor, you will want to dance every day.
The first thing you need to do to have this amazing indoor epoxy floor is to prepare the materials. Then, prepare the room for the floor. Make sure the atmosphere of the room is suitably appropriate; dry, heated with a minimum of temperature of 20⁰ C.
Click for more details
11. How To Build Your Own Dance Floor
Buying a commercial dance floor is very expensive. Spending $700 - $800 on the dance floor alone is out of it, at least for someone living on a budget. However, DIY has made everything easier and cheaper. You can have an adorable dance floor at a cheaper cost.
Here are some materials you need for this dance floor: plywood sheets, mending plates, hammers, floor paints, and nails.
Click for more details
12. DIY Dance Floor From Recycled Pallets
What can be cheaper than a dance floor made out of recycled pallets? Pallets have proven themselves to be exceptional materials that form into different DIY that involves woodwork.
In this guide, you will learn how to transform the recycled pallets into a beautiful outdoor dance floor.
Click for more details
13. How To Build A Dance Floor
To build this dance floor, the first thing to do is to build a base assembly for the floor. After the frame, place plywood and put a product patch. Apply a bond enhancer and lay the tiles on it.
14. DIY Dance Floor Idea
When you know that none of your materials won't go to waste, you will be more willing to DIY every now and then. For this video, the sprung dance floor was made from the raised subfloor, sprung mat, and regular mat.
15. How To Make A Glow Dance Floor Under $20
This glow dance floor is very cheap, you can make one for less than $20. You need only two materials for this glow dance floor and about 15minutes of your time.
16. DIY Floating Dance Floor
To build this floating dance floor, the first thing you need to do is to lay a bare concrete floor into square feet.:origin()/pre00/1f99/th/pre/i/2012/259/4/6/mmd_club_or_strip_club_by_amiamy111-d5evxk1.png) After this, cut pool noodles into 2inches thick discs and glue them to every corner of the square feet. Cover the pool noodles disc with plywood and lay Marley on it.
After this, cut pool noodles into 2inches thick discs and glue them to every corner of the square feet. Cover the pool noodles disc with plywood and lay Marley on it.
17. How To Build A Dance Floor
There are different types of dance floors. There is a sprung floor, performance surface, and an illuminated dance floor. This guide gives detailed instructions on how to build these three types of the dance floor. It is now left to you to choose the one you want to install and get to work.
Click for more details
18. DIY Individual Tap Dance Floor
Do you need a dance floor that can bounce, limit fatigue, and limit the rate of injury? This individual tap dance floor is good for you. It is very simple and cheap to make. Among the materials needed are OSB sheathing, jigsaw-type flooring, and liquid nails.
Click for more details
19. DIY Pallet Dance Floor
This was made from some block pieces in the pattern of a pallet. After laying the blocks and everything is intact the next thing is to grout. This is done by mixing some sawdust, gloss oil-based polyurethane, and mineral spirit.
Click for more details
20. How To Build A Dance Floor On Grass
This guide talked about how to build a dance floor on grass. It is a super amazing project and a big step to spice up your outdoor event. To make this, you need to take note of some things like the wood you will be using; it must be upright. Using a framing nail gun is also advised against a hammer.
Click for more details
21. DIY Pool Noodle Dance Floor
To make this pool noodle dance floor, you need about 50 discs of pool noodles and ¾" plywood sheets. Glue the pool noodle discs to the backside of the plywood sheets and lay them on the floor. After this, you're good to go.
Make sure you use a jig to cut the pool noodles and if you don't have one, make the size of the disc the same throughout.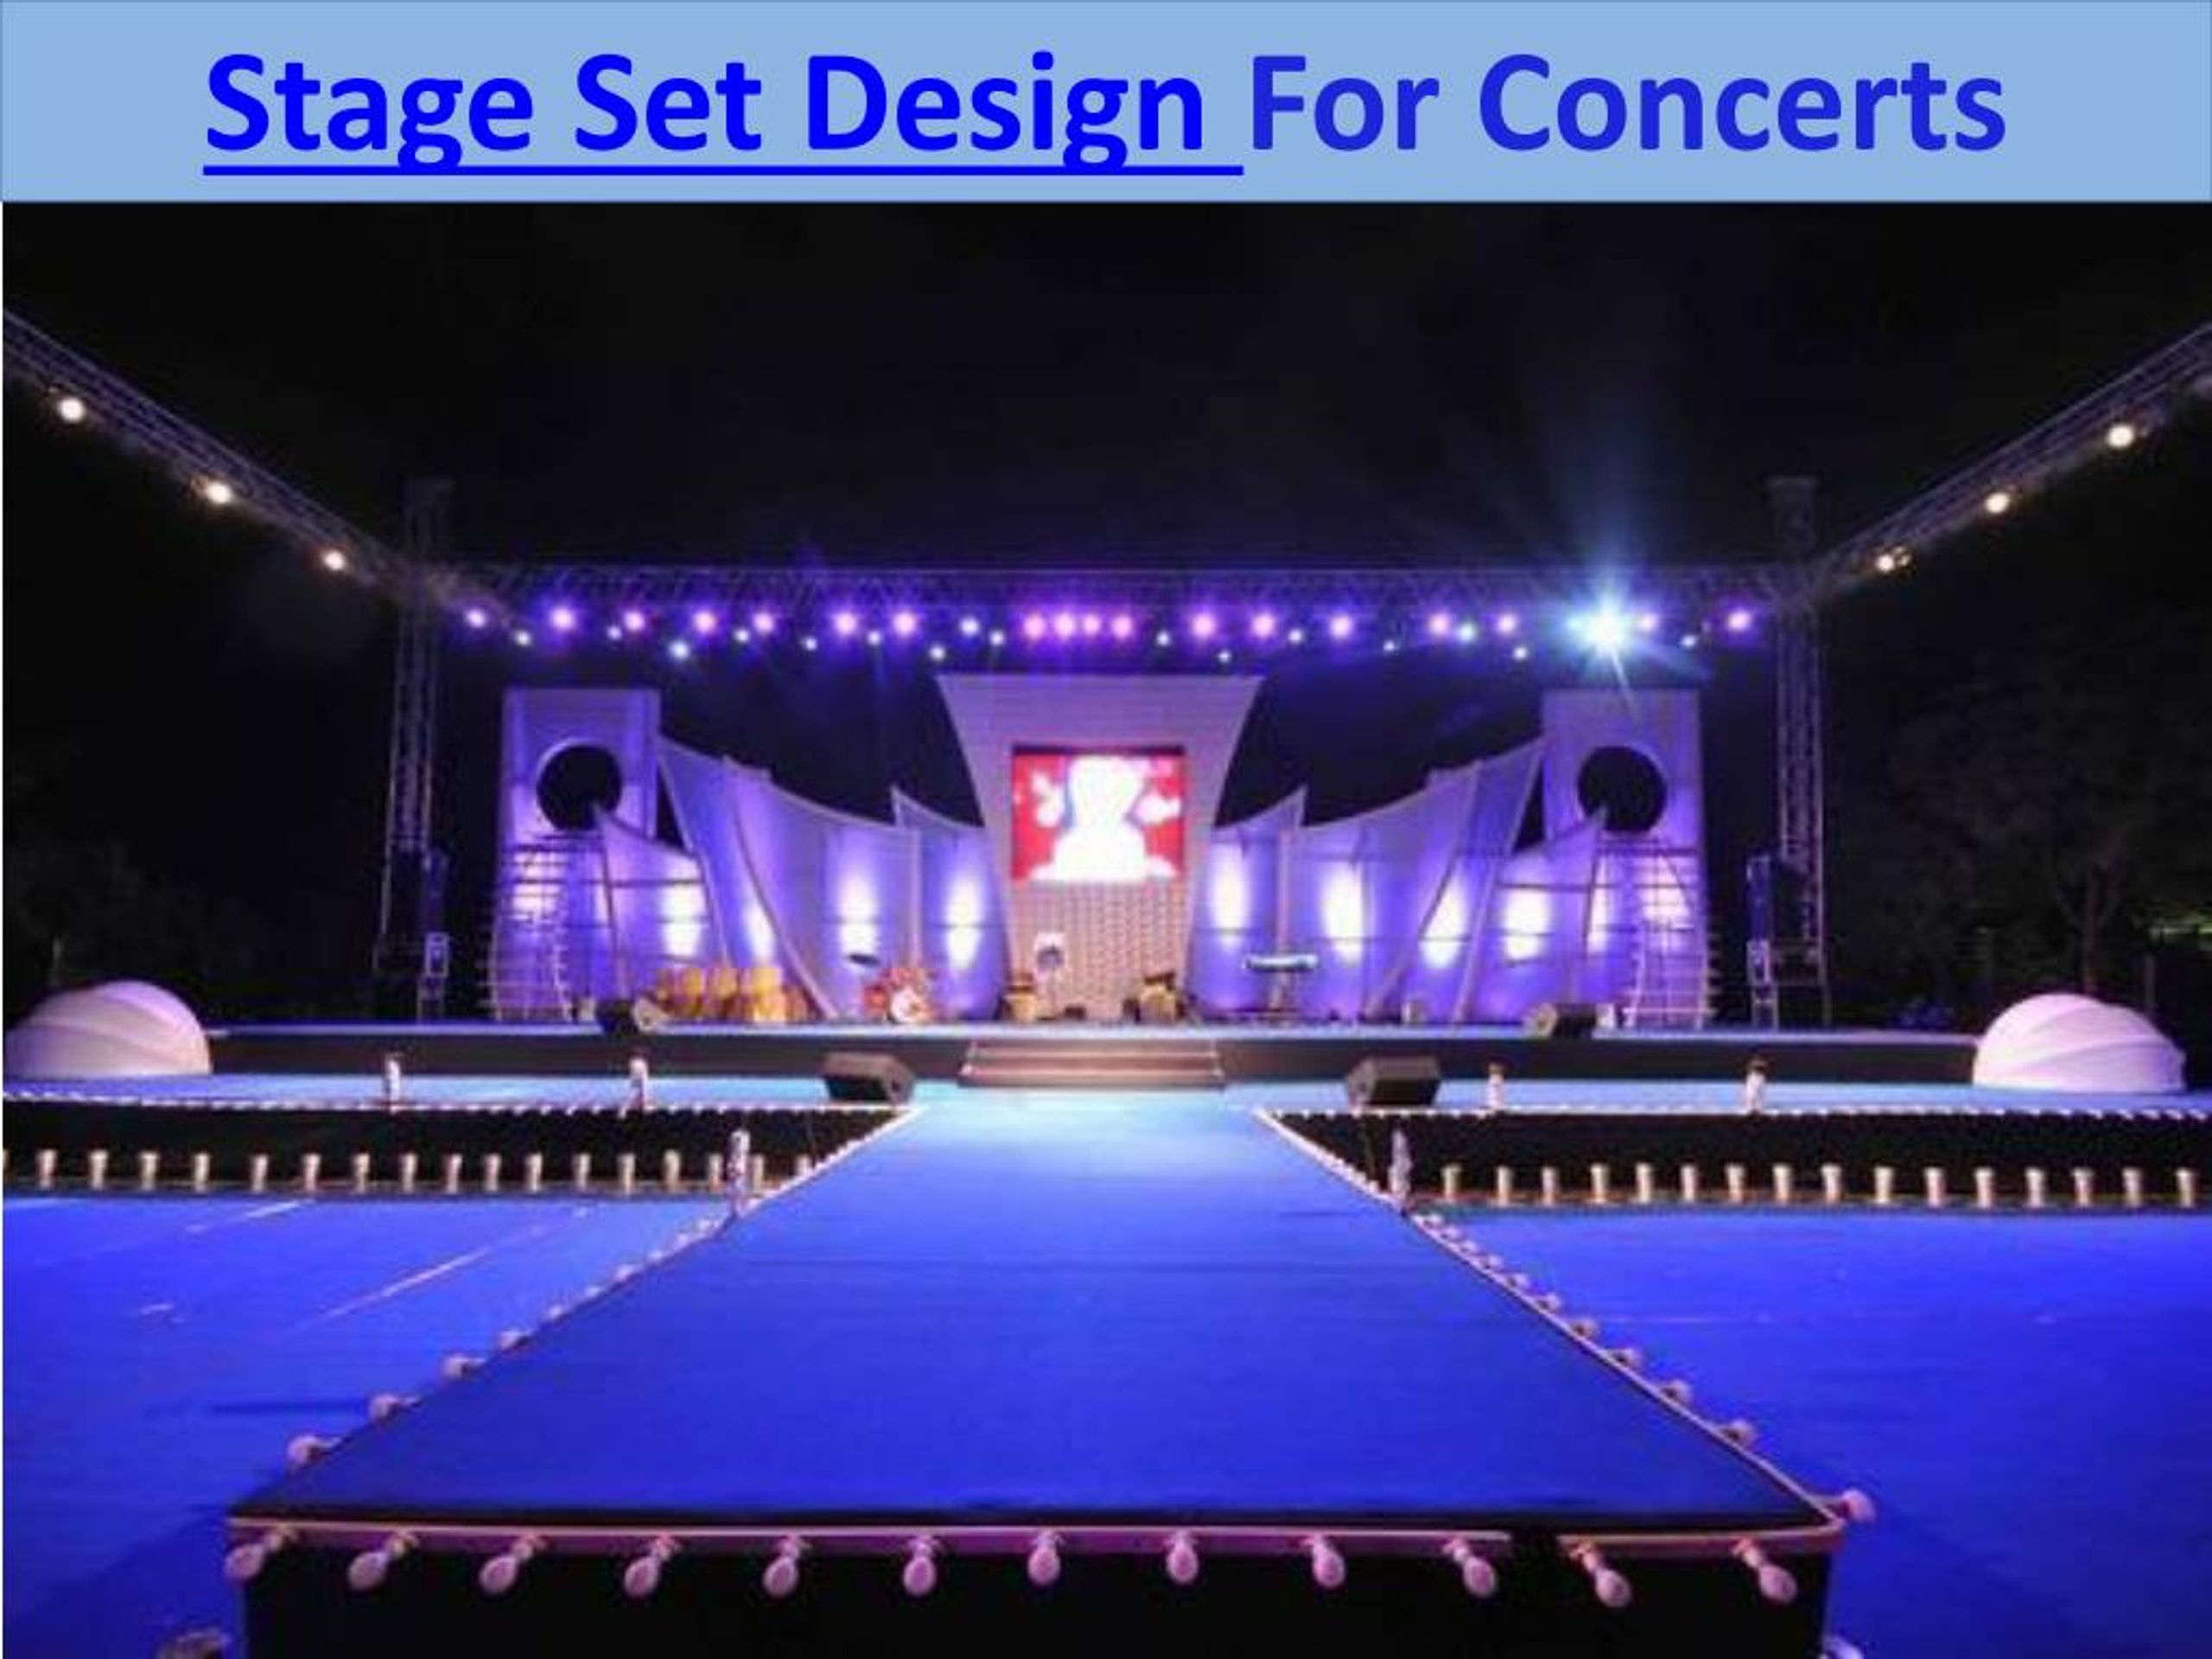
22. How To Make A Pixel Dance Floor At Home
In this video, you will learn how to make a pixel dance floor at home. The instructor started by drawing the outline/ plan for the floor on a sheet of paper.
23. DIY Tap Dance Floor
The materials needed for this DIY tap dance floor include plywood (¾" or ½" according to your preference for thickness), rubber mat squares, sandpaper, box cutter, gorilla glue, and polyurethane.
24. How To Make DIY Tap Dance Board
This DIY tap dance floor allows you to practice on your own. It is very easy and inexpensive. You can make the board from any regular wood that you can find around.:origin()/pre08/07bb/th/pre/i/2011/212/5/1/mmd_concert_stage_download_by_shikanenara-d42agt8.jpg) After getting the wood, the next thing is to cut it into boards and glue a foam spare mat on it.
After getting the wood, the next thing is to cut it into boards and glue a foam spare mat on it.
Conclusion
There you have it! Make your dancing experience skyrocket today by building your own dance floor. Thanks for stopping by, if this article was helpful kindly share with your friends and family that might be interested in making a dance floor.
Reader Interactions
How to equip a dance hall?
Rehearsal bases, dance halls, recording studios
in Moscow
How to furnish a dance hall?
Arrangement of the dance hall
The hallmark of any dance school is, of course, the level of professionalism of its teachers. However, the space where the classes are held is also important. After all, it is a properly equipped hall that is the key to effective learning and the path of young students to the big stage. Renting a dance studio is associated with some points, the importance of which can hardly be overestimated. Here it is necessary to take into account everything down to the smallest details: quadrature, lighting, quality of the floor, interior design, availability of equipment and additional premises.
Flooring
For choreographic training, the floor plays a paramount role, since it must not only be perfectly smooth, but also provide maximum stability for the dancer. The best option would be unvarnished parquet or a collapsible modular polymer coating.
Equipment
When renting dance studios, special attention must be paid to dance machines. The height of the ballet bars should be no more than one meter. The material for their manufacture should be exclusively wood. It is not necessary to install machines made of metal, as in cool weather they quickly cool down, causing discomfort when in contact with the body.
Interior
The interior design of the dance hall also affects the quality and effectiveness of training. Regardless of the type of dance being taught, the presence of mirrors is a must. Moreover, they must be of a suitable size and located in such a way that each student can see himself from at least two angles.
When choosing a studio, you should also consider its decor, as the exquisite decoration of the room attracts the attention of visitors. Vintage chandeliers, lamps, wall molding and colorful ornament on the floor look great. Utility rooms, such as a dressing room or shower hallway, should be equipped with easy chairs or sofas, mirrors and comfortable dressing tables.
Size and degree of illumination
For full-fledged choreography classes, the area of the room must be at least 35 square meters. The optimal size of the dance hall for group trainings of 30-40 people is 90 square meters. Of these, up to 20 squares fall on the stage, the presence of which is welcomed, first of all, in European sick dance programs. For small groups, a medium-sized studio with high ceilings is more suitable.
The number and location of windows determine the comfort of classes at different times of the year. It is recommended to choose rooms with several windows overlooking the shady side of the building. Since training takes place mainly in the afternoon, the lack of sunlight is compensated by artificial sources. On hot days, this will help keep the hall cool and protect the dancers from heat stroke.
Color
Unfortunately, when rents a dance studio , few people pay attention to its color. But this, albeit a minor, but rather subtle psychological device. The mood of the visitors and the return on training directly depend on the color of the room. Moreover, the choice of color tone depends on the dance direction taught.
For modern dances such as break or hip-hop, warm orange is the best color. It will provide a cheerful mood and give the students activity.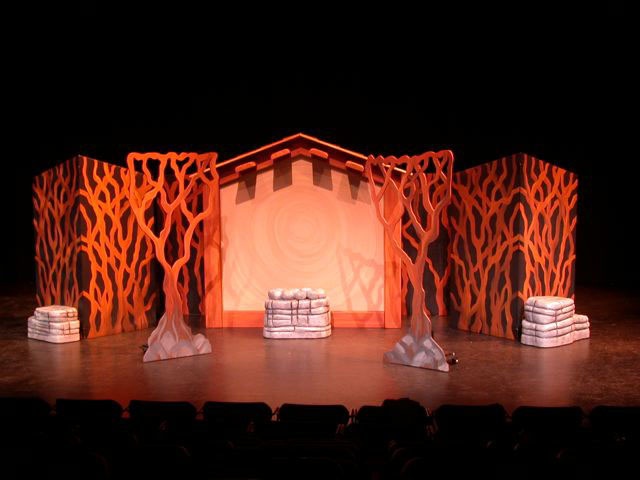 Calm directions, for example, classical dance, accept neutral or cool tones - gray, beige, turquoise. They increase concentration and normalize blood pressure.
To make a successful choice of a dance hall, it is recommended that you familiarize yourself with all suitable offers and carefully consider all the nuances. Remember: the success of your teaching activity depends only on you! Therefore, try to do everything right, and the dream will come true!
Dance photography - the nuances of shooting, the secrets of success, polishing skills
Dance photography is an expression of the beauty of movement and emotions. Dance can be a source of great shots, but it's no secret that photographing dancers is very difficult: framing, focusing and releasing the shutter at the right moment - absolutely everything must be done, and at the same time with the best exposure in the available light. For Bernie Ng, one of Singapore's most prolific dance photographers, shooting choreography involves not only capturing the action, but also the aesthetics and emotion that permeates the movement. She shares some tips for capturing dramatic shots of dancers.
EOS 5D Mark III / EF24-70mm f / 2.8L II USM / Manual exposure (f / 2.8, 1/250 s) / ISO 2500 / WB: Auto. "Pure" by T.H.E Dance Company (2016) / Choreography: Kuik Swee Boon / Dancers: Anthea Seah & Wu Mi
- Exposure
Getting the exposure right is probably the hardest aspect of dance photography . Since flash photography is generally not allowed indoors, you should do your best with the available lighting, which will vary from one show to the next.
Use fast lenses
This will allow enough light to reach the camera sensor so you can keep the ISO sensitivity as low as possible to minimize visible noise. Ideally, your camera kit should include both a wide-angle lens for capturing the entire scene and a telephoto lens for close-ups.
Shoot in manual mode or use exposure compensation in Av or Tv mode
The action in the scene (and therefore the shooting conditions) can change very quickly, so you'll need to keep control of your exposure settings. Bernie prefers to shoot in manual mode to fine-tune the camera. But if you choose to use semi-auto, she advises using compensation to get the right exposure.
For beginners, aperture-priority (Av) mode will probably be easier to use: you just need to set the maximum aperture and the camera will give you the fastest possible exposure without underexposure. Shutter priority mode (Tv) gives you control over shutter speed, but it can be a little more difficult for an inexperienced photographer to get an adequate exposure.
Shutter speed. Know what you need
Consider factors such as dance style, choreography, and the type of shoot you want. Bernie's shutter speed is 1/250 second, which she adjusts as needed. For example, she may decide to use a slow shutter if she feels it is necessary for the image.
EOS 5D Mark III / EF24-105mm f / 4L IS USM / Manual exposure (f / 4.0, 1/13 s) / ISO 800 / WB: Auto. "Giving" by Frontier Danceland (2015) / Choreography: Adrian Skjoldborg
Using a slow shutter speed can add momentum to a photo and bring the whole composition to life. In the shot above, you can see that the photographer chose to use a slow shutter speed to create some motion blur while keeping the dancer in focus. This filled in the empty spaces and added movement to the image.
Pro Tip: If you have access to a stage team and lighting designer... about the upcoming show. Bernie usually asks what the lighting will be like.
Creative ideas: stroboscopic lighting can be a great opportunity!
EOS 5D Mark III / EF70-200mm f/4L IS USM / Manual exposure (f/4, 1.3s) / ISO 320 / WB: Auto. "Romeo's Planet" / Presented at DiverCity as part of the M1 Contact Contemporary Dance Festival (2015) / Choreographer and Dancer: Daniel Kok
Some shows use stroboscopic lighting, which can cause you to miss many moments if you're not ready. However, if you prepare and react quickly enough, this can be an opportunity to get creative. For the shot you see above, Bernie made a quick decision to slow down the shutter and get a strobe effect.
- Dance is more than just action
EOS 5D Mark III / EF24-105mm f / 4L IS USM / Manual exposure (f / 4, 1/400 sec) / ISO 12800 / WB: Auto. "The Ordinary Man" by T.H.E Dance Company (2014) presented by Huayi - China Arts Festival, Esplanade - Theaters in the Bay / Choreography: Wu Yi-San & Kuik Swee Boon
Many people think about pictures in a jump at the mention of dance photography, but quiet moments can be just as dramatic.
Your photography will definitely be influenced by:
- beautiful lines and correct poses
Find out which ones work well and which don't. They can be different for different dance genres. However, you don't have to have a dance background to take decent shots - basically it all comes down to a well-developed sense of aesthetics. Make the dancers look good in the frame.
- dancers' faces
A big part of dance is conveying thoughts and feelings to the audience, so Bernie tries to capture the emotions and facial expressions of the performers. This is exactly the moment when it is useful to know what the choreography really is before you shoot! The intriguing facial expressions of the dancers above reflect the comedic nature of the choreography. Take those shots where the dancers blink or their eyes are empty and unfocused (unless it's part of the choreography) and mercilessly throw them in the trash.
Pro Tip: Be sensitive to the shots you take
Remember that your camera can capture things that the human eye cannot see: pressing the shutter button will inevitably take pictures that may not be the most flattering for dancers. Be very careful and careful when choosing the final set of shots (if you are an invited photographer and completed an order). Get permission from a particular dancer or company if necessary, especially if you share images on social media, a website, or wherever.
Dance photos don't have to include the entire body of the dancer!
EOS 5D Mark III / EF24-70mm f / 2.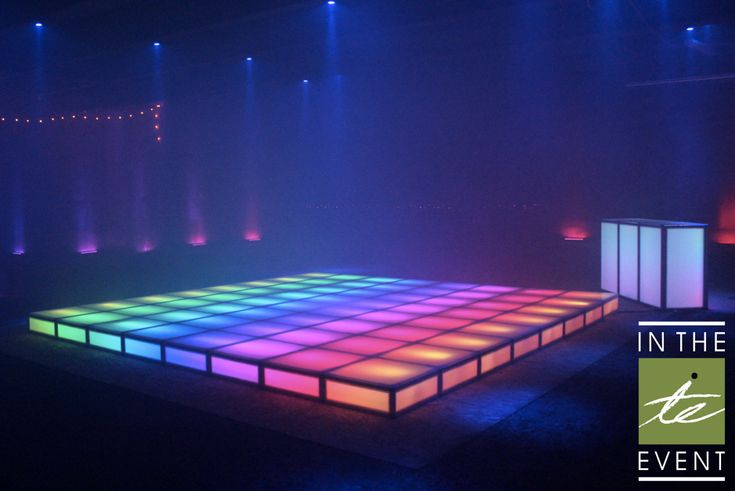 8L II USM / Manual exposure (f / 2.8, 1/100 s) / ISO 400 / WB: Auto. Pallavi in Time by Chowk Productions (2017) / Choreography: Raka Maitra
Close-ups of the dancers' faces or other details of the mise-en-scene can also create memorable shots.
"The legs were very important to this choreography," Bernie recalls of the picture above. She wanted to get closer to the ankle bracelets of the dancers. The photo turned out to be successful also because the lighting was also focused on the legs.
Bonus: if you really want to capture the jump…
EOS 5D Mark III / EF24-105mm f / 4L IS USM / Manual exposure (f / 4, 1/250 sec) / ISO 5000 / WB : Auto. "Schubert Symphony" Singapore Dance Theater (2016) / Choreography: Chu-San-Go
The most important thing in pictures of dancers in a jump is the exact time: "If you see a jump, you are already too late." To get the timing right, the photographer advises not to rely too much on continuous shooting. Instead, learn when to press the shutter button. Sometimes you can tell from the music at what point the dancers are getting ready to jump. It will probably take a lot of trial and error, but it will only improve your photography skills.
Other noteworthy parts
- You will need to react very quickly.
As mentioned above, things obviously move quickly on stage and you have to anticipate the moments and react almost instinctively to get the shots you want. What will help?
- - The presence of a fast and "responsive" camera.
- - Good knowledge of the functions of your camera and its configuration at the level of intuition. Customize your own shortcut buttons.
- - If you focus with the back button. This makes shooting more efficient because you don't have to refocus every time you press the shutter button.
- - A lot of practice helps you think faster.
- - If you watch a lot of dancing, even outside of filming.
 This will help you familiarize yourself with the timing of the shutter release and aesthetics. In addition, it is easier to evaluate the dance when you see it with your own eyes, and not through the lens!
- Respect who is on stage and respect the audience.
It's easy to get carried away here, but be aware of both the audience and the dancers on stage.
YES!
- - Take pictures only when allowed.
- - Turn off red light autofocus.
- - Turn off your flash.
NOT…
- - Get too close to the dancers. This can be quite distracting if you (or your huge telephoto lens) intrude into their space, especially since they will have heightened spatial awareness as they dance.
- - Make it difficult for viewers to see.
- Last but not least, respect the dancers.
The dancers work very hard to perfect their art and without them you wouldn't have your photos.