How to belly roll dance
|
Dear Shira:
The Question
Shira RespondsDear Desperate: When I was new to belly dancing, I too had trouble getting belly rolls to work! Now I can do them and walk and talk at the same time with a sword on my head! Here are the things that helped me master them — maybe one of these exercises will help you. The reasons people have difficulty learning rolls often include one or more of the following:
The exercises below are designed to overcome the above barriers.
Discover Your Abdominal MusclesBelly rolls are controlled by the abdominal muscles in your midsection. These are generally divided between your upper abs which are just below the rib cage, your middle abs which are behind the navel, and your lower abs which are below the navel, near the pubic bone. The first thing you need to do is build a relationship with these muscles, teaching your mind to instruct them. This is known as building neural pathways. Put some lyrical mood music on your stereo system (a chiftetelli or taqsim is good) and try doing these exercises:
Exercise #1: Teach Your Abdomen To Respond To You, And Learn To Relax!This is a simple exercise that everyone can do, that will help you get in touch with your inner self — or at least with your belly roll muscles! Stand comfortably, in good belly dance posture. Now, suck in your gut as far as you can possibly suck it in.
Got it as far as it'll go? Now try to pull it in just a little
farther! When I teach this to my students, I tell them to visualize
pulling their belly button all the way back to touch the spine.
Hold it as long as you comfortably can. Next, relax it thoroughly.
Relax it so much that your stomach area protrudes as far forward
as it could possibly want to. We're so conditioned by Western
society to keep a flat stomach, that we often find relaxing
the stomach area to be more difficult than sucking it in! Notice
that I'm not telling you to forcibly push your stomach out — just
relax it and let it ease into its relaxed position, which could include a gentle bulge forward. Repeat this exercise several times each day. Try to do about 4 repetitions where you hold it in as long as you possibly can, then let it out for an equal length of time. Then try to do 8-12 (or more) repetitions where you repetitively pull it in for a second or two, then relax it for a second or two, and keep going. Good times to do this: while washing your hands after using the restroom, or while sitting in your car in traffic. Be sure to breathe normally while doing this exercise!
Exercise #2: Build Strength In Those Muscles!You already know how to do either situps or crunches. (Modern
fitness thought is that situps are not good for you, crunches
are much better.) Do as many of these each day as your
abdominal muscles will tolerate. Try to do a minimum of 10 or
15 at first, and try to work up to 25 or 30 — or more! The stronger
your abdominal muscles, the better your belly rolls will be!
If you need help building strength in these muscles, videos that
may help are Veena & Neena's Bellydance Fitness for Beginners:
Arms & Abs, and the "Abs Only" workout that
appears on Rania's Bellydance Fitness for Weight Loss: Daily
Quickies.
Exercise #4: Isolate Your Pelvic Muscles From Your DiaphragmThis is the advanced version of Exercise #1. Warm up using
Exercise #1.
Exercise #5: 1/2 RollThis is the advanced version of Exercise #3. Hunch over a
desk or car steering wheel as described for Exercise #3. Pull
in your diaphragm as described for Exercise #3. Holding it in,
now pull in your navel, then your upper pelvic muscles. That
is half of a top-to-bottom roll, which means that the movement
originates at the top, at the diaphragm. Now, to get out of this
position, let your pelvic muscles out first, then your navel,
then your diaphragm.
Now Try The Roll
Having Trouble? Try One Of These Ideas!Having trouble? Most likely, it's because you either 1) Haven't learned to isolate the diaphragm from the pelvic muscles, or 2) Haven't learned yet to relax the muscles in turn. Different things work for different people. If the above wasn't
enough to get your midsection muscles rolling, maybe you need to vary the
technique or do the exercises in a different location from where
you normally practice.
The primary trick to learning how to do belly rolls is to just keep trying, over and over. The more you work on those muscles with the exercises recommended above, the easier it'll be to take control of them and make them roll. It's partly a matter of connecting your brain to those muscles, and partly a matter of strengthening them. If you've faithfully done all of the above and still can't
roll your abdomen, maybe you've got a problem with self-fulfilling
prophecy: "I don't think I can, therefore I can't."
In that case, try doing something that will lower your inhibitions — try
doing belly rolls after you've had some wine or beer to drink,
stimulate your friends into joining you for an explosion of silly
giggles, get yourself thoroughly drowsy through taking a nap,
or do some kind of work that makes you so tired your brain can
barely function any more. I've given you a lot to think about. But I promise that if you work hard at the various suggestions in this article, you will eventually learn how to do belly rolls! They are a technique that can be learned with appropriate exercise and attitude! — Shira
Follow-UpAbout a year after I responded to Desperate Down Under, I received the following e-mail from her:
About this ColumnShira has received many questions from readers over the years related to various aspects of the dance. In this column, she picks some of the more interesting ones to answer publicly. Details contained in the questions are sometimes removed or disguised to protect the anonymity of the person who asked the question.
Copyright NoticeThis entire web site is copyrighted. All rights reserved. All articles, images, forms, scripts, directories, and product reviews on this web site are the property of Shira unless a different author/artist is identified. Material from this web site may not be posted on any other web site unless permission is first obtained from Shira. Academic papers for school purposes may use information from this site only if the paper properly identifies the original article on Shira. If you wish to translate articles from Shira.net into a language other than English, Shira will be happy to post your translation here on Shira.net along with a note identifying you as the translator. This could include your photo and biography if you want it to. Contact Shira for more information. You may not post translations of Shira's articles on anybody else's web site, not even your own. If you are a teacher, performer, or student of Middle Eastern dance, you may link directly to any page on this web site from either your blog or your own web site without first obtaining Shira's permission. Click here for link buttons and other information on how to link.
|
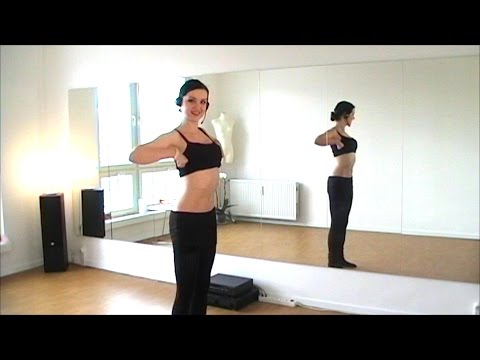 The muscles need to be loose and able to flow when standing upright.
 That means
your feet should be directly below your shoulders, your knees
relaxed, and your rib cage held high — imagine a puppet string
attached to your breastbone that is pulling it up and separating
it from the rest of your body. Put your hands anywhere comfortable
where they can relax — I always demonstrate with my hands on my
hips, but their exact placement isn't important.
That means
your feet should be directly below your shoulders, your knees
relaxed, and your rib cage held high — imagine a puppet string
attached to your breastbone that is pulling it up and separating
it from the rest of your body. Put your hands anywhere comfortable
where they can relax — I always demonstrate with my hands on my
hips, but their exact placement isn't important.
 Consciously think about it. Breathe deeply and see
if you can isolate the sensation of that muscle between your
navel and rib cage. It will press downward as you inhale a deep breath, and it will return upward as you exhale.
Consciously think about it. Breathe deeply and see
if you can isolate the sensation of that muscle between your
navel and rib cage. It will press downward as you inhale a deep breath, and it will return upward as you exhale.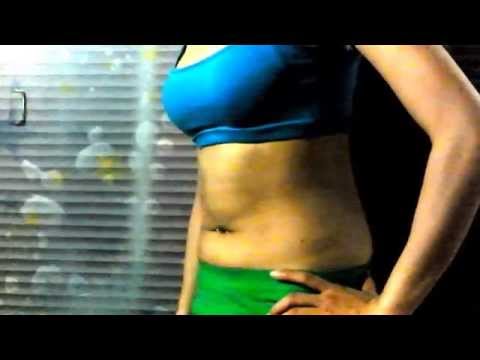 You should feel a muscle
rubbing gently against the bottom edge of your rib cage. That
is your diaphragm. If you can tug it in even a small amount,
you've accomplished the point of this exercise. Now, rhythmically
pull that muscle in, then let it relax, then pull it in again.
You should feel a muscle
rubbing gently against the bottom edge of your rib cage. That
is your diaphragm. If you can tug it in even a small amount,
you've accomplished the point of this exercise. Now, rhythmically
pull that muscle in, then let it relax, then pull it in again.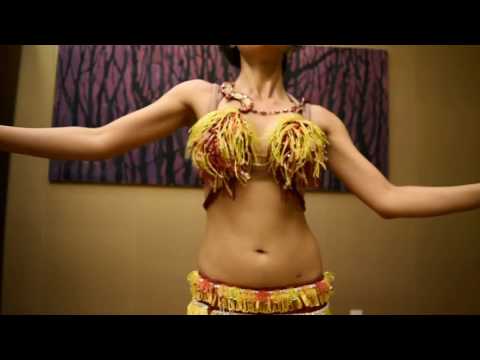 Then transition to this one. Suck in the upper abdominal muscles and the diaphragm
while letting the pelvic muscles relax. Then relax the diaphragm
while sucking in the pelvic muscles. Repeat, over and over and
over. Don't forget to breathe normally! If you have trouble with
this one, see "The Sphinx" below under "Having
Trouble? Try One of These!"
Then transition to this one. Suck in the upper abdominal muscles and the diaphragm
while letting the pelvic muscles relax. Then relax the diaphragm
while sucking in the pelvic muscles. Repeat, over and over and
over. Don't forget to breathe normally! If you have trouble with
this one, see "The Sphinx" below under "Having
Trouble? Try One of These!" That is half of a different roll, the bottom
to top, which means that the movement originates with the pelvic
muscles at the base of the abdomen. Do this exercise 8 times
per sitting to develop control over each of the two half rolls.
That is half of a different roll, the bottom
to top, which means that the movement originates with the pelvic
muscles at the base of the abdomen. Do this exercise 8 times
per sitting to develop control over each of the two half rolls.
 Try some of these ideas:
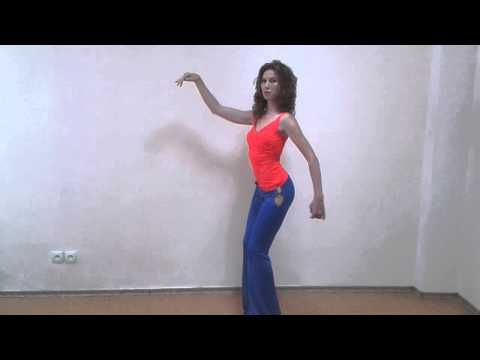 Envision that structure
occurring inside of you. Now, do Exercise #1. Visualize the muscles you see in that diagram contracting
as you suck them all in. Visualize them expanding as you let them
relax. Now, move to Exercise #4 and repeat the visualization — can
you isolate them? Can you relax them?
Envision that structure
occurring inside of you. Now, do Exercise #1. Visualize the muscles you see in that diagram contracting
as you suck them all in. Visualize them expanding as you let them
relax. Now, move to Exercise #4 and repeat the visualization — can
you isolate them? Can you relax them?  Now, do Exercise #1 while your hands
try to sense what your abdominal muscles are doing. Shift to
Exercise #4. Feel your hand come outward as the muscle below
it relaxes, and feel it drawn inward as the muscle below it sucks
in. At first, try not to use your hands to push or pull — they
are there merely to observe. If you find that you just can't
get the isolation needed for Exercise #4, try pushing in with
your hand when its muscle is supposed to suck in, but don't do
that any longer than necessary--you need to learn how to use
the muscles inside to do the work.
Now, do Exercise #1 while your hands
try to sense what your abdominal muscles are doing. Shift to
Exercise #4. Feel your hand come outward as the muscle below
it relaxes, and feel it drawn inward as the muscle below it sucks
in. At first, try not to use your hands to push or pull — they
are there merely to observe. If you find that you just can't
get the isolation needed for Exercise #4, try pushing in with
your hand when its muscle is supposed to suck in, but don't do
that any longer than necessary--you need to learn how to use
the muscles inside to do the work. 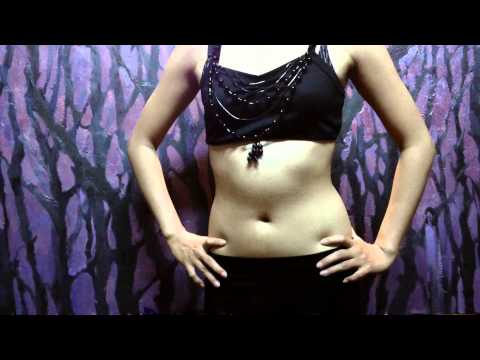 Pay attention to how her muscles are moving. Now place your hands
on the corresponding parts of your own body, close your eyes,
and try to reproduce what you felt the other person doing.
Pay attention to how her muscles are moving. Now place your hands
on the corresponding parts of your own body, close your eyes,
and try to reproduce what you felt the other person doing. 
 Again, hold it until the cat relaxes. Repeat
until your cat becomes highly offended with the abuse and stalks away
in disgust. If you keep cuddling him with your hands while you
do this, you may persuade him to stay longer. Once you're able
to alternate comfortably with the cat on your stomach, try it
standing up. From there, the rolling motion should be easy to
accomplish.
Again, hold it until the cat relaxes. Repeat
until your cat becomes highly offended with the abuse and stalks away
in disgust. If you keep cuddling him with your hands while you
do this, you may persuade him to stay longer. Once you're able
to alternate comfortably with the cat on your stomach, try it
standing up. From there, the rolling motion should be easy to
accomplish. 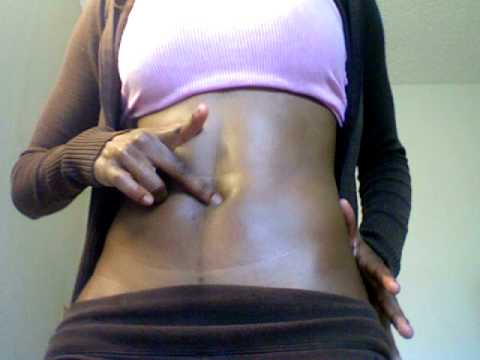 "
"  Also, before going to sleep at night,
lie quietly in bed and visualize yourself dressed up in a pretty
costume doing beautiful belly rolls effortlessly.
Also, before going to sleep at night,
lie quietly in bed and visualize yourself dressed up in a pretty
costume doing beautiful belly rolls effortlessly.
 net using appropriate citations (footnotes, end notes, etc.) and bibliography. Consult your instructor for instructions on how to do this.
 Tara Belly Dance: How To Belly Roll
Belly rolling isn't easy in fact it's quite hard to do however once you master the art of belly rolling you will soon reap the benefits of it in a exercise workout that's not only beneficial for the abdominal muscles but it's also great for digestion. Similar to nauli that is practiced in yoga that has many benefits. Belly rolling is popular in many styles of dance from belly dance to the popping and locking of street dance. As a professional Belly dancer who is also a teacher and a mum of three all birthed by cesarean section I can not only teach this technique but I can vouch for it. That's right I'm living proof that this type of exercise is great for getting back into shape after pregnancy childbirth birth and abdominal surgery and to help bring split abdominal muscles back together. Before you even think about starting this exercise please make sure you have had your six week check if you had your baby naturally and have no other health problems. For csections you have to wait until at least six months after surgery and in all honesty it took me over eighteen months with my third baby until I felt strong enough in my body as a whole. Disclaimer You must speak with your GP or get permission or advice from a medical professional before taking part
Be mindful to start slow if you have diastris recti (split belly muscles off carrying heavy weight through pregnancy or stretched or weak belly muscles ) problems with bladder hips the back pelvis or pelvic floor. In pregnancy a hormone called relaxin is produced that makes our muscles and ligaments ect very hyper flexible and this can linger in post pregnant bodies for over a year after birth so when exercising be mindful of this and take care as you are responsible for your own well-being when participating in online instruction. People who are hyper mobile also need to take extra care. So here goes...
1- Posture
Stand up straight pelvis in neutral with your feet flat and turned out just slightly. Make sure your feet are placed directly under your hips (feel for your hip bones if you need to). Lift your chest up slightly and roll your shoulders back (imagine you are like a puppet and a string is attached to your chest, when pulled it lifts your chest up slightly as if you feel proud and graceful in your body) Think about holding a pencil in-between your shoulder blades then relax a little.its important to practice good posture not only for dance but also for health of the spine.
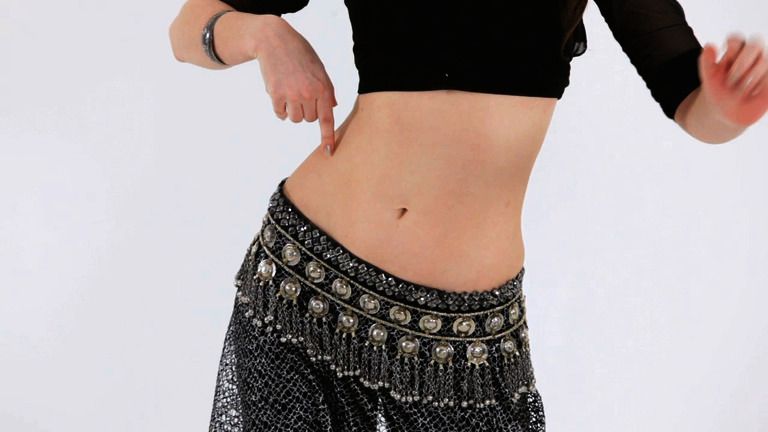
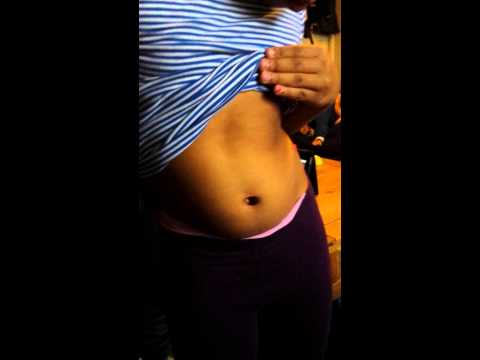
2- Start by locating and activating the abdominal muscles used in a belly roll.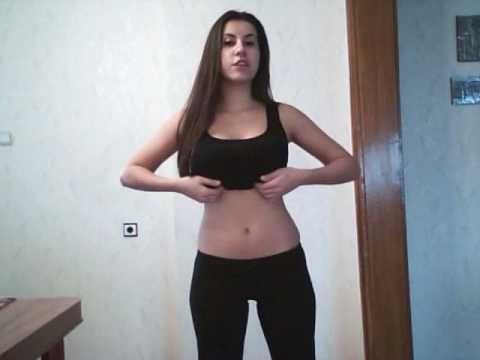 For this start with your chest (diaphragm / top ) your center (belly button / center) under your belly button above the bikini line (pelvis / bottom)
Start to gently pull in and the relax each set of muscles in sets of about ten so you can get used to it.
3- Alternate between the three sets of muscles used in this exercise. Pull in the Pelvis, pull in the Belly button, pull up the Diaphragm. Then Relax.
Pull. Pull. Up. Relax
Repeat until your body and brain gets used to it (at least thirty six times for workout) go at your own pace and stop if you need to.
4- Start to relax the movements a little as if to draw a circle outwardly with the belly.
5- Eventually Start to roll the belly over and in.
6- Bring your knees into it by bending the knees as you pull in the Belly and straightening the knees as you roll the belly out.
7- Repeat...Relax.....and don't forget to breath!
Use the belly roll whenever you feel like it fits in your dancing, get creative with it or use it for exercise and it's many benefits but most of all enjoy.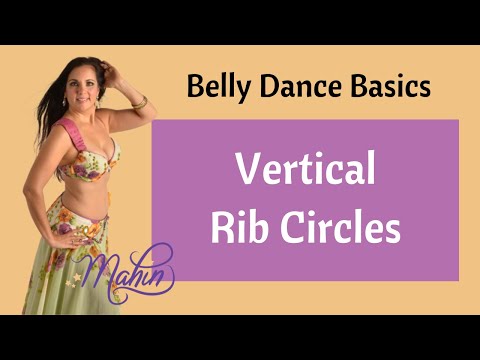
Here's a video of how it is done 💃
Before you start make sure you have you at least 6 months after surgery before taking part and it's best for me to advise you to get passed by your doctor. Check the video of the belly rolling or scroll down and read the instructions. Enjoy!
Written instructions -
1 -
Stand with your feet directly under you hip bones, soften your knees, lift the chest up slightly and have you shoulders back and relaxed and you pelvis in neutral.
2-
-Now focus on your muscles of the belly. You have 3 sets. Lower pelvis, Belly button and chest.
-Activate each set of muscles independently starting with the pelvis. Touch the area just below the belly button and start to contract or pull in slightly. It's a small movement.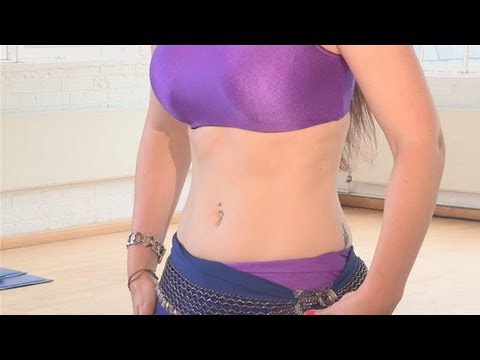 Make sure the rest of you body is still.
-Now focus just on your belly button mucsles. This move is more exaggerated. You are aiming to pull your belly button in and toward the spine. You can also imagine to have a rope running through your back and attached to the inside of the belly button. If you where to pull the imaginary rope your belly button would also pull in toward the spine. Make sure the rest of your body is still.
- last but not least focus on your diaphragm muscle that us situated just above the belly button in the centre and just below the chest. This muscle us responsible for helping to lift the chest and zip the abdominal muscles. Make sure you are lifting up and not out. Now start to lift and relax at an even pace. Again touch your diaphragm and make sure the rest of your body is still
- Now start to join the movements together starting from the bottom, then centre, then top. Eventually pulling in, In up and relax.
- as you begin to belly roll you want to pull in and as you end the roll you want to push out to exentuate the roundness of the belly. Like you are pretending to be pregnant.
-Once you get used to it start to add a slight bend to the knees when pushing out and straighten the knees when pulling in. Notice the flow and resistance in the moved with the knees.
- Play with the rolls by isolation just into the belly at various speeds. Change the level by coming up on to the toes and bending the knees. Get creative and try adding your own flair.
how to learn belly dancing at home
Do you want to learn how to dance belly dance correctly? It is enough to learn a few basic movements and add a special mood to them. We have compiled detailed instructions on how to learn belly dancing so that you can dance no worse than a Colombian pop star.
Tatyana Shamanina
Tags:
weight loss
Dancing
How To
Slim stomach
incendiary dance
Shutterstock
How to learn to dance a beautiful oriental belly dance at home? Of course, it's not easy.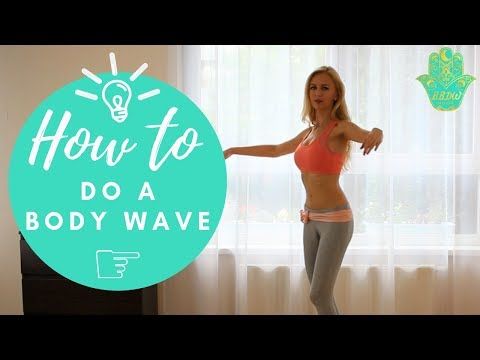 However, it is easier to dance it at home than any other dance style. Especially if you have never been into dancing before.
Basic movements
- Starting position
Stand with your feet together and your arms at your sides. Then slightly bend your knees and raise your chest - this is the starting position for starting any movement in the belly dance. For smooth movements in the dance, you need to tighten the muscles of the lower abdomen and engage the pelvis.
- Hip lift or shimmy
Bend both knees. Then straighten your right leg to lift your right thigh up. Then lift the pelvis up to the chest, while the upper body should not be involved. The heels must not be lifted off the ground during this movement. When you "pull" up your right hip, lower it and repeat the movement with your left. Namely, straighten your left leg and lift your left hip up.
- Fast Pace Hip Lift
Repeat hip lift on both sides at a faster pace. Do not pause - first lift the right thigh up, and then smoothly - the left. At an accelerated pace, the hips will swing quickly from side to side - now you know how to perform the shimmy movement.
- Hip Drop
Start in the starting position with the right foot on the floor and the left foot slightly extended, about a few inches forward with the heel raised. Then bend both knees and keep your chest and arms up. Then straighten your left leg, lift your left thigh and immediately lower it to the level of your right thigh. At the same time, keep your right leg bent during the movement. Next, repeat the mini-bunch at a fast pace so that it looks smooth, without pauses and breaks.
- Belly
How to quickly learn belly dancing at home? Easy, the main thing is not to miss a single basic movement, including the “tummy”.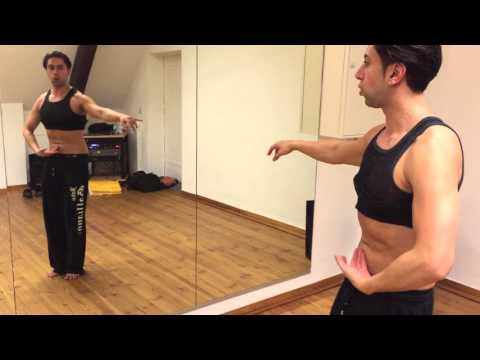 Starting position - feet are on the floor, the upper body is raised, and relaxed arms are at the sides. Then slightly bend your knees and tighten the muscles of your upper abdomen, pulling them in. Then relax your stomach and tense only the muscles of the lower abdomen. Consistently alternate, pulling in the lower, then the upper press. Repeat the movement smoothly and without pauses.
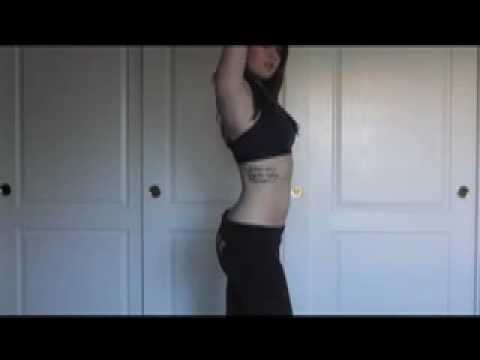
- Try a breast lift
The last basic movement that will help you understand how to dance belly dance correctly. The starting position is a raised chest, arms are located on the sides, legs are together, and the feet are on the floor. Next, we pull the chest up to the end so that the shoulder blades seem to slide along the back. Then lower your chest back down. Repeat the link at a fast pace, while alternately contracting the abdominal muscles.
Why do home belly dancing?
Oriental dance will help not only lose weight, but also cope with various pains.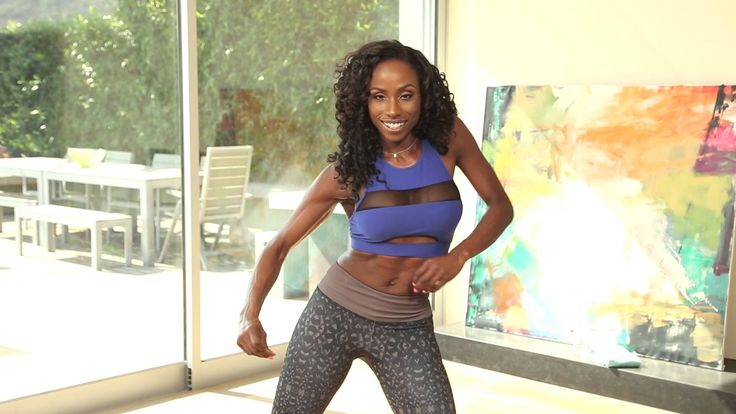
- Back and Joint Pain
Gentle movements increase the flow of synovial fluid (natural lubricant) in the joints, and also tone the back muscles, which improves posture and prevents back pain.
- Help in losing weight
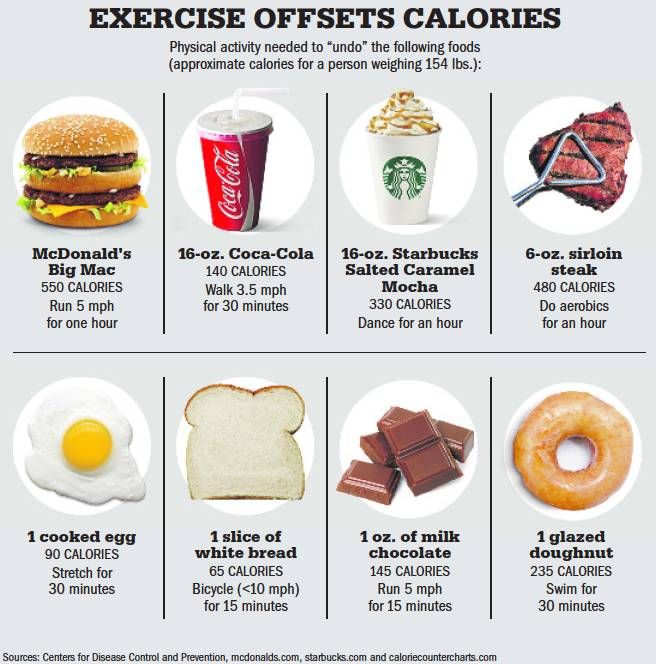
How to learn belly dancing at home and lose weight? Easy - one hour session will help burn up to 300 calories.
- Preparing for childbirth
Belly dancing tones the abdominal and pelvic muscles involved in childbirth.
- Against stress
Oriental belly dance is not only beautiful, but also healing. The dance feels like a session of physical and psychological relaxation.
- Period Pain
Soothing dance bands help reduce pelvic congestion, which improves circulation and relieves PMS pain.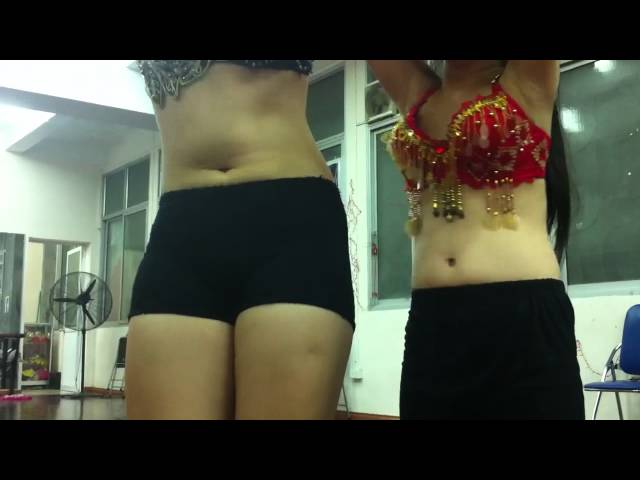
Learning to dance belly: 8 steps to beauty and harmony | Beauty secrets | Health
There is no more ancient dance than belly dance. Even the walls of the tombs, erected on the orders of the Egyptian pharaoh Akhenaten in the 14th century BC, are painted with scenes depicting in great detail nothing more than a belly dance.
The choreographer was a bee
The legend claims that this erotic oriental dance appeared quite by accident. It was all the bee's fault. Bewildered by the delicate floral aroma emanating from the oiled body of a young dancer, confusing her with a flower, a bee flew under her thin outfit during the performance. Frightened by the uninvited guest, the girl began to rotate her hips and stomach with all her might. It was as if her hips and stomach were competing in mobility, teasing and provoking each other. The grace with which she made the movements delighted those around her.
European travelers eventually became acquainted with the ancient dance.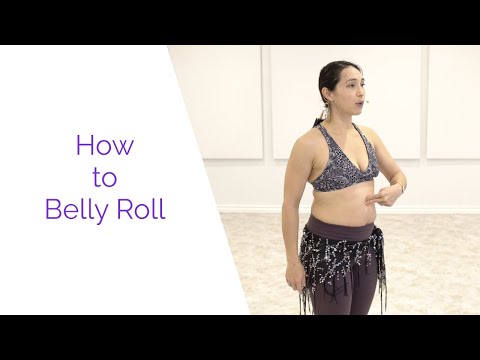 However, his eroticism is perceived by Europeans in different ways. “Indecency and indecency,” some exclaim indignantly. Others consider belly dancing a real art.
East - flexible body
Belly dance secrets are carefully passed down from generation to generation. For what? Not just for beauty. In Arab countries, the fertility of a woman is still perhaps her main advantage in the eyes of the majority. From early childhood, Arab girls begin to be taught special exercises, which are the basis of belly dancing. Daughters diligently adopt from their mothers the ability to control the body, move beautifully and gracefully. These simple movements make it possible from childhood to strengthen the muscles of the back, abdomen, lower back, and hips in girls - expectant mothers, which play a major role during pregnancy and during childbirth.
In addition, belly dancing is an excellent means of keeping slim and seductive forms for Eastern women. Even having grown fat with age, Arab charmers move easily, remain amazingly flexible.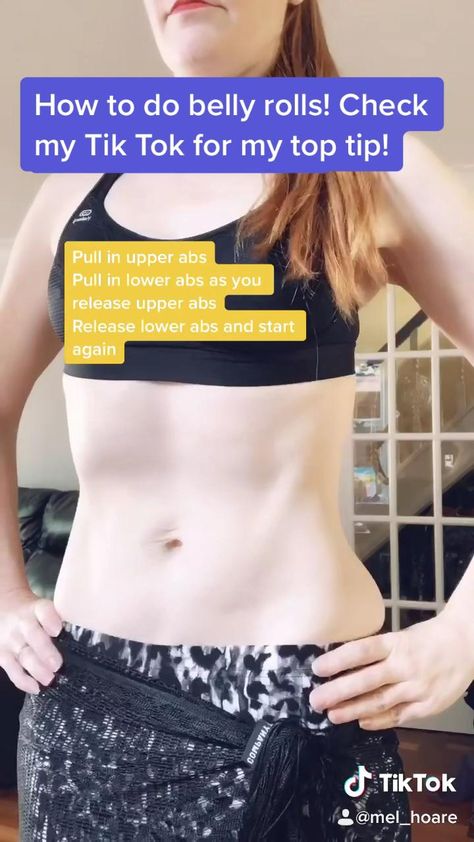 This is confirmed by official science. According to the research of modern scientists, Eastern women are less likely to suffer from cervical and lumbar radiculitis, less prone to scoliosis and other diseases of the musculoskeletal system.
Following Hollywood stars
To maintain a perfect waist and elastic tummy, Hollywood stars are also fond of oriental dances. Imagine: in one dancing hour you can burn up to 400 kilocalories, strengthen the torso, improve coordination of movements, and make the spine more flexible. The dance will teach you how to move beautifully and follow your posture. And although at first it will be difficult for you, but in order to feel the gaze of men behind your back, it’s worth the effort.
Of course, it is better to learn belly dancing in the company of an experienced instructor, but some basic movements can be learned on your own. This simple but effective set of dance exercises in just a few months will make the abdominal muscles elastic and toned, and you - more sexy and erotic.
● Your clothing should be light and not restrictive. To begin with, tie a thin pareo (silk scarf) around the hips, which will effectively emphasize their flexible line. Raise your arms up and, clapping your hands to the beat, gently shake your hips. Do not start dancing immediately at a fast pace. Choose the rhythm of movement that suits you and try not to change it during the dance.
● Standing with your feet shoulder-width apart, raise your right thigh sharply, then your left. Try not to strain your abdominal muscles. Repeat the movement 8 times.
● Stand with your feet hip-width apart. Swing your hips gently from side to side, like a pendulum, 8-10 times. Make sure that only your hips move.
● Rotate your hips 8 times in each direction, as if you were spinning a hoop. Please note: the body must be motionless.
● Feet shoulder width apart. As you exhale, stick out your stomach as much as possible, 6-8 times. Tired - take a 10-second pause.
● Keep your feet shoulder-width apart. Place your right foot on your toes and lift your right thigh. Shift your body weight to your left leg. Vigorously rotate your right hip clockwise 6-8 times. Repeat the exercise by changing the position of the legs.
● Feet slightly apart. Move the pelvis forward (the stomach is tucked up, the muscles are tense), then back (the muscles are relaxed) 6-8 times.
● Exhale deeply, forcefully draw in the stomach - the diaphragm rises. Then slowly inhale through the nose, sticking out the stomach - the diaphragm goes down. Do not move your body - only the stomach works (repeat the movement 4-6 times).
Dance for half an hour a day (better in the morning on an empty stomach or 2 hours after eating), and normal blood circulation in the pelvis, good bowel function, beautiful gait and majestic posture, healthy joints, elastic muscles are provided to you.
Personal opinion
Alsou:
- If it is professionally done, then I really like this art.