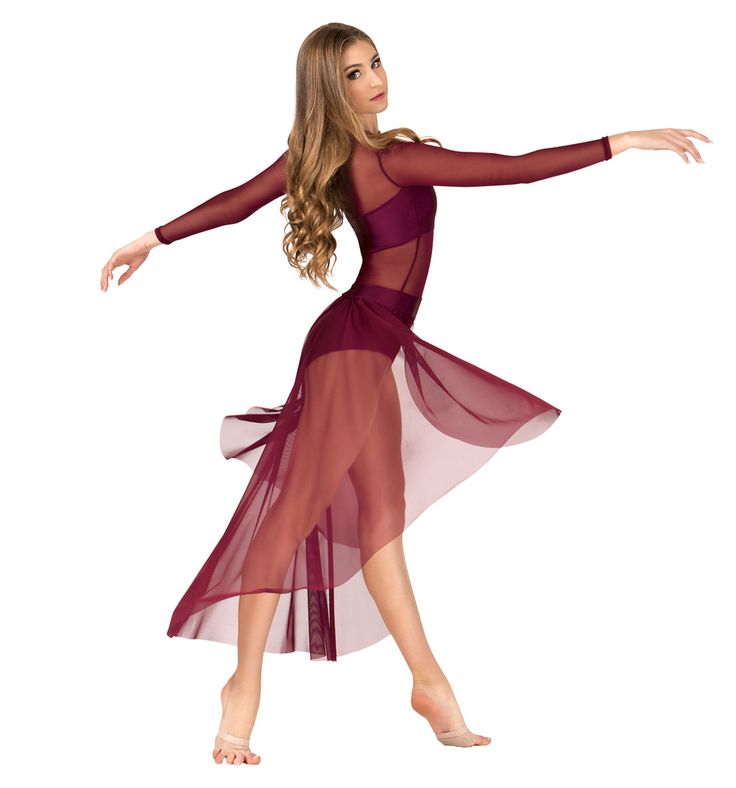
How to make your own belly dance bra
Make Your Own Belly Dance Bras - Must Read Blogs & Vlogs!
Today I ran across a fabulous bra-making tutorial on the Assiut Group on Facebook. I really enjoyed her tutorial, and I thought it would be great to make a list of a few other of my favorite bra tutorials from around the web. If you are looking to create a masterpiece from Assiut, or if you are more sparkle and glam, there are many different styles to choose from in this collection.
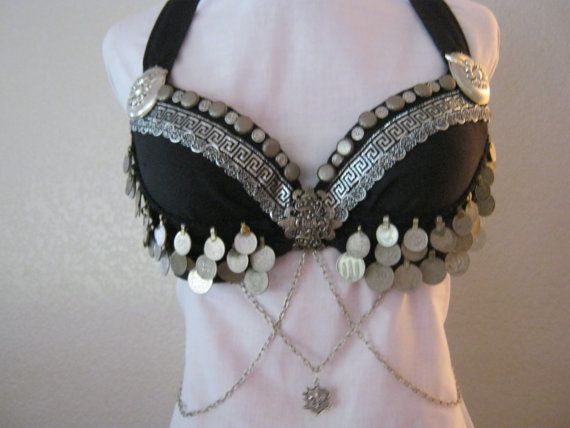
When I saw this blog post shared on the Facebook assiut group, I immediately went over to take a look! Not only is this tribal bra full of crusty coin and chain goodness, it has some beautiful assiut base cloth. Her mission was to take a larger cup size down to a smaller size is a fairly common alteration in my studio, and it’s nice to see how another designer tackles the project.
Jo has a great eye, not only for the design of this costume piece but also for the step-by-step photos that she shares in this post. I particularly love that Jo has chosen to share how she’s pieced the design together from fountain motifs. She really maximized the number of silver embroidery stitches would show beneath the rows of coins. Be sure to watch her video on a portable device to get the full effect!
Jo, many thanks for the shout-out for my book too! That made my day!
Are you making a tribal fusion style of bra using recycled, upcycled, and repurposed materials? Then this is a vlog for you! This lovely costume piece is by Joanna Dyndor. Her video follows her process of using a heavily embroidered ribbon scrap, a handful of beads, ruched fabric, and repurposed chain. The result is a lovely performance bra in shades of brown, tan, and cream.
This blog post steps through the process of taking making a halter style top with tie back. This assiut bra elegantly uses a basic silver-dotted fabric accentuated with coins and gilets.
One of the common problems for dancers looking for new costumes is the lack of options at larger bra sizes. If you are a dancer who can’t find bras for bigger curvier women, this is a great example of how a lingerie bra can be transformed for more zaftig physiques.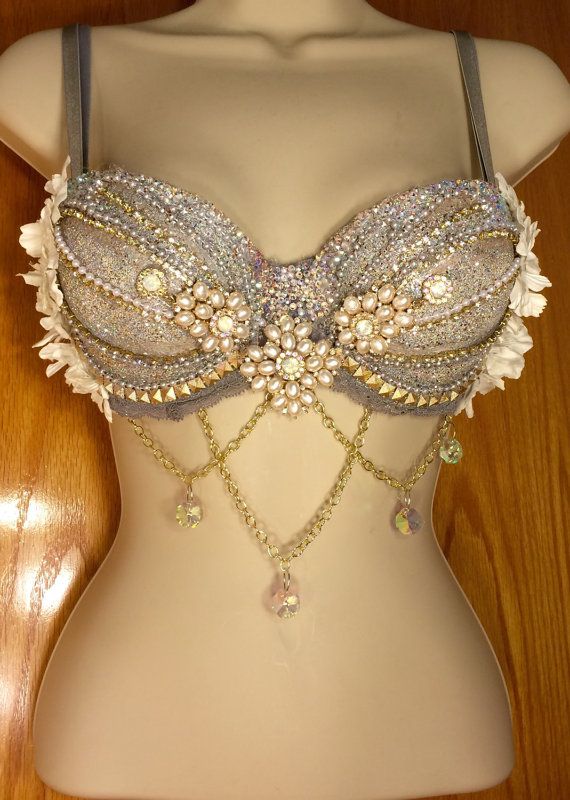
This illustrated costuming tutorial walks the reader through how to cover a basic belly dance bra using Shushanna’s technique. Virtually every lingerie style bra needs to be covered before it’s embellished and this method really works. If you learn best from step-by-step illustrations this blog is not to be missed!
Mao has created a great free resource for dancers interested in creating their own glam-style belly dance costume bras. There are many more free and paid tutorials, demos and classes available on her site. So if you are more sequins and stones, rather than coins and chain, than this website is a great resource.
Studio Davina – Bra Tutorials
Of course, over time I’ve put up a few bra demos/tutorials as well. Here are a few featured here in past blog posts:
Student Grade Belly Dance Bra – Need a cheap and cheerful costume for a student performance? Need the costume fast and affordable? This is the style of bra I teach in classes for students who need a “one-shot” bra suitable for performance with a minimum investment.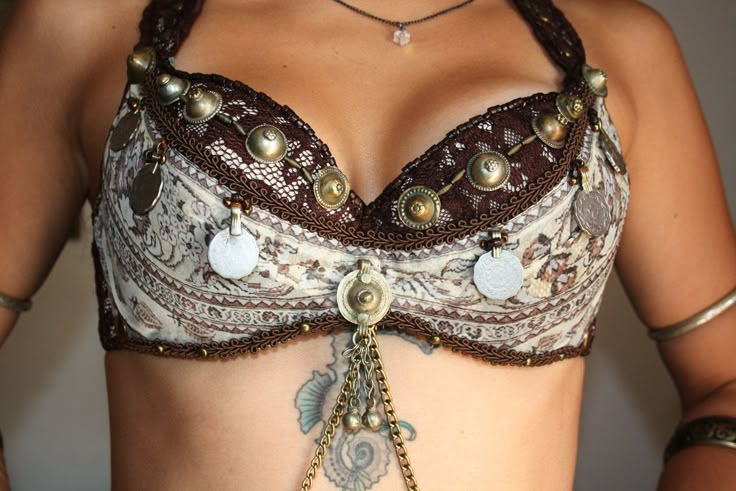 The key? Start with a lingerie bra the color you want and simply embellish the cups! Read more details.
Designing a Lavender Bedlah Ensemble – Although this four-part tutorial is for a bra and belt set, the bulk of the images and directions are about the bra. There are a lot
I constructed this bedlah set using more hard-style professional techniques for the bra and belt. This is a very different approach from the student grade costume in the post above. It’s nice to have some different approaches to reach for that accommodate different budgets and timelines. Read more details.
Three Day Assiut Challenge – When I was working on the build for the book “The Cloth of Egypt” I made this costume for a last minute show. I wanted to promote my upcoming book, and yet, I didn’t have an assiut costume that fit! So I took my sewing kit with me on the trip and made the costume in the days leading up to the show. While this wasn’t my first assiut bra, it was the first made for the book! Read more details.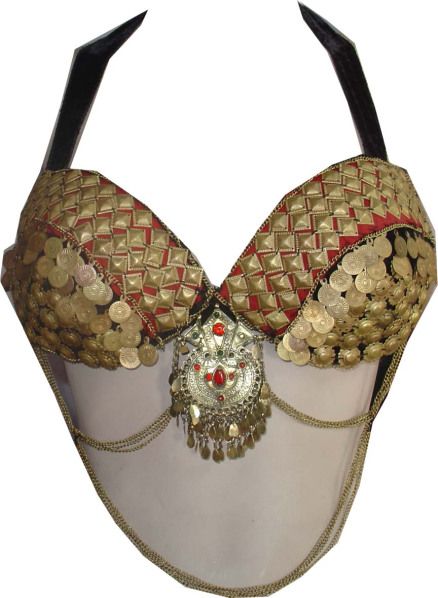
Of course, If you want to read the book that accompanies my basic bra building class, it’s available on both Amazon and on Etsy (if you want a signed copy)
If you already own a copy of my Embellished Bras book, thank you very much for supporting my business! But I really believe in the motto, “There’s more than ONE way to do it the RIGHT way!” It’s always nice to explore the internet looking for new tips, tools, and techniques. I’m always open to learning new methods, especially if they save time and/or money!
If you find any wonderful resources, be sure to let me know. The best way to share costuming information is either by joining me in the Studio Davina Facebook group, or you can drop me a line via email – [email protected].
Happy Costuming!
Dawn Devine ~ Davina
April 16, 2018
Permalink: https://www.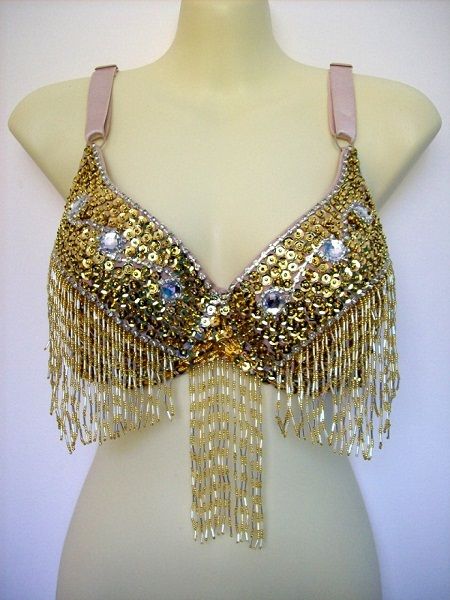 davina.us/blog/2018/04/diy-bras-blogs-vlogs/
How to: A belly dance bra
Here’s my list of excuses: I haven’t felt inspired, I’ve been really busy at my new job (yay!) and I’m lazy.
At the end of July I was offered a position at a photography studio in Somerset West – Digital Moment – and I accepted! I have a good friend who has been working there since the beginning of the year and I must say, since I started, I haven’t stopped! There are photo shoots almost every weekend, events to cover, and tons and tons of editing work to do afterwards!
A couple of weeks ago, a fellow troupe member ( Hello, Cheri! 🙂 ) asked me about constructing a proper dance costume and although I don’t think I know a lot about it, I ended up rambling and realized how much info I do know. I’m no expert on the subject and I have had many failed projects that I quietly unstitch and throw away, never to be spoken of again. Although I get irritated at the waste of money, I have learned a lot from it and I think that I’m qualified in telling people what NOT to do! Enough so, that this is what this blog post is all about.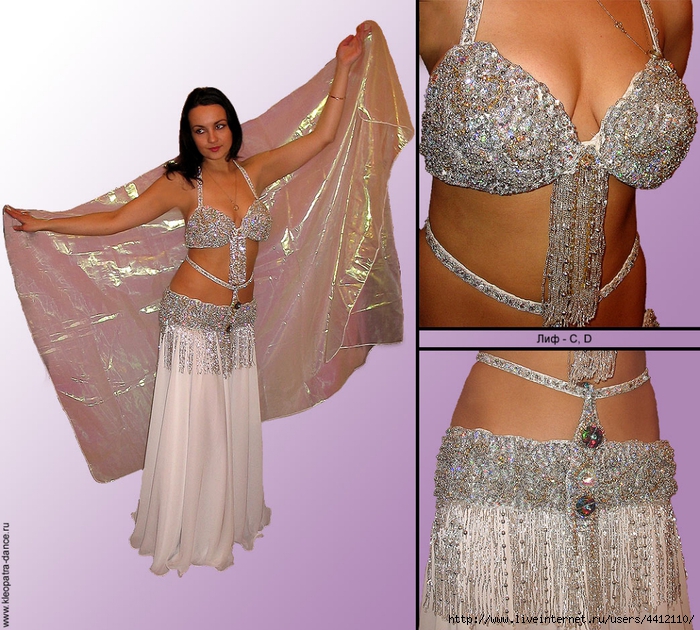
A lot of the things I’ve learned when it comes to costuming are things I picked up from reading many, many blogs about it. At the bottom of this post is a list of useful links and blogs to help you make a costume successfully! (And all of those ladies are far more accomplished seamstresses than me!)
Anyway! Back on topic.
I lay in bed last night thinking of all the bits and pieces I have to talk about, so I’m going to cut this blog post into two pieces – one about bras and one about belts. So here is all the info I have on bras!
Selecting a bra for a costume
My first advice is to know what size bra you are! I’ve never been measured, because in South Africa our lingerie selection is rather poor and I have previously bought 2 bras that were exactly the same size on the label and the same make, same colour, same bra, same everything! When I got home they fit me completely differently! I am a 32D and I struggle to get bras that fit me properly, so what I do is I will try on a 34C, 32D and 34D just to see what fits me best.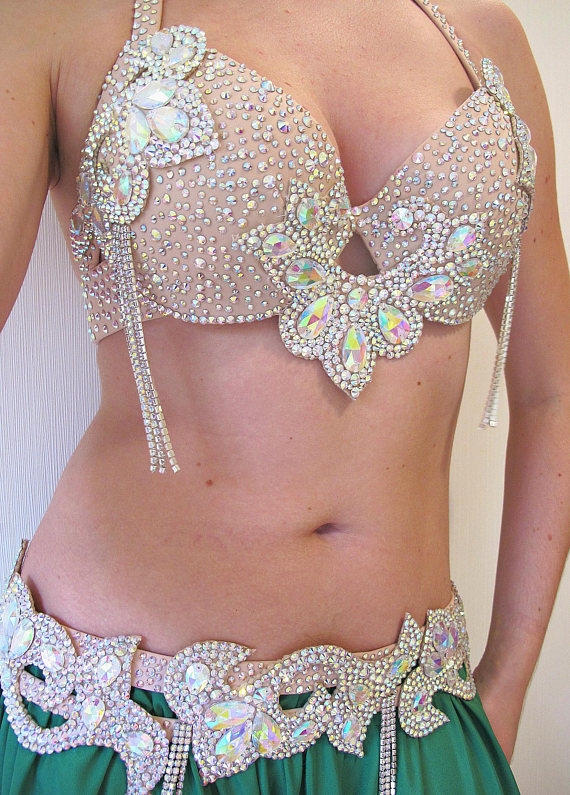 You’re going to have to do this too.
- Try on a bunch of different bras – you never know what might look flattering on you! Remember, don’t go for a specific colour, you’re going to cover it up anyway. I personally find that Ackermans’ Mosaic Range sells a lovely shaped bra, that I find suits me quite well. It’s their generic bra section, just a plain white bra. All of these bras are the same base, bought from Ackermans:
- Make sure the bra cups are STIFF. If they are too soft, they will collapse the minute to try to embellish them! There are ways of reinforcing a bra if you’re going to do a lot of embellishing/heavy embellishing on them. I’ve never needed to do that, but Shushanna (link below) has a section on that if you want to learn how to do it! To test the stiffness of her bra cups, Shushanna has this great trick of placing a small ceramic bowl on top of her bras, and if they don’t collapse under that weight – she carries on! 🙂
- When choosing your bra, try and choose one that has changeable straps.
 In other words, one of those bras where the straps can criss-cross at the back or be removed entirely. The reason for this is so that if you decide to do a halter-neck style bra or even a criss-crossed back like my blue costume in this post, the bra cups won’t move around! If you take a regular bra and make a faux-halter neck, you’ll find that the bra cups gape and it looks quite ugly. The same thing will happen if you take a regular bra and give it a halter neck or criss-cross back.
 - This next one is a personal preference, but perhaps something you haven’t thought of before. If you are small chested – follow the diagram below. Buy a bra that fits you! Small chested woman tend to wear bras that cover their nipples – because they don’t have much chest muscle/boob to cover up. All big-boobed girls can tell you that your boobs start on the sides of your chest! Not in the middle! If a large chested woman were to wear a bra that only covered the nipple, she’d end up with side-boob leakage.
 Same applies to small chested woman! Wearing a bra that covers your nipple but not much else also makes your shoulders and chest look INCREDIBLY big. Small chested woman have a huge advantage in that they can easily make a halter top without a worry of falling out of it. (I’d love to have one, but this is a huge fear for me!)
Check out my drawing-in-a-hurry skills!
- If you struggle to find a bra that fits you around your chest (ie. The number part of a bra – 32D) try on bras that fit your boobs, but perhaps are too big (or small) around your chest. The reason for this is that you should make new straps, so the size of the straps doesn’t really matter. And seamlessly (heh) onto my next point…
- Cut all of your straps off your bra! I usually keep the straps on until the last minute, just incase something goes wrong. I also make my straps with denim fabric. It’s cheap, I have a lot of it and it goes a really long way! I know of other people using buckram and grosgrain ribbon, but I’m not sure we get that at our fabric stores.
 I never cut the straps off at the bra base either. Most bras have that tiny vertical line on the straps, close to the bra base. Sometimes it has a small piece of wire in it, other times it’s just folded fabric. I cut it off on the outside of that strap, so that I can get the angle right when adding side straps. Here is my “pattern” for side straps, if you’re interested:
 - Always, always, ALWAYS cover your bra! There is no excuse for this, except laziness! Your bra shouldn’t look like lingerie. It should look like a costume bra, part of a bedlah, whatever. Just not like something you wear under your clothes. My suggestion would be not to use stretchy fabric, but cotton or something similar. For a first-time costumer, I wouldn’t use a chiffon or “slippery” fabric. I wouldn’t use anything too shiny either, because shiny fabric tends to slip a lot. It can be very frustrating! Another useful tip when costuming is don’t be afraid to layer fabrics! This is something I still don’t do enough, but when done correctly it can look amazing and really unique! (Ozma does this beautifully!)
- When you’ve cut off your straps, added new straps and covered your bra, you’re ready to begin embellishing your costume! This is probably the most fun part for me, because I feel like I can be really creative from this point on.
 It’s also exciting because I can cover up any mistakes or ugly sewing I did! Hehe! My first piece of advice is to throw the glue gun away! Yes, yes, glue is quick and easy. But it’s not so quick and easy when you make a mistake or want to change something. Learn to sew sequins and beads onto fabrics – start with a square of scrap denim and try out some patterns on there and see what works and what doesn’t.
 - Try on your bra every step of the way! Don’t assume that it fits well! Sometimes small alterations have to be done, and it’s best to catch it every time you finish a step, rather than realising it at the end when it’s all done!
I hope that I’ve covered everything, and if you need to know anything don’t hesitate to comment below or contact me via my Contact page above.
The super useful links are as follows:
Ozma’s Costumes (Facebook Page) – she doesn’t give straight up advice, so you have to browse through her albums and look at her pictures because in the captions she gives a lot of advice.
Naima’s Bellydance Blog: She does excellent step-by-step tutorials and gives a LOT of advice! Her skills are amazing and all of her costumes are excellent! (And she writes about other belly dance related things too – so it’s overall a great blog to follow!)
Shushanna Designs: How to make costumes: She has amazing tips and tricks and her posts are all worth a read!
There are so many more places to get costuming tips, but those are the ones I visit regularly when I need advice! 🙂
xx
Like this:
Like Loading...
Posted in bellydance, Lists and links, Sewing, Sewing/Costuming and tagged alexandra, belly dance, bra, cape town, costuming, dance, how to, maya troupe, Sewing, south africa on by Alexandra. 8 CommentsEmail Subscription
Enter your email address to subscribe to this blog and receive notifications of new posts by email.
Email Address:
The author
We create a belly dance costume with our own hands
Almost every modern woman is looking for a hobby to her liking.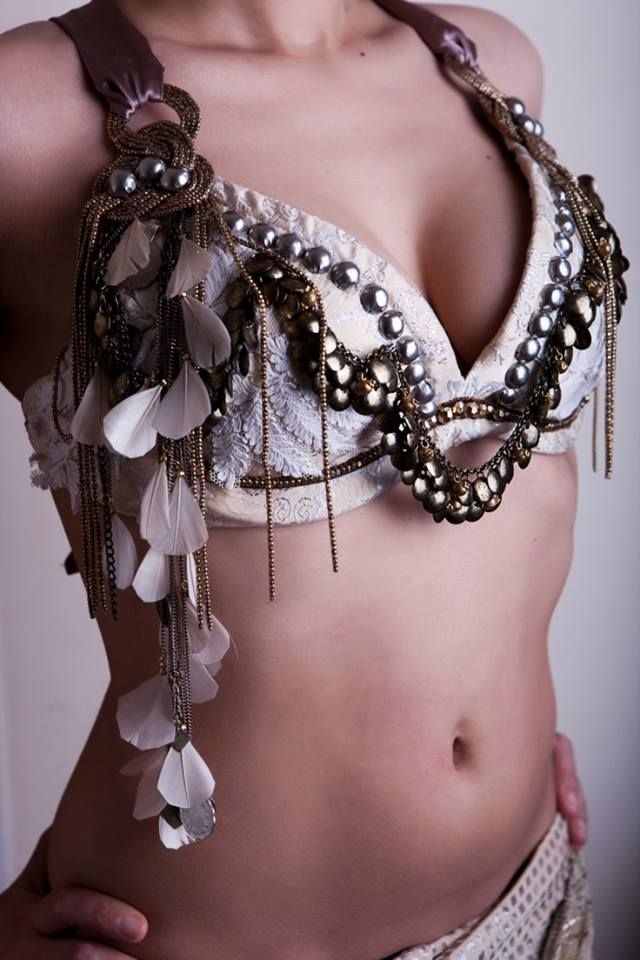 Someone embroiders with pleasure, someone bakes pies, and someone goes to dances. In this article, I would like to tell women who are mastering oriental culture how to sew a belly dance costume with their own hands.
Components
First of all, you should decide on the details of the costume. It will definitely be a long skirt and bodice. However, if it is not possible to make all the details beautiful, you can safely get by with just one belt. You can prepare a veil from accessories, you will also need a huge number of different jewelry for hands, ears, legs - earrings, rings, chains, bracelets, etc.
Bodice
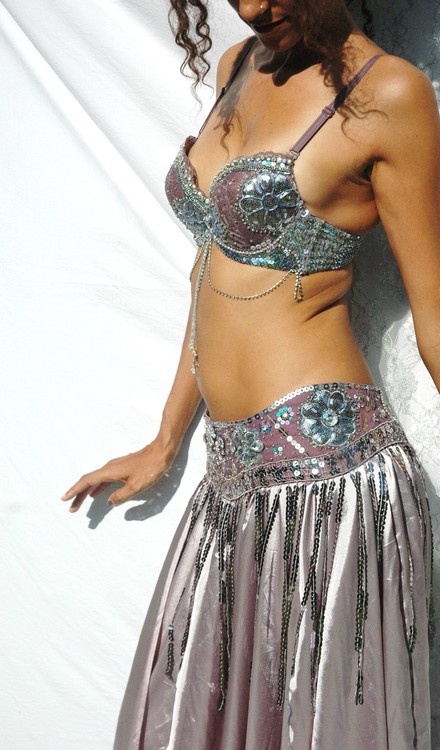
If a woman is going to make a belly dance costume with her own hands, the work can start with preparing the bodice. For this, an ordinary opaque bra (preferably foam rubber) may be suitable. If it is already the right color, it will only need to be decorated. However, it is better to pre-sheathe it with the desired fabric so that it does not look ordinary.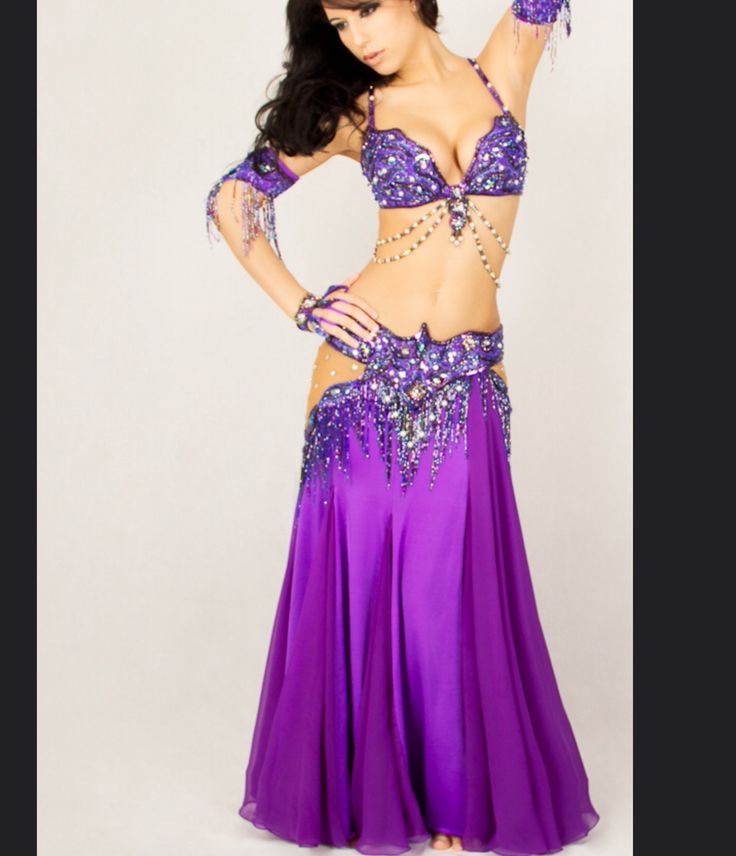 It will be impossible to create a single piece of skin, so it will consist of several parts. The first is a detail for cups. It is cut out in a rectangular shape and bent over the finished product. To do this, you will need to make several folds of fabric according to the principle of creating a tuck. You will also need fabric for the straps. To do this, cut out long rectangles that simply wrap these parts on all sides. The pieces are already sewn on the bra, you can even sew them on with a decorative stitch. "Ponytails" are hidden under the details for the cups of the bodice, which are sewn on last. We go further, creating individual details for a belly dance costume with our own hands. When the bra is completely wrapped in new fabric, you need to start decorating the product. Everything that the lady likes will come in handy here. It can be just beautiful embroidery with threads or beads, or it can be glued sequins in the form of fish scales, etc. Here the woman herself decides what she wants to get as a result.
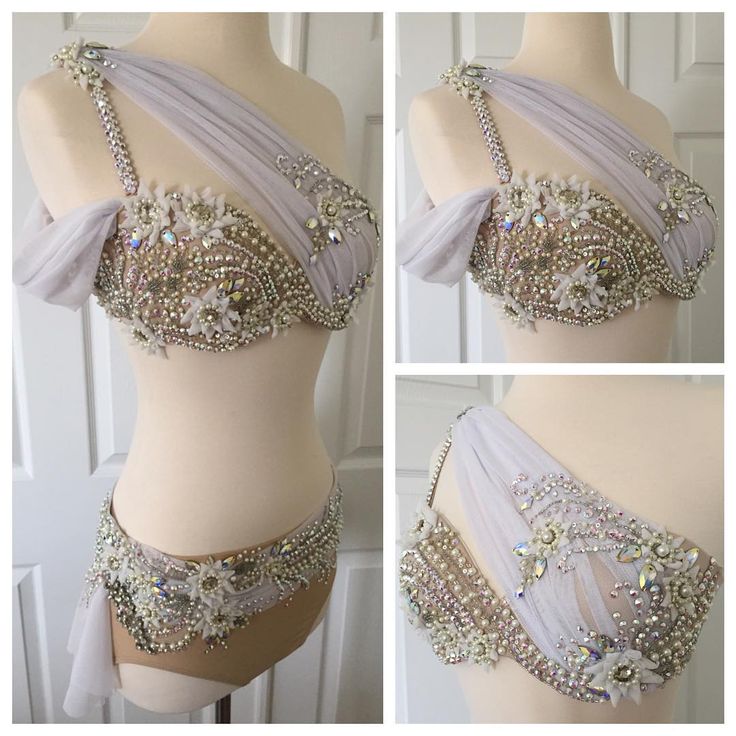 However, you need to remember that everything should be fairly securely attached, because in this costume you will have to dance, that is, actively move.
Skirt
Tailoring of the belly dance costume includes making a long skirt. To do this, you need to take a fairly thin transparent fabric that drapes well, such as chiffon or crepe chiffon. Now you need to decide what kind of skirt you want to make. Two options can be considered. The first is an ordinary straight skirt with slits on the sides, the second is a sun skirt.
In any case, you need to prepare the belly dance costume patterns beforehand. So, for a straight skirt, you will need to take two pieces of fabric that will be sewn along the sides to about the end of the thigh. Unsewn sections and the bottom are simply hemmed. From above, you can provide the usual wide belt, which must be made of elastic fabric, because it will most likely be on the hips, and not on the waist. To do this, you need a piece of fabric twice as wide as the belt itself.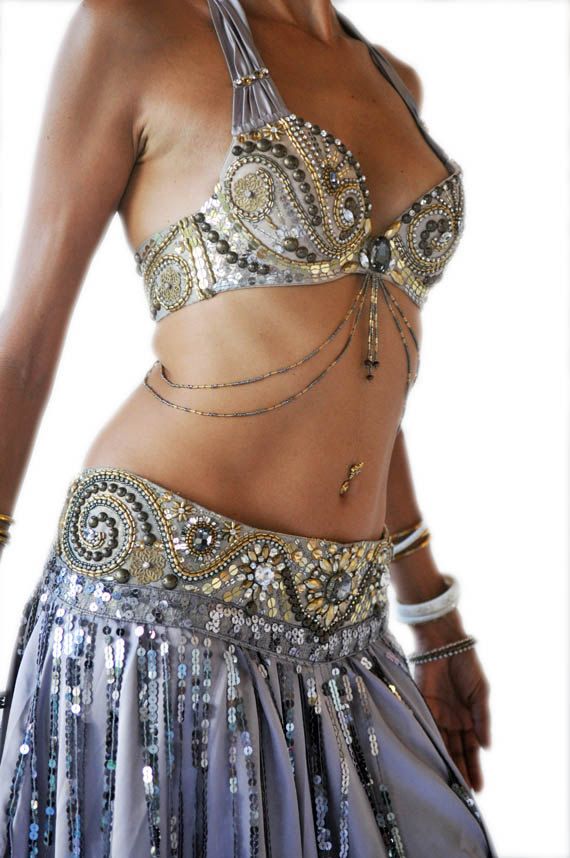 The fabric for the belt is bent in width with the wrong side inward. Next, the belt is sewn to the skirt. To do this, first the inner part of the belt (which is adjacent to the body) is sewn with a skirt, then the fabric allowances are tucked in, covered with the front of the belt, and everything is overcast. If everything went out neatly, a decorative stitch is started along the front of the belt. Oriental belly dance costumes also suggest the possibility of creating a sun skirt. You can sew it in the same way as the previous one, but the fabric will take a little more, about 2.5 times. After all, the sun skirt is a circle with a cutout for the waist in the center. The top of the skirt, along the waistline, can be gathered. The bottom is hemmed with a narrow scar, a wide belt is sewn to the top. That's all, the skirt is ready.
Belt
When preparing a belly dance costume with your own hands, it is important not to forget about such a moment as the design of the belt. It is this detail that gives the costume a special appeal.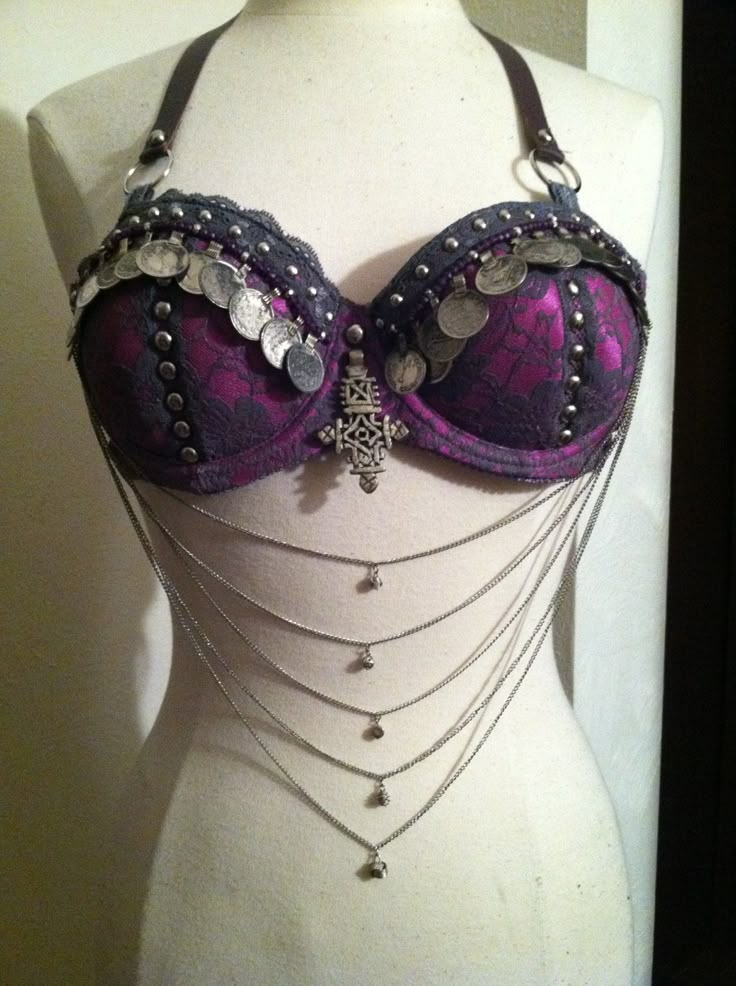 How to make it? To do this, it is better to pre-prepare a full-size pattern. The top must be straight, and the bottom of the belt can be triangular, figured, rounded - whatever you like. The length of the product is calculated: this is the waist circumference plus approximately 4 cm for the fastener. You can make tucks so that the product sits perfectly on the figure.
The fabric is also selected: for the base of the belt - dense, cotton can be used, and for the top - something light and beautiful, for example supplex, satin, crepe-satin. You will also need a dense interlining for gluing the product, it will be attached from the inside to the front of the product. When the parts are ready, they need to be folded with the right sides inward, sewn, turned inside out, through the hole left, baste and insert the fastener (the belt can simply be tied). Now it remains to decorate it in the same way as the bodice.
Accessories
What other details can oriental belly dance costumes suggest? Of course, these are special decorations.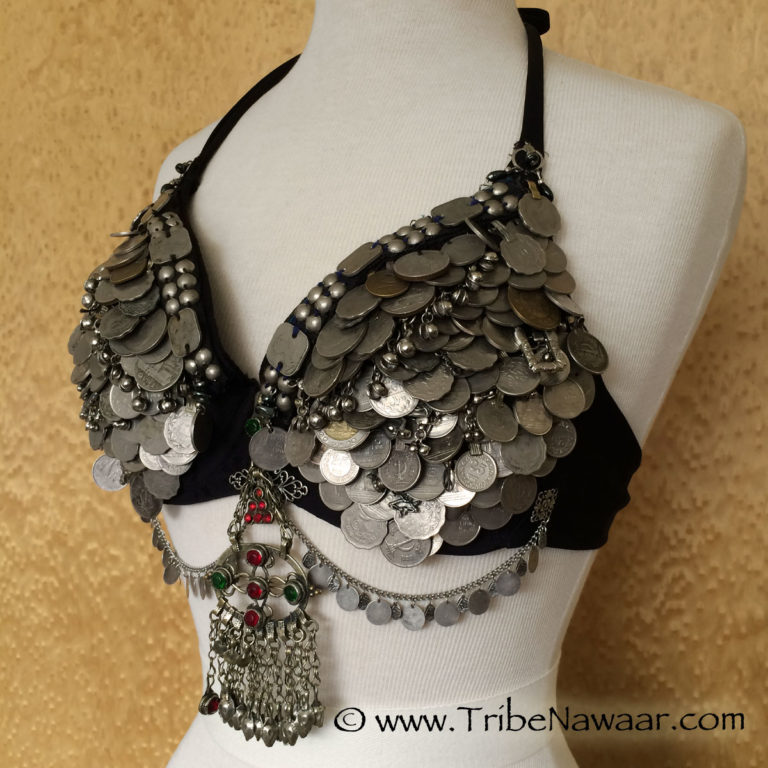 Earrings, bracelets for hands and ankles are definitely needed - the more the better, because when a woman dances, they ring pleasantly. By the way, they can also be made independently from beads or beads. It is necessary to decorate the neck with chains or coarse beads, and fingers with rings. However, it is important not to overdo it with decorations so that the figure is not too bulky. Of course, we must not forget about bright makeup, where the eyes should stand out especially.
Do-it-yourself oriental belly dance costumes: photo with description
If your daughter decided to go in for oriental dancing, it means that you need to buy or sew a bright, memorable costume. Many sew it themselves. An oriental costume for a girl and a girl will look good enough both on stage and in competitive competitions. The type of costume, of course, will depend on the budget, desire and complexity of execution. The article will discuss how you can independently and relatively inexpensively create such an outfit.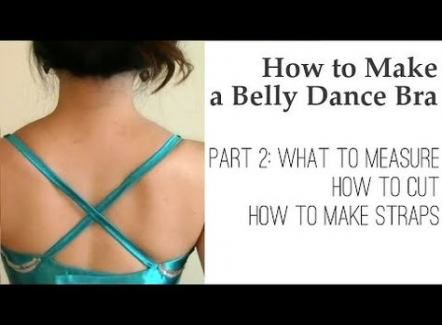
Costume base
Typical stage oriental belly dance costumes are based on a base, which includes a bodice and belt. How convenient is the creation of such a foundation? The bodice and belt can be worn with a variety of trousers and skirts. If the base of the costume is made in gold or silver colors, harem pants and a skirt can be of any color. If the base is made, for example, in emerald or purple, the skirt for this outfit must be matched to match.
A less expensive costume for beginner dancers is one that is decorated with sequins and beads, as well as glass beads, coins, fringe, braid and beads. Inexpensive acrylic stones can be added. In a more expensive version, Swarovski stones are used on jewelry. You can find a copy of the stones in the Chinese version of production. They are also glass, the quality is not worse, and the colors are different. It remains to decide on the color that will be the basis for the costume of the oriental beauty.
How to make a bodice?
If the costume is made for an adult girl, you need to buy a regular bra, one size larger than the bust of the dancer.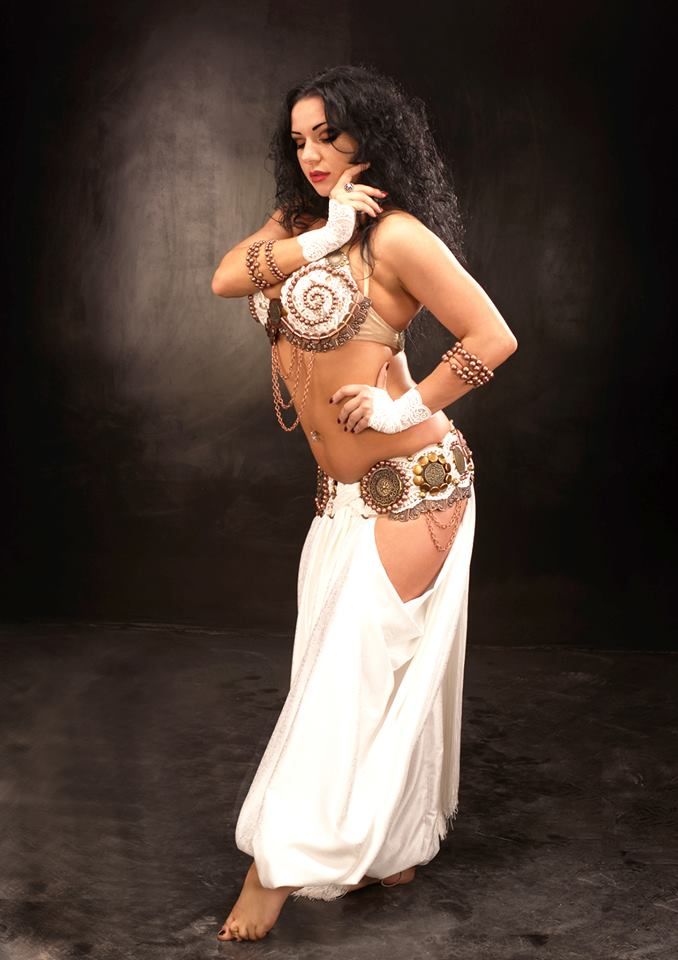 Why more? Because after the bodice is sheathed with decorations, it will decrease both under the breast and in the cup itself. Some girls involved in oriental dances prefer to sew the bodice on their own by buying cups in the store. But this is a very difficult job. It’s easier to pick up a ready-made version of a bra for your chest, and then make a bodice for a suit out of it. You should pay attention to how he sits on his chest. If something is wrong, it is better to choose a different bra.
First of all, cut it as shown in the photo below. We cover the cups with fabric selected for the suit. To do this, place the fabric face down on the cup to make tucks. They are marked with a dotted red line in the photo. Stitch them on a typewriter. We turn the fabric right side out and put it on the cup, cut off the excess fabric just enough to fold it in and hem it.
Side straps are made as follows. Cut the cut side straps on any dense material, lengthening in the fastener area.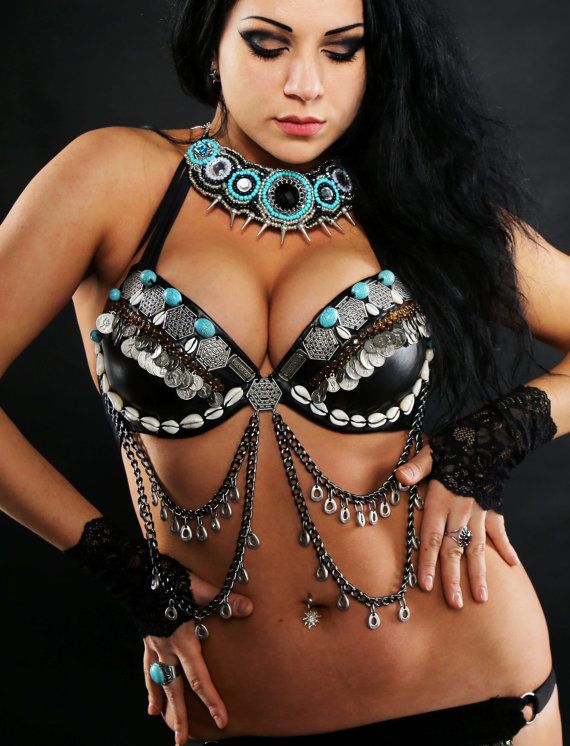 This is done in order to have a fixed length of the strap, and not stretched, as in a bra. Put this cut on a dublerin or any adhesive fabric. Trim off excess fabric.
Iron the adhesive base to the wrong side of the fabric, which will be used to cover the side straps. Fold the side strap with the fabric planted on the adhesive base. Turn the fabric over and sew. The edge that will be sewn to the cup is processed with a zigzag. The photo shows that the edge with the fastener is not tucked. It is drawn up at the end of the work, when the bodice is ready and the comfortable length of the straps is determined. Hooks for a fastener or loops are sewn on the ends, into which the lacing is pulled, which is convenient for adjusting the tension. The shoulder straps are made to the length you need, from an adhesive-backed trim, and can be embellished in the same way as the bodice itself.
Sleeve in costume
There is one more detail to the oriental costume for girls - sleeves in the form of lanterns.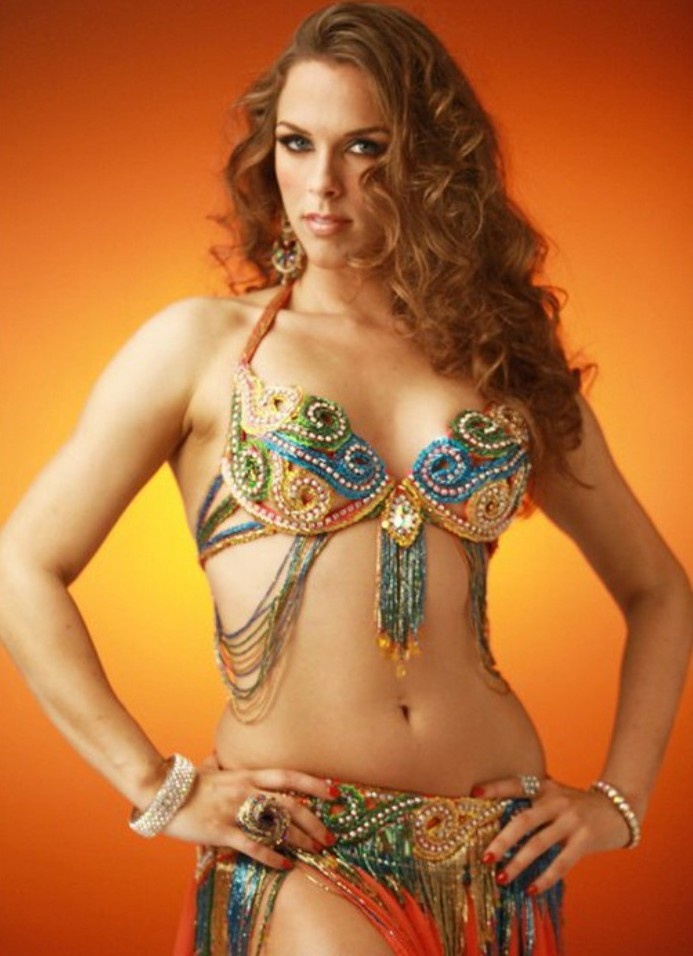 Usually they are sewn from the same fabric as the skirt or harem pants. They give the dancer grace in the dance. The flashlight is made either as a separate element of the costume, or sewn to the shoulder strap. The sleeve should not fit the arm, but be lush. In this case, in combination with a skirt or harem pants, it will look rich. The sleeve may have a non-sewn cut along its upper part. Along the cut, you can make the same decorations as on the cut sides of the bloomers.
Belt for oriental costume
Felt can be used for the base of the belt. There is a softer one, but it will not hold its shape as well as the one that is denser. But thin can also be used by folding it in several layers. Felt needs to be bought in a large size (it is usually sold in pieces). It should be enough to form the hip belt of an oriental costume. The easiest option is when a narrow belt is made. You can make it a wave. It is better to create a belt from two parts: front and back. When stitching, you need to make a small margin so that, if necessary, the belt can be slightly increased or decreased.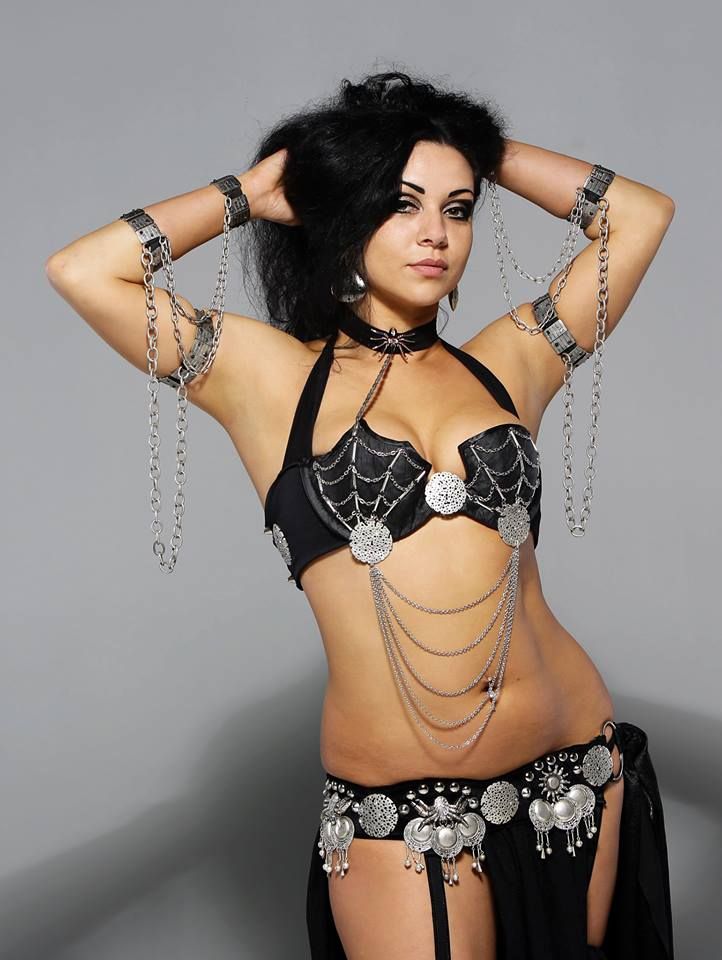 Usually the stock is done on the side in the fastener.
Material for sheathing
The next step is the selection of the material with which the base of the oriental costume will be sheathed. As a rule, it can be a supplex fabric from which swimwear is sewn. The entire bra is sheathed with this fabric, and not just the cup, so it is important that it does not lose elasticity and stretch. This fabric is also used on the belt, only in this case it does not stretch, but is fixed according to the felt belt pattern.
Many people use satin, thick silk and velvet as the material for covering. Undoubtedly, these fabrics look very nice, but are more suitable for sewing the base for children's oriental costumes, where there is no bra, but the upper part is sewn in the form of a cropped blouse that covers the chest. Moreover, the more beautiful the fabric, the less effort is needed to decorate it. In a suit for a girl, you can sew a belt along with bloomers, as in the photo below.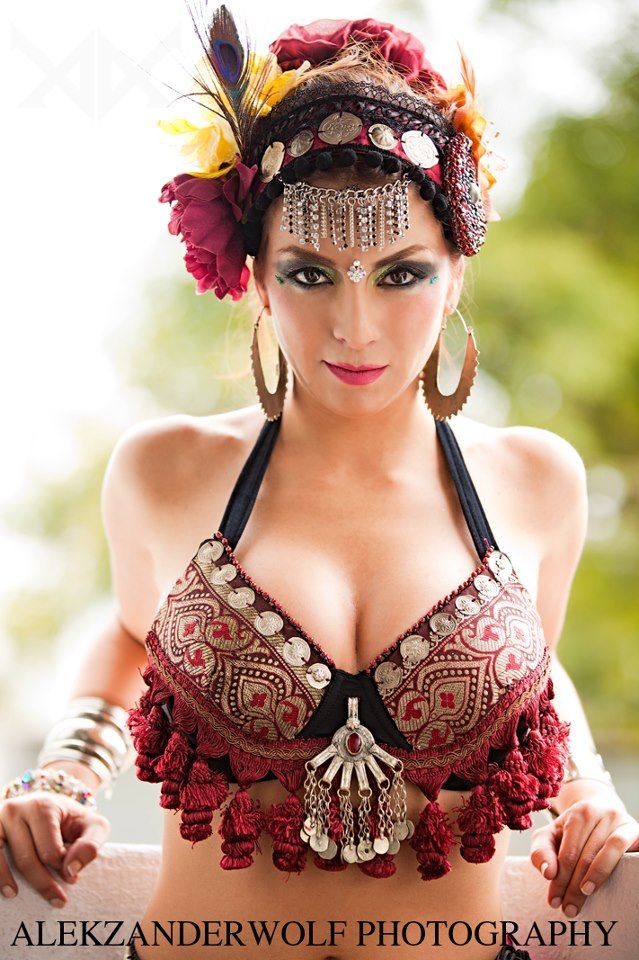
Design of the costume
After the base of the costume is covered with material, it is time to decorate. It should be decided what will be sewn or glued on the bodice and belt of the oriental costume. Beaded stones with hanging beads look much richer than a suit embroidered with sequins. Work on embroidery with sequins in combination with beads is the most time-consuming. The bodice of the costume is decorated with the chosen material.
There are belts that have an embossed pattern with curved ends, as in the photo below. If you are going to sew with your own hands an oriental dance costume with a complex belt, in which there are cut-out details, you need to think about how to make the openwork part solid. No matter how dense the fabric of the belt is, under the weight of the embroidery it will sag and the back surface will be visible. Here you need clamps, they can be wire or whalebone. In this case, the form will hold.
The waistband in the photo is embroidered with intricate embroidery, and the hanging is made not with tassels, but with waves of small beads.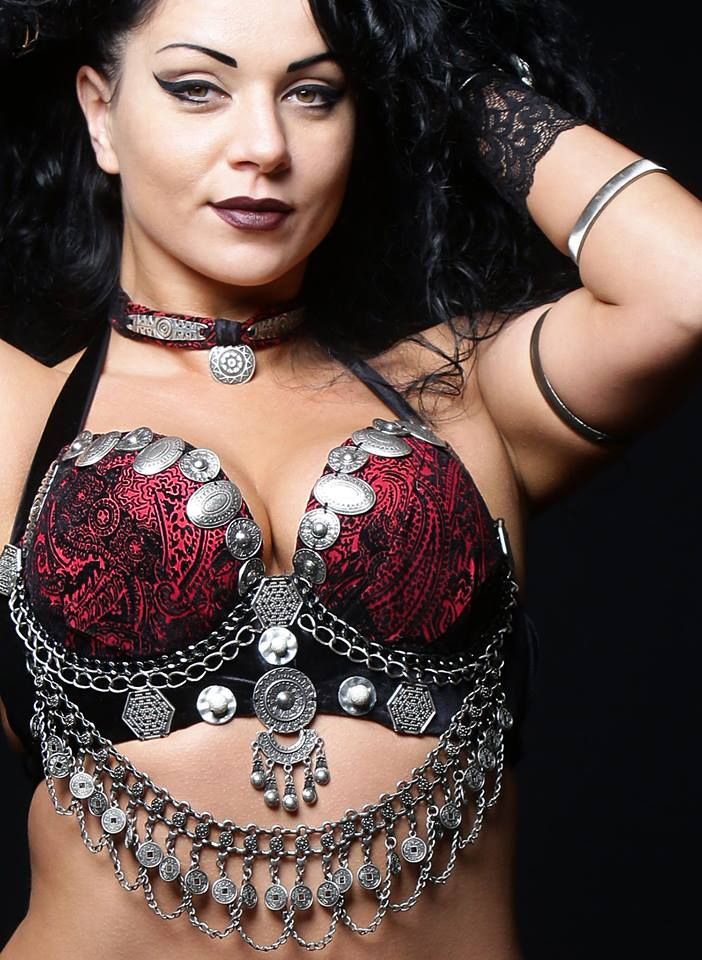 The belt of an oriental costume has a center from the back. The front part of the belt does not have a center, which is convenient in case the young dancer gains weight or loses some weight and needs to increase or decrease the volume in the side seam.
The flower, shown in front, lies as if from the side and looks spectacular. It is more difficult to make changes to the belt, centered in front and behind, in case of a change in the volumes of the dancer. Therefore, before you start to embroider the belt, you should think about the above problem. You can make a fastener on the back with two strong Velcro. In this case, you do not need to embroider or narrow the belt. Just move the Velcro. From afar, this will not be visible, and the belt looks solid.
Additional accessories for the costume
To create a memorable image of a dancer, bracelets on arms and legs, golden cords, beautiful elongated earrings are used as additional decorations for the costume of an oriental beauty.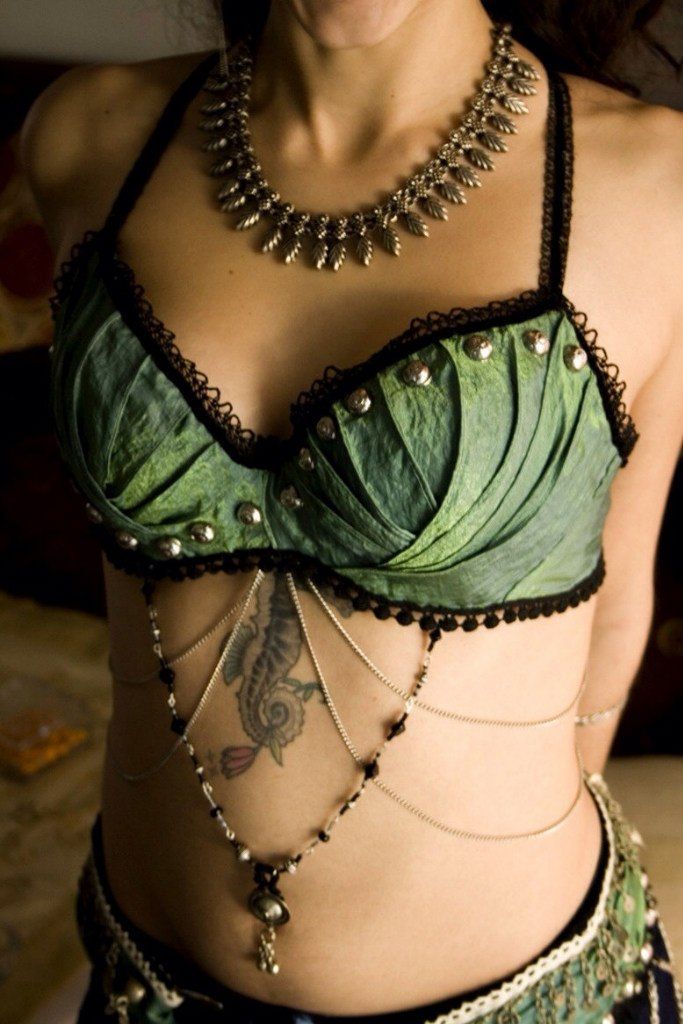 The monisto decorating the neck of the dancer looks original. It emits a characteristic ringing during the dance and matches the color and style of the costume. It can be made from pearls, coins and glass beads.
To add charm and charm to an oriental dance costume, dancers use many different accessories: shawls and scarves, scarves and headbands, sleeves and gloves.
Bloomers
To sew bloomers, you can use the loose pants pattern. The best material for them is translucent light silk, knitwear or gauze. The details of the legs can be expanded, as the top will be made with an elastic band. The length of the legs is taken 15-20 cm more so that there is an overhang at the bottom. On the sides, the seams should not be continuous in the area from the middle of the thigh to the ankle. Unsewn sidewalls of the legs can be decorated with metallic jewelry, sequins, or any jewelry that is harmonious with the basis of the costume.
Skirt
Oriental dance skirt is another option in an oriental dance costume.