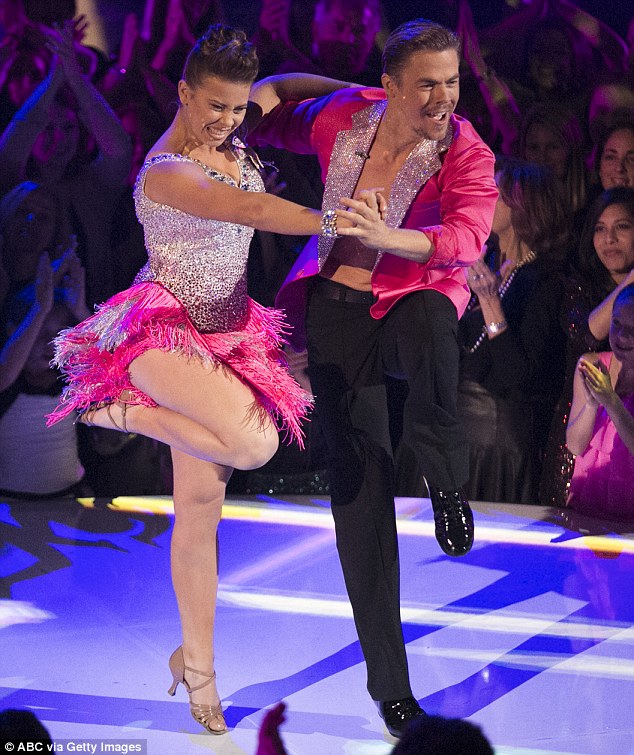
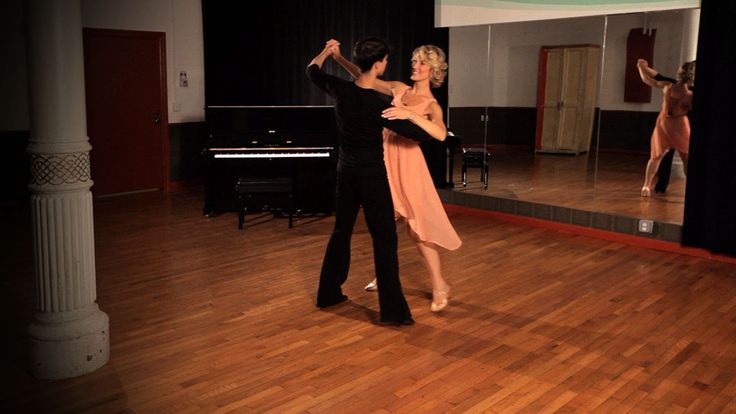
How to make sprung dance floor
How to Build Your Own Studio or At-Home Dance Floor
A proper dance floor system used to be an expensive and complicated project. No more. We are talking about a real professional floating wood sub-floor and marley floor surface with a taping or adhesive system, for as little as $3.50–$4.00 per square foot.
Do it yourself does involve time and effort for which you are rewarded by saving money.
Let’s first start out with a list of materials:
- If you are starting with a clean level concrete slab, you will need a vapor barrier, which can be liquid or visquin (clear vinyl sheeting) and water proof tape. If you have VCT tile or glued commercial carpet there is no need for a vapor barrier.
- Two layers of underlayment grade plywood, each a ½ inch thick. The bottom layer should be B/C, meaning that neither side has been sanded. The top layer should be A/C, meaning the top side is sanded smooth. Underlayment plywood does not have any knot holes or vacancies between the laminations.
- One inch counter sink deck screws. Nails are a no-no.
- Ardex Featherlite or Feather Finish filler for the screw holes.
- Foam blocks or foam cubes.
- Transition for doorway to access the raised dance floor system.
- (Optional) Vented Cove Base.
- Marley type flooring.
- Tape or adhesive.
That’s it. All products are available at Stagestep except the plywood, screws and Ardex.
Tools Needed:
- Circular saw with wood blade
- Power screw driver
- Matte knife
- Sander
Tips:
The bottom layer of plywood should be cut when necessary to stagger the seams. Boards should be 1/2 inch from the walls. Glue or peel and stick foam blocks or cubes to the plywood. 52 Blocks or 100 Cubes per 4 x 8 panel. See directions online, of placement of foam at Stagestep.com. Download installation guide. See page 33.
Flip all boards over so the foam blocks or cubes are in contact with the concrete or vapor barrier.
If the bottom ply runs North/South, the top ply should run East/West. Top ply should be cut where necessary to stagger the seams. Counter sink the screws using between 75-100 screws per 4 x 8 ply panel. Fill countersunk screws with a filler such as Ardex Featherlite or Feather Finish, Do not apply filler to the seams.
The following day, level the top layer of ply by sanding the filler smooth to the surface. Vacuum or sweep the subfloor
You are now ready to install your floor surface.
Installing your Marley Floor
There are five ways you can install your roll out marley. But first, there are a few things you need to do prior to the install.
- All rolled flooring needs to be stored standing up prior to installation, or else, if lying down they could develop roll set(floor has waves in it when rolled out)
- Roll out your flooring lose and let it acclimate to room temperature. This could take 24 hours.
- Make sure the subfloor has been swept or vacuumed before installing the floor.
Installation methods:
Temporary
Temporary installation of the floor from a few hours to a couple of weeks is primarily used for touring shows, conventions, competitions and in situations where the floor has to be pulled up and re-installed frequently.
Use top surface tape only. Seams should be separated by 1/16 of an inch before taping. Tape should be applied to all seams and circumference of the floor. Tape comes in two types, vinyl and cloth and in two widths, 1.5 inch or 2 inch. Your preference.
Tape residue should be removed prior to re-application with Wipeout Plus.
Semi-Permanent—One to three years.
2 inch double-faced tape and top tape.
This method has been around for many years. The double-faced tape is installed around the perimeter of each roll and down the middle of each roll.
The floor is rolled out and trimmed in place. Then one roll is rolled ½ way back up, employing a 4 inch tube (all floors are shipping with floors rolled around a tube so do not throw them away).
Apply the tape and peel off the top protective coating and roll your floor over the tape. Continue the process until all floors have been installed with the double-faced tape. Top tape all seams and around the circumference of the room. Remember to leave a 1/2 inch gap between the floor and the end of the subfloor to accommodate the top tape.
Semi-permanent Long Term—Three to four years.
Utilizing 4 inch installation double-faced tape, install the exact same way as 2 inch double-faced tape. However, In this case, all seams are tight and no top tape is needed. Therefore all flooring should be flush to the sub-floor.
Long Term Semi-Permanent.
Stagestep offers a unique installation product called ReUseIt. It is a sticky netting that utilizes suction to hold the floor to the subfloor indefinitely. Just peel up your floor to remove. Leaves no residue.
ReUseIt is installed over the entire subfloor prior to rolling out your floor. Install is perpendicular to how your floor is running.
ReUseIt comes in rolls 39 inches wide and 268 feet long. One person walking backwards unspooling the netting while a second person with broom in hand pushed it onto the subfloor. Cut roll when you get to a wall and repeat, going edge to edge with the previously applied ReUseIt.
Roll out your floor, running in the opposite direction of the ReUseIt. Match seams and trim to fit the room. Utilizing the 4 inch tube that came with the flooring, roll flooring ½ way back up. Peel protective top sheet of ReUseIt running across the width of the floor exposing 39 inch by 6.58 feet of ReUseIt (width of a roll of flooring) . Roll floor out over exposed ReUseIt and repeat until install is complete.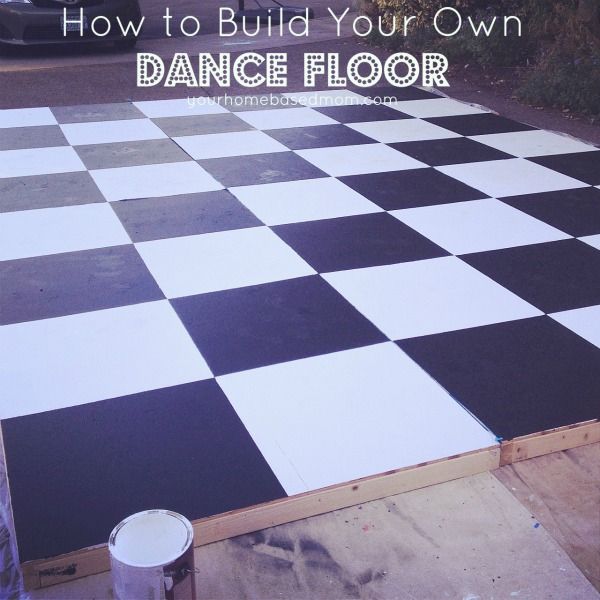
A 75-150 pound roller is sometimes used to smooth out and further secure the flooring. No top tape needed.
Permanent
Permanent installation requires adhesive and a professional crew to do the job. If you have never glued down a floor, do not make this your first project.
Can you build your own dance floor? How?
Here, experts from Stagestep Flooring Solutions share advice on building your own dance floor system for your studio.
Building your own dance floor system starts out with preparation, planning and asking the right questions. Do that, and the results will be a successful project, saving you time and money.
There are three elements to a dance floor system:
- The slab – your foundation
- The sub-floor – for energy absorption
- The dance floor – for a non-slip surface
There are many options to consider, both in what elements are required to meet your needs and how to put those elements together.![]()
Questions you should ask yourself:
- How is the space going to be used? Just dance? Multipurpose? Parties and other non-dance activities?
- What style(s) of dance, and how often will the space be used?
- Is this a temporary, semi-permanent or permanent installation?
- What is your budget?
Springstep IV sub floor from Stagestep
In addition, you will need to decide whether you do it yourself from scratch, use a pre-fabricated system to install yourself, hire someone locally to install or have the manufacturer do it all for you.
Once the questions are asked and answered, you will have a blueprint for action. Whether you do it yourself or farm it out, you should be aware of the following, so no critical step is missed out.
The slab needs to be level and have a vapor barrier, especially if it is concrete. If it’s not level, you may need to have it skim coated.
The floating sub floor can come in many configurations.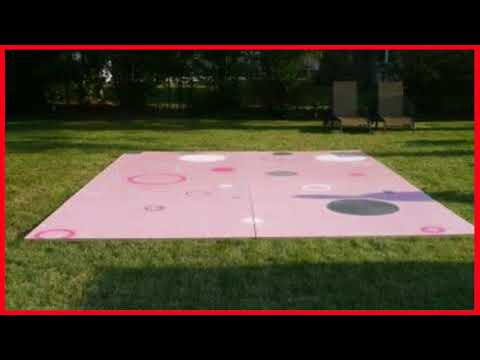 You will need to decide, based on function, installation instructions, budget and characteristics regarding resiliency and shock absorbency, which kind of sub floor is right for you. Make sure you get a floating subfloor as opposed to a raised subfloor. Floating means air under all surface points. Foam has air.
The dance floor surface can be vinyl (Marley-type) or wood. Within each category, there are many options based again on budget, appearance, use, maintenance schedule required and if the flooring ever needs to be moved (to a stage for a recital, for example).
Do not just jump in and make decisions without first exploring all your options, knowing your needs, talking with the “experts” and with other owners who have similar needs or have been through the process.
For the purpose of this tutorial, let’s say we are in a multi-dance use studio with a long-term lease (or we are the owners), and we have the ability to do it ourselves.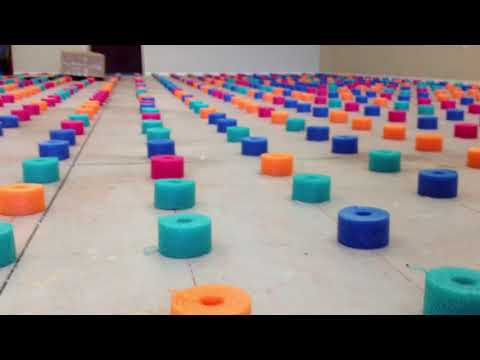
Installing a Woodstep dance floor from Stagestep.
First, we check out the slab. If it is uneven, broken in spots or otherwise not level, it will need to be repaired. If it is new construction, a moisture test should be conducted (called a “calcium chloride test”, which can be purchased at a hardware store) to check for the percentage of moisture and moisture pressure in the slab. The concrete slab then needs either a liquid or visquin vinyl sheeting vapor barrier. This is not hard to install or apply.
The basic all-purpose floating sub floor for multi-use dance activities is called Springstep II. The following elements are required:
- High density foam blocks or foam cubes (52-100 per bottom plywood sheet)
- 2 layers of ½ inch underlayment grade plywood – top layer to be A/C (finished on one side), bottom layer B/C (unfinished on both sides)
- 50-75 screws per top plywood sheet
- one-inch deck screws with thread running all the way up to the head
- wood putty
- sander
- electric screwdriver
- circular saw
- tape or adhesive to attach your flooring to the sub floor
Assuming you are going to install a Marley-type roll-out dance floor, you should always store your flooring prior to installation standing on end, rolled up around a cardboard or plastic core.
First step is to roll out over the flooring the sub floor, loosely for 24-48 hours so it can acclimatize. Always use an industrial cutting tool (not a box cutter) to trim the flooring.
There are four ways to install: temporary (top tape), semi-permanent (up to two years using double-faced 2” or 4” tape), long-term semi-permanent (ReUseIt 2.0), and permanent (adhesive). Professional installation is a must for permanent installs. Other options can be doing it yourself.
Directions are on available online at www.stagestep.com. They are straightforward and do not involve a great deal of skill. It will take time, but you can save up to $2.00 per square foot. Other options include Springstep IV, a pre-fabricated floating subfloor that eliminates screws, sanding and wood putty, and plywood. It will save you up to 80 percent in time to assemble.
Remember, preparation, planning and asking the right questions will result in a studio floor that is right for your students, your schedule and your budget.
Related Items:dance floor, dance floor installation, dance floor system, dance studio owner, floating dance floor, floating sub-floor, marley, Springstep II, Springstep IV, sprung dance floor, Stagestep, sub-floor
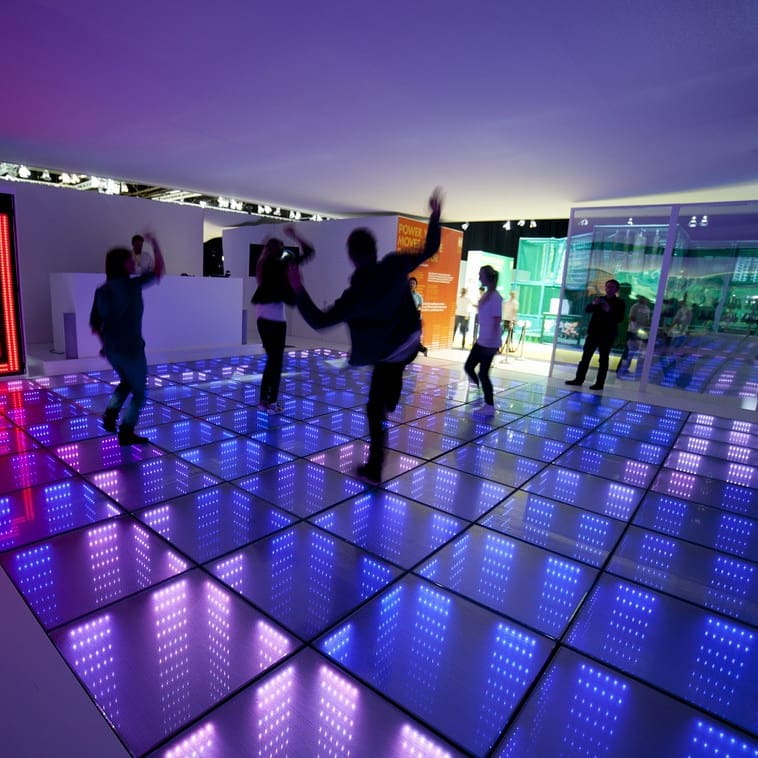
90,000 people completed the summer season of the Breath of the Streets project in Vologda with cyber-dances and fitness on springy boots. News of Vologda. SportA nightly promotional event within the framework of the City Breath of the Streets project took place the day before. More than a thousand Vologda residents from 20:00 to 23:00 under the light of lanterns actively rested on Revolution Square. There were already familiar PANNA football, breakdance and night streetball. The highlight was the dance floors. "Breath of the streets" on August 30 brought together more than 1,000 active Vologda residents.
So, for the first time they organized a cyber-dance floor. The program "Just dance" for PlayStation dances of varying difficulty. Dozens of Vologda residents from 6 to 40 years old repeated the movements. Some danced solo, others rallied into small teams.
Alena Kubinskaya and her friend Sonya Biryukova repeated the movements from the monitor screen. The 11-year-old schoolgirl tried her hand at PANNA football that evening, and also went to the playground with basketball players.
“For the first time I participated in such a project. I really love dancing, I can’t say that I did it professionally, but it was very entertaining! It's great that both adults and children can try themselves here. Dancing in the fresh air - what could be better! - said Arina Kubinskaya, a participant in the cyber-dance site.
“I have a stadium near my house where the guys and I play football. Today I tried to play PANNA - still not very successful. In general, I love basketball the most. This is not the first time I've been on the "Street Breath" site - was also at the opening - we come with the whole family, ”said Sonya Biryukova.
Throughout the promotional evening, dance and fitness studios held flash mobs on the impromptu stage near the Zub. Hundreds of Vologda residents repeated zumba movements to the beat of the music. Representatives of the Kangoo Jumps direction showed how you can dance "in flight".
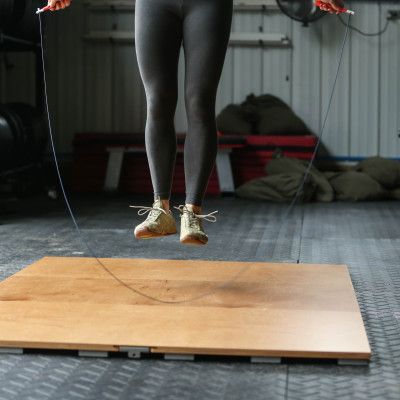
“I brought this type of fitness to Vologda in November 2016. Since then, our "springy" boots have conquered many. Now Kangoo Jumps is one of the most effective types of fitness. During jumps in special shoes, the load on the knee, hip joints and spine is reduced. When we dance on Kangoo Jumps, we fly!” - said Svetlana Okhonskaya, a licensed international instructor in Kangoo Jumps.
One of the brightest areas is graffiti. A street artist made an inscription on a 9-meter canvas - the name of the project. Nine teams fought in night streetball.
“It turned out to be a very atmospheric closing of the season. We are very glad that many dance and fitness studios have joined us! I note that now the “Breath of the Streets” is being implemented all year round. We will not be limited to only one festival.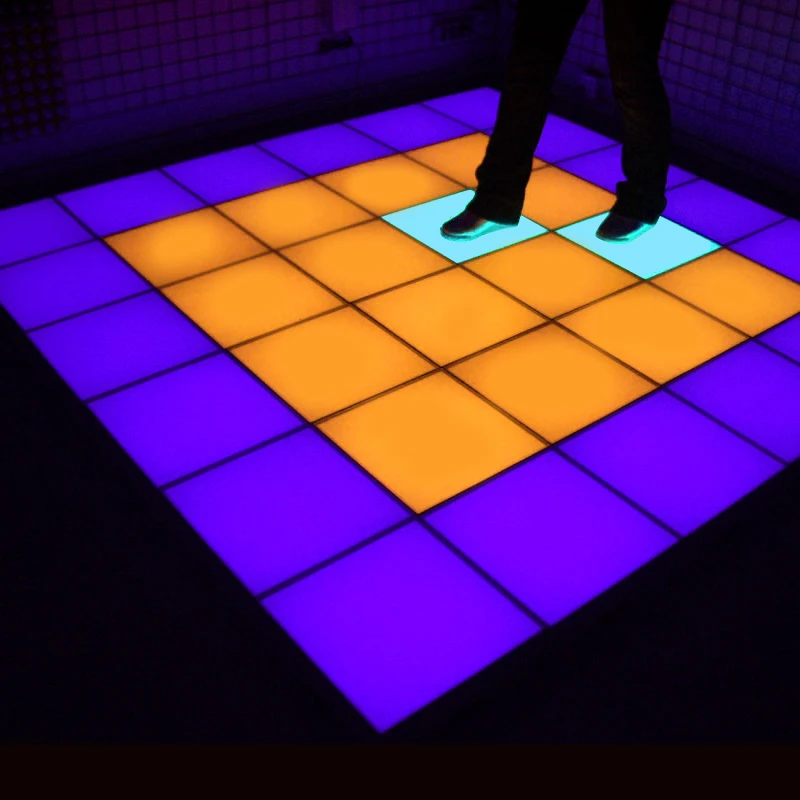 We are already compiling a series of events for the whole year in various areas”, - noted the director of the Youth Center "GOR.SOM 35" Yana Filippova.
Vologda residents are waiting for cyber championships, dance tournaments and much more. Let us remind you that it is the decision of the Mayor of Vologda, Sergey Voropanov, to make the project year-round. It was adopted after evaluating the results of the youth sports project. And it is in demand among young Vologda residents, who are ready not only in summer, but also in winter to gather at various venues.
This year the participants competed in 10 street directions. The competition ended with the grand finale "Energy of the Streets", which took place on June 30, on City Day, on the site near the Drama Theater. In 2018, the Breath of the Streets project is being implemented with the support of the Presidential Grants Fund.
Cyber dances and fitness on springy boots closed the summer season of the Breath of the Streets project in Vologda.
 News of Vologda. Sport
 A nightly promotional event within the framework of the City Breath of the Streets project took place the day before. More than a thousand Vologda residents from 20:00 to 23:00 under the light of lanterns actively rested on Revolution Square. There were already familiar PANNA football, breakdance and night streetball. The highlight was the dance floors. "Breath of the streets" on August 30 brought together more than 1,000 active Vologda residents.
So, for the first time they organized a cyber-dance floor. The program "Just dance" for PlayStation dances of varying difficulty. Dozens of Vologda residents from 6 to 40 years old repeated the movements. Some danced solo, others rallied into small teams.
Alena Kubinskaya and her friend Sonya Biryukova repeated the movements from the monitor screen. The 11-year-old schoolgirl tried her hand at PANNA football that evening, and also went to the playground with basketball players.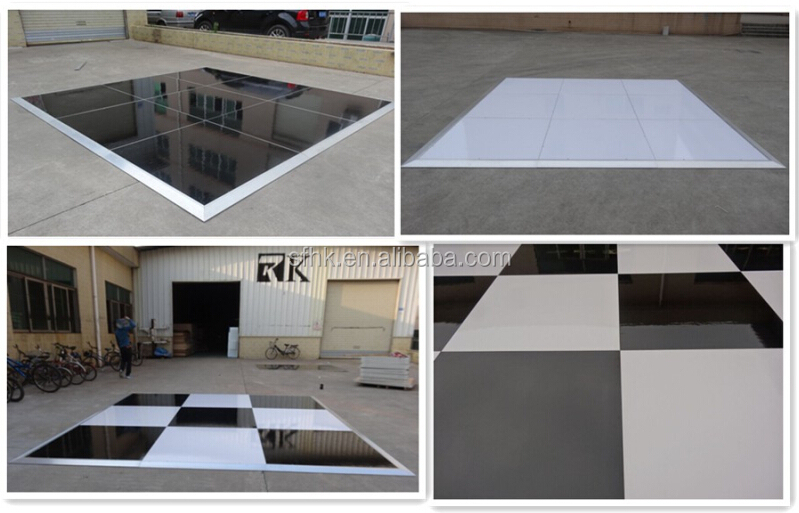
“For the first time I participated in such a project. I really love dancing, I can’t say that I did it professionally, but it was very entertaining! It's great that both adults and children can try themselves here. Dancing in the fresh air - what could be better! - said Arina Kubinskaya, a participant in the cyber-dance site.
“I have a stadium near my house where the guys and I play football. Today I tried to play PANNA - still not very successful. In general, I love basketball the most. This is not the first time I've been on the "Street Breath" site - was also at the opening - we come with the whole family, ”said Sonya Biryukova.
Throughout the promotional evening, dance and fitness studios held flash mobs on the impromptu stage near the Zub. Hundreds of Vologda residents repeated zumba movements to the beat of the music. Representatives of the Kangoo Jumps direction showed how you can dance "in flight".
“I brought this type of fitness to Vologda in November 2016.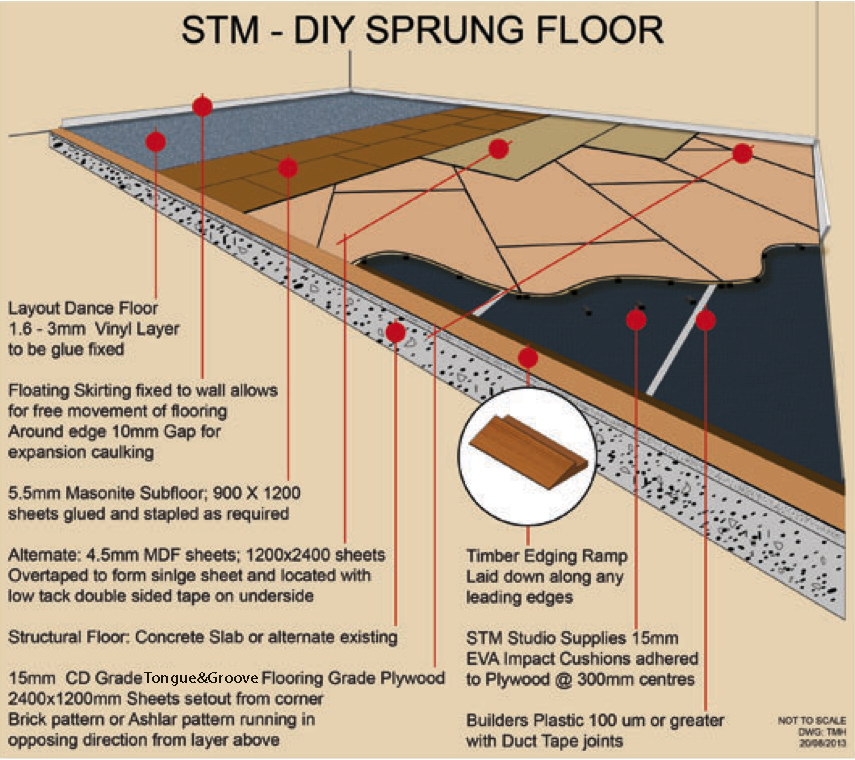 Since then, our "springy" boots have conquered many. Now Kangoo Jumps is one of the most effective types of fitness. During jumps in special shoes, the load on the knee, hip joints and spine is reduced. When we dance on Kangoo Jumps, we fly!” - said Svetlana Okhonskaya, a licensed international instructor in Kangoo Jumps.
One of the brightest areas is graffiti. A street artist made an inscription on a 9-meter canvas - the name of the project. Nine teams fought in night streetball.
“It turned out to be a very atmospheric closing of the season. We are very glad that many dance and fitness studios have joined us! I note that now the “Breath of the Streets” is being implemented all year round. We will not be limited to only one festival. We are already compiling a series of events for the whole year in various areas”, - noted the director of the Youth Center "GOR.SOM 35" Yana Filippova.
Vologda residents are waiting for cyber championships, dance tournaments and much more.