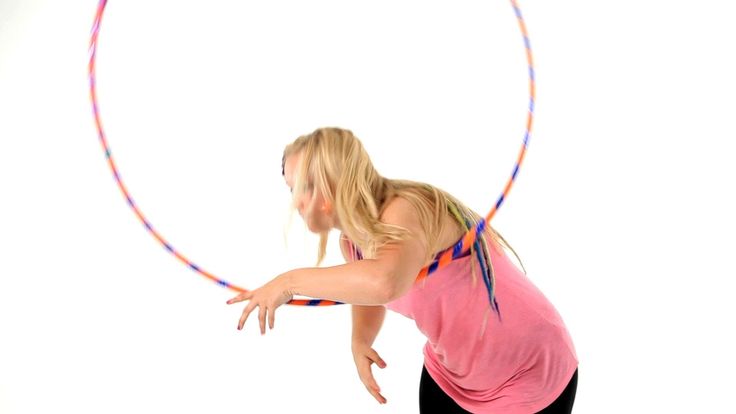
How to make hoops for hoop dancing
Beginners Guide to Hoop Making
The chances are, when you fall in love with hooping you become a hoop maker to one extent or another. I started making hoops pretty soon after I found hooping. To begin with, my family and friends all got a hoop for Christmas, whether they wanted one or not. Not long after that, I became a Hoop Love Coach and began teaching hoop dance and fitness, so many hoops were needed for classes, festivals and events. A few years later, I opened my online shop – One Stop Hoop Shop. So it was official – I was a hoop maker. Without a doubt, hoop making is a craft, the more you do it, the better you get.
I have found that the best way to approach hoop making is to be resourceful and inventive with a little bit of patience thrown in. It can be fun, therapeutic and satisfying. It can also be puzzling, frustrating and hard work. I have written this article in the hope that it clears up some questions that may pop up and assists you in your endeavour as a hoop maker.
Happy Hoop Making.
TUBINGMDPE (medium density polyethylene) This tubing is readily available in any plumbing supply shop or online. It is best used for beginner hoops due to its heavier weight. Colours available are blue, black and yellow. Tube sizes available are either 20mm OD x 16mm ID or 25mm OD x 20mm ID. The smaller is the most commonly used but the 25mm makes a heavier hoop and holds up well when making oversized hoops. You may come across mention of different psi (pounds per square inch) of tubing . This relates to the wall thickness. However, the two sizes mentioned above are standard plumbing pipes which pretty much covers all requirements for a beginner hoop so there is no need to complicate things much further.
Polypro (Polypropylene) This is generally only available online. It comes in clear and also pretty much any colour you want. It is lightweight and very responsive. Not ideal for when first learning on-body hooping but absolutely essential for learning off body moves and flow.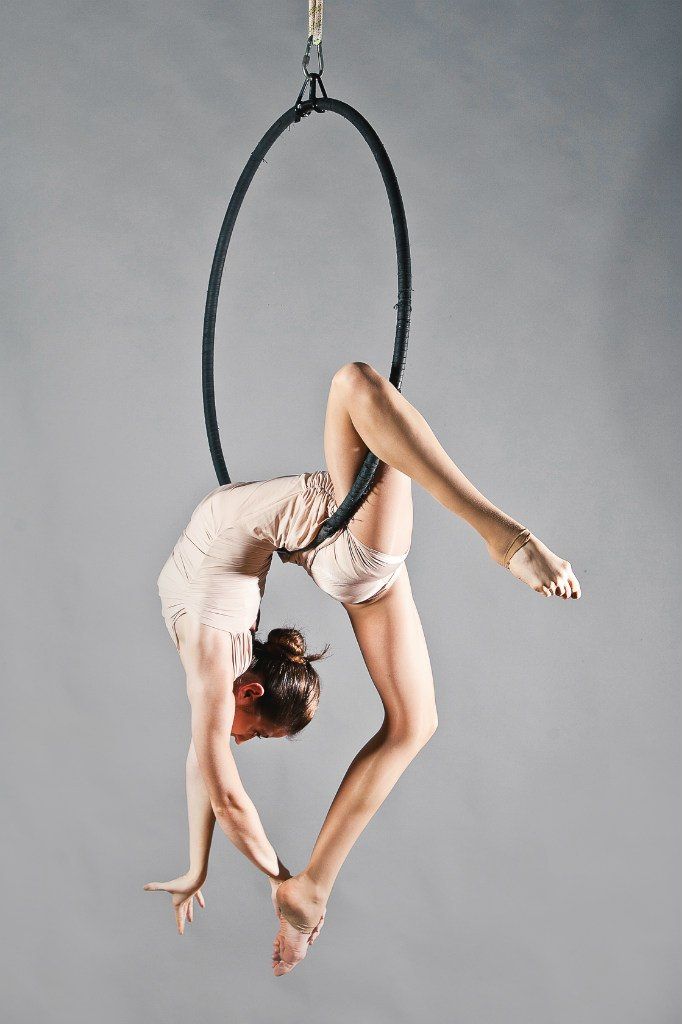 Various tube sizes are available but the most commonly used are Standard 19mm (3/4″) OD and Skinny 16mm OD (5/8″)
HDPE (high density polyethylene) This can be purchased online from USA and comes in clear and coloured. I am told it performs in a similar way to polypro.
CONNECTORSConnectors are made of either polycarbonate, polypro, pex or barbed plastic. Which is best? It’s personal preference really. For a 20mm MDPE beginner hoop use either pex or a grey barbed connector. For a 25mm MDPE beginner hoop, the 20mm MDPE makes a great connector.
For a polypro hoop you can use either polypro or polycarbonate. I like a polypro connector when I make a fixed connection. And polycarb when making a coil down hoop. But both do a good job in either type of hoop. Where one fits perfectly, the other may not. Read on…..
Awkward or poorly fitting connector? The fact is, plastic tube extrusion is not precision engineering. This means that the slight differences that can occur during the manufacturing process, either on the inside diameter of your tubing or the outside diameter of your connector material, or both, can play havoc when trying to make a lovely connection.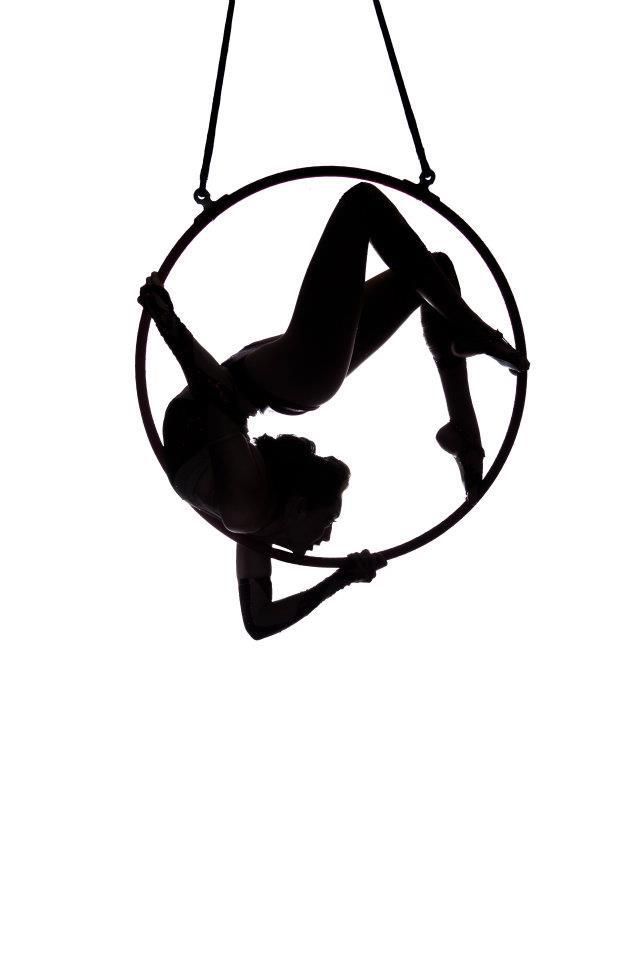
Connector won’t go into tubing? Warm the tube (not the connector) in boiling water for a few minutes then push connector in.
Hoop gone a bit egg shaped? Warm the connector up in a cup of boiling water and straighten it.
Connector just not sitting right? Try a different length connector.
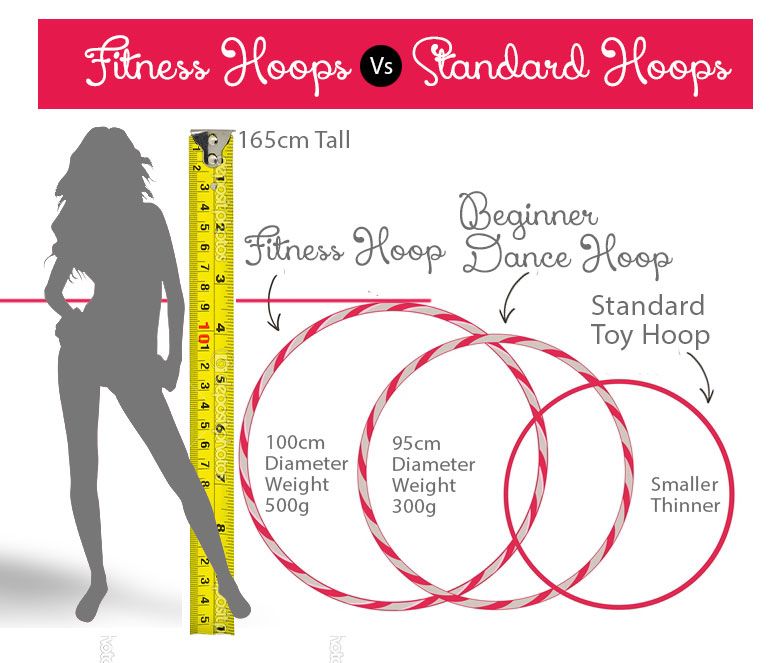
HOOP SIZEFor an adult size beginner hoop, the general rule of thumb is to measure from your belly button to the ground to arrive at the hoop diameter. Going bigger than this is also good as the bigger the hoop, the easier it is to get it going and keep it up. A hoop diameter of anything between 90cm to 100cm will suit most adults.
Material used for a beginner hoops is usually MDPE tubing due to its weight. 20mm is the standard size used but 25mm is a good choice for tall or larger stature people.
Polypro hoops are generally smaller in diameter than beginner ones. A good average size would be around 85cms.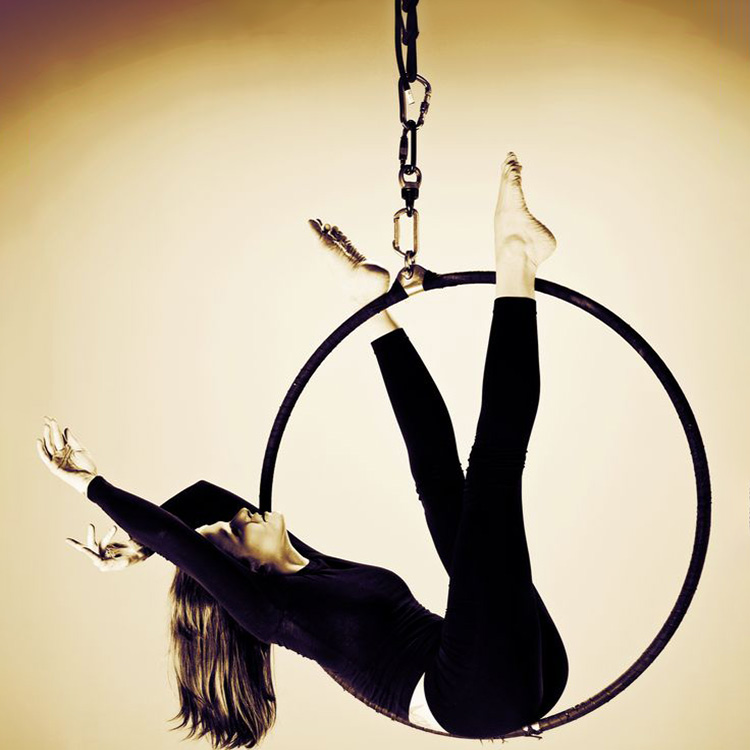
Twin polypro are often smaller again. A good average size would be around 80cms
To work out the length of tubing needed for a hoop, multiply the diameter you want by by 3.14 (Pi). Eg. 90cm x 3.14 = 282cm
A final note about hoop size, don’t get overly hung up on precise hoop sizes if you are making them for yourself or classes. A few centimetres here or there won’t make much difference.
FIXED OR COIL DOWN?A fixed connection is just that, once the hoop is made, it does not collapse. Great for class and event hoops. The connector is either riveted in, held in by friction or hot glue and tape. I now rivet all my fixed connection hoops because it makes the most secure join.
A coil down hoop is made by riveting a connector in on one side and adding a push button to the other. These are great for a personal use hoop. These are also referred to as travel hoops.
Sectional hoops have the same type of connector as the coil down hoops but break down into between 3, 4 or 5 separate sections.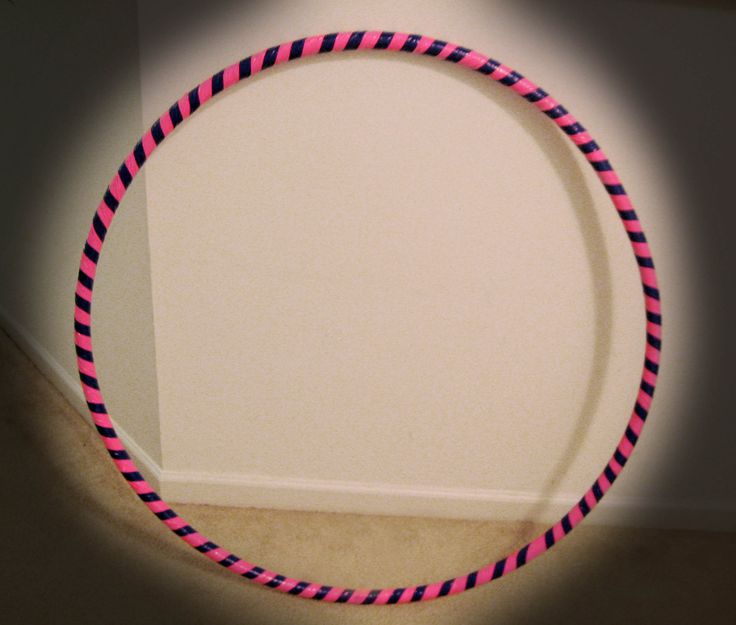 These hoops are the most transportable of all.
Beginner Hoops – At the very least, you will want to add a spiral or two of grip tape. You can also add extra colours by alternating the grip tape with vinyl tape. For a lovely bling hoop, you can choose from a myriad of sparkly, mirrored or colour shift tapes. If you are using a metallic tape, always add this first, then vinyl, then grip.
Polypro – Coloured polypro is so pretty, you tend not to add any tape. The great thing about a totally naked hoop is that there is no maintenance. To add some grip to your naked hoop, take a piece of sand paper and lightly rub the inside edge of the hoop. For natural translucent polypro you can decorate in the same way as a beginner hoop. You can also add a run of grip tape around the inside surface of the hoop if you wanted an all sparkle hoop without the spiral effect.
…
Guest blog post by Tamsin Marley of One Stop Hoop Shop UK
My name is Tamsin Marley, I live in the south of England and I’m truly passionate about sharing hoop love with the world around me.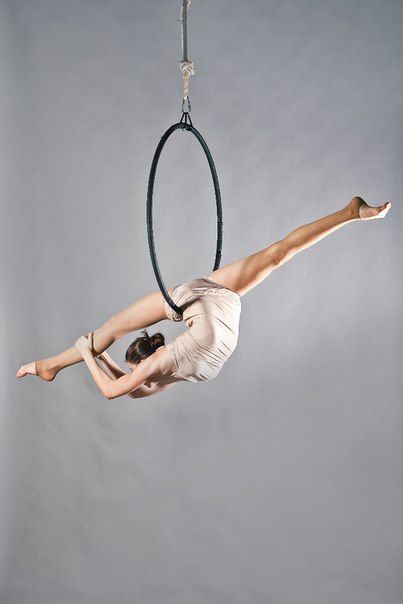 I am the creator and owner of One Stop Hoop Shop, a UK based online hoop and hoop making supplies store. I am also a certified Hoop Love Coach, HoopYogini and most recently qualified as an Exercise to Music fitness Instructor. I have a full time job and a granddaughter so I’m quite a busy bee. If you have any questions please feel free to contact me. Full contact details are on my website www.onestophoopshop.co.uk. You can also contact me Facebook and Instagram.
…
Next step is to learn how to tape a hula hoop.
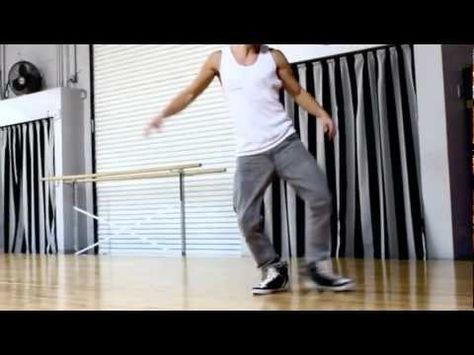
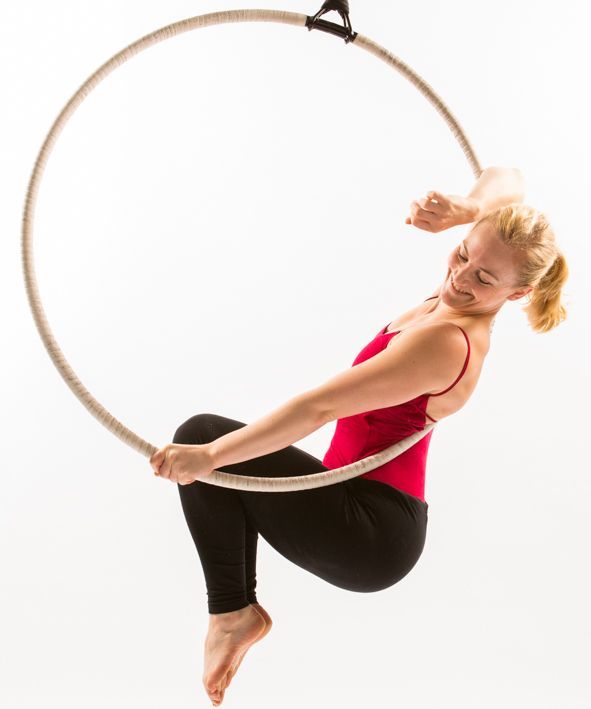
How to Hoop Dance for Beginners – The Spinsterz
Hula Hoop Dance is a dynamically evolving genre, adaptable to any style of music, approachable for the solo dancer, duet or ensemble, and accessible to all generations and body types. Some styles of hula hoop dance keep the hoop rotating on the core body, as the dancer focuses on footwork and the movement of the arms around the hoop. Other styles keep the hula hoop off of the body the entire time, manipulating any number of hula hoops to move in the space surrounding the dancer. Still, other styles move the hula hoop between planes, core hooping, and off body hooping. Sometimes the hula hoop rotates around a body part, rolls along a path, or doesn’t rotate at all.
If you are just entering into the world of hoop dance, there are two pieces you need to focus on:
• Exploring the movement of your own body and
• Learning to communicate with your hula hoop.
After working with these fundamental skill sets, your own personal hoop dance will begin to morph into a style that feels right to you. Please note that I could spend an entire weekend nerding out and elaborating on the building blocks of hoop dance, but in the context of this moment, I hope to give you the first stepping stones to welcome you onto your own personal path of discovery.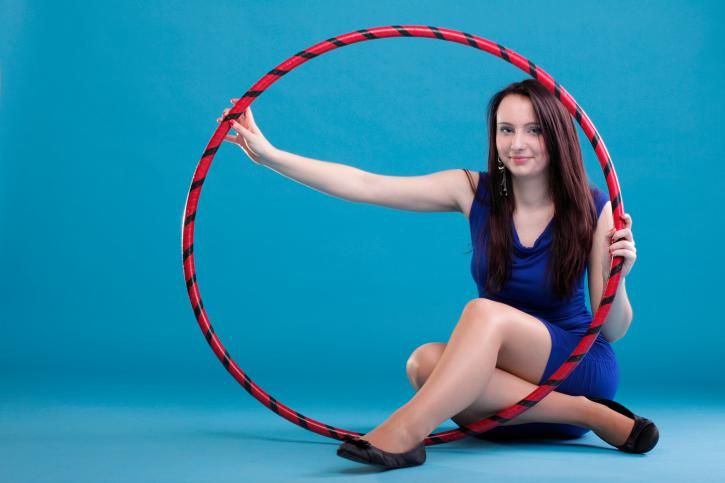
Step One: On Body Hula Hooping aka “Body Rocking Hoop Dance”
Each of the following On Body Hula Hooping topics will begin by explaining the foundational movements. While each of these building blocks is described for the absolute beginner, it can be helpful for even the experience hula hooper to revisit these fundamentals. Even if dancing with the hoop of your body is your goal, these “Body Rocking” exercises will help you open up ways to move your body in dance that can be applied to off body hooping later on.
Each topic will end with exercises to convert the foundational movement into dance.
Waist Hooping Foot Work
Whether you are picking up your hula hoop for the first time or have already been loving on your hula hoop for a year, take it back to that first push of the hula hoop around your waist. Note that the diameter of the hula hoop will determine the speed your body has to move. For more information on how to pick your hula hoop, take a moment to review “What hula hoop size do I need. ”
”
Place the hula hoop on the small of your back. If you lean a little into a back arch you will feel that spot that your body starts to hug the hula hoop. Take one step forward so you have one foot in front of the other. It doesn’t matter which foot you use, just pick the one that feels most natural to start. Keeping the hula hoop parallel to the ground, give it a strong push with your hand in toward your tummy so that the hula hoop can rotate around your body a few times without you even having to move your body. Learning the control of this first push can make or break the ease of your hula hoop practice. Try this same thing with the other foot in front or while pushing with the other arm and get used to both sides.
Once the hula hoop is spinning around your waist, move your body in a straight line so that your belly button is drawing a line between your toes. Keep your heels on the ground and your knees soft as your body finds the tempo of your hula hoop.
Keeping the idea of your belly button moving in a direct line between your toes, try these three-foot positions:
1. Right foot forward – Body moves front to back
2. Left foot forward – Body moves front to back
3. Feet side by side (2 feet apart) – Body moves side to side
In each of those positions practice pushing the hoop in either direction so that you can do each foot position with the hoop spinning right or left. Then try changing foot positions without letting the hula hoop drop.
The Dance
Start by putting on your favorite song. Practice changing your foot positions so that you are placing your foot into the next position with key moments of the song like the beginning of a new line or a strong beat. As you get further into the song, try changing the foot position more often or repeating patterns of movements. As you gain confidence, experiment with other foot movements like a grapevine, a box step or a cha-cha. Put on different styles of music and see how the style of music changes how you want to move your feet.
This is a core foundation of Hula Hoop Dance footwork. The more you play with this concept the more comfortable your body will become, separating the movement of your hips from the movement of your feet. You will find that while your feet will change speeds with the steps and the music, the rotation of your hula hoop will stay consistent. It is natural to feel frustrated at first, so it can help to try a hula hoop with a larger diameter than you would usually use when trying new footwork.
Turning Your Body
Turning or spinning your body while hula hooping has many purposes.
1. Adds a contrasting movement and allows you to face in any direction
2. Changes the speed of the hula hoop in relation to your body
3. Can make learning new tricks and movements easier
4. Assists in catching a hula hoop that is starting to fall
5. Disguise or smooth out transitions into other parts of a dance
Turning the same direction that the hula hoop is spinning will make the hula hoop’s rotation feel slower in relation to your body.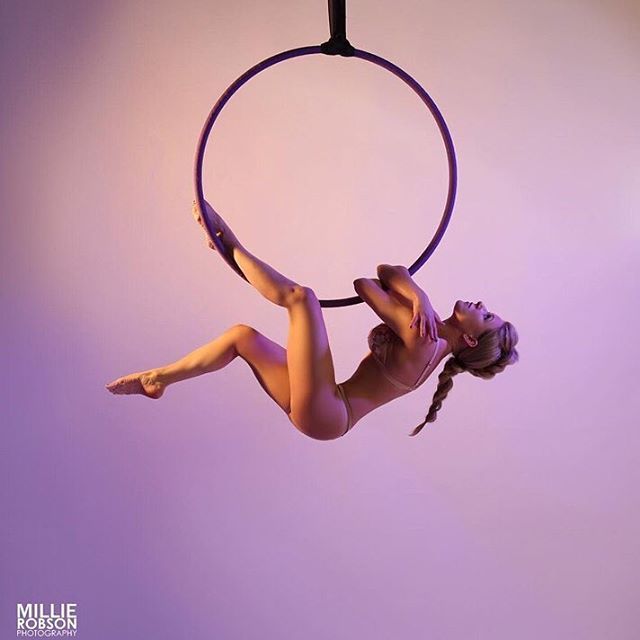 Turning the opposite direction will increase the speed of the hula hoop in relation to your body so that you will have to move faster as well. For the purposes of beginner hoop dance, we can focus on turning the body in the same direction that the hula hoop is spinning.
A compass turn is a solid building block and starting place for beginners. Pick an anchor foot based on which way the hula hoop is spinning. If the hula hoop is spinning to your left, make your left foot the anchor. If the hula hoop is spinning to your right, have your right foot be the anchor. Place your feet side to side and find a comfortable stance to hula hoop with your hips moving side to side. While your anchor foot pivots in place, use your other foot to push your body in a small 45-90 degree turn. Once you place your foot back down, take a moment to make sure your waist still has control of the hula hoop before making your next turn.
A float turn uses a similar concept as the compass but turns your body a full 360 degrees and turns your body the same speed as the hula hoop for one rotation.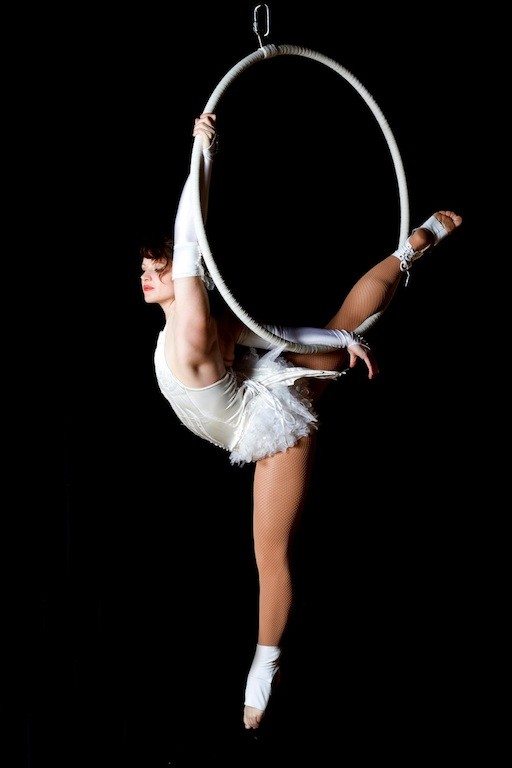 This gives the illusion that the hula hoop is floating during your spin. Start with your anchor foot in a forward position and push off with your other foot, using enough force to spin yourself in a full circle. When you complete the spin place your lifted foot back down and continue waist hooping. Be sure to spin your body the same direction that the hula hoop is spinning and to restart your waist hooping movement as soon as your foot hits the ground. Remember to practice these turns in both directions!
The Dance
The use of an anchor foot helps keep a dancer grounded when learning how to turn, but finding freedom from the ground will help release the body into the flow of dance. Start practicing free form turns by moving one foot at a time, remembering from the waist hooping exercises that where ever your feet land, you can regain control of the hoop by thinking about moving your core with the line between your feet.
Put on some music and incorporate your turns into your foot work practice. Since turning with the hula hoop changes the speed of the hoop in relation to your body, you can use your turns to fit your steps and your movements closer to the speed and feel of the music. Try adding a float turn to accent a moment of the music or switch between facing a single direction and slow turns to reflect the lyrics.
Where Do the Hands Go?!
One of the most common thing's arms will do when learning how to hula hoop is to imitate a t-rex. These t-rex arms or chicken wings do well for keeping our arms out of the way of the hula hoop, but will not be your first choice when dancing with the hula hoop. The first way to approach hand and arm movements is to start paying attention to where they are and let them do anything other than the t-rex. Think of it as a three-part process with your shoulders, your hands, and your arms dancing between them.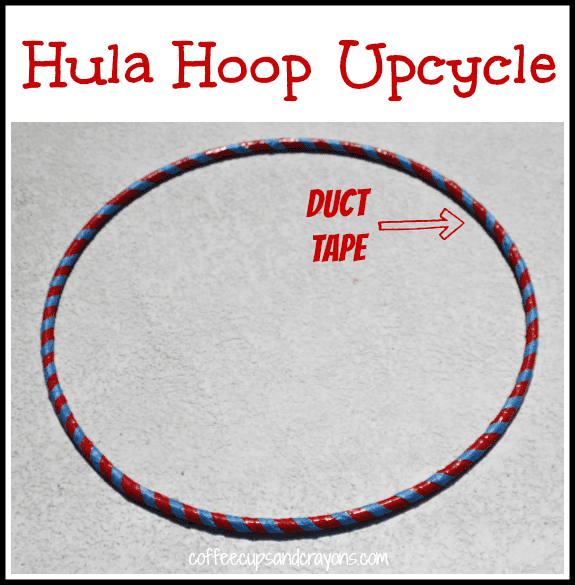
Start by relaxing and positioning your shoulders. Roll your shoulders forward, up, back, and down a few times, and end with the back and down, an exhale, and imagine your shoulder blades melting down either side of your spine.
Next, think about different places for your hands to be. Extend them out to either side, reach them in front of you, place them behind your head, or hold them on your heart. Your hands could be mirrors of each or each could be doing a separate thing. Experiment with the direction of the palms and the position of your fingers as if each of your hands are their own unique and relaxed sculpture.
Finally, bring your focus to your arms. Stretch your arms wide or let the elbows be soft and gently bent. Your arms might create strong lines, or curve into circles. Find different paths for your arms to take as you switch your hands to new positions.
The Dance
So much of the dance happens in the spaces where your arms are moving to a new position.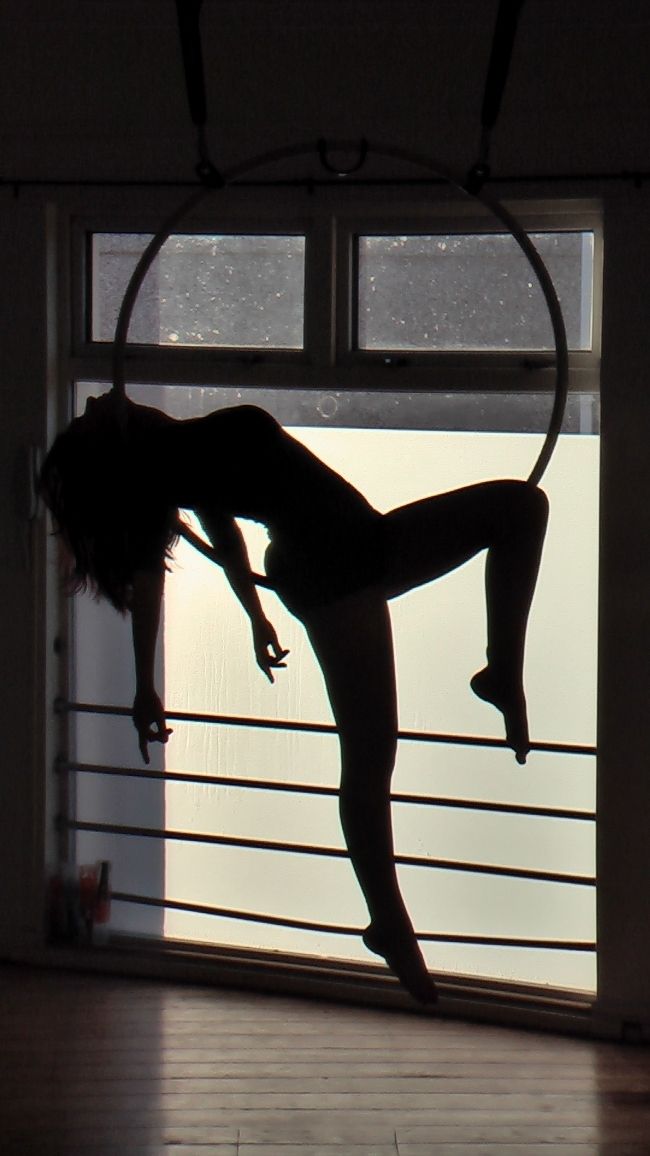 Ground your feet and start your hula hoop in your dominant direction so that your focus can be on your arms while your body keeps the hula hoop moving. Turn on some music and with every line, move one of your arms. You might move your right hand to 4 different positions before moving your left, or you might switch arms each time. Try leading the movement with your hand, your shoulder, or your elbow and let the rest of the arm follow. Different ways of moving your arm will fit different styles of movement. In the beginning, just find the movements that feel good in your body.
As you get used to having your arms and hands dancing in the air above your hoop, start moving your feet again. Turn with your hoop and use your hands to make circles in front of you as they mirror your hoops movement. Then try to use these movements following the hoop to transition between a different arm and hand positions that you liked. Incorporate arm movements into your float turns by starting and ending with your arms wide, and bringing your hands toward your chest during the spin. Just like before, play different styles of music and try to change the movement of your arms to reflect what you hear.
Don’t forget to practice spinning the hula hoop in the other direction, and see how that changes the way your arms want to move!
Step Two: Empty Space and Outer Space
Getting to know the empty space in and around your hoop gives your whole body a new place to dance. At the same time, dancing within this empty space prepares us for other tricks like breaks, paddles, lifts, and other transitions.
Inside Windows aka Inner space
If you look down at the hula hoop spinning around your waist, there is a moving window of space between the circle of the hula hoop and your body. The same thing can be said of a hula hoop rotating around your legs, neck, hands, feet or any other part of your body. The empty space between the hula hoop and your body is the inside window.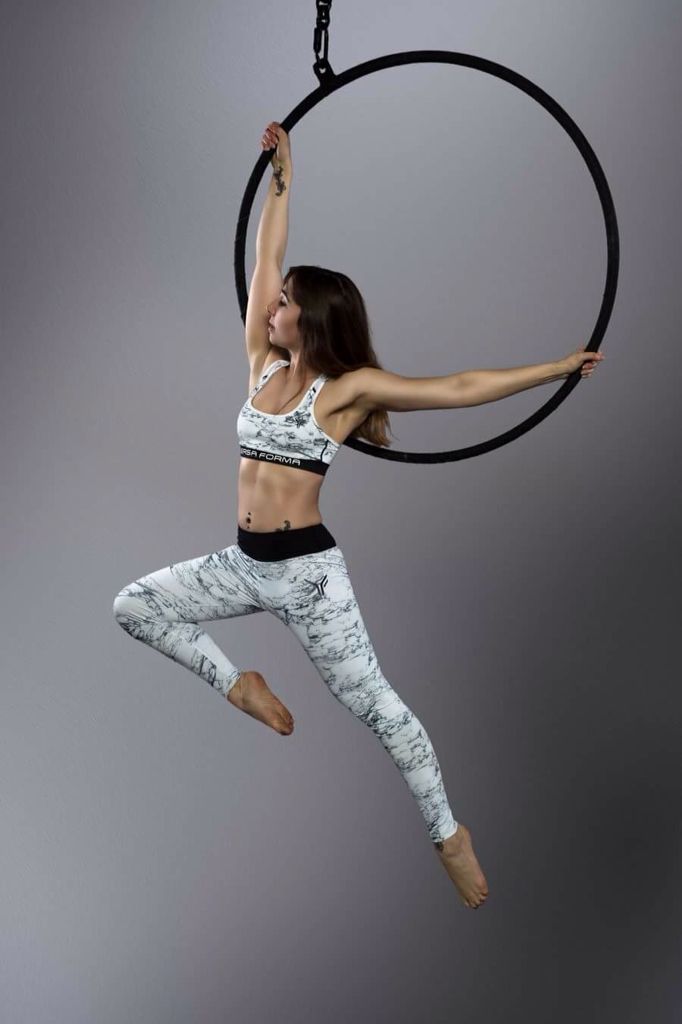
To start exploring the space while waist hooping, start by trying to dip either hand into that window and pull it out again without touching the hula hoop. If your hula hoop is spinning to your left, start by dipping your left hand into the window when it appears in front of your body. If you hoop is spinning to your right, use your right hand in front. Once you dip this hand into the hoop, you can follow the window to the back of your body before you pull your hand out of the way. Where the first hand exits the hoop behind the body, the second hand can enter and follow the window back to the front of the body. With this technique, you can utilize the full window of space around your body without ever making contact between your arm and the hula hoop.
The Dance
Remember how spinning the same direction as the hula hoop slowed the hula hoop down in relation to your body? Incorporating turns gives your hands more time to dance in and out of the windows. As you listen to different songs, start dipping your hands into the windows and following the movement of the hula hoop.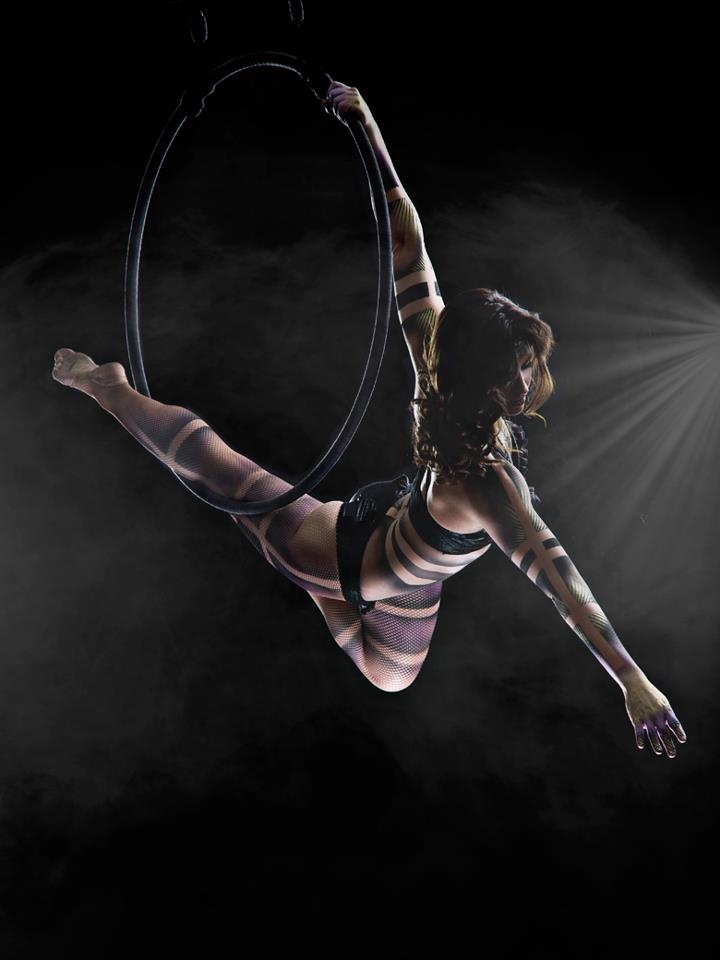 When bringing your hands back out try to reach out to one of your favorite positions from the previous exercise and resist the urge to sit in the t-rex position. When in doubt, just let your hands and arms follow circular motions in time with the music.
As you play with the windows your body will become more comfortable crossing the line previously held by the hula hoop. You might want to try keeping your arm inside the window and close to your body so that the hula hoop rolls over it for one rotation before bringing it back out. These switches will also help prepare you for shoulder hooping and other transitions.
Outside Windows aka Outer Space
Outer Space refers to all of the space on the other side of the hula hoop from your body. It may seem far away, but at any point when the hoop is in contact with your body, outer space is an inch away. A great way to get used to playing with your outside windows is to try to touch your leg by reaching to the outside of the hula hoop and swinging your arm down and through the window to outer space. This movement is very similar to playing within the inside windows, only now your arm follows the place where the hula hoop is touching your body instead of following the point that is furthest away.
The Dance
Once you have a grasp on where your hands and arms fit into outer space, you can start playing between the inside and outside windows. Explore the space above, below, and within the flow of the hula hoop and imagine your hands making spirals and circles following the direction the hula hoop is moving. Your hands are dancing through the empty space and your body is familiarizing itself with the movement and every changing location of the hula hoop around you.
Step Three: Style
Like every form of communication, the more you practice your dialogue with your hula hoop the smoother and more natural it will become. The same goes for the movement of your body. At this point do not be worried about if your movements are beautiful or if your transitions are graceful. Regardless of what your movements are, the more comfortable you become making them, the more naturally graceful and beautiful they will appear.
As you find favorite styles of music to hula hoop to, take a moment to watch a couple videos of professional dancers performing to that style of music without props. You don’t need to make any attempts to look like those videos, but see what type of inspiration you can draw from their movements. Explore ways of using your feet and your upper body to imitate styles that you like. Then put on some good tunes and let it flow. If the space allows, put on a blindfold or close your eyes. It is in these moments between you and your hula hoop that your own individual style will start to introduce itself to you.
The Next Steps
From these foundations, you can go in any direction depending on what you want to focus on. Here are some ideas for your next stepping stones:
1. For more “Body Rocking” core hoop dance, start learning chest, shoulder, waist and leg hooping
2. Keep the hoop around your waist but start exploring angled hooping and barrel rolls
3. Learn a lift or pizza toss to transition into off body hooping
4. Practice breaks and paddles to change the direction and momentum of the hula hoop
Search for a local instructor, a regional hoop jam, ongoing classes, or traveling workshops to learn from other hula hoopers and join the growing community. Keep an eye out for new tutorials and online classes from The Spinsterz if you are learning from home.
Ready to get hooping? Check out a great hoop for beginners below!
Rhythmic hoop gymnastics: basic rules
Rhythmic gymnastics has overcome a difficult path, combining all the most beautiful things from sports and art.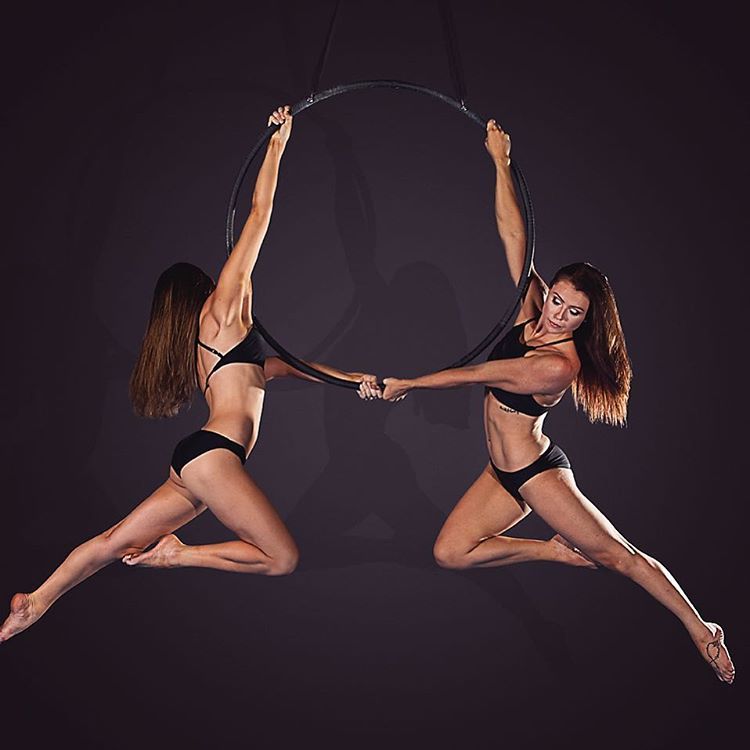 It is known that people have been familiar with the hoop and dance since ancient times. Nowadays, the performances of gymnasium girls with a hoop are especially popular due to the beauty and grace of movements.
What is a hoop
The hoop is one of the types of sports equipment used in rhythmic gymnastics and has the shape of a ring.
Types of hoops
Gymnastic hoops are divided into two types:
- Amateur. Such a hoop can break from long workouts, as it is made of plastic, so it is easily deformed.
- Professional. It is more reliable than amateur, as it is made of special plastic, which gives it strength. In case of breakage or deformation, it can be repaired and the exercises can be continued.
The hoop should be selected based on the age of the gymnast and her skills.
Eligibility of athletes to compete
To take part in the competition, the gymnast must have reached a certain age by the time of the competition. The age for participation in competitions is determined by the Regulations.
Composition of the referee commission
Referee commission during official competitions consists of:
- the main panel of judges, which includes the chief judge with the secretary and their deputies;
- judging panel evaluating individual and group exercises;
- timekeepers and line judges who supervise the duration of the performance of the participants and violations related to them; fix the exit beyond the line of the area with any part of the body and raise the flag when the gymnast has completed her performance outside the area.
At the end of the competition, the judges count the scores and announce the results.
Gymnast discipline
Competitors must enter the competition area only when called by the judges. If the gymnasts left early or very late, they will be penalized. Competitors are also penalized for warming up at the venue.
All athletes must arrive at the starting area on time. It is forbidden to talk to other gymnasts during the exercises, otherwise they will be fined.
Hoop sizes
When choosing the size of the hoop, you should rely on the following parameters: height, weight, physique. Amateur hoops have standard sizes:
- girls aged 3-7 are best suited with a 60 cm hoop;
- athletes over 11 years old - 80 cm in diameter.
In stores you can find hoops for all ages:
- children 6-7 years old - a hoop with a diameter of 65 cm;
- girls 7-8 years old - 70 cm in diameter;
- for gymnasts 9-10 years old, a hoop with a diameter of 75 cm is recommended;
- for athletes aged 11-12, it is advised to use a gymnastic hoop with a diameter of 80 cm;
- those over 12 use a 90 cm projectile.
Nevertheless, the main parameter in choosing the size of the hoop is the height of the athlete. It is worth remembering that the larger the size of the equipment, the more massive it is.
Hoop storage and care
In order for the hoop to last for a long time, it must be stored in a clean and cool place where the sun's rays do not fall. It is desirable that at the same time it was in a special case, as this prevents the appearance of chips and scratches.
How to decorate a hoop
For the performance to look beautiful, the hoop and costume must match. To do this, gymnasts decorate their apparatus with various colors. They buy a white hoop and special adhesive tape, which comes in matte or glossy, in a variety of colors. Thanks to this, the projectile in the hands of the girl during the performance looks very impressive.
Using adhesive tape, you can protect the hoop from scratches and give it some strength, and in order for the decorative winding to last for a long time, a transparent adhesive tape is applied over it.
If an athlete has a desire to change the winding, then this can be done by removing the old one from the hoop and sticking a new one on it.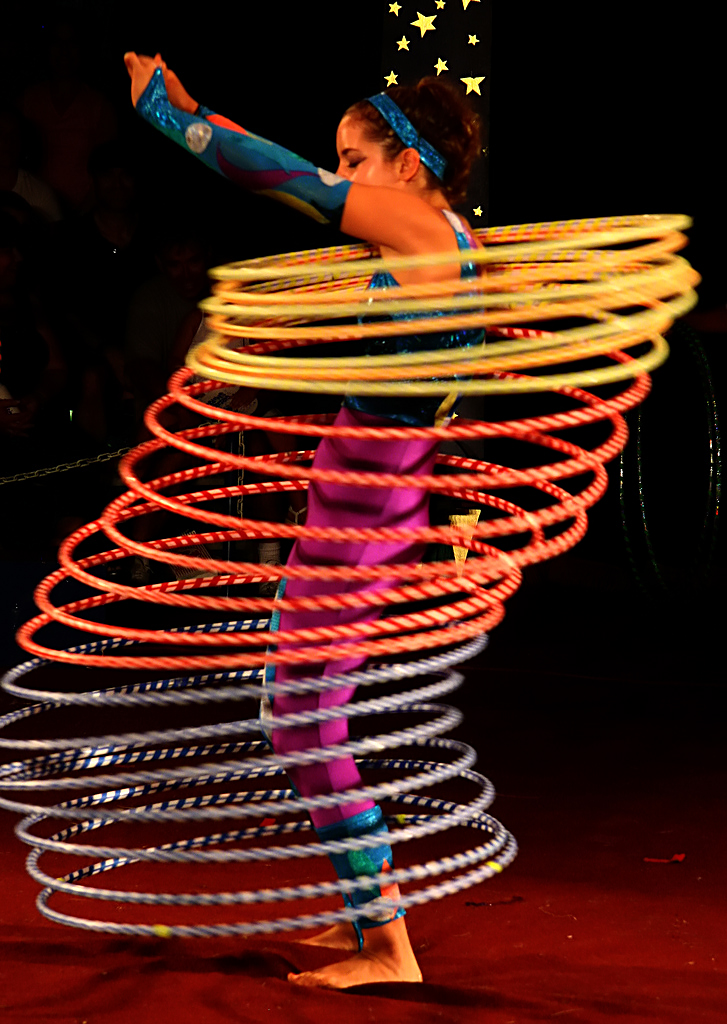
Timing
The countdown starts from the moment the gymnast starts her performance and ends when she stops moving.
Music
Each performance must be accompanied by musical accompaniment, which must have a complete and complete look. It is forbidden to include music that does not correspond to gymnastics. If any problems occur during the performance, for example, a malfunction of the musical device or a power outage, then the gymnast is allowed to repeat the exercise.
If an athlete has begun to perform an exercise not to her own music, she must immediately inform the judges about this, then finish the performance and leave the area. You can continue your presentation after fixing the error and an invitation to exit.
Musical accompaniment must be provided in the form required by the organization of the competition, usually a CD. The full name of the participant, the timing of the music, the name of the musical composition, the subject of the Russian Federation, which the athlete represents, must be written on the disk.
Swimwear requirements
The leotard is selected so that it is opaque. This is necessary so that underwear is not visible through it. It is also important that it fits the body of the gymnast and is made of one material, so it will be easier for the judges to assess the position of the body parts.
The various cutouts on the legs, back and chest should not be very deep. To prevent any injury to the contestants, it is forbidden to wear jewelry and piercings. Before the start of the competition, the gymnasts' leotards are checked. In case of violations, penalties in the form of a deduction are applied.
Hoop Elements in Rhythmic Gymnastics: Skill and Technique
As in any other sport, in rhythmic gymnastics, in order to properly perform elements with a hoop, you must have certain skills and mastery. To achieve this, you need to gradually approach learning.
Beginning of training
Training of gymnasts begins with showing them in what position the hoop can be in space. It can be in vertical, horizontal and lateral plane. After that, they are introduced to the correct grip of the projectile.
The next stage of training is projectile interception. In order for this exercise to exert less load on the body, athletes perform a spring movement with their legs. At first, the movement is made slowly, in order to bring it to automatism in the future. An important element in training is the skill in which the gymnast, using the projectile, moves harmoniously to the beat of the music.
Technical defects
Technical precision is required to perform any elements, and beginners make mistakes when performing exercises. In order to avoid them and improve your technique, you need to familiarize yourself in advance with the technical shortcomings that may occur.
The most common mistake for beginners is the incorrect position of the hoop in space. Also, gross errors are considered to be the fall of the projectile, its touching the body or the platform.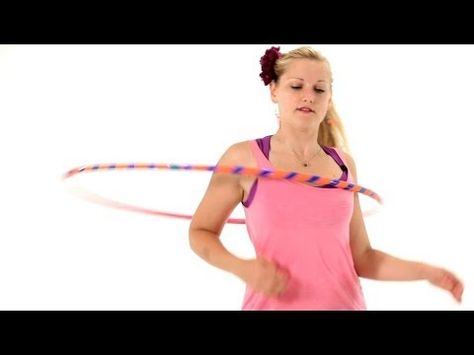
Basic element technique
In rhythmic gymnastics, there are several basic hoop moves that require flawless execution in order to progress to complex elements.
Throws
There are two types of throws:
Get new forecasts: Vkontakte and Telegram .
- straight;
- in an arc.
To make a throw, you need to start spinning the hoop with your free hand. To move on to the next movement, you need to rotate or swing when catching the hoop. Beginners begin to learn this element from throws with two hands, so that depreciation is subsequently performed on the machine. Only after that should you move on to mastering the throws with one hand.
Jumping
To master the jumps, you should start them with swings or rotations of the hoop. But for this you need to learn simple movements, for example, a choreographic step. After that, you can begin to perform more complex elements - jumping with a turn.
Rolls
For the technically correct execution of this element, the correct initial position of the hoop is required. It is advisable to perform rolls together with other elements: turn, jump, jog.
Rotation
Rotation is the execution of small circles around any part of the gymnast's body. The beginning of training occurs by static rotation of the hoop on the hand. After mastering, you can proceed to rotation in any direction. To complicate the execution of this element, you can set a different pace.
Eights
Eights is a continuous rotation of the hoop in opposite sides of space.
Circles and swings
They serve as a link for many elements and are divided into three types:
- Large.
- Medium.
- Small.
Circles and swings can be performed in horizontal, vertical and lateral planes.
Deduction system
During the performance of the gymnast, the coach is prohibited from talking to her in any way.
There are several main reasons why judges may penalize contestants:
- if the musical accompaniment does not comply with the rules;
- if the apparatus or gymnast goes out of bounds;
- if the delay of the competition is due to the fault of the participant;
- if a warm-up is performed in the competition hall;
- for talking during the performance;
- if the competitor's outfit does not meet the requirements of the competition.
The amount of penalty points is deducted from the final totals.
Calculation of final grades
After the first world competitions in rhythmic gymnastics, confusion arose regarding the evaluation of results. The grading rules have changed several times from a 10-point scale to a 30-point scale, until in 2009year, they did not begin to use the following formula: (D1 + D2) / 2 + A + E, in which:
D1 is the technical design of the elements;
D2 is the technical handling of the hoop;
A - artistry of an athlete;
E - execution errors.
At the present stage, the performance is evaluated de facto. At international competitions there are two panels of judges.
Actions in case of item breakage
During the performance, gymnasts can catch the apparatus on the ceiling or break it. In this case, they are forbidden to perform the exercise again. If the projectile breaks, it should be replaced with a spare option, or the exercise should be completed. If the athlete continues the exercise with a damaged apparatus, then the judges do not evaluate it. If a competitor's apparatus breaks at the end of the exercise, then a penalty is given for this.
Protests
Protests may be submitted by an accredited coach who is present at the competition and supervises what is happening. If he does not agree with the verdict of the judges, then an oral protest should be filed immediately after they have shown the mark, and no later than the completion of the performance by the next participant. If the gymnast is the last to perform, she is given 1 minute to appeal to the judges. Protests submitted after this time will not be considered. The judge fixes the time of receipt of protests, from which the consideration procedure begins. Orally filed protests must be confirmed in writing no later than 4 minutes from the moment of sending. All decisions on protests are made by the chief referee.
Most Popular Competitions
The most popular rhythmic gymnastics competitions are:
- Olympic Games;
- World Championships;
- European Championships;
- Grand Prix;
- world cups.
One of the strongest countries participating in the competition is Russia.
Federation The International Gymnastics Federation (FIG) is the premier organization for the sport of gymnastics, founded in 1881 and comprising 130 national federations. The Federation establishes the rules for evaluating performances, a list of future competitions and is engaged in the development and promotion of sports.
The European Union of Gymnastics (UEU) is a member of the FIG. It was established in 1982 and represents the interests of the national gymnastic federations of European countries. One of the main sports in which the Federation holds competitions is rhythmic gymnastics.
All-Russian Rhythmic Gymnastics Federation is a part of UEJ . It was organized in 1991 and has the following goals:
- development of rhythmic gymnastics in the country;
- organization of annual competitions in Russia;
- promotion of sports and healthy lifestyles;
- promotion of teams to the international level.
The Federation operates in accordance with the rules adopted by the International Gymnastics Federation.
Gymnastic hoop development history
Richard Knerr invented the hoop based on stories about the bamboo ring used by athletes in Australia. In 1958, the first tests of this projectile were carried out, and a few months later people began to buy this item in bulk.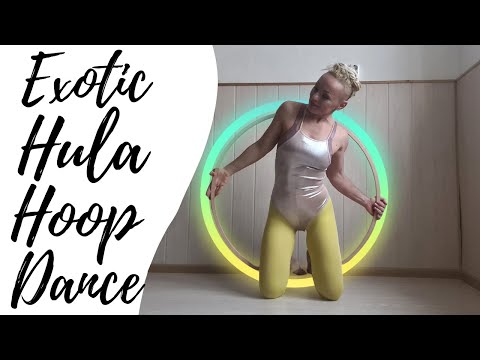 Unfortunately, due to the fact that Richard Knerr could not patent his invention, imitative products began to appear on the market, after which sales of hoops decreased significantly.
Despite the fact that Richard Knerr can be considered the inventor of the hoop, the idea of this projectile has been known since ancient times. Mentions of him can be found in the work of Shakespeare, in the biography of Agesilaus, and even in Egyptian excavations, petrified hoops are still found.
In the USSR, hoops gained popularity in 1964 after the release of a film in which there was a scene with a girl twisting a hoop.
Useful literature
Parents who want their children to take up rhythmic gymnastics should read the book " Teaching rhythmic gymnastics to children» L. Kechedzhieva and M. Vankova. It tells about the exercises, training methods and the age at which you need to start exercising. It will also be very useful for athletes and their coaches.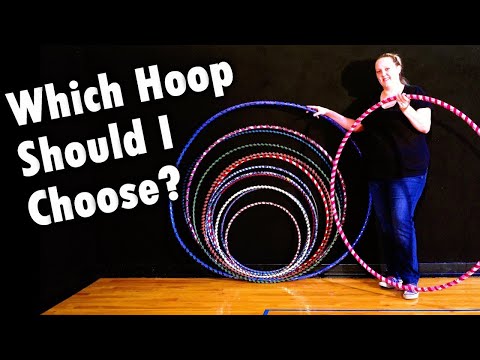
Undoubtedly useful books are « Artistic gymnastics. History, state and development prospects” and “ Theory and methods of rhythmic gymnastics. Artistry and ways of its formation» E. S. Kryuchek.
The first book details the history of the development of the discipline, describes the methods by which gymnasts hone their skills in performing exercises. After reading this publication, you can learn more about rhythmic gymnastics, gain certain knowledge that will help you prepare for performances.
The second book is more suitable for teachers who are just starting to train young gymnasts. This manual describes the methods that are necessary for effective training. Also here are tips, following which you can develop professional skills and abilities that help in the training of athletes, there are instructions for the development of artistry among girls.
Another publication worth reading for inspiration and motivation rather than for practical knowledge is Become Yourself .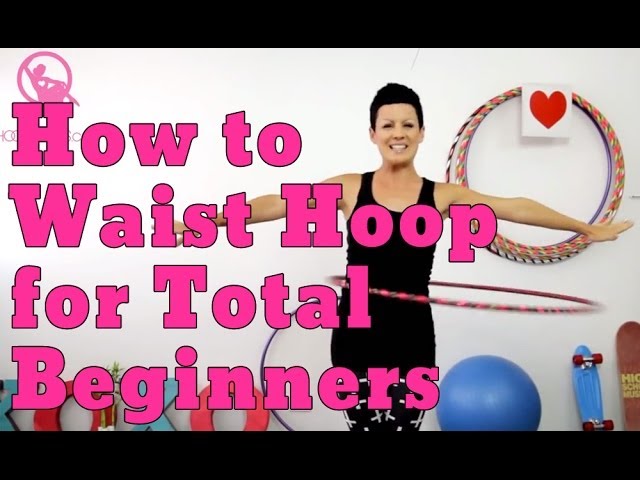 The author of the book is the Olympic champion in rhythmic gymnastics Irina Chashchina. In it, Irina gives advice to girls on self-care while preparing for competitions: nutrition, exercise and much more. The author also tells motivating stories from life. The book is written in simple language and answers the question of whether rhythmic gymnastics is worth doing.
In conclusion, we note that in rhythmic gymnastics, the implementation of elements with a hoop is a whole art. Girls need a lot of time, patience and strength to learn how to perfectly perform the exercises. The performance of the gymnasts, accompanied by a musical composition, captivates the audience with its beauty and grace. That is why this discipline is considered one of the most beautiful in the sports world.
tips and exercises for the waist and abs
Do you want to make your figure more feminine and graceful at home? A regular hoop will help to make the waist thinner, and the press - stronger! We figure out whether it is possible to lose weight by twisting the hoop, and how to make training the most effective.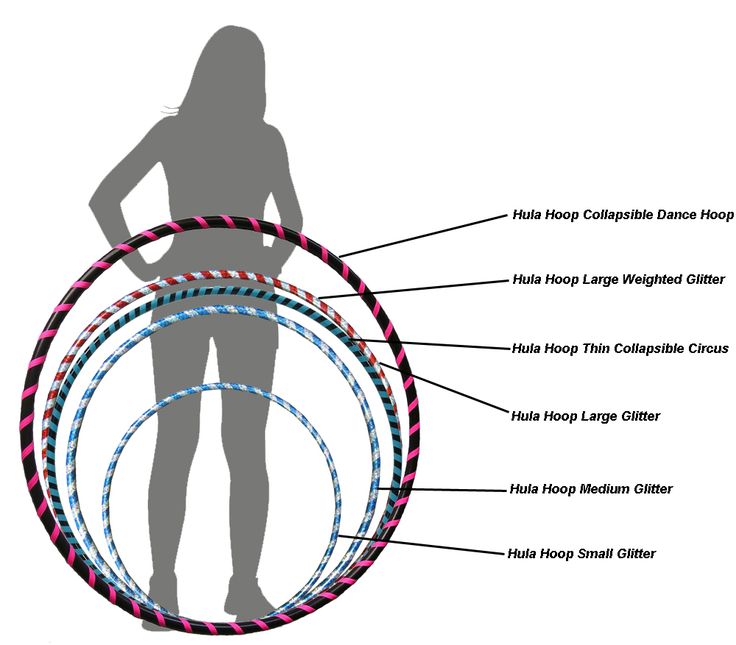
Website editor
Tags:
#bodywork
thin waist
Gymnastic exercises
sport Club
A well-known athletic apparatus, the hoop was very popular in ancient Greece, but for unknown reasons it was undeservedly forgotten for centuries. In the middle of the last century, one of the companies producing children's toys released a plastic hoop and was amazed by the demand: tens of millions of copies were sold in the first two months! The projectile was bought in order to develop flexibility and endurance, in addition, many lost weight with the help of a hoop and found a thin waist.
Very soon, the hoop, also known as hula hoop, became a constant attribute of gymnasts, and since the 60s of the last century, a fitness accessory for home use. How to train with hula hoop? Simple and fun! Let's find out how much you need to twist the hoop to lose weight, and how to increase the effectiveness of classes.
Before spinning the hoop to lose weight, remember the important rules:
- To lose weight in the waist with the hoop, always keep your stomach in and your abs tense while exercising.
- When using the slimming hoop, breathe evenly and regularly, do not hold your breath.
- Try to keep your feet in place, don't move, don't "walk" with the hoop.
- Start with a 10-minute workout, then gradually build up to half an hour. Those who doubt whether the hoop helps to lose weight usually simply do not devote enough time to training. If you practice at least half an hour a day, then the result will definitely be.
- The first hoop should be smooth and light, it makes sense to use massive versions with massage protrusions when after a half-hour workout you stop feeling tired.
Have no doubt: with the help of a hoop, you can lose weight, if, of course, you exercise regularly. Ready? Started!
1. Simple rotation.
Rotate the hoop clockwise for 2 minutes, then counter-clockwise for 2 minutes. Rotation to one side will be more difficult for you, this is normal. If the difference is too noticeable, redistribute the load by reducing the “comfortable” rotation in time and increasing the “uncomfortable” one. So you can not only lose weight with a hoop, but also improve coordination.
2. Squats
Spin the hoop clockwise with your right foot slightly in front and your left foot behind. Without ceasing to rotate the hoop, do a half squat, then straighten up. Repeat 3 times, then reverse the position of the legs and change the direction of rotation of the hoop. When performing this exercise, the hoop helps to lose weight not only in the waist, but also in the hips, which tense up during squats.
3. Hands up
Spin the hoop and raise your arms up, stretching into a string. Rotate the hoop for 2 minutes in both directions. Just don’t think that this is the answer to the question of how much to twist the hoop to lose weight: there is no need to reduce the total time of classes.
4. Raise on your toes
Rotate the hoop, rise on your toes and slowly lower yourself to a full foot. 2 minutes each side. By acting in this way, you increase the load on the muscles. If you turn the hoop while standing on your toes, you can lose weight in a shorter period due to increased energy consumption.
5. Change of pace
Will you lose weight if you spin the hoop at the same pace? Yes, over time, definitely. But if you want to achieve results faster, try changing the intensity of the load. Spin the hoop as fast as possible, then slow down and reduce the rotation speed to the minimum.