How to make a belly dance scarf
DIY Basic Belly Dance Hip Scarf Pattern (with Tassels)
I’ve done all kinds of hip scarfs and overskirts tutorials over the years, but I’ve realized I don’t have a good, basic belly dance hip scarf pattern yet! So that’s what we’re going to make today. 🙂
This design is very basic, cute and versatile, and super easy to make!
In this video, you’ll see how to make this hip scarf and decorate it with tassels. Let’s get started!
Click here to join the FREE course “Belly Dance Costume Making 101”!
To make this belly dance hip scarf, you need:
Light to medium weight fabric – You need about 25cm (10in) of 150cm (59in) wide fabric.
Matching color thread
Decorative items – I’ll be using this cute tassel trim for this example, but you can use beaded tassels, fringe, embroidered tape, coins…. Whatever you like. I used about 3m of the trim. (You can find similar ones at the trimming section of a fabric store. Etsy has a lot of selection too.)
How to Make Basic Belly Dance Hip Scarf with Tassels
Basic Belly Dance Hip Scarf Pattern
First, take your fabric, and wrap it around your hips. Match up the excess fabric, and mark where the fabric meets with pins.
Place it on a flat surface, and fold it in half wrong sides together.
At the fold, from the top edge, measure 22cm (8 1/2in) and make a mark.
At the pins, measure 12cm (4 3/4in) and make a mark.
Connect these 2 points with a gentle curved line.
And extend the line horizontally, so the ends are 12cm (4 3/4in) wide.
At this point, measure the length from the pin to the end, and if it’s less than 30cm (12in), end the hip scarf 1cm (3/8in) away from the pins, and make separate ties underneath that are 30cm (12in) long or longer.
Cut along the outline. Alright, let’s start sewing!
Sew your hip scarf!
All we have to do is finish the raw edges.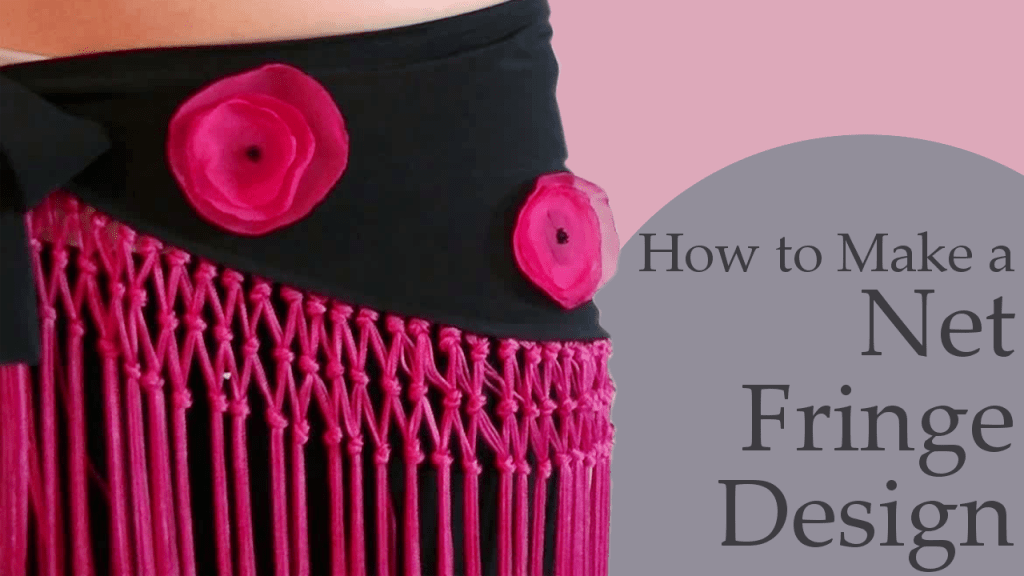 If you’re using stretch fabric, fold 1cm (3/8in) from the edges towards the wrong side, and do a zigzag stitch. (Stretch fabric doesn’t fray, so if you’re going to hide the edges with trimming later, you don’t even have to finish it. It’s up to you.)
If you’re using lightweight woven fabric like I am here, you can do a narrow rolled hem or a simple zigzag stitch along the raw edges or use a serger.
If you have separate ties, place a tie and an end of the hip scarf right sides together, and do a straight stitch.
And your basic belly dance hip scarf is complete!
Decorate Your Belly Dance Hip Scarf
Be creative and decorate your hip scarf as you like!
Here, I placed the tassel trim along the top and put clips there. Same for the bottom edge.
I left the tie areas untouched because these areas will get pulled and tied and the tassels will get damaged easily.
And did a straight stitch at the top and bottom of the tape to secure these rows of tassels in place.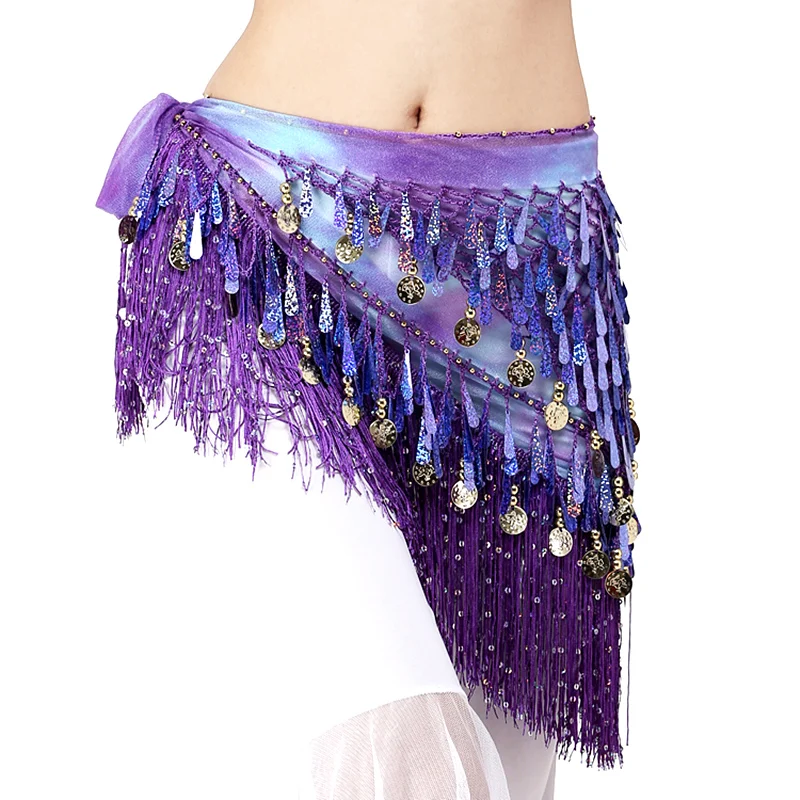
I also cut and sewed short pieces to decorate the ends of the hip scarf.
And you have your very own belly dance hip scarf! It’s super easy, so it’s a great idea to make a whole bunch for your troupe members too! You’ll feel awesome showing off your handmade hip scarf at your next class!
If you’re hooked on making hip scarves, I have lots of other ideas, so if you’re curious, have a look at these tutorials:
Hope you liked this DIY belly dance hip scarf pattern and tutorial, and if you did, please share this tutorial with your dancer and costumer friends!
And if you’re new to belly dance costume making, join my free email course, Belly Dance Costume Making 101 below. It’ll give you a great introduction to costume making and beginner-friendly projects.
Click here to join the FREE course “Belly Dance Costume Making 101”!
Thanks for reading, and keep sparkling!
P.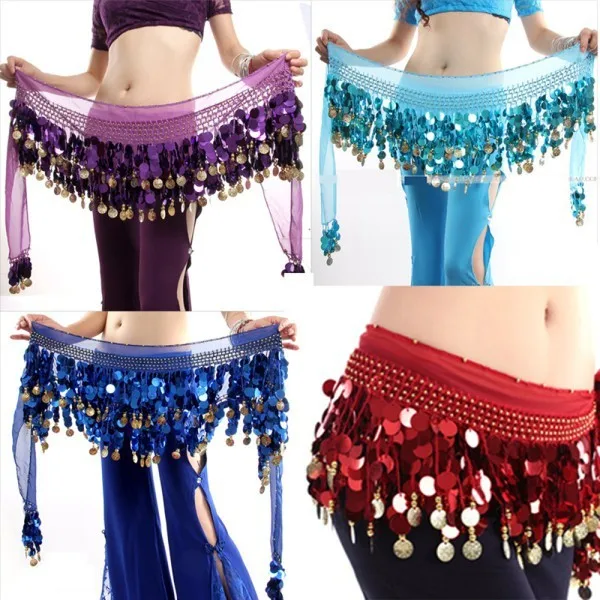 S. Pin this image on your hip scarf board 🙂
Like what you read? Want to make more costuming bits yourself?
Learn more and sign up for my free email course, Belly Dance Costume Making 101 here!
DIY Fringe Hip Scarf for Belly Dance
by Mao on in DIY Belly Dance Costume Blog, Uncategorized • 4 Comments
As a belly dancer, you can’t have enough hip scarves. They are great for practice and of course for easy costuming!
So today I want to go back to basics and create this cute and simple fringe hip scarf. Let’s get started! 😀
Click here to sign up for my FREE email course Belly Dance Costume Making 101! 😀
To make DIY fringe hip scarf, you need:
1yd (1m) light to medium weight fabric – I’m using some leftover fabric, and I actually don’t even have 1yd here. But I’ll show you how you can make a hip scarf out of leftover fabric like this. Also, this is stretch fabric which makes this project even easier. You’ll see it in a minute.
2yd (2m) of fringe of your choice – I’m using 4in wide fringe.
2yd (2m) of about ⅜ in (1cm) wide ribbon
DIY Fringe Hip Scarf for belly dance
First, wrap your fabric around your hips and see how much fabric you need. This is how you can check if you have enough fabric if you are using leftover fabric. If the corners of your fabric touch, that’s the minimum amount you need. I can wrap this fabric around my hips and have an about 4in (10cm) overlap, which is just enough. If you have more, simply mark how much you need.
Place your fabric on a flat surface and have the top edge up. Fold it in half, or up to the point you marked.
From 1in (2.5cm) down from the corner, measure 45 degrees and extend the line until it meets the folded edge, and cut along the line.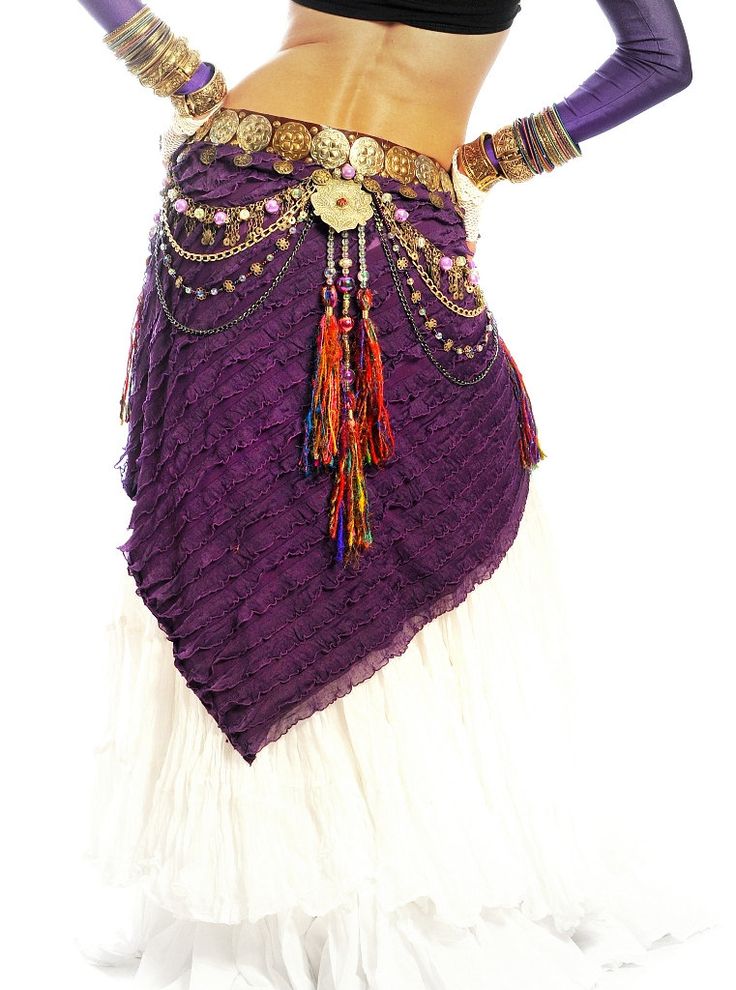
If you don’t have a ruler like this, you can simply fold a corner of a paper to make a 45 degree angle.
Now what’s great about using stretch fabric is that it doesn’t fray. So you can leave all edges unfinished, which makes this project really easy. I wanted a little more finished edge at the top, so folded the top 1/2in (1cm) from the edge, and did a zigzag stitch. And I left other edges unfinished.
Then cut your ribbon in half, and fold all ends twice and sew or glue so they don’t fray.
Take one of them, place an end at the corner on the scarf right sides together, and do a straight stitch, and a top stitch to keep the ribbon in place. Or if you want to avoid sewing, you can glue on the ribbon to the corners of the scarf.
Repeat for the other side.
Now place your fringe around the edges, and do a zigzag stitch to sew it on. Again, you can glue this too, but after gluing, the fabric won’t stretch anymore, so just be mindful of that.
And that’s it! It’s super cute, and the scarf is wrapped around so it will fit different sizes.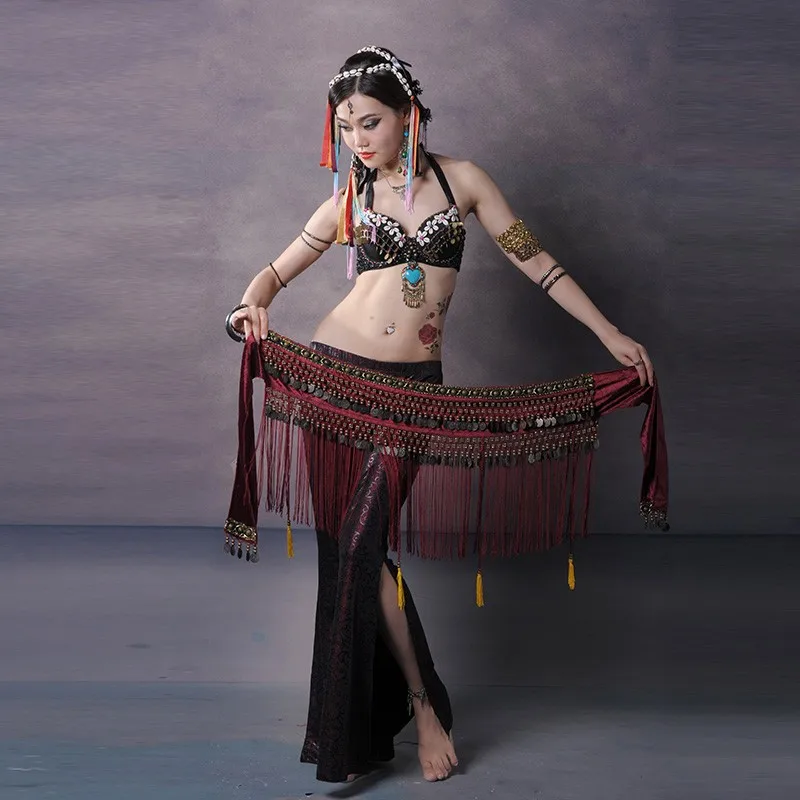 It’s an easy costuming piece for troupes, so mix and match colours and designs and have fun!
And next week, I’ll show you how to make this gorgeous 25-yard tiered skirt which goes perfectly with this hip scarf for a gypsy or ATS style of belly dancing. I’m super excited about this skirt. So sign up for my newsletter and stay tuned!
Hope you liked this DIY fringe hip scarf, and if you did, please share this post with your dancer friends!
And if you want to make more belly dance costumes like an easy top and a circle skirt, sign up for my free email course, Belly Dance Costume Making 101 from the link below.
Click here to sign up for the free course and start making more belly dance costumes!
Thanks for reading, and keep sparkling! 😀
P.S. Pin this image for your future project! 😉
Like what you read? Want to make more costuming bits yourself?
Sign up for my newsletter here and get my free email course, Belly Dance Costume Making 101!
Belly dance scarf
The scarf or shawl is always associated with the East and is an important part of the belly dance costume.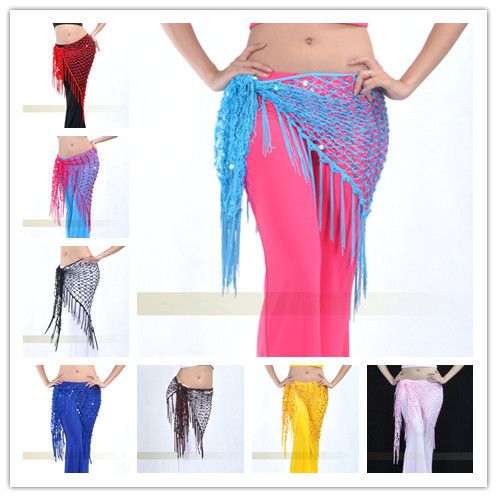 The rectangular shawl is the most common because it is the easiest to dance with and offers the most varied set of moves. But there are scarves of a different shape - triangular, round, semicircular. Butterfly shawls are also quite impressive - full-length shawls made from pleated lamé or transparent organza .. They are gaining more and more popularity among belly dancers. In the dance, even two shawls of contrasting or complementary colors can be used at the same time.
Rectangular scarf
The scarf can be made of light and transparent chiffon, matching one of the colors of the suit.
It is convenient to calculate the length of the rectangular scarf as follows: you need to measure the arm span and add 40 cm to this length. The length of the scarf can be from two to three or more meters, depending on the style of dance. It should be remembered that it is more difficult to work with a very long scarf. The optimal width of the scarf is no more than one meter, otherwise it will interfere with movements.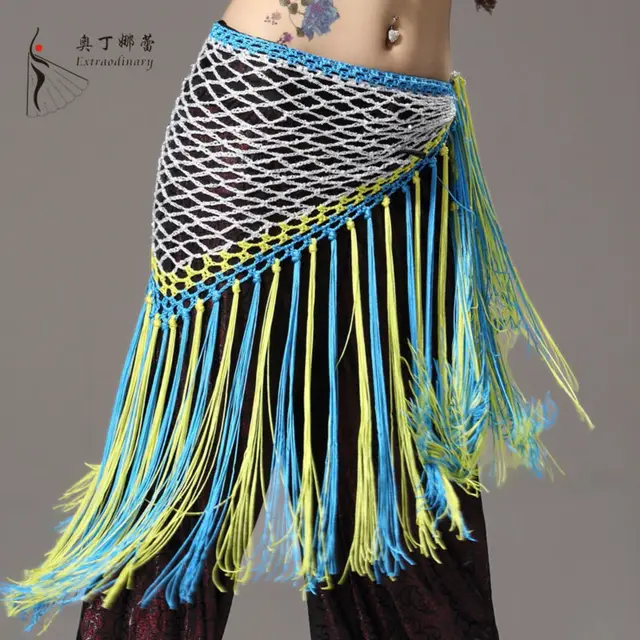
Semi-circular scarf
To make a semi-circular scarf, it is better to take a fabric with a length of at least 2.2 m and a width of at least 1.1 m. In fact, such a scarf is a rectangle with two rounded corners on the long side. You can choose the "degree of rounding" yourself.
Scarf with wings
Scarf with wings is a rectangle 2-2.5 x 1 m, cut in half almost to the very end, or two squares with a side of 1 m, interconnected by corners or small jumpers made of beads, ribbons etc. Very often, the wings are attached to the "collar" - a strip of fabric fastened around the neck. The collar clasp is on the front. The fastener button is usually made so that it can be easily and quickly unfastened during the dance. As a rule, this accessory is decorated, just like the bodice and belt.
Chopsticks
Chopsticks most often have two rounded corners on the long side. Two sticks are sewn on the opposite side, wrapping them with a scarf so that they are invisible.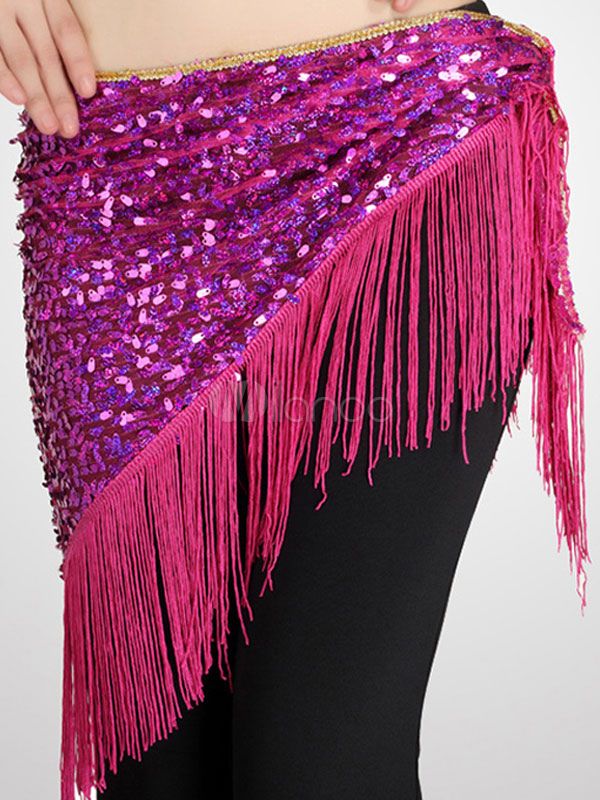
A handkerchief with sticks can also be made from two wings that are attached to the “collar”. The pattern of each wing is a quarter of a circle with a radius of 75 cm and a rectangular panel of fabric 69 cm wide, which is sewn around the circumference to a quarter of the circle. A strong, inflexible stick 70 cm long is inserted into each wing on one side.
To make dancing more comfortable, the headscarf corners can be attached to the bracelets.
Round handkerchief
Round handkerchief is a circle with a diameter of approximately 2.2 m, cut strictly along the radius. A round scarf can be made with wings, cut in half, and with sticks - increasing the diameter accordingly. The corrugated version of the round scarf looks very impressive. The most characteristic and beautiful movements with this accessory are rotations, turns and, of course, flapping wings .
Tube scarf
To make this scarf, take a fabric 3-4 m long and 1-1.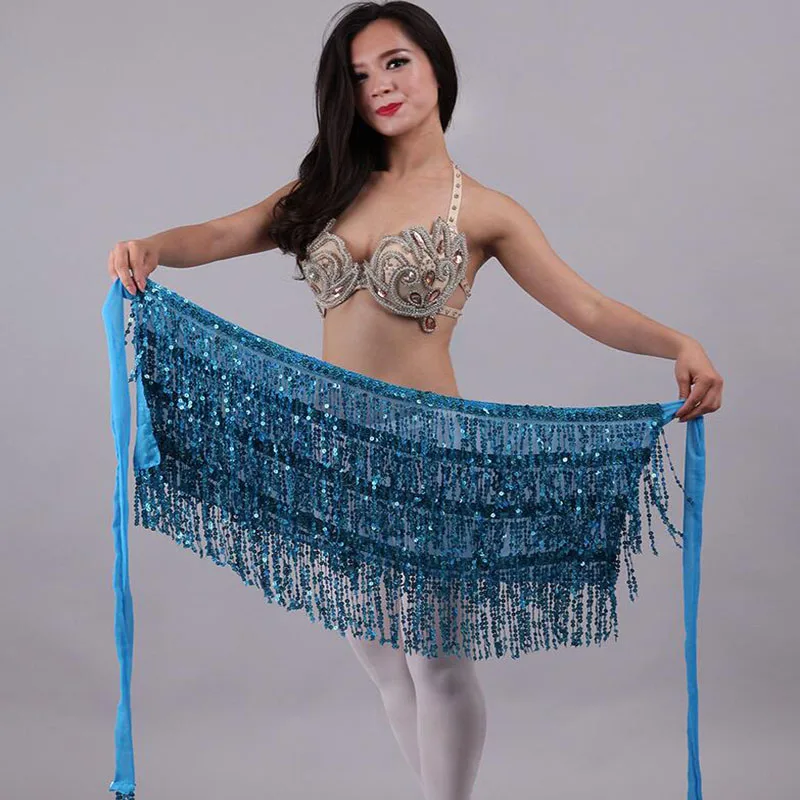 5 m wide and sew it into a tube with long sides.
The short sides are not sewn. Open cuts are sometimes trimmed with a feather boa. In the dance with this accessory many unusual specific movements are used.
Handkerchief fabric should be very soft and transparent . It can be chiffon, crepe de chine or silk. Before using a scarf, be sure to process the edges of the fabric. This can be done with a regular zigzag stitch - sew on a sewing machine or hem with your hands. Silk must be hemmed, but in a polyester scarf, you can simply singe the edge. To do this, quickly hold the edge of the handkerchief over the candle flame. Although, as practice shows, the scorched edge begins to bloom over time.
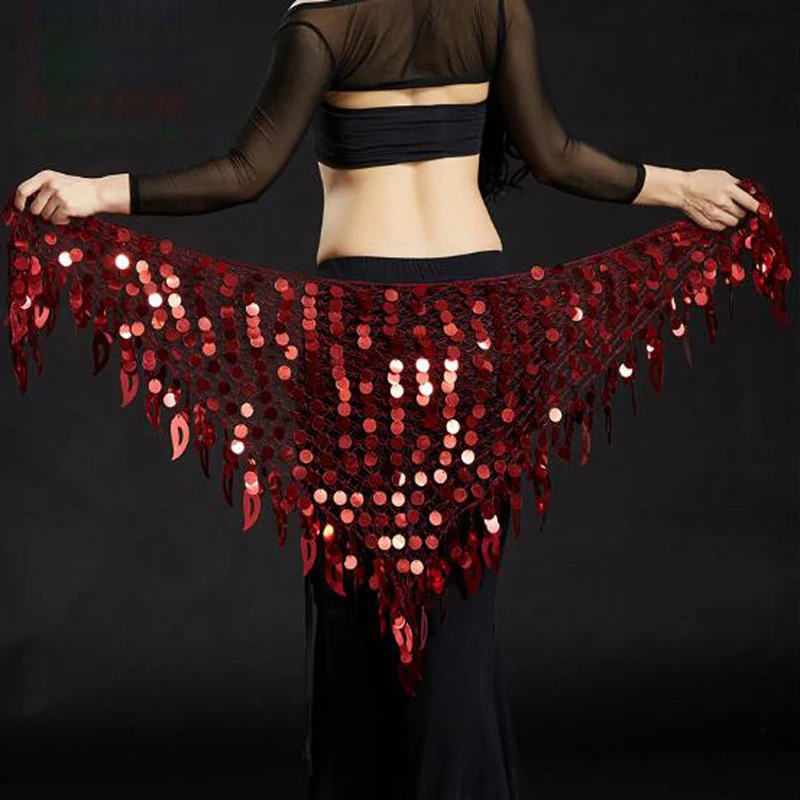
To make the scarf look more impressive, it is decorated with coins, braid, beads, rhinestones, sequins (small shiny circles) , but don't be zealous - the scarf should be light, not cling to the suit.
How to sew a costume for an oriental belly dance with your own hands - VokrugSada.
 ru
ru Contents0060
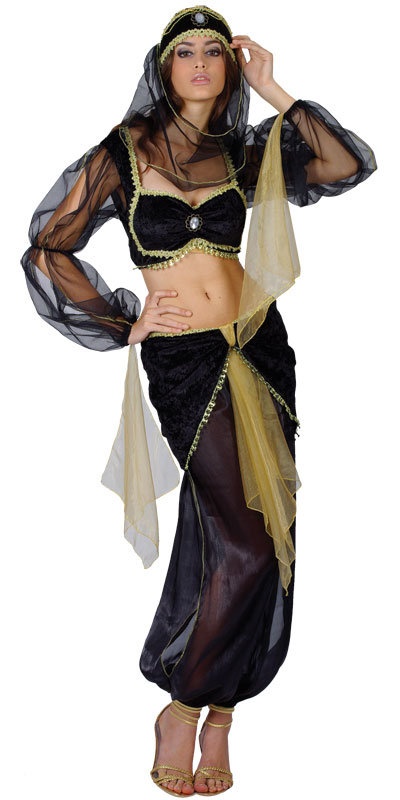
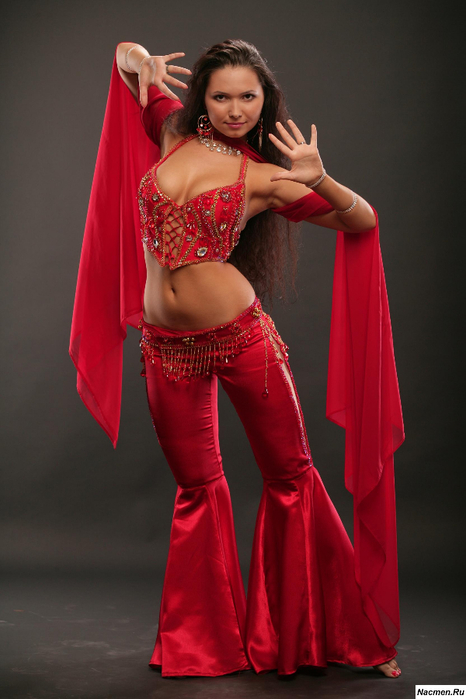
A beautiful belly dance is a colorful, enchanting performance when the movements and outfit of the dancer have an almost meditative effect on the viewer. Agree that the costume is an integral part of the oriental "fairy tale" - flowing light fabrics of skirts, bloomers or shawls, rhythmically ringing monists and sparkling sequins, beads and rhinestones play an important role - all this creates a full-fledged beautiful image.
Contemporary designers offer amateurs and professionals alike a huge selection of ready-made and custom-made belly dance costumes. Of course, they are all fine, but they are far from cheap. And in a situation where you are just starting to get acquainted with the art of oriental dancing, such an expensive purchase is simply useless.
Today we offer you to figure out how to sew a belly dance costume with your own hands. In fact, it is not very difficult and if you wish, you will definitely do it! First you need to choose the style of the suit - whether it will be more modest, whether you choose a skirt or harem pants, you should also take into account the fact that long cast dresses are used in some areas, decide in which colors you feel better.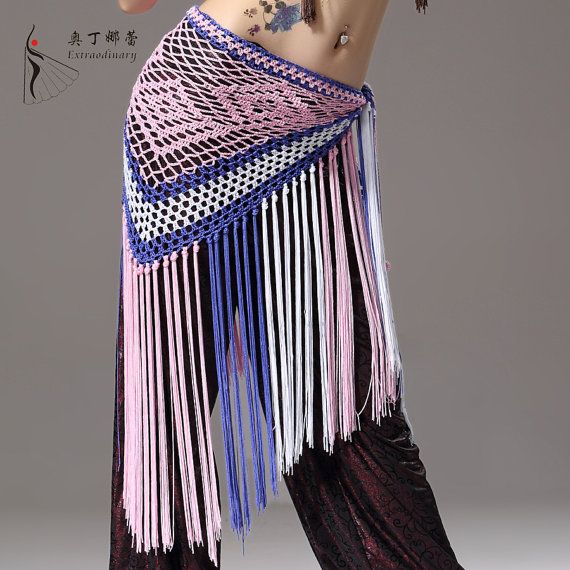
Each lady has her own type of figure, her height and her advantages, try to choose a model that emphasizes your best places. The main decorations of such clothes, of course, will be the bodice (or top) and the belt for the hips - they should be bright - shiny beads, glass beads, beads, sequins and rhinestones will help us out here, match them to the color of the base fabric and you can embroider your ornament on these details like this just the way you want.
What does an oriental dance costume consist of
Most often, an oriental dance costume consists of long loose trousers or a skirt with an embroidered belt and a bodice (top). In order to sew a belly dance costume, we need a light fabric - for example, organza, silk or satin and a denser fabric for the belt and bodice, you can also use a ready-made bra in a suitable or neutral color. In order to embroider the belt and bodice, any shiny “things” will do and your imagination will be needed.
How to sew a belly dance skirt
If you are sewing an oriental costume for the first time, it is better to choose a skirt, not bloomers - it is easier to sew.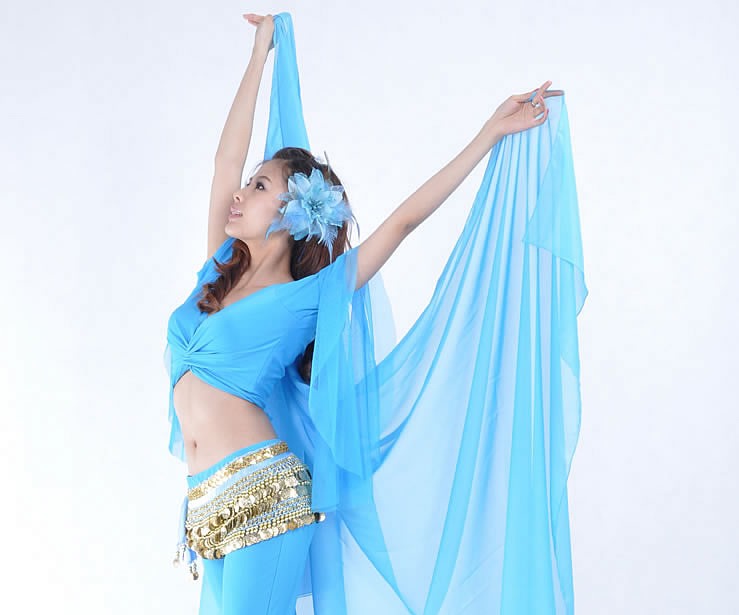 The best option would be a flared sun skirt made of thin translucent fabric of your chosen color. Such an outfit will not constrain your movements and will perfectly complement your dance.
It will be most comfortable in a skirt no longer than your ankle - in a skirt to the floor you can simply step on your hem, especially since belly dance shoes are either not provided, or without heels and soft. We cut the fabric according to the pattern, sheathe the edges, and assemble the top with an elastic band - which later will safely hide under a beautiful belt.
How to make an oriental dance belt
An oriental dance belt does not lie on the waist, but on the hips - this should be taken into account and the correct measurements taken. Its width should be large enough, about 20 centimeters. The fabric for its tailoring needs to be dense so that it is convenient to sheathe it and so that it keeps its shape during movements. The shape and design of this element of the costume depends on your imagination.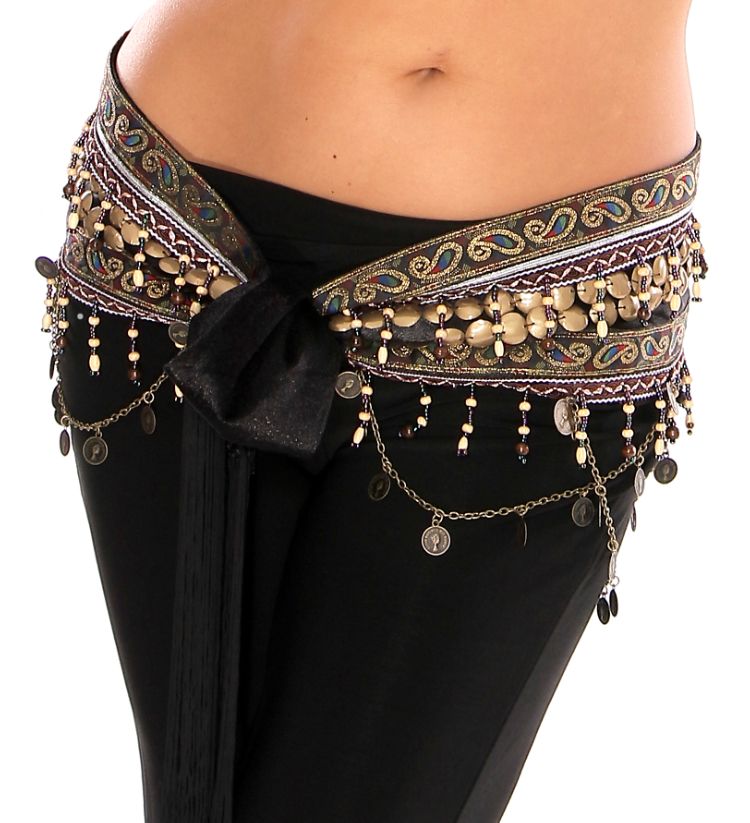
Decorating the belt, you can use many options for beads, beads, sequins and rhinestones. By the way, try pre-sheathing a dense fabric with shiny brocade. So that during the rhythmic movements of the hips your belt “plays along” with you - use monists, coins, or something like that. In order to control the snug fit of the belt to the thigh, use Velcro tape as a fastener.
How to make a bodice for an oriental dance costume
The easiest way to make a bodice for an oriental dance costume is to use a ready-made bra, so to speak. It should be tight and with a comfortable cup so that nothing spicy happens during the movement. Choose a bodice without lace and pattern, ideally the same color as the fabric for the skirt, if not, then take beige or nude lingerie.
The bodice for oriental dances should be trimmed and decorated in the same style and colors as the belt. If you used brocade, then it can also be sewn here. Along the bottom edge of the top, you can put a number of long or not very long threads with beads or coins - it depends on your desire.