How to do a turn in dance
Learn to Turn
Consistent turns are a must for aspiring professional dancers, but pretty much everyone struggles with pirouettes at some point. Luckily, since we’re all beholden to the same rules of physics, there are concrete steps every dancer can take to reach his or her top turning potential. “Three is the new two when it comes to pirouettes, but the secret to turning is technique, not magic,” says Bojan Spassoff, president and director of The Rock School for Dance Education in Philadelphia.
Falling out of your doubles? Aspiring to go revolution for revolution with your class’s star turner? No matter where you lie on the turning spectrum, our 360-degree guide to pirouettes will help you improve.
Do Yourself a Solid
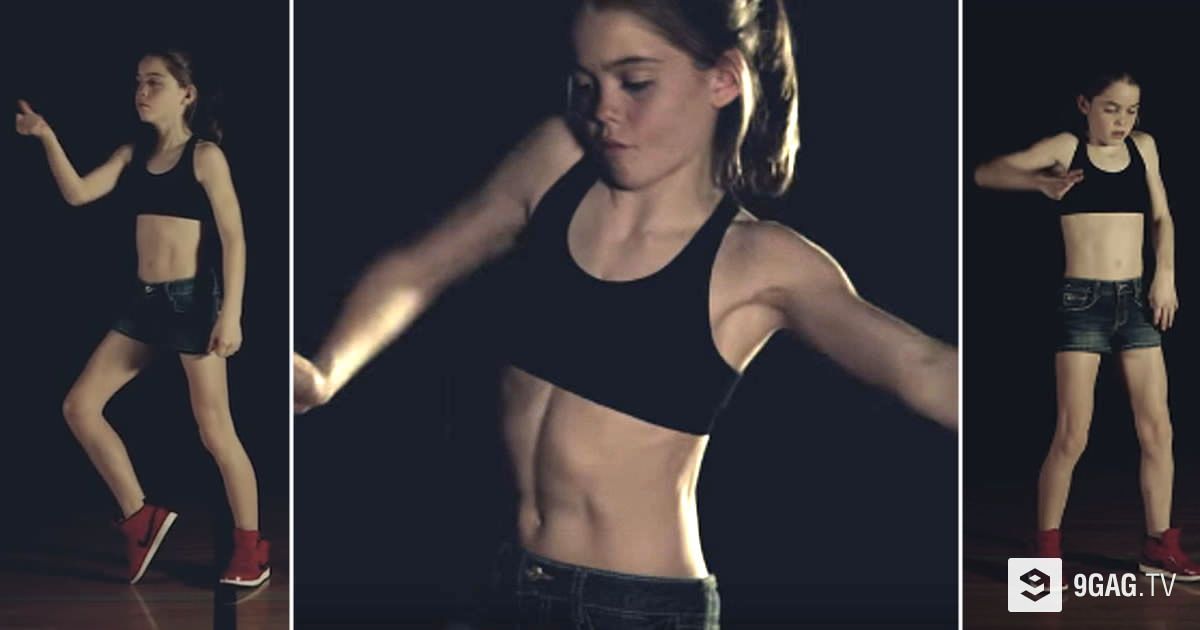
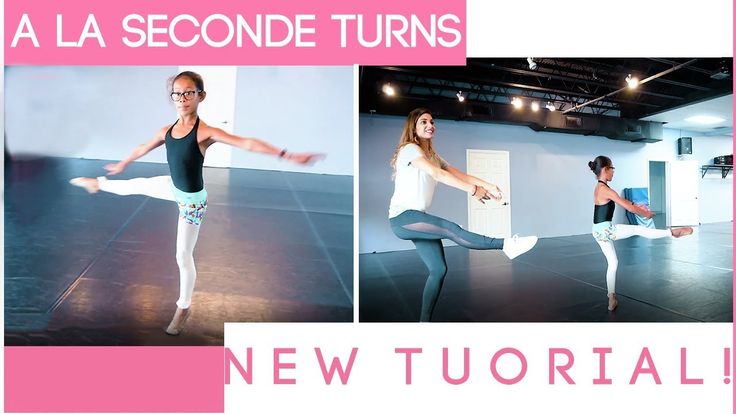
The stability of the passé position is the heart of every good pirouette. “I wasn’t always great at turning,” says 12-year-old Sophia Lucia, who holds the Guinness World Record for the most consecutive pirouettes (55). She’s learned to go down the RAFT checklist—rectangle, arch, focus, tightness—before each turn. Her shoulders and hips should be level, so the outline of her torso forms a rectangle. Her arch should push over the second toe of her supporting foot. She should focus her eyes on a specific spot. “And there shouldn’t be one loose muscle in my body,” Sophia says. “I’m not tense, just compact, which holds the whole position together as I turn.”
Assess your own passé position in a simple balance. Are you using your highest possible relevé? “You should feel a stretch through the top of your foot, like someone is lifting under your heel,” says Stephanie Wolf Spassoff, co-director of The Rock School. The front of the hips should be flat and level; your core muscles should support your passé; and your back and shoulder muscles should support your arms. Be sure to draw your passé up to its fullest height. “In a good position, you’ll feel taller than you’ve ever felt before,” says Darla Hoover, artistic director of the Ballet Academy East Pre-Professional Division in NYC. Once everything’s properly placed, you should be able to balance easily.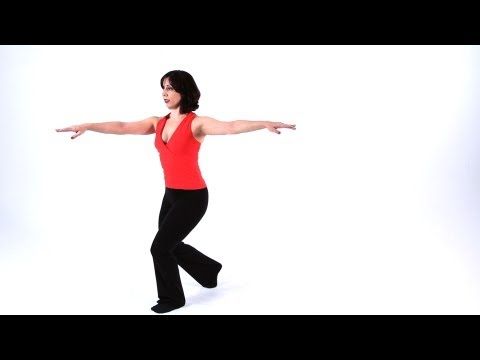
(Rosalie O’Connor, courtesy Ballet Academy East)
Whip It Good
Your preparation is what sets that perfect passé in motion—and the key is a deep plié that gives you the force you need to get on top of your leg, according to Denise Wall, artistic director of Denise Wall’s Dance Energy in Virginia Beach, VA. “Especially in fast-paced pieces, I see dancers bending their knees in plié without really connecting to the floor,” she says. Feel your weight in the plié and push off the floor equally with both feet as you go into your turn. “Then find the quickest, most direct way to get from preparation to passé, and don’t let the position lose integrity,” Wolf Spassoff says. “There’s a tendency for dancers to use a lot of force and go for as many turns as possible, but they literally throw themselves off balance. You have to be controlled and coordinated as you squeeze up to that position.”
A strong spot will also help whip you around—but don’t let your head go wild.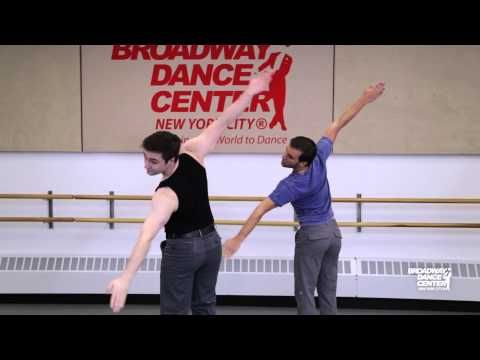 “Your head is the heaviest part of your body, and it should drive down into the supporting leg,” Wall says. Otherwise, the weight of your head will pull you off balance, causing you to fall out of the turn. “Your eyes should truly see something right from the moment of takeoff,” Hoover adds. “If you have trouble spotting, practice by doing chaîné turns, which are simpler and naturally rhythmic, and put up actual targets to spot.”
And don’t forget about your arms. “You wouldn’t want to be on a plane with a flapping wing,” Hoover says. Engage your latissimus dorsi (lats), the large muscles that run down the back. If you’re having trouble finding that feeling, start by pirouetting with your hands on your hips, keeping your elbows from moving. But don’t let your upper body get stiff. “The arms don’t have to be static,” Wolf Spassoff says. “They should feel supported and buoyant—almost as if they’re floating on water.”
Troubleshoot (a Video)
The foundations of a good pirouette may be the same for all, but because everyone’s body is different, corrections for one dancer don’t necessarily apply to the rest of the class. “I’d love to be able to say, ‘Go take your pirouette vitamin,’ like the answer is the same for everyone,” Spassoff says. “But your body is unique, and you need to find out how to use it most efficiently for your turns.” Ask a friend to record a video of you doing a series of preparations and turns on both sides, and analyze what you see. Falling sideways? You might be hiking up your working hip as you draw your foot up to passé. Falling backwards? You might be raising your shoulders or throwing your arms behind you. Rewind, rewind and rewind again, looking for the keys that will unlock your perfect pirouette.
When in doubt, check in with that passé position, and don’t get discouraged. “A turn is a living thing you’re molding,” Wolf Spassoff says. Everyone has moments of frustration. “The day before a performance, I ran my solo 10 times and wasn’t getting my turns,” Sophia remembers. “I had a meltdown. But my mom helped me be confident by reminding me how hard I’d trained.” On days when your pirouettes aren’t working, remember that you’ve already got the tools you need to fix them in your turning toolbox: science, strength and awareness.
Is There Such a Thing As a “Natural” Turner?
Basically, yes. “Natural turners do exist,” says Darla Hoover, artistic director of the Ballet Academy East Pre-Professional Division. “Some people have better equilibrium. I’ve found that many of my students who are natural turners also walked at an early age.” Bojan Spassoff, president and director of The Rock School for Dance Education, agrees. “More compact bodies have a lower center of gravity, which is better for balance, and it may be more difficult for dancers with longer bodies to turn,” he says. But that’s not a reason to give up. “The keys to good turning can be taught to anyone,” Hoover says.
Turning vs. Spinning
Everyone wants to bang out as many pirouettes as possible, but don’t fall into the spinning trap. “Spinning is just rotating on the foot,” says Denise Wall, artistic director of Denise Wall’s Dance Energy. It’s the ice skater’s approach rather than the dancer’s. “I see kids do 10 pirouettes on a one-inch relevé, and that doesn’t count as turning,” Wall says. “To turn, you must be on top of the leg, on your highest relevé, spotting, and in control.”
Turning Principles in Ballroom Dancing • The Ballroom Dance Blog
Turning actions are one of the most exciting in Ballroom Dancing. The quick and slow turns create contrasting movements and changes in the planes of movement throughout the whole line up of dances from Waltz to Quickstep.
Turning actions are one of the most common and exciting in Ballroom Dancing. The quick and slow turns create beautiful contrasting movements and changes in the planes of movement throughout the whole line up of dances from Waltz to Quickstep.
For one to dance comfortably and successfully around the floor in any of the International Standard and American Smooth dances, we need to master this one important ingredient- the skill to turn.
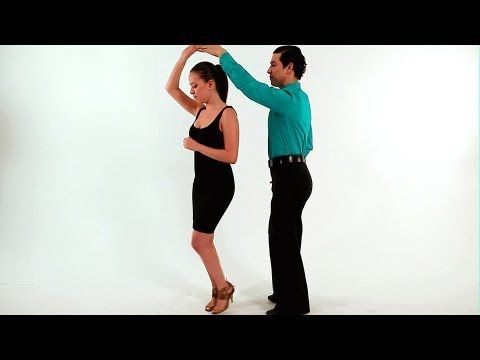
A turning action is a rotational movement around an axis or a center point. In Ballroom Dancing, such turns are called partner turns- one partner performs the rotational movement while the other creates the anchor point for this turn.
A beautiful set of Natural Turning Actions- Turns, Spins and Pivots demonstrated by Arunas and Katusha
For such action to be successful (one of the partners turns easily around the other), both an inside/ anchor of the turn and outside of the turn must be present for all partner turns. These properties of the turn will be performed by the partners- sometimes, the Lead will be the inside of the turn and the Follow the outside or vice versa.
In solo turns, the inside and outside of the turn are found in the body of the dancer, for example, in pencil turn the inside/ anchor of the turn will be the right or left side of the body starting from foot to shoulder, and the rotational movement will be performed by the shoulders turning around that point.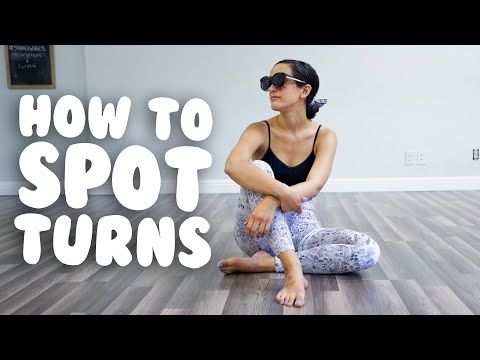
In partner turns, the partner dancing forward is always on the outside of the turn, and the one dancing backward is the inside of the turn. It is important that both partners fully commit to fulfilling their duties during the turn.
The partner dancing FORWARD is the OUTSIDE of the turn, and the one dancing BACKWARD is the INSIDE of the turn.
If one fails to do the correct action, for example, instead of creating a successful outside of the turn, the dancer joins the inside of the turn; therefore, doing the same action as the other partner; the turn becomes difficult to complete.
The inside of the turn is a smaller space in which the partner going backward dances. At the same time, the outside of the turn is a bigger space that surrounds the inside of the turn and is occupied/ created by the dancer going forward. If the dancer going forward joins the inside of the turn or dancer going backward fails to create the inside of the turn for the other partner, the turn would likely be unsuccessful.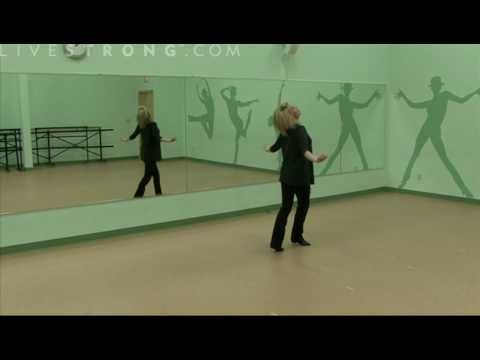
You might also like
So far, we have discussed the prerequisites (inside and outside of the turn) to a successful partner turns in International Standard and American Smooth. Now, let’s look at how and what can create those prerequisites. The two main turning mechanisms- the shoulders and the feet, sit at the two ends of our bodies, which makes them most influential to the alignment in our bodies.
Shoulder Leads
Beginning a turn in the shoulder line would create a Natural or Reverse turning Spiral (depending on the direction of the turn) that would continue its course down to the feet. Much like a tornado. This Spiral would create a strong turning force at the shoulders and slowly weaken as it travels down to the feet.
Foot Twists
The twisting of the foot is an action that will change the direction of the step and create a rotation. This turn can be done either to the Right (natural twist) or to the left (reverse twist).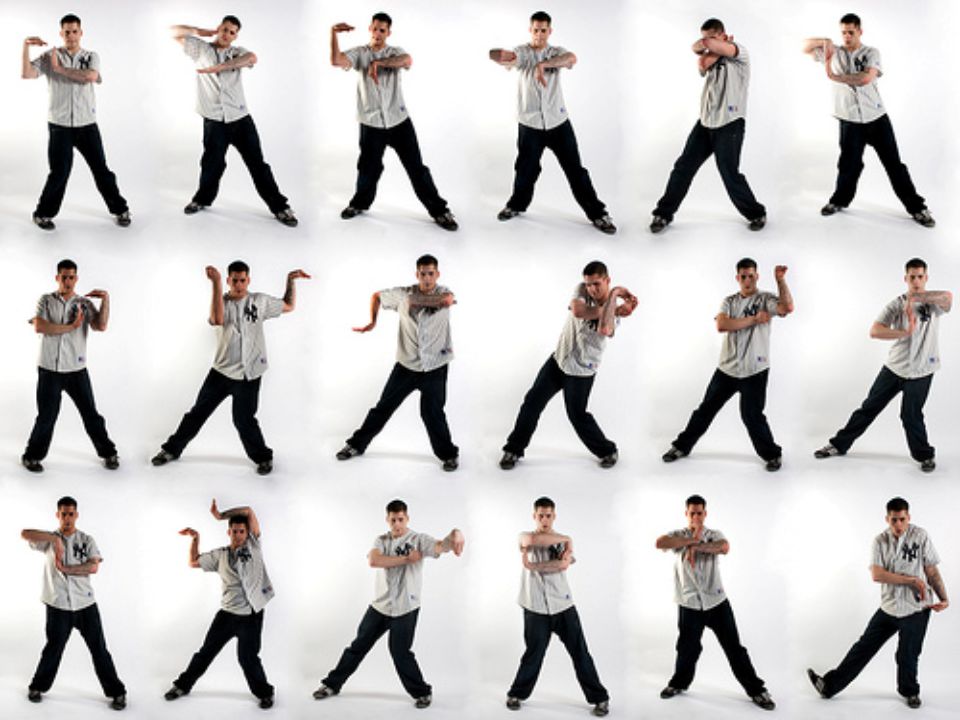 Like the shoulder lead turn, the foot twist will create a spiral that this time resolves upwards, with its strongest turning force at the feet and weakening as it travels upwards to the shoulders.
As you can see, the force properties of the two spirals created by shoulder turn and foot twist are changing in a vertical direction. The shoulder spiral weakens as it travels down to the feet, and the foot spiral weakens as it travels up towards the shoulders.
Knowing this, we can conclude that if both partners use the same type of turning mechanism while performing a turn, this turn will be out of harmony. Now imagine if both partners use the two different mechanisms; for example, the Lead uses a foot twist, and the Follow uses a shoulder turn; the two forces will reside between the bodies in harmony, allowing the partners to turn comfortably.
Types of Turns Based on DirectionIn Ballroom Dancing, the classification of the turns is done mainly by direction- Right (often referred to as “Natural” and Left turns (commonly known as “Reverse” turns. Some examples of such turns are Natural Spin Turn (a right turning step), Double Reverse Turn (a left-turning step), and Quick Open Reverse Turn (a left-turning step).
Now let’s learn how do they work.
Turns to the Right ( Natural Turns)General Pointers:
To perform any type of physical activity, a properly toned and energetic state of the body is required. For Ballroom Dancing and especially International Standard and American Smooth, there are additional adjustments along with good posture that need to be made in order for the two partners to dance towards and especially around each other successfully:
- Stretch your upper body to Left and maintain your natural position in the couple while maintaining a right to right side body connection.
- Turn L Shoulder blade to R. For both partners, a slight rotation to the R in the upper body is required to fit nicely with your partner.
 It helps to imagine a slight natural turning spiral in the torso.
 - R legs inside thigh connection. When a turn is commenced, for example, in the 4th step of a spin turn, the Lead, and the Follow perform their pivoting actions there should be a connection in the right thighs of both partners.
Pointers Specific to Direction:- Forward Right TurnsTip: Use Shoulder Turn instead of a foot twist.
The person dancing a forward right-turning action should use the shoulder turning mechanism to the Right while maintaining straight direction with the feet.
For example: 1-3 of Natural Turn (for the Lead). Step one is described as Right Foot forward, meaning that there is no turn in the foot, but the shoulders should already start turning to the Right to navigate successfully around the partner- creating the outside of the turn.
- Backward Right TurnsTip: Use a FOOT TWIST instead of a shoulder turn.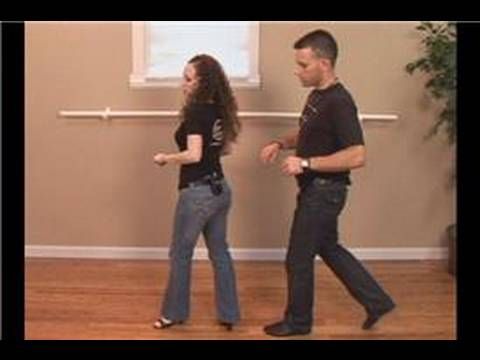
The partner dancing the backward action in a Right turn has the important job to create the inside of the turn by twisting the feet to the Right.
For example: 1-3 of Natural Turn (for the Follow). Step one is described as Left Foot back, but if we dance that step with no turn in the foot (remember the spiral from the foot to the shoulders) the body would not “allow” the Lead to dance around; therefore this step is taken Left Foot back but with a strong twist in the left foot to point Center.
Turns to the Left ( Reverse Turns)
General Pointers:It is exactly the same as for any Natural turning action since all turns should begin from the same body position and alignment between the partners.
Reminders:
- Stretch Left
- Turn L Shoulder blade to R
- Feet turn a lot (reverse spiral)
While performing, Reverse Turns the focus should be primarily on rotating the base (lower body), not the top (upper body).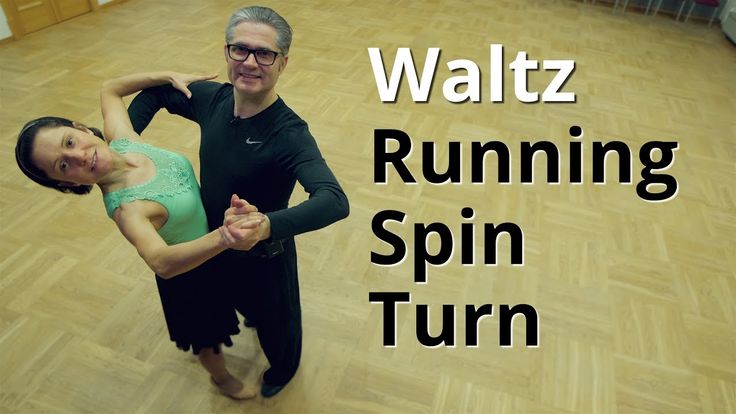 From the belly button upwards to the tip of the head, you should try to maintain a spiral to the right. From the center/belly button downwards to the feet, you should maintain the opposite spiral- reverse spiral. Those two pointers are the basic setup of any Reverse turning step and should be maintained throughout the turn.
Pointers Specific to Direction:- Forward Left TurnsTip: Use “controlled” Shoulder Turn instead of a foot twist.
Note: Since the reverse turn is a much more delicate action than the natural turn, the intensity of the shoulder turn should be corresponding directly to the amount of turn and the timing of the step.
The partner dancing forward should maintain a straight foot placement while the partner dancing backward has a strong twist in the foot. That will make the left foot of the partner dancing forward “land” inside the right foot of the partner dancing backwards due to the strong twist, creating a nice Left to Right thigh connections to be used as an anchor of the turn.
For example: 1-3 of Reverse Turn in Waltz. Step one for the Lead is described as a Left Foot fwd. While the Follow’s first step is described as a RF back, she needs to have a strong twist in the foot. In this particular step, because of the regular waltz timing and the amount of turn, a very slight, almost unnoticeable shoulder turn by the Lead is required. The Lead should be aware not to “take Left Side back while turning to left.”
- Backward Left TurnsTip: Use Foot Twist instead of a shoulder turn.
As discussed earlier about Reverse turns, the focus should primarily be on creating strong turning action through the base (to the left) while maintaining the opposite spiral in the body (to the right). As the Follow twists the foot to the left for the first step, he/she should be aware of maintaining the slight right-turning spiral in the body.
For example: In the 1-3 of Reverse Turn in Waltz. Step one for the Follow is a RF back, but with a strong foot twist. The Follow should be aware not to “take Left Side back while turning to left.”
Wrapping it up
As you can see from our analysis of the turning actions, there are many elements and a lot of things that need to be observed for a partnered turning action to be successful and effortless. I want to leave you with this one cheat sheet that summarizes the turning actions in this article and hopefully will help you create easy and exciting turns. Note: There might be exceptions to these rules, depending on choreography, timing and position, but they should work for the most of the turns in International Standard, American Smooth, and some partnered turns like pivots in the Latin- American Dances.
Ballroom Dance insights you won’t delete.
Delivered to your inbox.
NO SPAM, we hate it too.
Success! You are on the Ballroom Dance Express!
Oops! Something went sideways while submitting the form.
Rotations and turns in dancing (practice)
- Posture
Rotations are performed with a taut and even body, "coccyx retract", "long neck", chin looks up.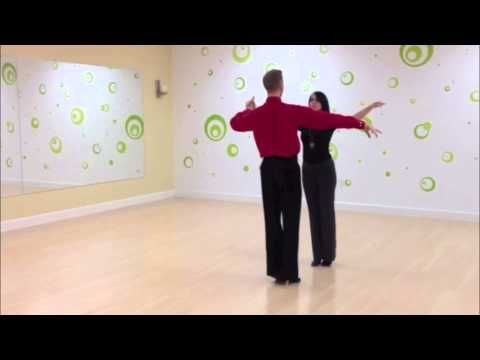 This will help you balance and tighten the axle needed for long term spins.
- Dot
All dancers know to "hold the dot" to spin, but I wonder if you can change dot fast enough? In order to rotate long and hard, you need to train a sharp and lightning-fast change of point. The point should be kept at the level of your eyes and a little higher. Don't look at the floor or you'll end up there.
- Alignment (cross)
Concentrate on aligning the line of the shoulders with the line of the pelvis, they should be parallel. If you do not align the lines of the shoulders and pelvis during the beginning of the rotations, you will not be able to catch the balance and your rotation will not be long, a maximum of 3 pirouettes. To do this, you should train in front of a mirror, stand in a relevé and make sure that the lines of the shoulders and pelvis (hips) are parallel. Also, in front of the mirror, you should control the position of the body, become sideways and make sure that you are not leaning forward or leaning too back.
- Balance
When pirouettes, you balance on a half-finger (relev), practice balance without rotation. If you can’t stand on a half-finger without spinning, then you won’t be able to stand in a turn either. Practice balance on half toes without rotation, train both the left and right foot, you should stand eight counts at a very slow pace, this will strengthen your axis. What type of spin do you train, classic turnout or jazz closed? Practice every type of balance until you can, it will come in handy in your career as a dancer, modern show groups use all kinds of techniques.
- Your thumb
Where does your thumb point when you rotate it? If your finger is not pointing in the same direction as your knee, this rotation is not considered correct and you will not be able to achieve a multi-spin. Stand on your half-finger and make sure you don't "clubfoot" that your thumb is pointing in the same direction as your knee. There is nothing worse than a clubfoot dancer! If the foot is placed correctly, the weight is also distributed correctly and you will be able to build the best axis for rotation. Make sure that during the rotation you do not jump on the half-toe, do not "play" up and down and your instep is stretched as much as possible. Throughout the rotation, you should stand on the maximum possible half-finger.
- Use the dance floor (parquet)
Push off the deep plié floor with all your strength to set the maximum possible rotational energy. Imagine a Devil in a Box spring toy, you push it down into the box and when you open it, it kind of shoots up with maximum force, while you direct this energy into rotation with your hands. Push off from the plié with enough force to get on your half toe and extend your knee, and of course not more than necessary, otherwise you can not resist.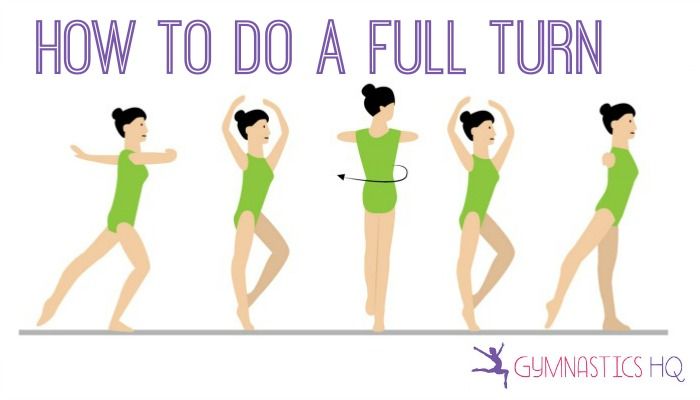 Also, there is a technique in which, during the performance of the plie, the dancer exhales and then briefly inhales during the first turn, which allows you to increase the moment of rotation using an additional force.
- Matching shoes
Depending on the choreography, wear specialized dance shoes. It is not recommended to do rotation without shoes, you can comb the skin on the balls of the feet.
- Arms
Have you noticed that when doing a series of pirouettes, the arms are closer to the body in subsequent turns than in the first turn? Quite right! During a series of pirouettes, it is very important not to lose the energy of rotation, for this the dancer must skillfully collect his hands to the body, distribute energy for each turn, so that in each subsequent turn the hands are a little closer than in the previous ones. Try it in practice, if you do not bring your hands together, then the rotation will not be fast and not long, but if you sharply take your hands to the body, then you will sharply spin at a higher speed.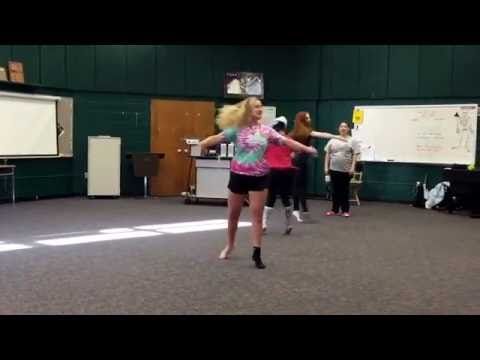 Now that you know what to do, you should train the most important condition - while bringing your hands together, hold the "cross" (the line of the shoulders and the line of the pelvis should be parallel).
- Pulling
Imagine that while you are spinning, someone is pulling you up by the top of your head. This will allow you to keep a straight axis and rise as high as possible on the half-finger with the involvement of the main muscles of the body.
- Practice
Pirouette, like a circus trick, performing a series of pirouettes requires long hours of regular practice.
"When I was preparing to break the world record, I worked out at least three days a week for several hours. And it took about a year for me to start rotating from 19up to 55 turns without stopping" - says Lucia Sofia. , Waltz-Gavotte, Waltz-Mazurka
Classical waltz performed on the 3rd position of the feet
Time signature - 3/4
One full 360-degree waltz turn (full tour of the classical waltz) consists of two parts (two half rounds): the first half of the turn (by 180 degrees) and the second half of the turn (by 180 degrees).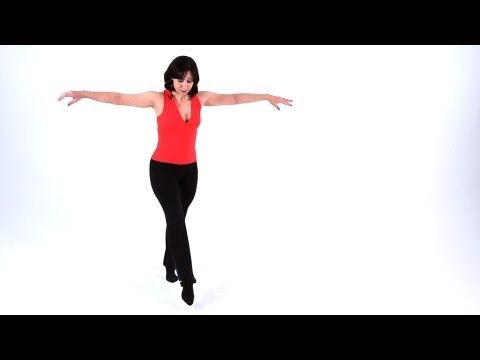 0009
0009
A full waltz turn takes 2 measures of musical accompaniment. Each half turn takes 1 cycle.
Performing waltz turns, partners move forward along the line of dance.
Music
Time signature 3/4.
Slow or moderate pace.
Score: I-1-I-2-I-3
Preparatory exercises
- Bringing the leg to the toe - battement tendu (tandu buttman) 3 positions in a cross one by one (right foot and left foot).
- Rise on half-toes (relevé - relevé) in 3 positions.
- Dance step
- Waltz pas
WALTZ RIGHT TURN ONE BY
Starting position:
The dancers stand in a circle, facing the center.
Legs - in 3rd position (right leg in front)
Arms - in ball position (slightly away from the body).
1 measure - First half of the Waltz
| Count | Movement description |
| Start-up (I) | (Shift your weight onto your left foot.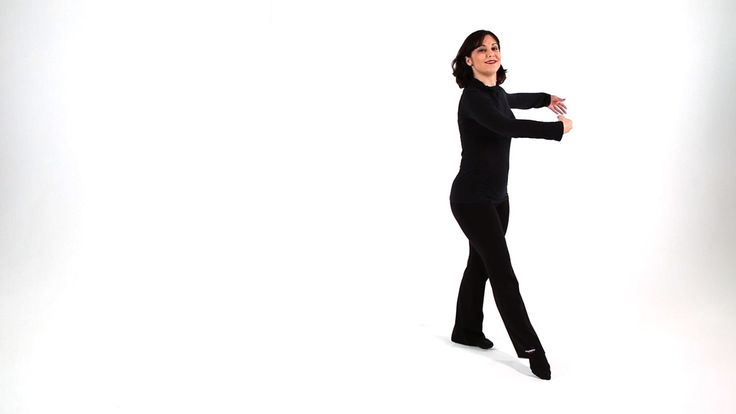 ) ) Bring the right leg, straightened at the knee with the toe pulled out, to the toe - forward diagonally to the right (in the direction where the toe of the right leg from 3 pos. shows). Slightly soften the knee of the supporting left leg. |
| 1 | A sliding step with the right foot forward diagonally to the right (in the direction where the toe of the right foot points) from the toe to the entire foot, performing on the ball of the right foot half a turn to the right by 180 degrees. Stop with your back to the center. (Down on the whole foot only after turning.) Shift your weight onto your right foot. Slightly soften the knee of the right leg. The left leg remains behind the right leg on the toe, slightly bent at the knee. |
| and | The left leg, also softened at the knee, is held in a sliding motion next to the right leg through 1 pos. and is brought to the side on the toe along the line of dance (in 2 pos.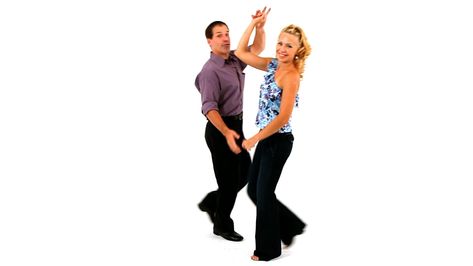 ). ). The left leg is straightened. (Right knee is relaxed.) |
| 2 | Step with the left foot to the side (along the line of dance) on the half-toes. Shift your weight onto your left leg. The right leg is left out on the toe. Knees extended. |
| and | Slidingly pull the right leg with the toe on the floor and put it on the toes in 3 pos. behind the left leg. (Weight - on two legs.) |
| 3 | Sit down gently on full feet in 3 poses. (left leg in front). Shift your weight onto your right foot. |
2nd measure - Second half of the Waltz
| Count | Movement description |
| Start-up (I) | Bring the left leg, straightened at the knee with the toe pulled out, to the toe - forward diagonally to the left (in the direction where the toe of the left leg from 3 pos.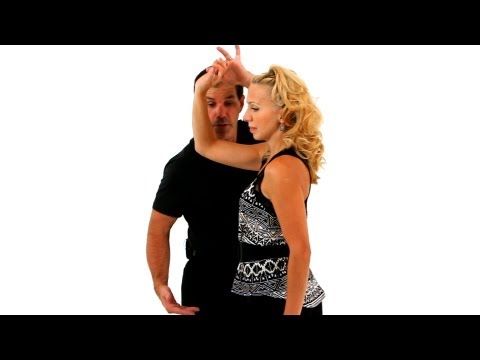 shows). shows). Slightly soften the knee of the supporting right leg. |
| 1 | A sliding step with the left foot forward diagonally to the left (in the direction where the toe of the left foot points) from the toe to the entire foot, performing on the ball of the left foot half a turn to the right by 180 degrees. Stop facing the center. (Down on the whole foot only after turning.) Shift your weight onto your left leg. Slightly soften the knee of the left leg. The right leg remains in front of the left leg on the toe, slightly bent at the knee. |
| and | The right leg, also softened at the knee, is held in a sliding motion next to the left leg through 1 pos. and is brought to the side on the toe along the line of dance (in 2 pos.). The right leg is straightened. (Left knee is relaxed.) |
| 2 | Step with the right foot to the side (along the line of dance) on the half-toes. Shift your weight onto your right leg. The left leg is left out on the toe. Knees extended. |
| and | Slidingly pull the left leg with the toe on the floor and put it on the toes in 3 pos. behind the right leg. (Weight - on two legs.) |
| 3 | Sit down gently on full feet in 3 poses. (right leg in front). Shift your weight onto your left leg. |
Notes:
- Perform each part of the turn exactly 180 degrees. (Stopping exactly in the directions: back to the center, facing the center.)
- Rotate 180 degrees. carried out in the first step.
- The turn is performed simultaneously with moving forward diagonally (along the line of dance).
- The second step is performed exactly to the side, along the line of dance.
- The second step must be with the rise on half toes.
- After completing each step, fully transfer the weight of the body to the leg.
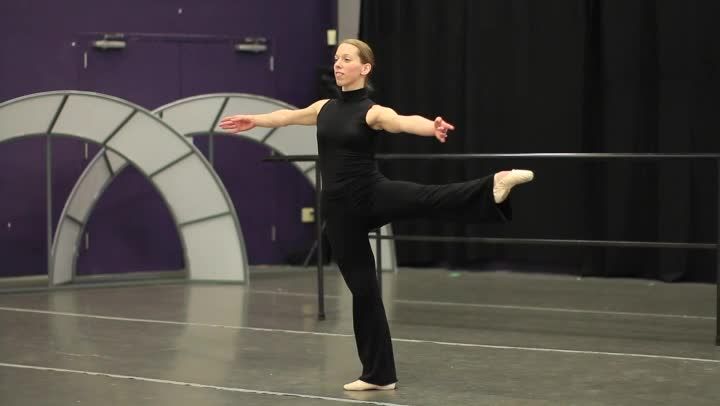 (Second leg must be free from body weight.)
 - All steps are performed from the toe.
- Steps are performed smoothly, without sudden jerks.
- Movement and rotation must be continuous, without stopping.
- Accurately observe the 3rd position of the feet.
- Knees are not tense when moving.
COUPLE WORKOUT:
"EXCHANGE - HANDS CROSSED"
Starting position:
The dancers stand in pairs in a circle, facing the center, the girl is to the right of the boy.
Legs - in 3 positions (right leg in front).
The partner's hands are connected in front of the body crosswise (crosswise) - the boy's right hand with the girl's right hand, the boy's left hand with the girl's left hand (left hands on top).
Partners move in turn.
Hands do not separate during movement.
First, the boy performs a full waltz tour, bypassing the girl. (The girl does not move at this time.)
1 measure - The boy performs The first half of the waltz turn and ends it with his back to the center, exactly opposite the girl.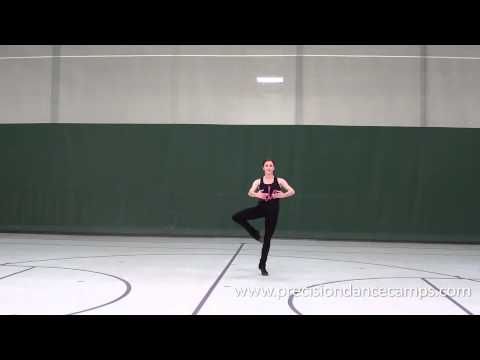
Bar 2 - The boy performs The second half of the Waltz turn and ends it facing the center, next to the girl, to her right.
Partners have changed places.
The girl then performs a full waltz tour, bypassing the boy. (The boy does not move at this time.)
3 measure - The girl performs the first half of the waltz turn and ends it with her back to the center, exactly opposite the boy.
Bar 4 - The girl performs The second half of the Waltz turn and ends it facing the center, next to the boy, to his right.
Partners returned to their seats.
Remarks:
- the first step with the right foot is performed diagonally forward in front of the partner;
- after a step and a turn on the right foot, you must be opposite the partner, facing him;
- The second step with the left foot must be small to stay in front of the partner.
- the first step with the left foot is performed diagonally forward close to the partner, next to his right foot;
- after a step and a turn on the left foot, it is necessary to be in line with the partner, facing the center;
- The second step with the right foot should be very small so as not to go far from the partner.
During the first half of the turn:
During the execution of the second half of the turn:
WALTZ TURN (FULL WALTZ TOUR) RIGHT in pair IN CLOSED POSITION
Starting position:
Closed position for classical ballroom dancing:
The dancers stand in pairs in a circle, the boy with his back to the center, the girl facing the center. At the same time, the partners are slightly shifted to the left relative to each other (“left-sided stance”).
Legs - in 3 positions: for the boy - the left leg in front, for the girl - the right leg in front. In the closed position, the toe of the girl's right foot should be between the boy's feet.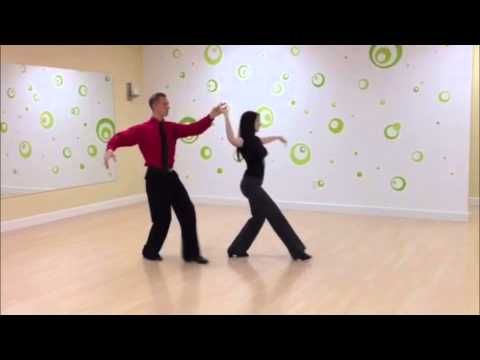
Partners hands:
With his right hand, the boy holds the girl behind her back, under her left shoulder blade. The elbow of the boy's right hand is raised to the side. All the fingers of the boy's right hand are collected and directed slightly downward (the hand is lowered with fingers down).
The girl's left hand rests on the boy's right shoulder. The girl holds the boy's shoulder between her thumb and middle fingers. The rest of the fingers are collected together. The hand is straight, an extension of the hand. The elbow of the girl's left hand rests on the boy's right hand.
The left hand of the boy and the right hand of the girl are connected in the 2nd position (hands are just below the shoulder, the elbows are slightly bent and pointing back). The connection of the brushes is "by the fingers": the palm of the boy's left hand is slightly turned up; the fingers of the girl's right hand lie on the fingers of the boy's left hand; fingertips are directed to the center of the palm; partners hold each other's fingers with their thumbs.
Partners' heads turned slightly to the left.
You can practice waltz turns in pairs, first with cross-linked hands. Or you can join your hands in a training position: the hands of partners are connected by forearms at a height of 2 positions. The boy supports the girl under the elbows, the girl's hands lie on the boy's elbows. Elbows are rounded.
Partners move at the same time.
1 Tact (Polter of a waltz turn):
The boy performs The second half of the waltz turn to the right
The girl performs The first half of the waltz turn to the right
2 Tact (Polter of the waltz is the first one,
. turn to the right
The girl performs The second half of the waltz turn to the right
Notes:
- During the first half of the turn, the first step with the right foot is forward diagonally between the partner's feet. The first step is active, to move to the place of a partner.

- When performing the second half of the turn, the first step with the left foot is taken forward diagonally close to the partner, next to his right foot, on the line where the partner is standing.
- Rotate 180 degrees. carried out in the first step. After the first step and turn, the partners should already change places and stand again facing each other.
- Both partners perform the second step to the side, along the line of dance.
- The partner executing the first half of the turn, the second step with the left foot to the side must be slightly longer than that of the partner executing the second half of the turn.
Literature
- " Modern ballroom dance ". Manual for students of cultural institutions, students of cultural and educational schools and leaders of ballroom dance groups. Edited by V.M. Striganova and V.I. Ural. M., "Enlightenment", 1978
- " Historical and everyday dance ". Tutorial.
